Set up your Raspberry Pi workstation in Five Simple Steps !
A tutorial that cumulates tons of youtube videos, research and insights from innumerable community forums so that you don’t have to do the same.

If you ever thought of setting up your own minimal workstation at home or ever considered a raspberry pi for your daily use, this tutorial will help you get started right away.
What do we need ?
A Raspberry Pi 3 B +
A SD card
(preferably Class 10 > 16GB) and a Card reader.
A display monitor.
A Keyboard and a mouse.
A HDMI cable, Micro USB cable and speakers for audio.
A computer to burn the OS onto the SD card.
Patience.
Let’s get started!
Formatting the SD Card
Firstly, we must format our SD card before we write our OS onto it.
Connect your SD card to your Computer through an SD card Reader.
Download EaseUS partition manager and format your SD card to a FAT32 filesystem if your SD card is greater than 32GB else you’d be good with an exFAT file system as well.
The official raspberry website recommends formatting using SD card Formatter but I found the former a lot more helpful comparatively.Writing Noobs Lite onto our SD card
Time to write our Files to our SD card before we go ahead and insert it into our Raspberry Pi.
There are tons of OSes available but we shall install Raspbian Jessie with Pixel through Noobs Lite that way you can switch and swap between OSes upon will over a beautiful Graphical interface.
Let’s go ahead and download the latest version of Noobs Lite.
Connect your SD card back to your computer and unzip the contents straight into the root folder of your newly formatted SD card.
Once all the contents of your Noobs lite folder have been successfully extracted into the root folder of your SD card, Eject carefully.
This right here is the source of all the Magic that’s about take place.Booting
This, personally has been the most excruciating part of the setup, but also so so much more simple than what we’d have to do otherwise to get this Raspberry up and running.
Carefully, Slide your SD card containing your Noob folder contents into your Raspberry Pi.
Connect your HDMI cable to your Raspberry Pi and your Monitor.
Connect the Micro USB cable to your Raspberry Pi to power it up.
A red light should turn on, along with flickering green light on your raspberry Pi as a bunch of gibberish code scrolls through your monitor.
Magic, at last.
Hey, We aren’t done yet.
We haven’t installed our actual OS yet !Installing Raspbian Jessie Pixel
Post all the gibberish nonsensical code, you’d be directed to a dialog box with a list of OSes and an option to sign into available WiFi Networks.
Go ahead and Sign into your home WiFi network.
Choose a OS or OSes you want to install on your Raspberry Pi
(in this case Raspbian Jessie with Pixel).
Hit the Install button !
The wait could range from a couple of minutes to a couple of hours.
I’d recommend sleeping over this.
The Files and documents required for your chosen OS or OSes shall start downloading. Once they are done, It’d look something like this.
- Installing other Debian Packages
This is really left up to you, but here’s what I’d install.
$ sudo apt-get update && sudo apt-get upgrade
$ sudo apt-get build-essentials
$ sudo apt-get install vim
$ sudo apt-get install git-all
$ sudo apt-get install vlc
$ sudo apt-get install htop
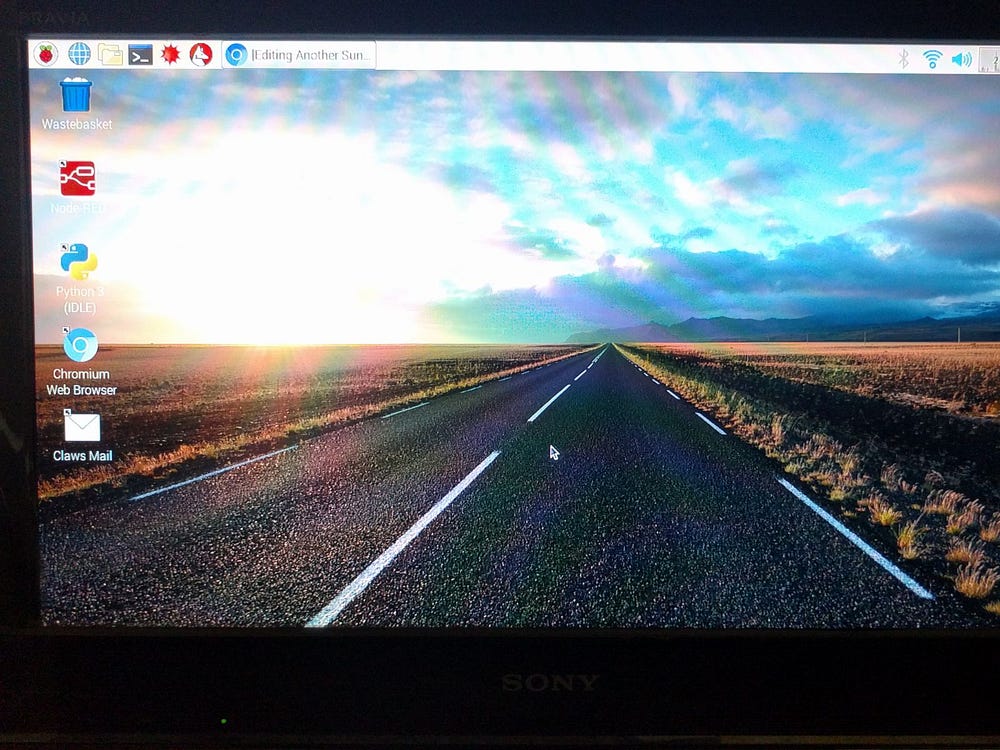
Raspbian already comes with Python, Java, Node and a text editor to get you working right out from the box. It also has chromium browser along with Claws e-mail setup.
Raspbian comes with Minecraft and Libre office to keep you occupied at work as well.
What more could one ask for ?
https://twitter.com/prahaladbelavad/status/868741514234646530/photo/1
Do not be that person that spends time reinventing the wheel.
I hope you had fun getting your raspberry pi up and running as much as I did, except in a quicker and faster manner.
I’m Prahalad Belavadi and I write on tech, blockchain and what I learn.
Much of what I do can be found on Belavadi.com
Disclaimer: I am just a bot trying to be helpful.