What if you can control your home lights with your voice!!!
MOTIVE OF THIS PROJECT
Description
Everybody gets exhausted in this busy lifestyle, right? We know how it feels coming back home after such a long tiring day from work. All we want and hope for is everything to be done on its own. We want to control the lights, fan or AC at just the tip of our fingers, click a button and food is right in front of you, served hot and delicious, tap your feet and the music is on letting you enjoy the night. Isn't that really cool? But alas, even if most of us work with technology, we forget to implement it even with the smallest of things which could make our life easier. But as it is rightly said when there is a will there is a way, so here's a simple way out to control the lights of our home at just with your voice.
Things used in this project, Hardware components
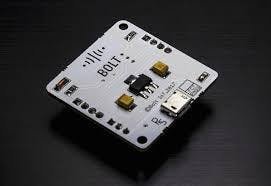
Bolt WiFi Module
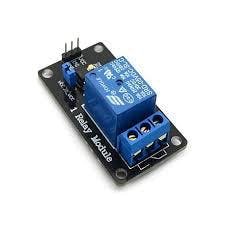
Relay Module (Single channel)
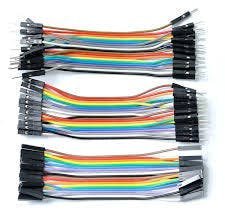
Jumper wires
Bulb(Less voltage)

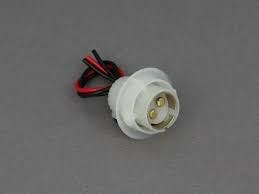
Bulb holder
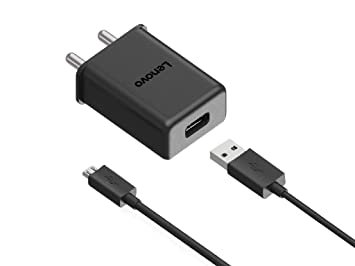
Mobile charger
Software apps and online services
1.Bolt IoT Account (https://www.boltiot.com/)
2.Bolt cloud Account (https://www.cloud.boltiot.com/)
3.Android Phone with an internet connection
4.IFTTT Account (https://ifttt.com/)
Step 1: Making an account on BoltIoT platform and Bolt Cloud
Bolt IoT Platform
Bolt IoT platform gives you the capability to control your devices and collect data from IoT devices safely and securely no matter where you are. Get actionable insights by deploying machine learning algorithms with just a few clicks to detect anomalies as well as predict sensor values.
To know more visit boltiot.com.
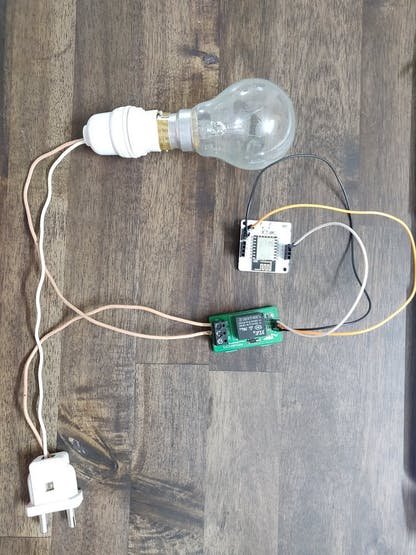
Step 2: Assembling the hardware
Connect the 5V supply pin and GND of the Bolt to the 5V and GND pins of the relay module.
Connect any one of the digital pin i.e (0-4) of the Bolt to the IN/REL pin of the relay module.
Connect a wire from the bulb holder to the COM pin of the relay module.
Connect a wire from the NO pin of the relay module to the 2-pin socket.
Connect the remaining terminal of the bulb holder to the other terminal of the 2-pin socket.
Step 3: Connecting Bolt to cloud
Learn how to create your new account and link your Bolt device to cloud refer to this .(https://www.hackster.io/104015/setting-up-the-bolt-wifi-module-c5de27).
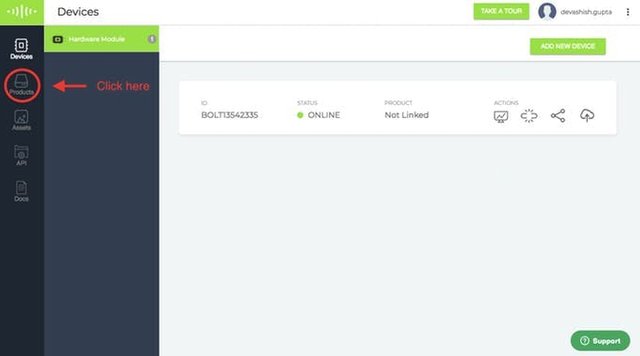
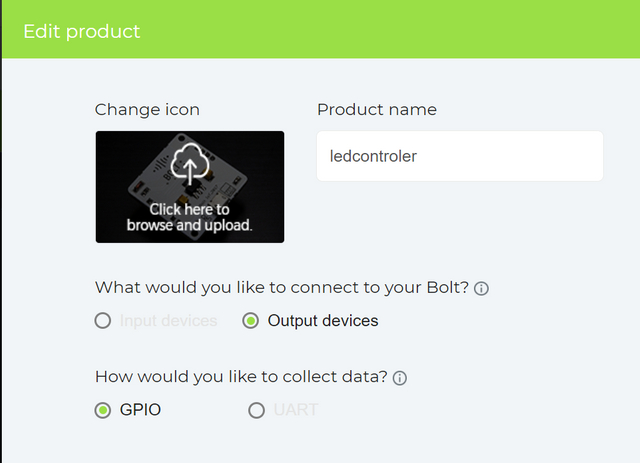
Step 4: Creating a product
Visit cloud.botiot.com and login with your account credentials.
Click on 'Product' tab and create a product as shown.
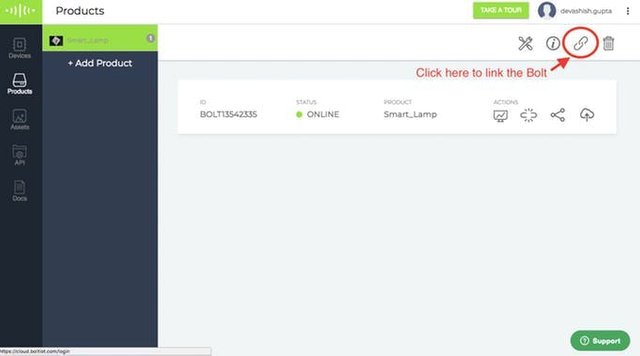
- Click on the "i" button:
- Link the Bolt to the product.
Step 5: Getting the API
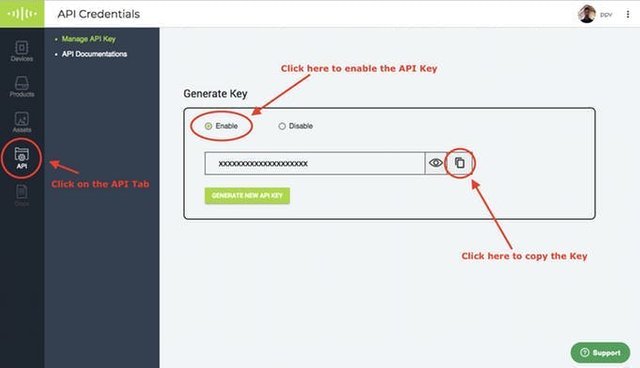
Next click on the copy button to copy your API key. Your API key will may look something like this: f1f918e9-d9c2-4e5b-aed0-b7cb743f74cf
step 6:creating the GPIO control command
Since LED is a digital output device, we will need to get a Digital Write command that can be sent to Bolt over the Internet to switch on the LED.
Bolt Cloud go to Docs Tab -> API Documentation -> GPIO Commands API -> Write Digital Output, to understand how to create an API command link to turn on or turn off a pin of the Bolt.
The structure of the command is:
https://cloud.boltiot.com/remote/API_KEY/digitalWrite?pin=PIN_NUMBER&state=HIGH/LOW&deviceName=DEVICE_ID
The parameters that you need to replace are:
API_KEY: You can get it from the API tab on the cloud dashboard.
PIN_NUMBER: Pin to which you have connected the LED. Values can be either 0,1,2,3 or 4
HIGH/LOW: This value indicates if you want to turn on/off the LED. HIGH will turn it on, LOW will turn it off.
DEVICE_ID: The id of your device. You can get it from the cloud dashboard.
The sample command to turn the led ON connected to a device having ID BOLT13819450 to PIN 0 is:
Make sure that you change the API Key to your own API Key and device ID which you got in the previous step. If you have connected the LED to any other pin other then Pin 0 then make a suitable change in the pin no in your code.
Step 7: IFTTT integration via Google Assistant and Webhooks
Go to IFTTT to create a new applet by https://ifttt.com
Login using your Gmail account. Make sure you use the same account which you'll be using on your mobile to interact with Google Assistant.

Click on '+This' to create the trigger.

Choose Google Assistant -> Say Specific Phrase
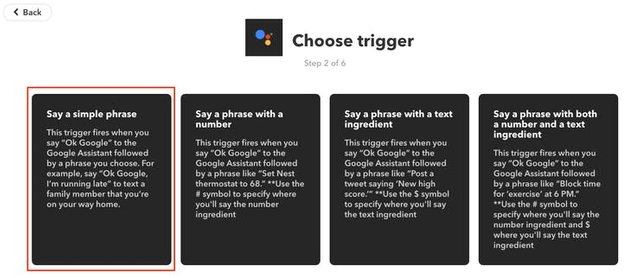
Type the phrase you want to trigger the action. Make sure to specify the trigger command in different ways for example I used
a) Turn the lights on
b) Turn on the lights
c) Lights on
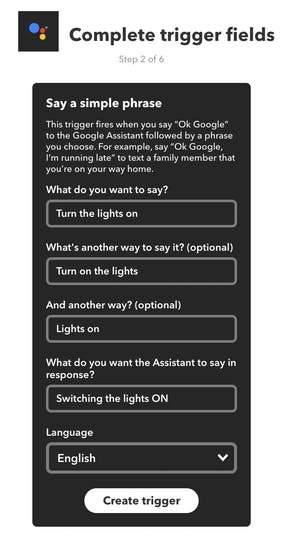
Click on 'Create Trigger'
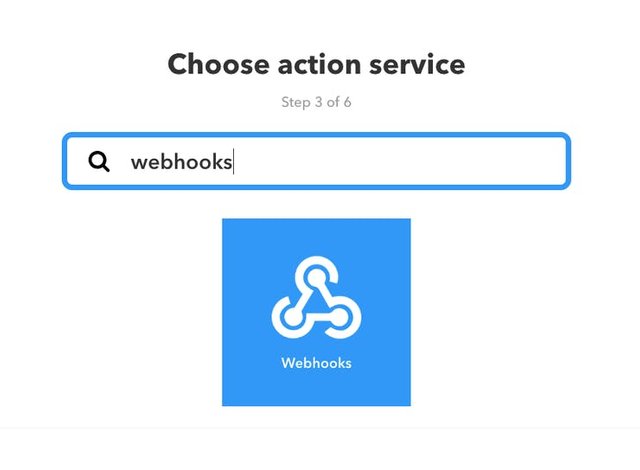
Click on '+That'

Select Webhooks and then Make a web request.
Enter the API URL you got in the previous Step. Make sure that you change the API Key and device name.
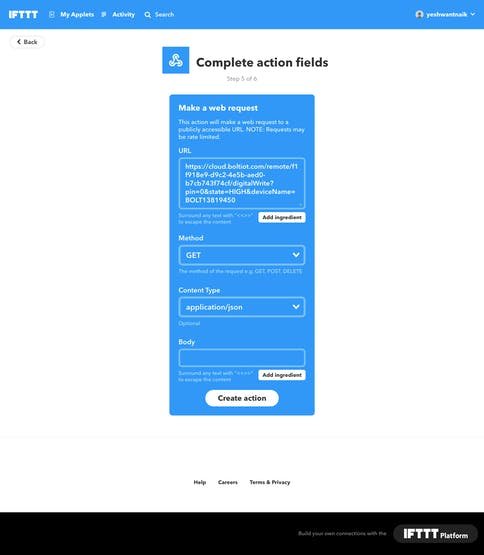
Method will be GET
Content type will be Application/json
Click on 'Create Action' and then click on 'Finish'.
Steps to turn OFF the LED
Now do the same process for a command to switch off the LED. Here you will change the state to LOW i.e. state=LOW in your code. Here is a sample of the code. Also, add a suitable phrase to switch off the LED.
That's it you are done.
For testing the system follow the steps below:
Power up the Bolt device and ensure that it is connected to the cloud.
Connect the bulb holder to the AC power supply (i.e wall socket) using the 2- pin socket.
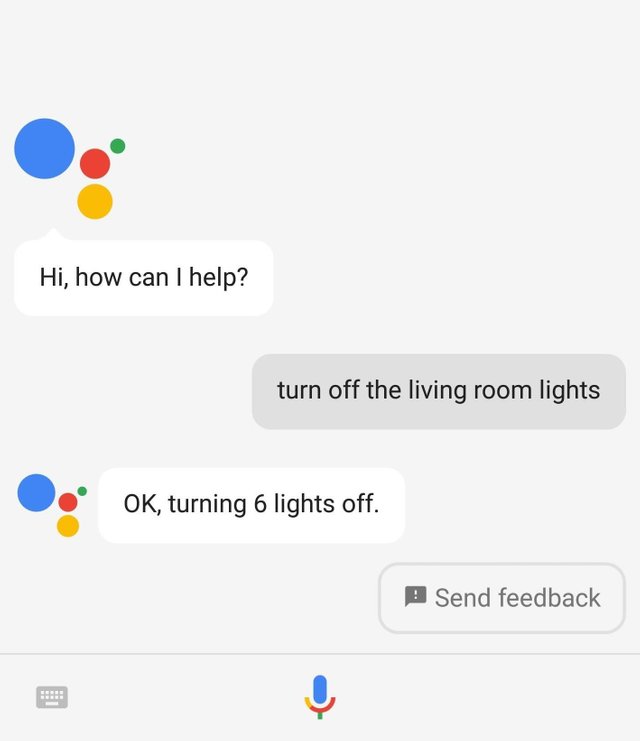
Open google assistant in your phone and say "Turn on the Lights" or " Turn off the lights".
Conclusion:
By now your personal voice-controlled lamp should be working.
If you liked this project then Please upvote and share it with your friends. Who knows this can be your School/College project. Stayed tuned for more Cool projects, and feel free to ask anything in the comment section.