Food Prep - Canning Tomatoes and some Red Sauce today...
So today I did my first canning at 9000 ft, and it seems to be pretty much the same as sea level, just processing a little longer. Tomatoes are water bath canning, and I let them go an extra 20 minutes.
I did not get photos of every step, but I will go over the process steps...
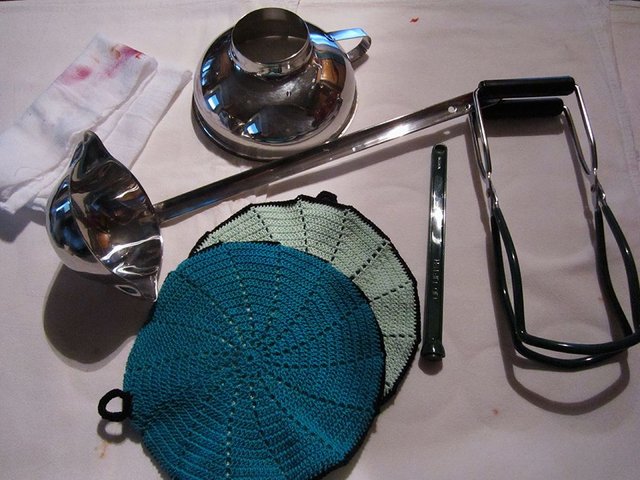
TOOLS
- Water bath pot
- Spaghetti pot (I like to use to blanch with the inner strainer)
- Jar picker upper (lifter I think they call it)
- Bubble remover (flat long plastic tool I forgot to put in the photo ;)
- Pot holders
- Wide funnel for canning
- Lid magnet
- Ladle (for my sauce)
- Sauce pan (to keep lids/seals warm)
I tend to stick with stainless as much as possible, because I know it is sterile if I boil it, and I can all sorts of things, including meats.
Prepping the Tomatoes
I just blanch (Dip in boiling water for 30 seconds (45 sec to 1 minute at my altitude I found) - then spoon into very cold water (stops the cooking and really loosens the skins)
Slide the skin off and put in a bowl
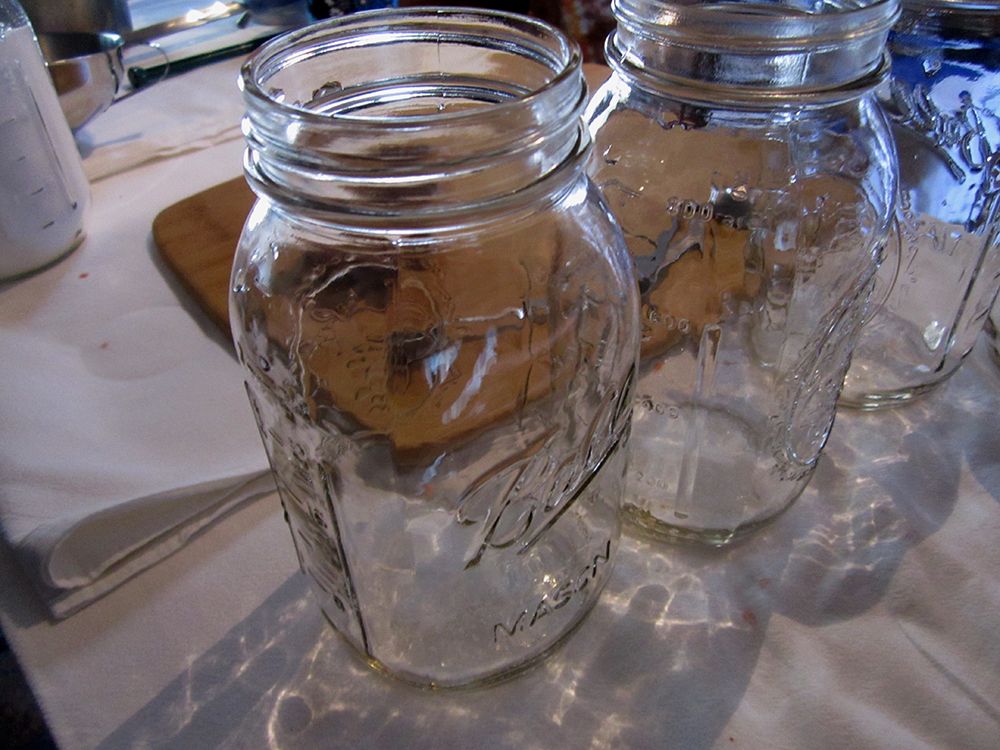
Prep Jars
- Wash jars and seals in warm soapy water, rinse very well
- Put jars filled with water into waterbath to Sterilize and then keep warm
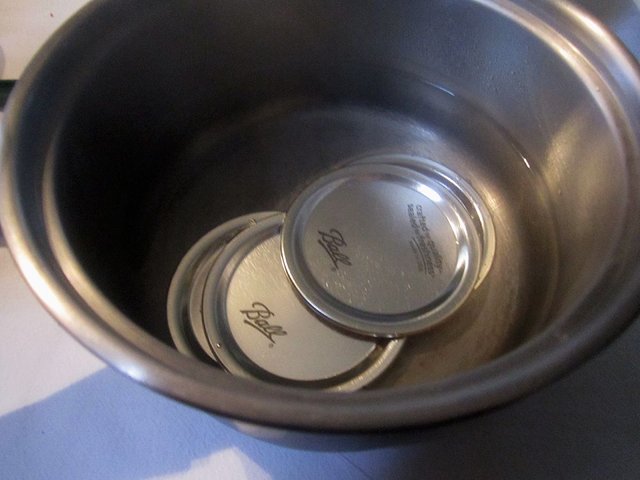
- Put seals into sauce pan, outside up for easy lifting
Once jars are sterile, carefully lift (with jar lifter) out of the water and dump out the water inside. Then line them up on the work surface (I lay down some towels to keep the jars from getting shocked by temp change).
Do not touch the rims or inside of the jars.
Add to each Quart jar... 1/2 teaspoon of Citric Acid (or 2 teaspoons of lemon juice)
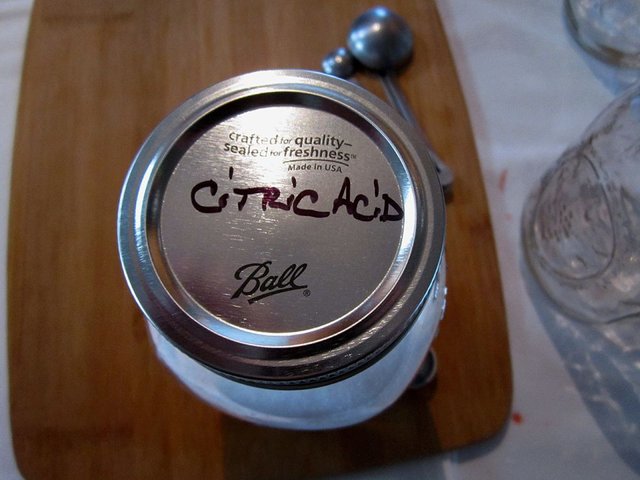
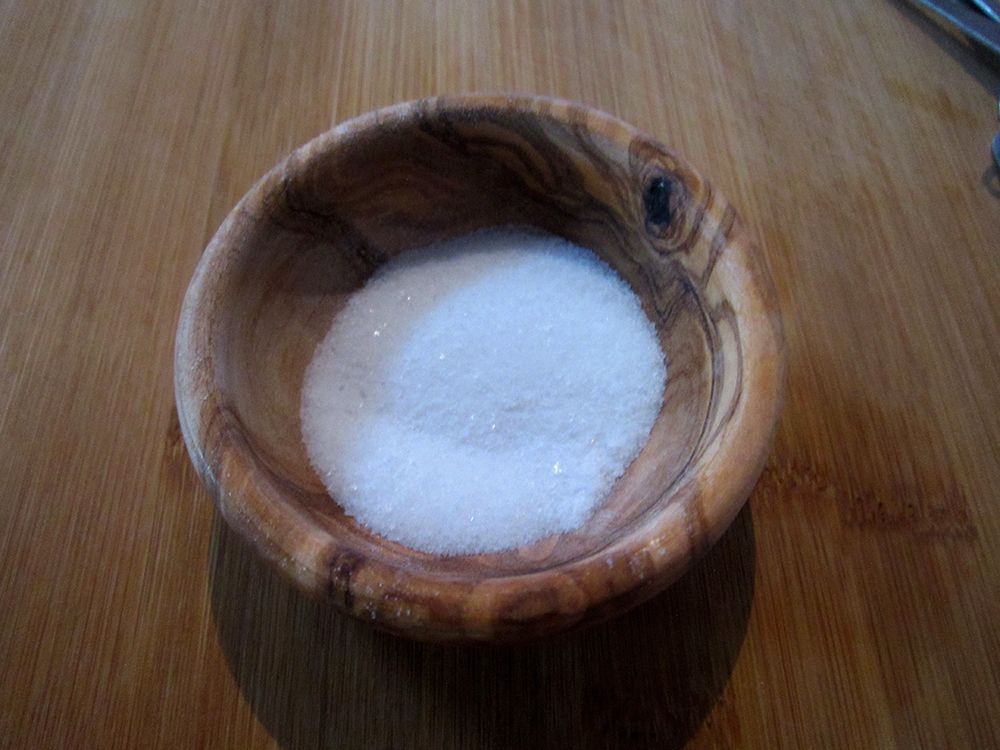
...and 1/2 teaspoon salt (I use sea salt)
Pour some boiling water over your seals now, and after you have the tomatoes ready the seals will be ready to use...and be sure the heat is on under the water bath pot
Next
- Place the funnel into a jar, then core and quarter each tomato, and drop through the funnel into the jar, until the jar is full (leaving about an inch head space)
- Again with the funnel, pour boiling water into each jar to fill...still leaving 1 inch head space
- Use bubble remover to be sure no air is trapped between tomatoes
- Wipe the rim of jar carefully with a clean cloth
- Without touching the inner side, use the magnetic lid lifter to take each lid out of the hot water, and position it so the seal is over the rim
- Add band and screw on snugly
- Use the bottle lifter to place the full jars into the water bath
- Lower the rack and be sure there is at least an inch or two of water above the jars
Process
This means how long you leave the jars to boil in the water bath. Typically 45 minutes is good at sea level...if you are at a higher altitude, then look up the correct time. At 9000 ft we have to add 20 minutes, so 65 minutes...
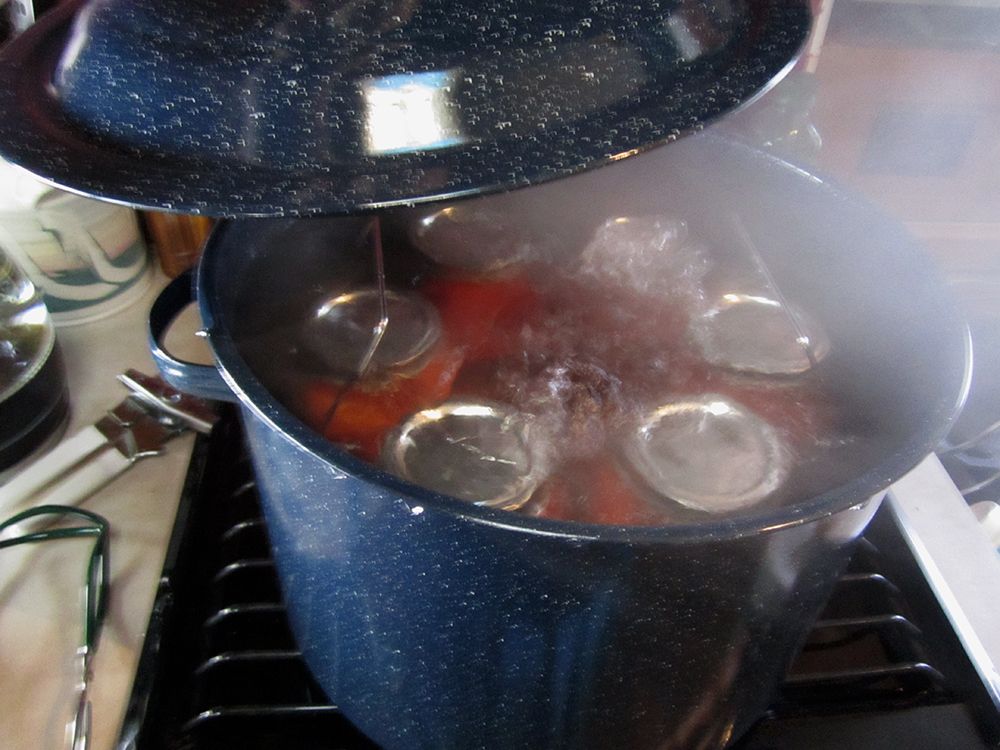
Funny how the pot is almost as big as our little RV stove top...
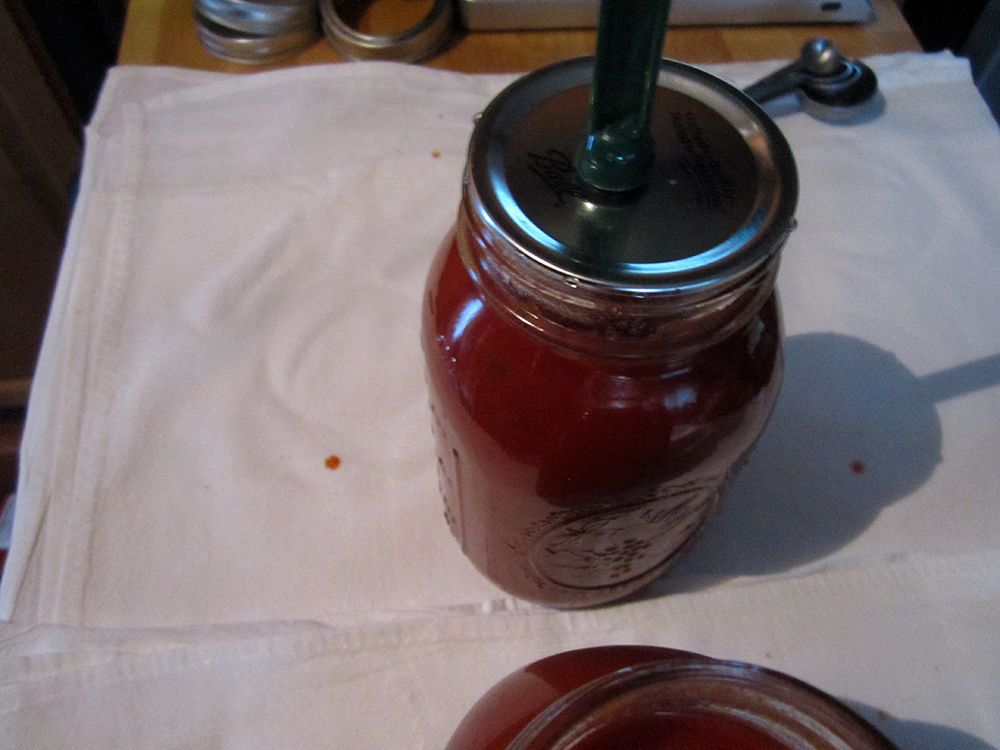
Once the jars have processed for the correct time, carefully lift each out with the jar lifter, and place on a counter...on a towel is best...
Do not try to tighten the bands, and no pushing the lid bumps...let them cool naturally and you will hear the little tink sounds as they seal. I usually leave them overnight before moving them if I can...just to be sure they are completely cooled.
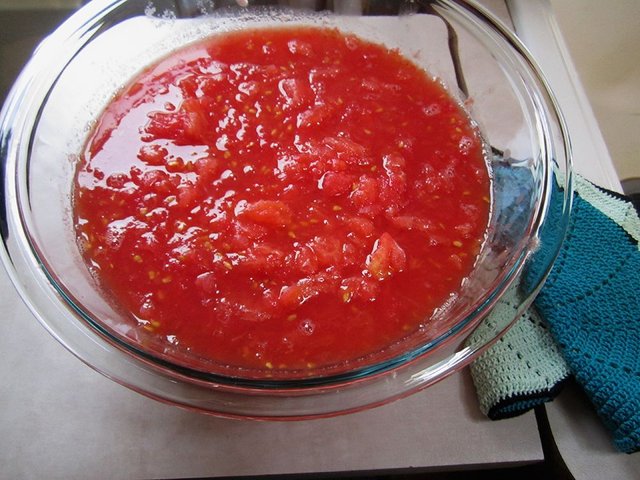
For Pasta Sauce
All of the same steps as above, but I do not add citric acid or more salt. And of course no extra water needs to be added...
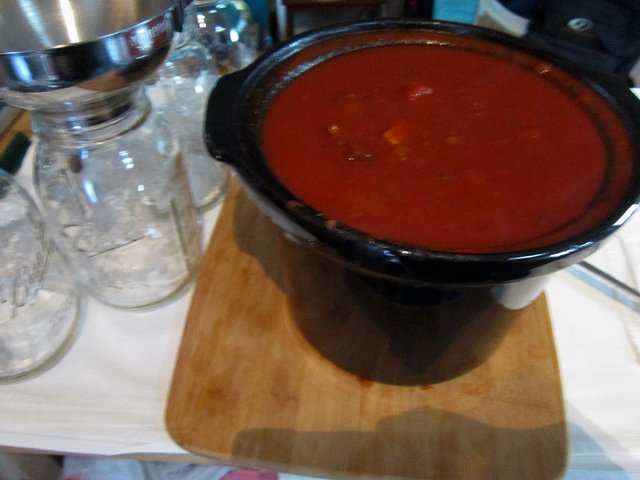
This is a mushroom and onion sauce...
I set aside some crushed tomatoes too, which will become a Basil marinara sauce that I will can tomorrow. Tonight it is cooking :)
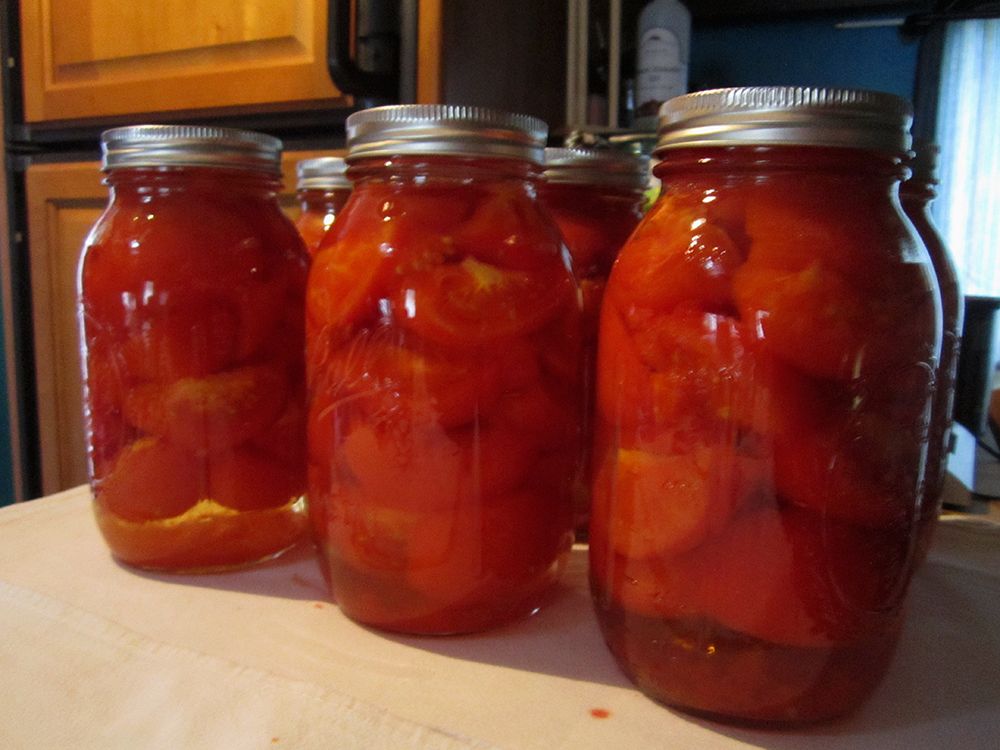
So there we have canning, Day 1...all the jars sealed perfectly, and by tomorrow we will have 6 quarts of tomatoes, and 8 jars of sauce.
I will continue until we have 20 quarts of tomatoes, and 8 jars each of mushroom/onion, 3 cheese, and sausage sauce. That will be enough for us for the year, and for our girls when they come 'grocery shopping' in our stored food...
Then on to pickles, green beans, beets, carrots...etc...
Thanks for reading :) I hope you enjoyed!
This is a {Steemit Original} All words and photos by Elew
Wow, that looks good.
9,000 ft is pretty high up. What is it like for growing vegetables? And different to lower down?
Well, we don't get long days of sun up here because we are in a valley, but the soil is very rich, and everything grows quite well. Long season plants like corn don't get enough sun, and the season is too short. For us personally, we are full time RV dwellers, so get our veggies at the farmer's market. Hopefully someday we will have our own place with a little garden again.
Lower down from here, there are Soo many farms. Rich soil, long days of sun, and this year good rain too. Corn grows everywhere once we get down off the mountain. It is about 10 - 20 degrees F warmer too. We have had 40*F nights up here all summer...
But it is only a 10 minute drive down to a market where the prairie farmers sell their veggies, so we go down a few times.
Great that you know how much you need to make. Doesn't it feel awesome that you can provide, not just for you, but for your children too?
Yes, it really does. Even though we are not growing our veggies right now, it is still so much nicer knowing we are supporting local small farmers...and eating food with no ugly stuff in it.
I used to grow everything, and can for the year when the girls were small too, so now I just can what I used to. It took a while to learn how much of each food we needed for the year...I remember it seemed like so much the first couple times, but going to the grocery store is deceiving. I think most people might not have a clue how much they would actually need.
I think you're right. I remember I added up a few of the things we buy/use on a weekly basis, it was shocking.