How to Take Professional Photos
Tips for taking professional photos
Even if you are still starting out in the world of photography and you don't consider yourself a professional, you feel like taking good photos. Surely you've searched the internet for how to take professional photos and you've come across this blog. I'm telling you that you've come to the right place at the right time.
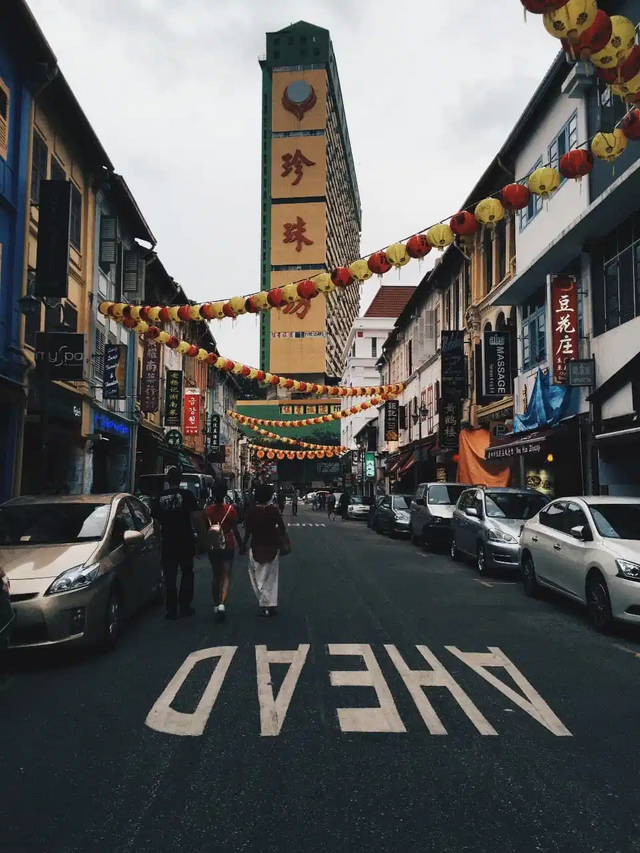
Credit: Singapore free stock photo
In the following paragraphs, I will give you some practical tips that will surely help you improve the quality of your photos, avoiding making some common mistakes. Among one of the things you must do to have quality photos, is to know how to read the light and know how to set your camera in manual mode to capture that light.
How to take professional photos with your cell phone camera
If you use a cell phone as your main instrument to take pictures, I start talking about how to take professional pictures with your cell phone, especially because I started taking pictures with a cell phone.
The quality of the pictures you take with a cell phone, is not the same as the one you will have with a camera, because of the technical limitations that cell phones have, but I am sure that with the tips I will give you here, you will get very interesting pictures.
Use the right light
Using the right light is important when you start taking pictures, especially if you do it with a cell phone. Proper lighting allows you to get quality shots, avoiding overexposure (when you have too much light) or underexposure (when you have too little light).
The ideal conditions for taking pictures are when you have enough natural light. For example, the light coming through a window (if you are shooting indoors) or sunlight (when shooting outdoors).
If you find yourself in a poorly lit environment, you can try compensating for the problem by adjusting the ISO value of your cell phone camera or by increasing the exposure speed a little.
Use the manual settings if your cell phone camera allows it.
Using the manual settings of your phone's camera is an accepted way to try to improve the quality of your own photos, as it allows you to set specific parameters and correct eventual problems (such as low light in the scene).
If you do not have the possibility to configure manual modes with the native camera of your cell phone, there are third-party applications such as camera fv-5 or Pro cam. In the post : Best apps to take raw photos with your cell phone, I show you another selection of interesting apps.
Once you have installed the apps I recommend, you will be able to modify some fundamental shooting parameters
*ISO sensitivity: the amplification capacity of the electronic signal sent to the sensor. If you increase this value, the photo will be brighter. When you increase the ISO, you have to take into account that the shot could present "noise", a texture generated by the effort made by the sensor to capture more light, so modify this parameter carefully.
*The shutter speed: By increasing this value, you will avoid blurred photos (although the photo could be darker). By decreasing the shutter speed, the photo will be brighter (but it could be blurred due to the subject's movement or the photographer's hands shaking).
*The aperture: Most of the time the applications you download do not allow you to change the aperture. If the one you use allows you to do so, I want you to know that this value indicates the amount of light that passes through the lens and reaches the sensor. It is measured in f-stop (e.g. f1/8, f4.5 etc). The more this value is lower, the wider the aperture is, and consequently the more light enters, making your photos brighter.
Don't use digital zoom
You may think it's tinny, but not using digital zoom is another step you can take to take professional photos with your cell phone. You may wonder why?
It is not difficult to understand: the digital zoom, unlike the optical zoom, is simply an enlargement of the photo and consequently, this generates an effect that reduces the quality of the photo making it unusable.
Optical zoom (which in recent times has been implemented in high-end cell phones, taking advantage of the various lenses they have) brings the subject of the image closer, using optical elements and mechanisms that shorten or lengthen the focal length, without resorting to a loss of quality. If your phone has this possibility, use optical zoom instead of digital zoom.
Learn how to compose your photos
Knowing how to compose your photos is one of the most important things you should pay attention to. It is through the composition that the photo is "born".
When composing your photos, try not to place your main subject in front of a background that is too chaotic, as this prevents you from properly highlighting the subject in the foreground, make sure that there are no distracting elements in the image.
An excellent way to compose your photos is by applying the rule of thirds, which asks you to divide the image into 9 rectangles. To highlight a subject you must place it at one of the intersection points where the imaginary lines cross.
This is done because the eye will fall on these points. Following these tips will give a professional touch to your photos. Give it a try.
tip: to make it easier for you to compose your photos using the rule of thirds, I suggest you activate the grid on your device, see how to do it:
*Android: open the camera app, tap on the cog icon, it takes you to the camera settings, put on where it says grid.
*On iPhone: Look for settings - camera and set to ON where it says grid.
Shoot a lot of pictures
Shooting a lot of photos is something we can afford with digital photography, and it is something that professional photographers do since the danger of getting it wrong is always behind the door. For this reason, I invite you to take many photos, maybe from different angles, so you can choose which ones are the best.
How to take professional photos with your reflex camera
Do you have a reflex camera and want to know how to take professional pictures? Let me give you some tips that will be useful to achieve your goal.
Choose the right lens
Choosing the right lens is the first step to take professional pictures with your camera. When choosing a lens for certain circumstances, you must take into account mainly the type of photos you want to take, I give you some practical examples so that you can understand well.
For example, if you want to do a nature photography, in that case, you will most likely have to use a telephoto lens, or in other words, a lens that has a fairly long focal length, preferably 300mm upwards.
For landscape photography, you will need a wide-angle lens, with a focal length of less than 35mm. This way, you will be able to capture a wider part of the scene.
If you want to do portrait photography, you should ideally use a lens with a focal length ranging from 50mm to 85mm.
Other tips to learn how to take professional pictures
There are many tips I can give you to learn how to take professional photos with your camera, among them is to know how to compose the photo, take more than one photo (possibly from different angles). Learn how to edit your photos, because editing and retouching is part of 50% of the success of an image. As I said before in this blog you will find a lot of tips and free resources to learn photography.