Hi Steemians! Today I would like to share my steps of how I create my black and white photography. There are so many different ways to create your black and white shots but for me this method if my favourite and works every time! I hope you enjoy it! - Verity x
I'm not sure if its because I was so used to seeing black and white photographs from my parents old photo albums or that I just naturally am drawn to black and white shots, but I just love them! Whenever I come back from a shoot I choose a few to play around with and edit and nearly 90% of the time my favourites end up in black and white! Maybe its because they look timeless, without colours distracting and aging the photographs you are left to look at just the subject matter and composition. Of course, I still love colour photography, but black and white will always be my favourite! You can create atmosphere and mood and I will never get bored of seeing black and white shots!
Below I am going to take you through Step by Step in Lightroom how I edit my black and white shots!
Step 1
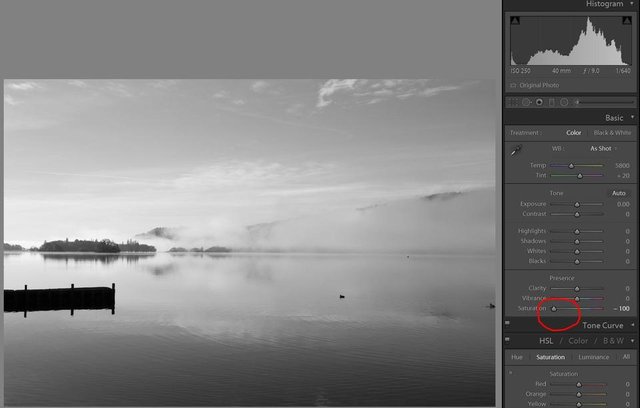
Find the BASIC tool bar on the right hand side of the Lightroom Edit bar and adjust the "Exposure" slider to how you wish, this image was fine out of camera so I didn't need to adjust the exposure on this particular image. Then de-saturate your photograph completely by using the "Saturation" slider.
Step 2
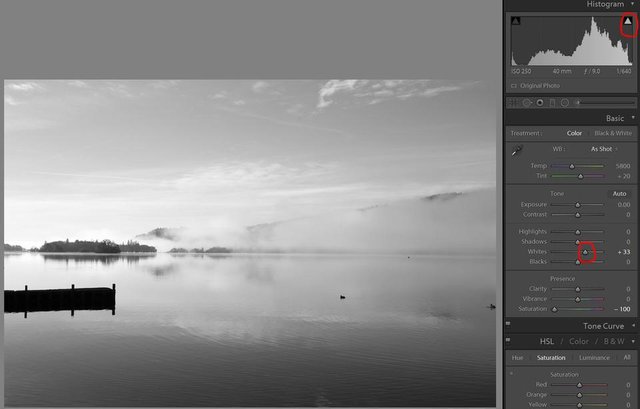
Next I go to the "Whites" slider and move it to the right until the triangle on the upper right hand side of the histogram appears. If the triangle is already white, move the slider to the left until it disappears and back up until it is just visible again.
Step 3
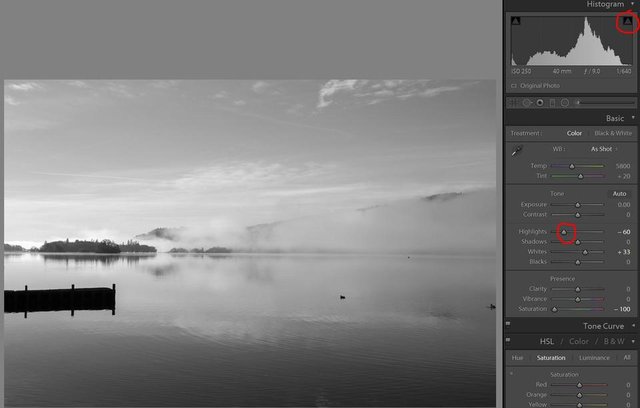
Next go to the "Highlights" slider and move it to the left until the white triangle you made white in Step 2 disappears and stop there. If it still doesn't disappear and you've moved the slider as far as it will go to the left just leave it there.
Step 4
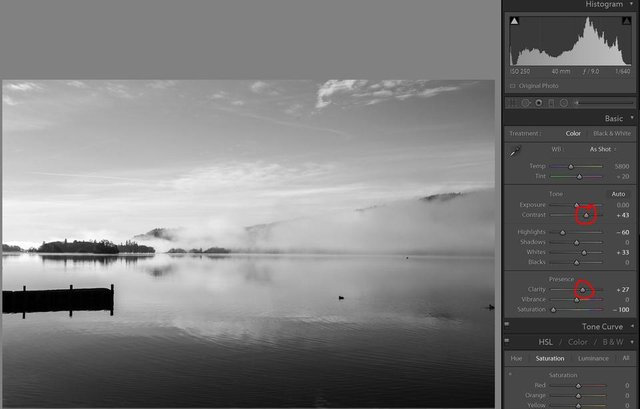
Here you can adjust the "Contrast" and "Clarity" to taste. I personally like to add a lot of both!
Step 5
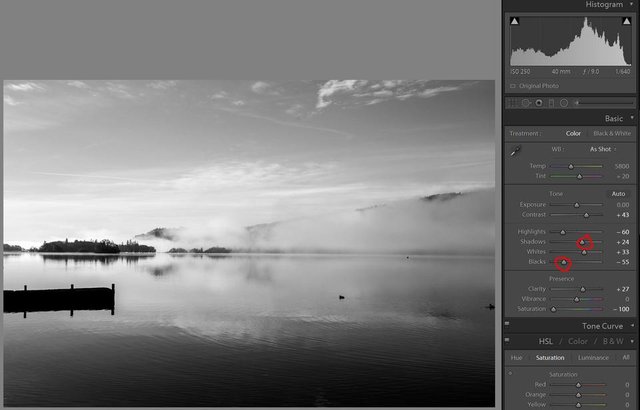
In this step I go to "Shadows" to bring back some more detail. Do this by moving the slider to the right. Once I have done that I adjust the "Blacks" slider to the left bringing in more black into the shot.
Step 6
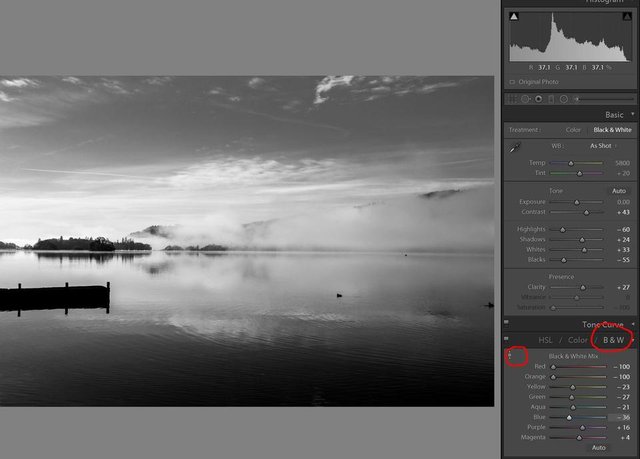
The 6th and final step I go to the "B & W" setting. Here you can click on the adjustment brush and choose different tones of black and white to darken or brighten by dragging the brush up or down. Here you can see I have dragged the brush down on the sky to darken some of the tones in the clouds. This is where you can really get creative!
And that's it !! I hope you have found this useful, although I find this really simple it has in fact taken me quite a while to get to this stage. I used to go into editing without much thought and just did each one however looked best but this method gives me way more consistant photographs and a really good black and white photograph!
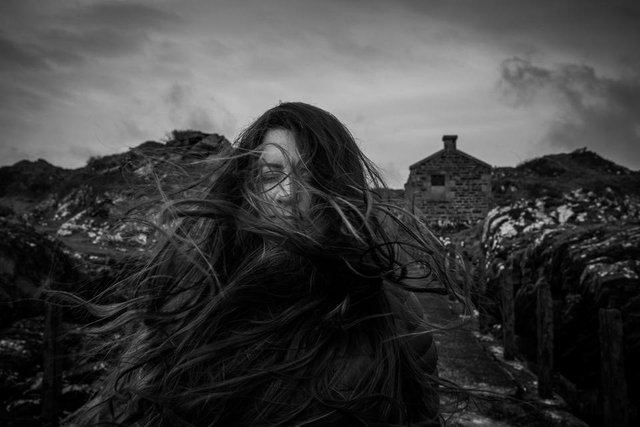
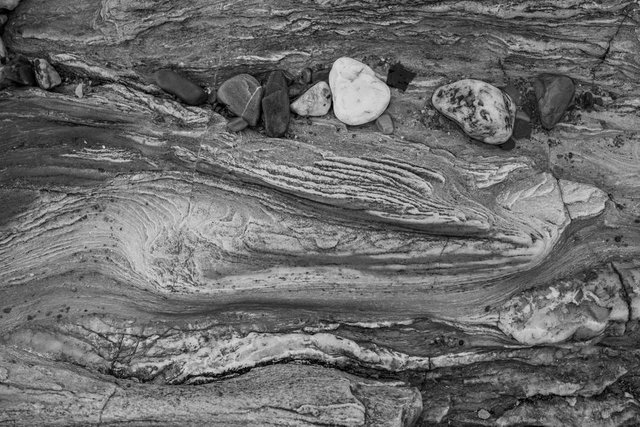
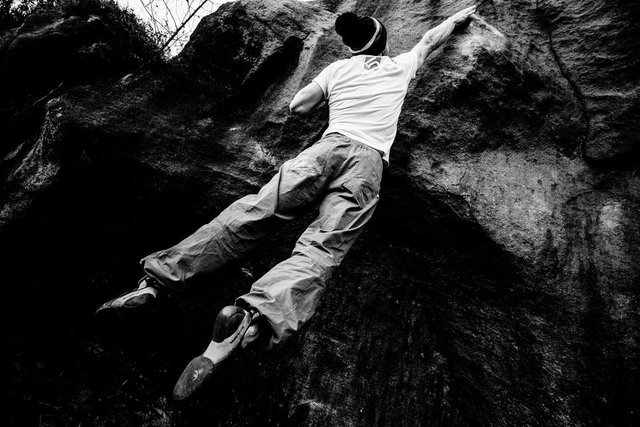
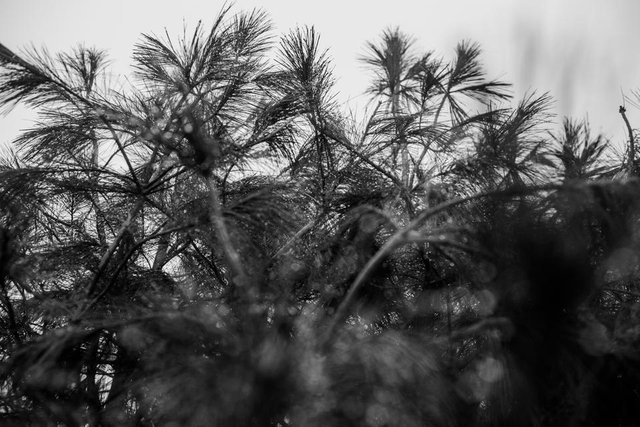
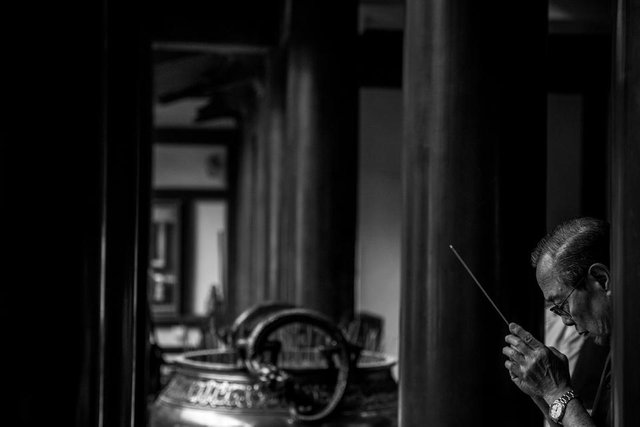
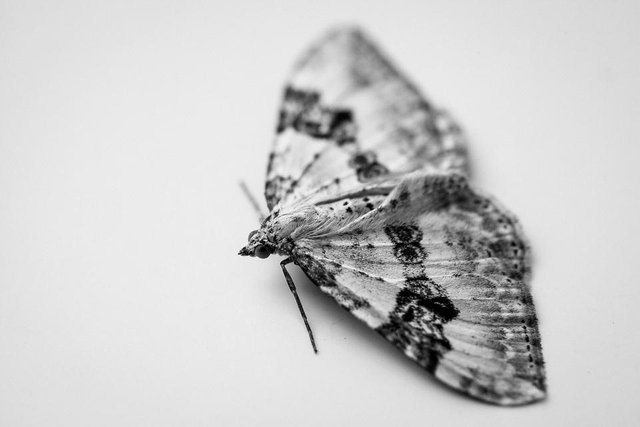
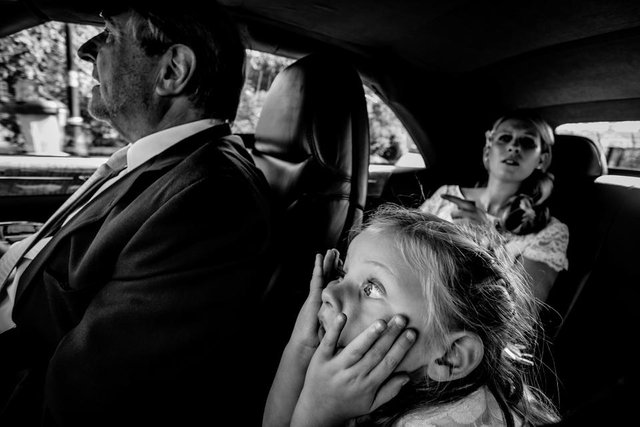
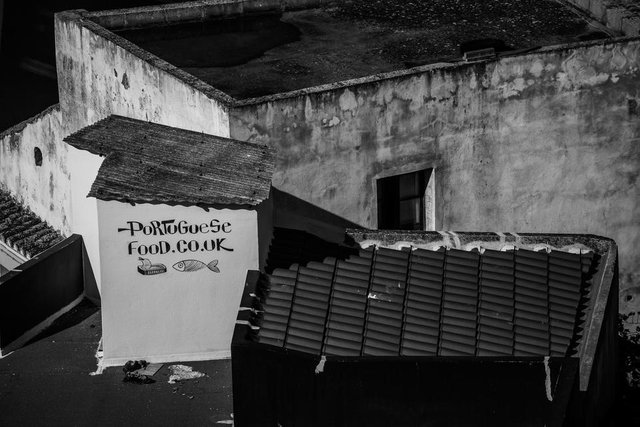
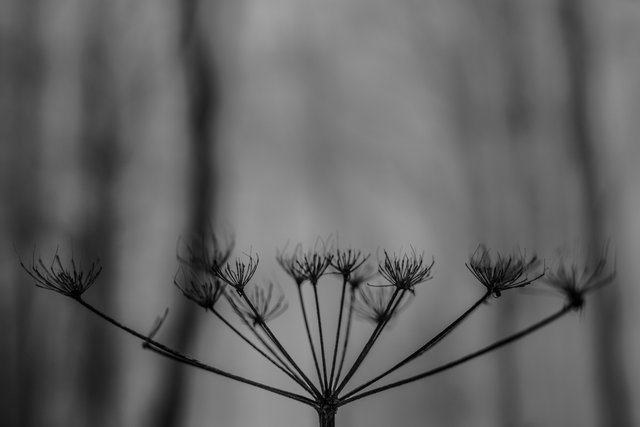
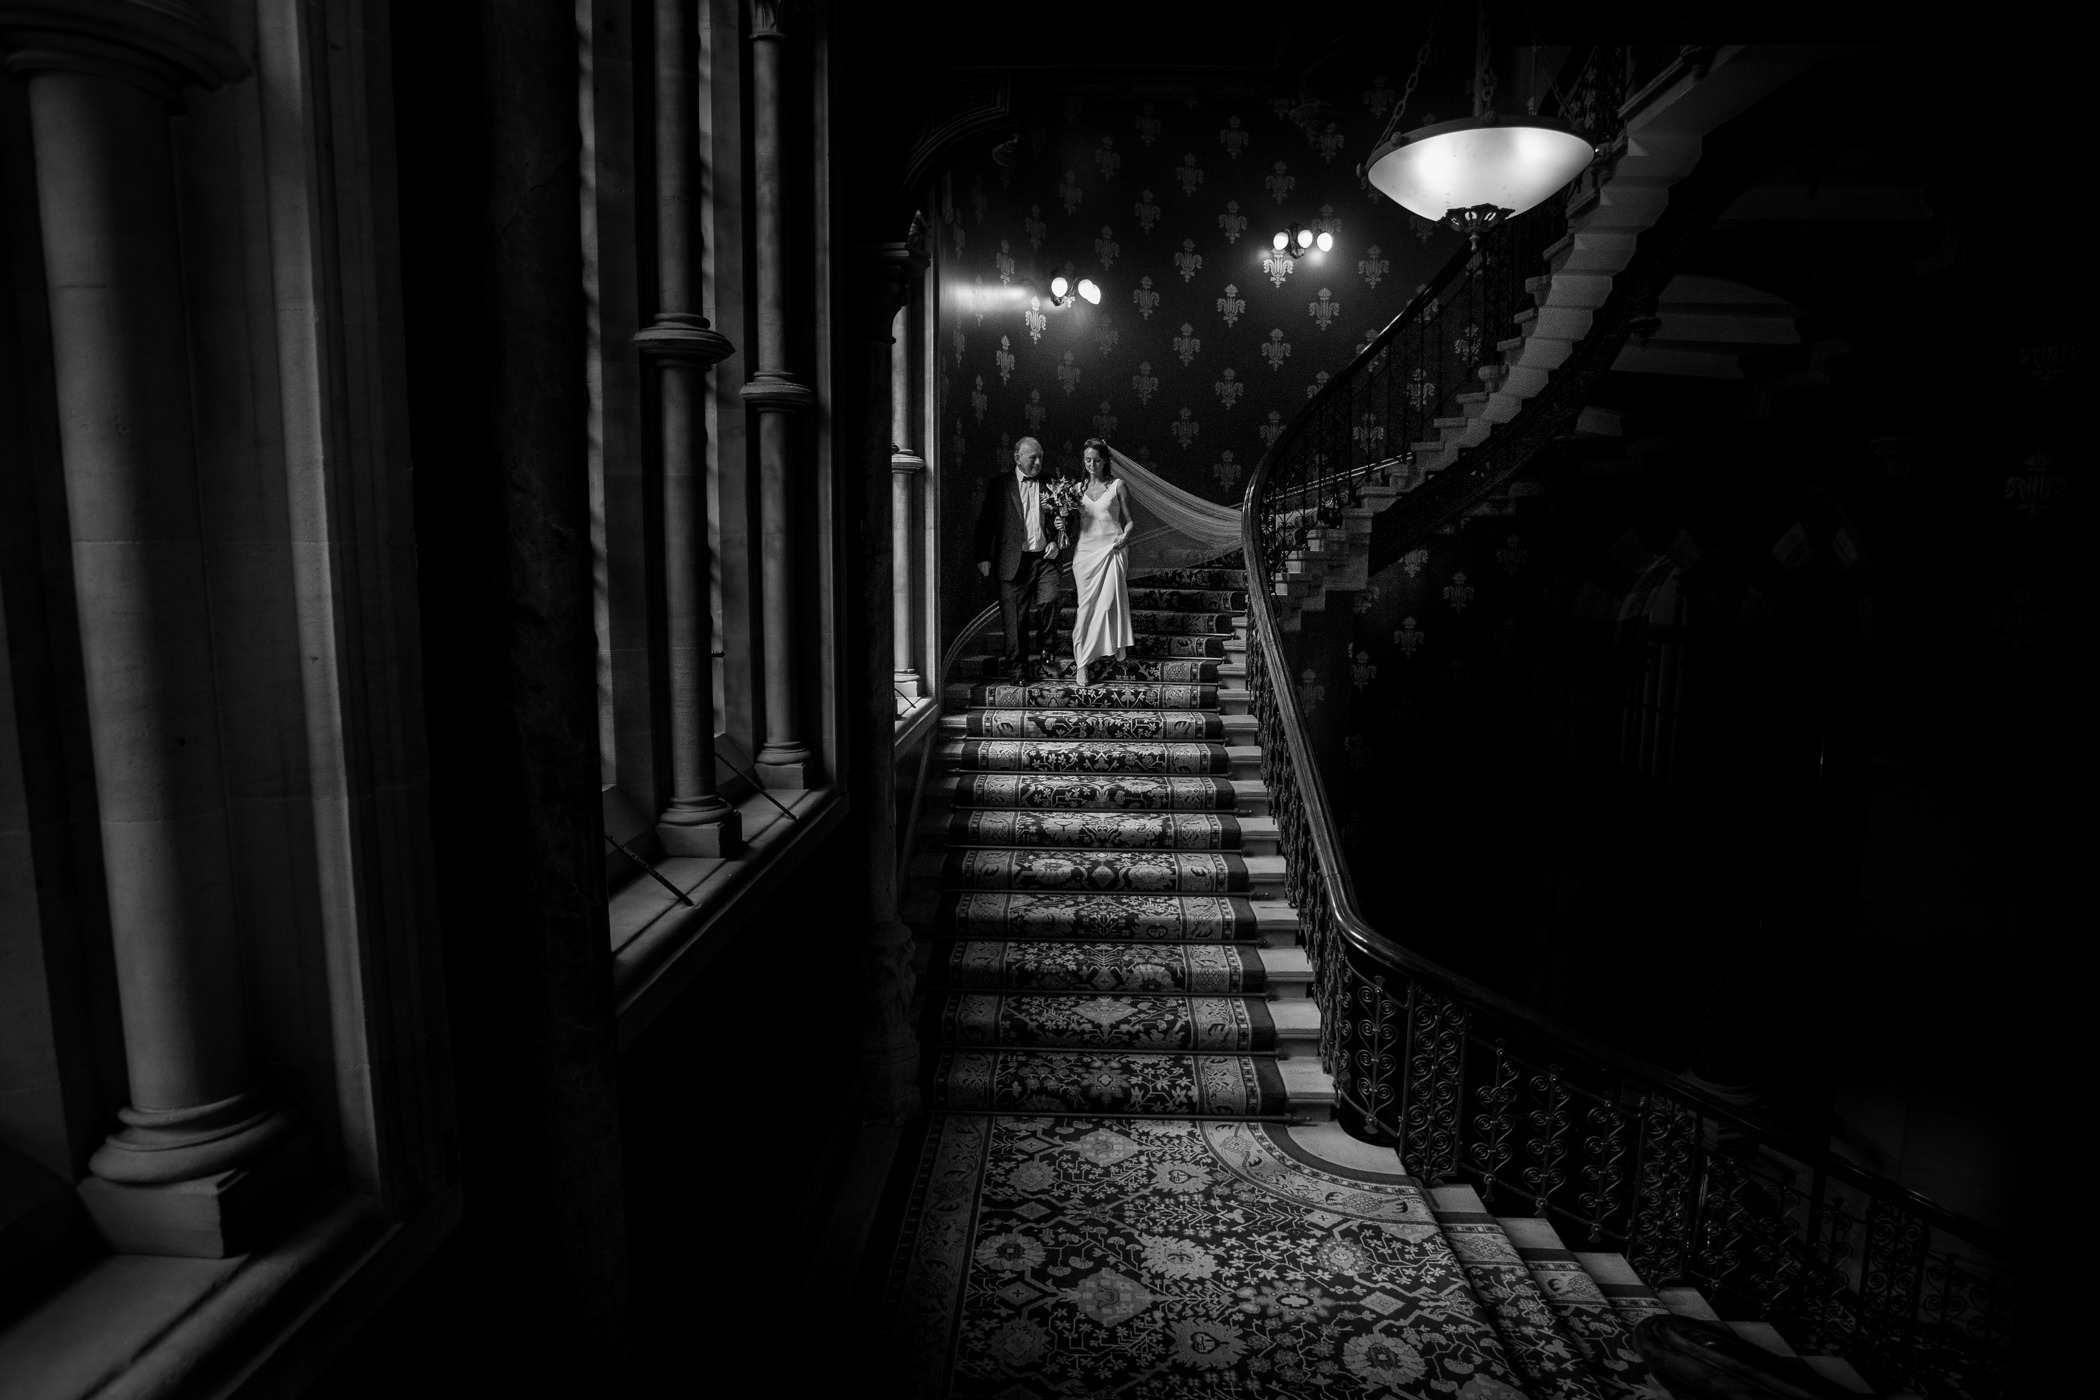
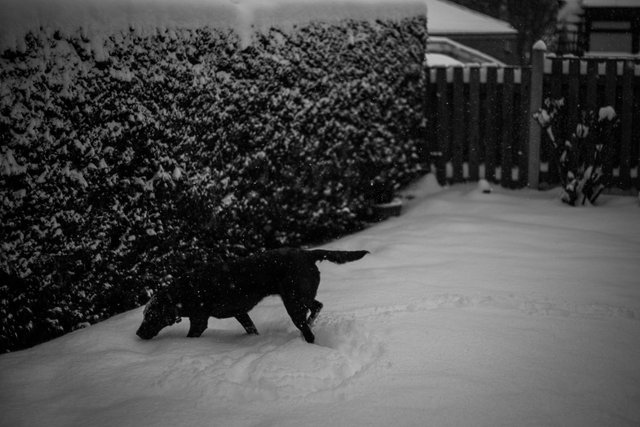
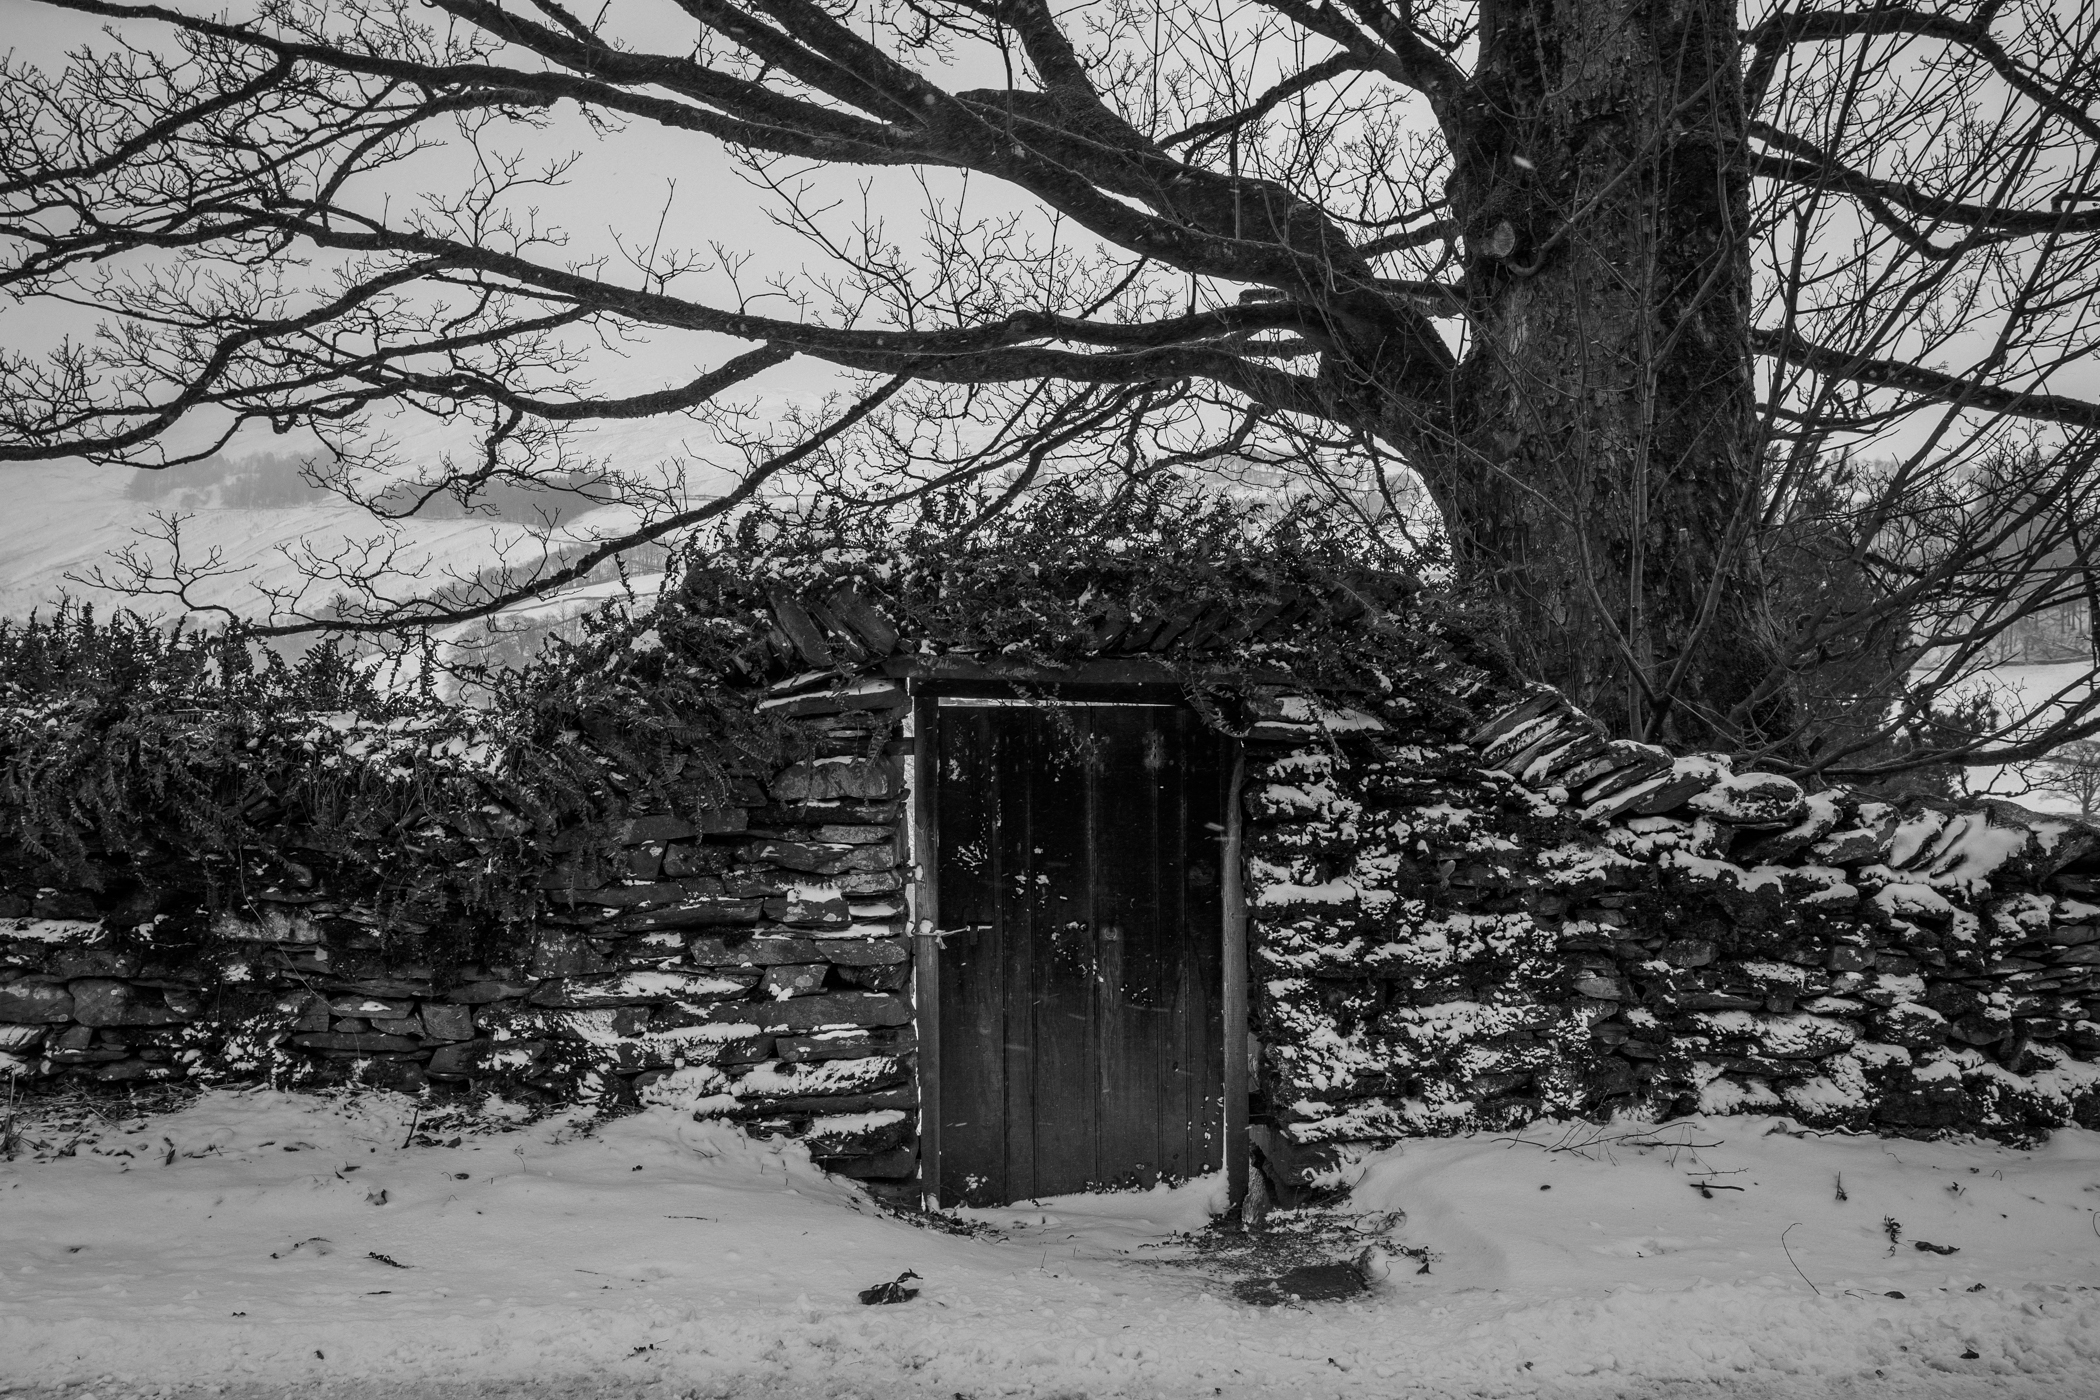
Here are some more examples of some shots of mine (or @skiesandsports !) that have been edited using this method!

- Verity x
Photography by me and copyrighted to me.
Please UPVOTE / RESTEEM / FOLLOW to support my work on Steemit - Thank you!
Absolutely Awesome...
Thanks!
waow its great thanks @vtravels
Thank you!
So beautiful! Thank you for sharing.
Thank you!
you can also click on the triangles to see which parts of the image are pure black/white.
Also you can use the tone curve for more creative stuff or make low light shots more appealing by lifting the blacks. etc.
Aand... instead of desaturating your image, you can simply press on "black and white" under Basic.
You can indeed, I just like this way of doing it and its quicker, for me anyway! I'm sure there are hundreds of ways to do it!
Simple yet effective and so beautiful! Thanks for the tips! Consistency in edits is so important and something I definitely struggle with. Your B&Ws are stunning!
So glad you liked it, I just wanted to make it as simple as I could, I love black and white photographs so just wanted to share it with everyone!
Thank you so much for writing this tutorial. It was extremely helpful to me anyway. I didn't know there were helps like this. I just play with the slides until I like the way it looks. But the histogram guide is super helpful.
Oh good! I'm glad it was useful to you, the histogram really helped me when I used it too. I wanted to make a simple guide that hopefully everyone can use!
Well done guide and great shots! IT is good that You said about using the Histogram tool to check and control the highlights, not many people know how to read and use it properly.
Thank you ! Yes the histogram is really useful, when I found out these little tips it really did help!
Your black and white work is top shelf!
Thank you so much!
Thanks for the insights. Keep it up
Glad you enjoyed it!
How am I just seeing this??? Black and white photography is my favorite. Lights and shadows are even more beautiful when color is not a distracting factor.
I always think the same!! Most of the photographs I post are black and white so I have to make an effort to post colours ones sometimes!