How to take amazing portrait photos at sunset (Guide and Tutorial)
Hello fellow Steemers and welcome to Tristan's Photography Tutorials, a weekly blog series where I teach you some top tips to help you improve your photography skills. In today's edition, we will be looking at portraiture photography and more specifically, how to get those beautiful golden hour portraits around sunset time.
A quick first tip for getting started in portraiture photography
For many budding photographers, taking pictures of people for the first few times can be quite a scary and subjective experience. Because of this, my first tip regarding portraiture photography would be that when you are doing your first few portraiture shoots, ask some of your friends if you can go out and take photos of them. In that way, there is less pressure on you when composing images and it also allows you to get some really cool pictures for your friend's instagram or facebook. On that note, I would like to thank my lovely friend Mara for coming out with me and taking these photos together!
The best time of the day for portrait photography
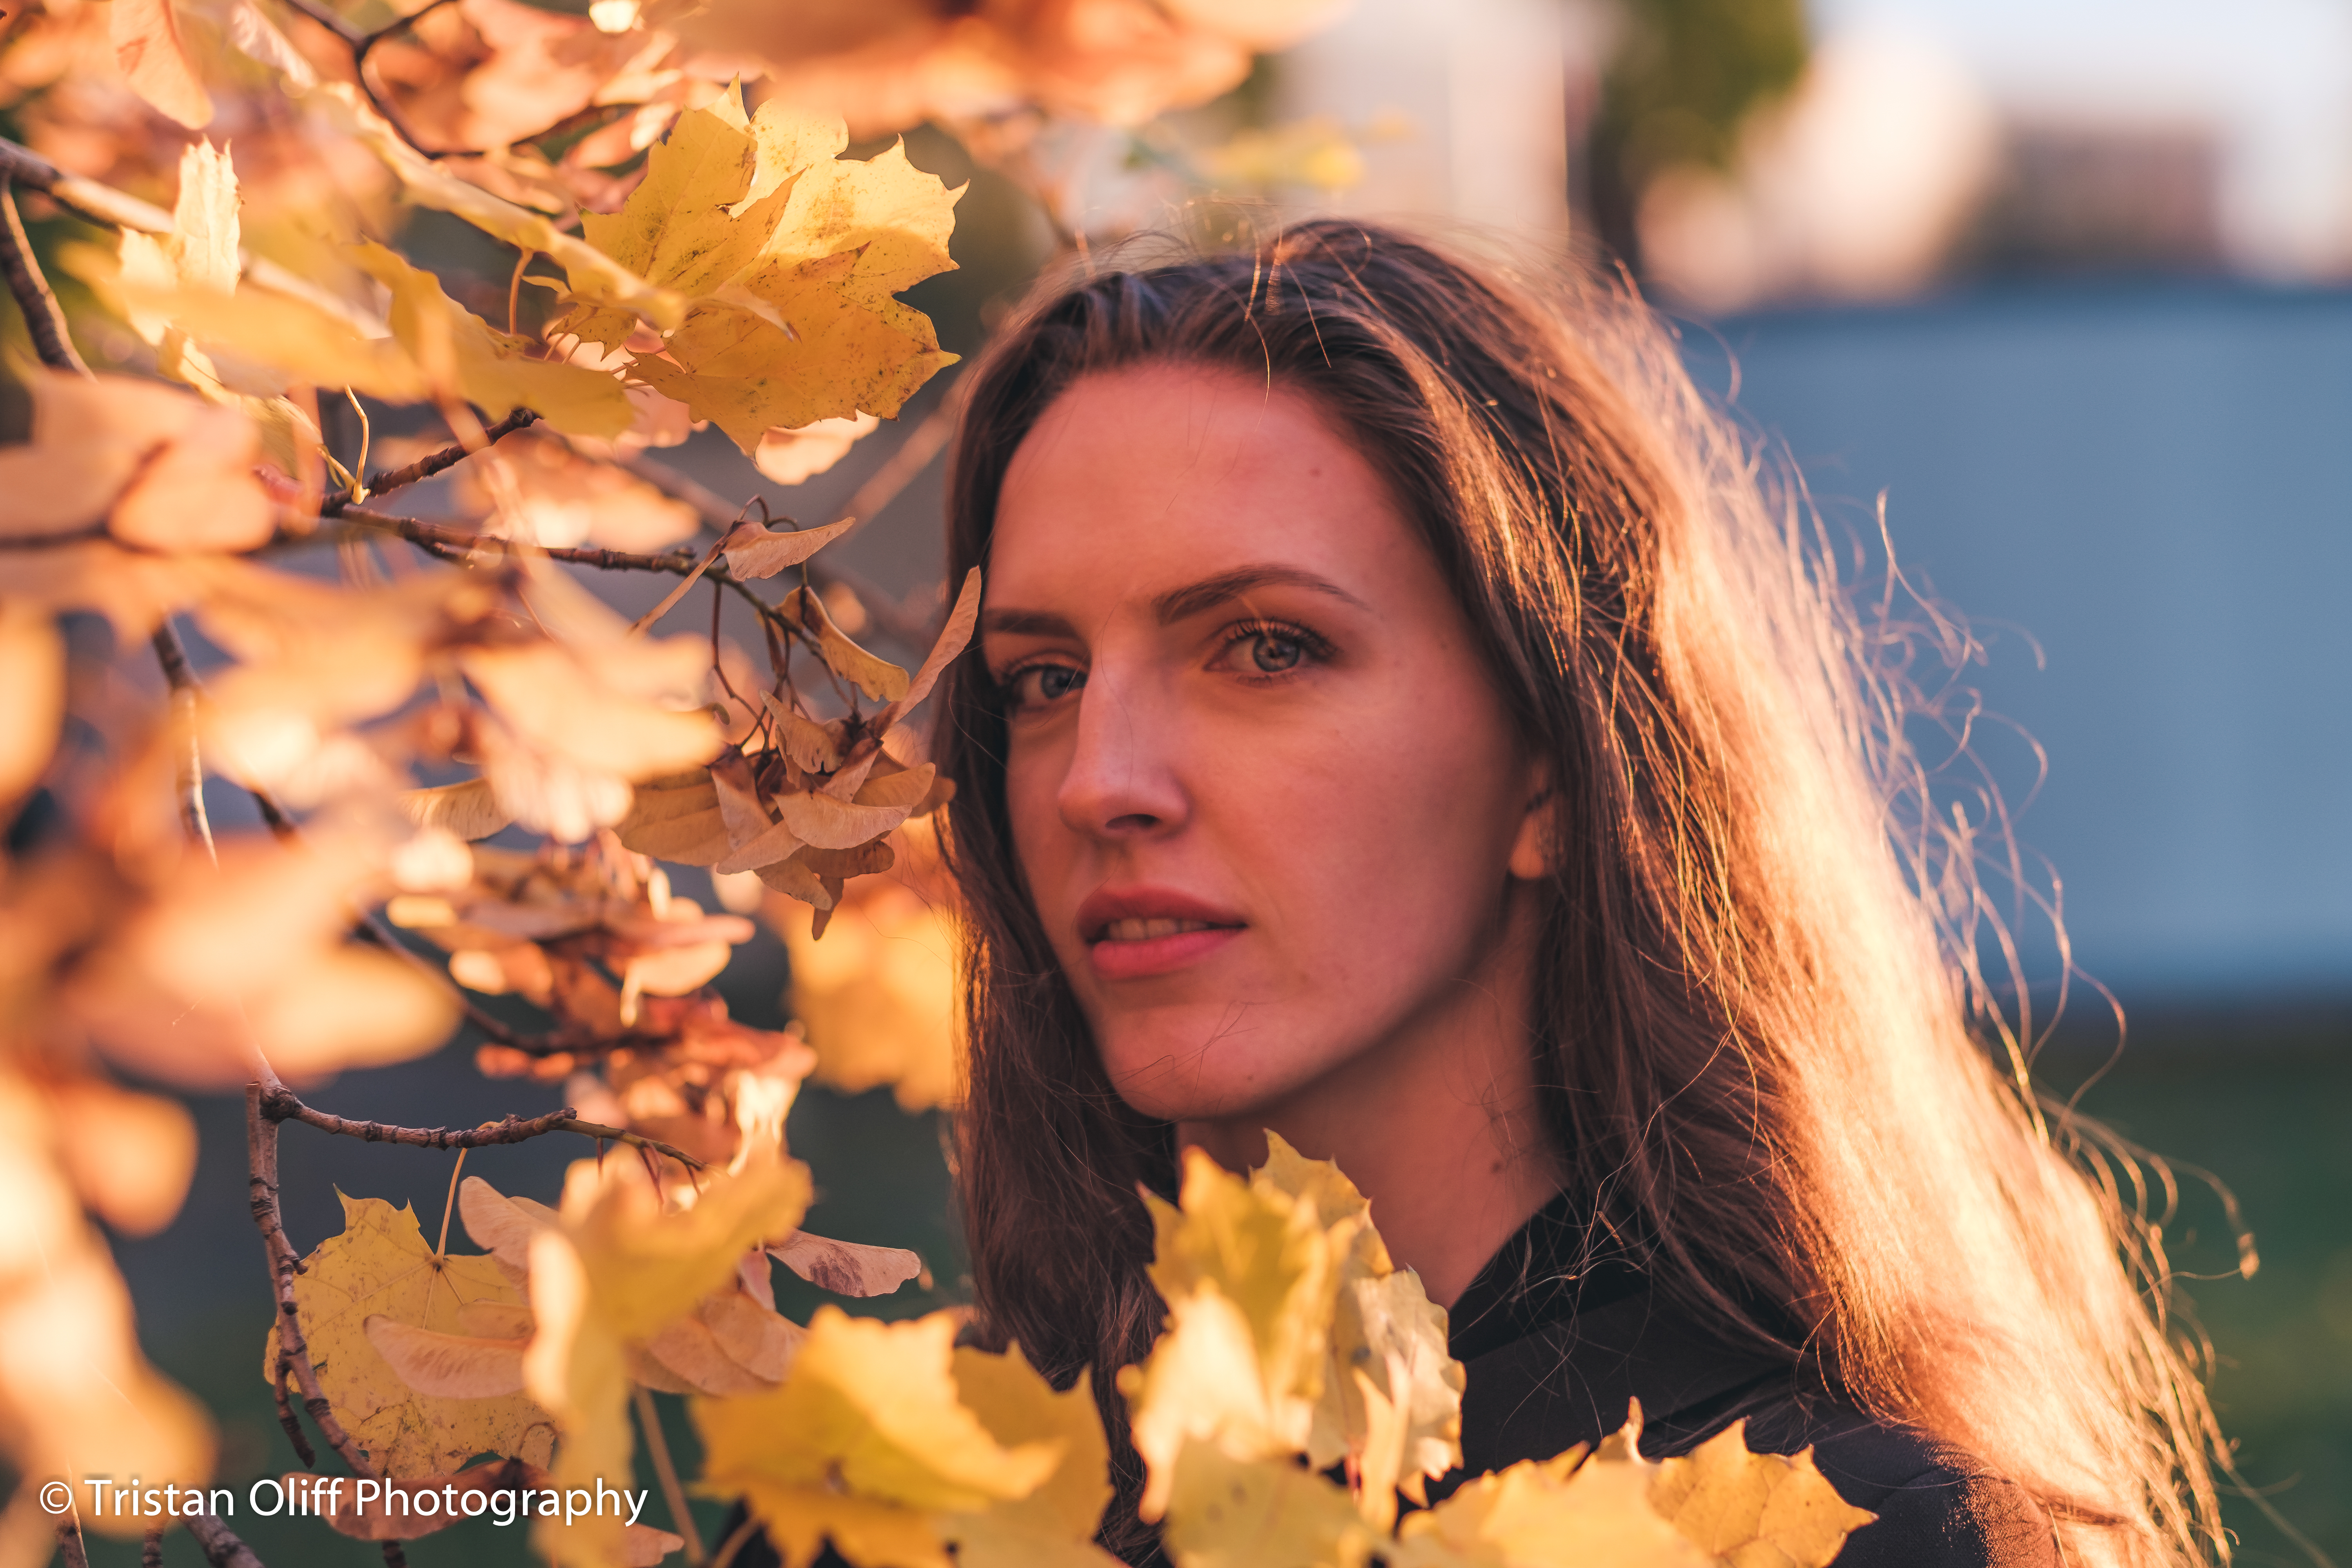
As was said in the title of this post, my favourite time of the day to take portraiture photographs is the 1 hour leading up to sunset, also known as the golden hour. The main reason for this is light. In photography, light is one of the most important factors affecting the feel of your photo, and during the golden hour, the light which shines on your model or subject will add incredible colour and contrast to your shot. When there is a good sunset, such as the evening when I took these photos, the light can become another subject in your photos and can be used in different ways to achieve different results.
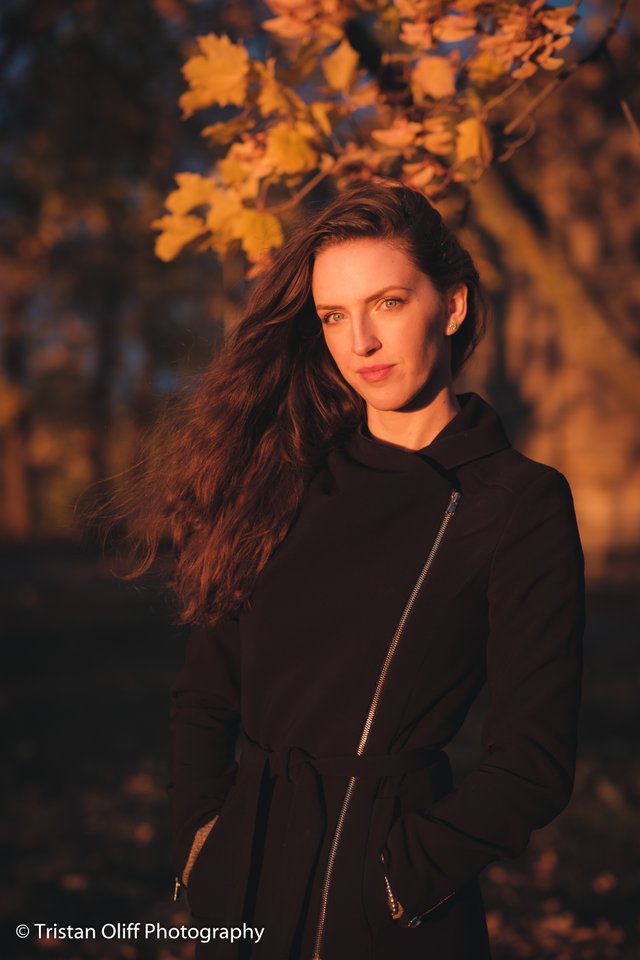
The photo to the right shows this clearly. Here I asked Mara (my friend and model for this shoot) to stand with her face and body parallel to the shining sun. This allowed for the beautiful light to shine on part of her face and eyes, while also allowing for part of her face to be covered in shadows to add some contrast in the photo.
How you can use light to change the mood and feel of your portrait
As previously mentioned, another reason why the golden hour is the best time of day to shoot portraits is that you can use the light in different ways to create different looking pictures.
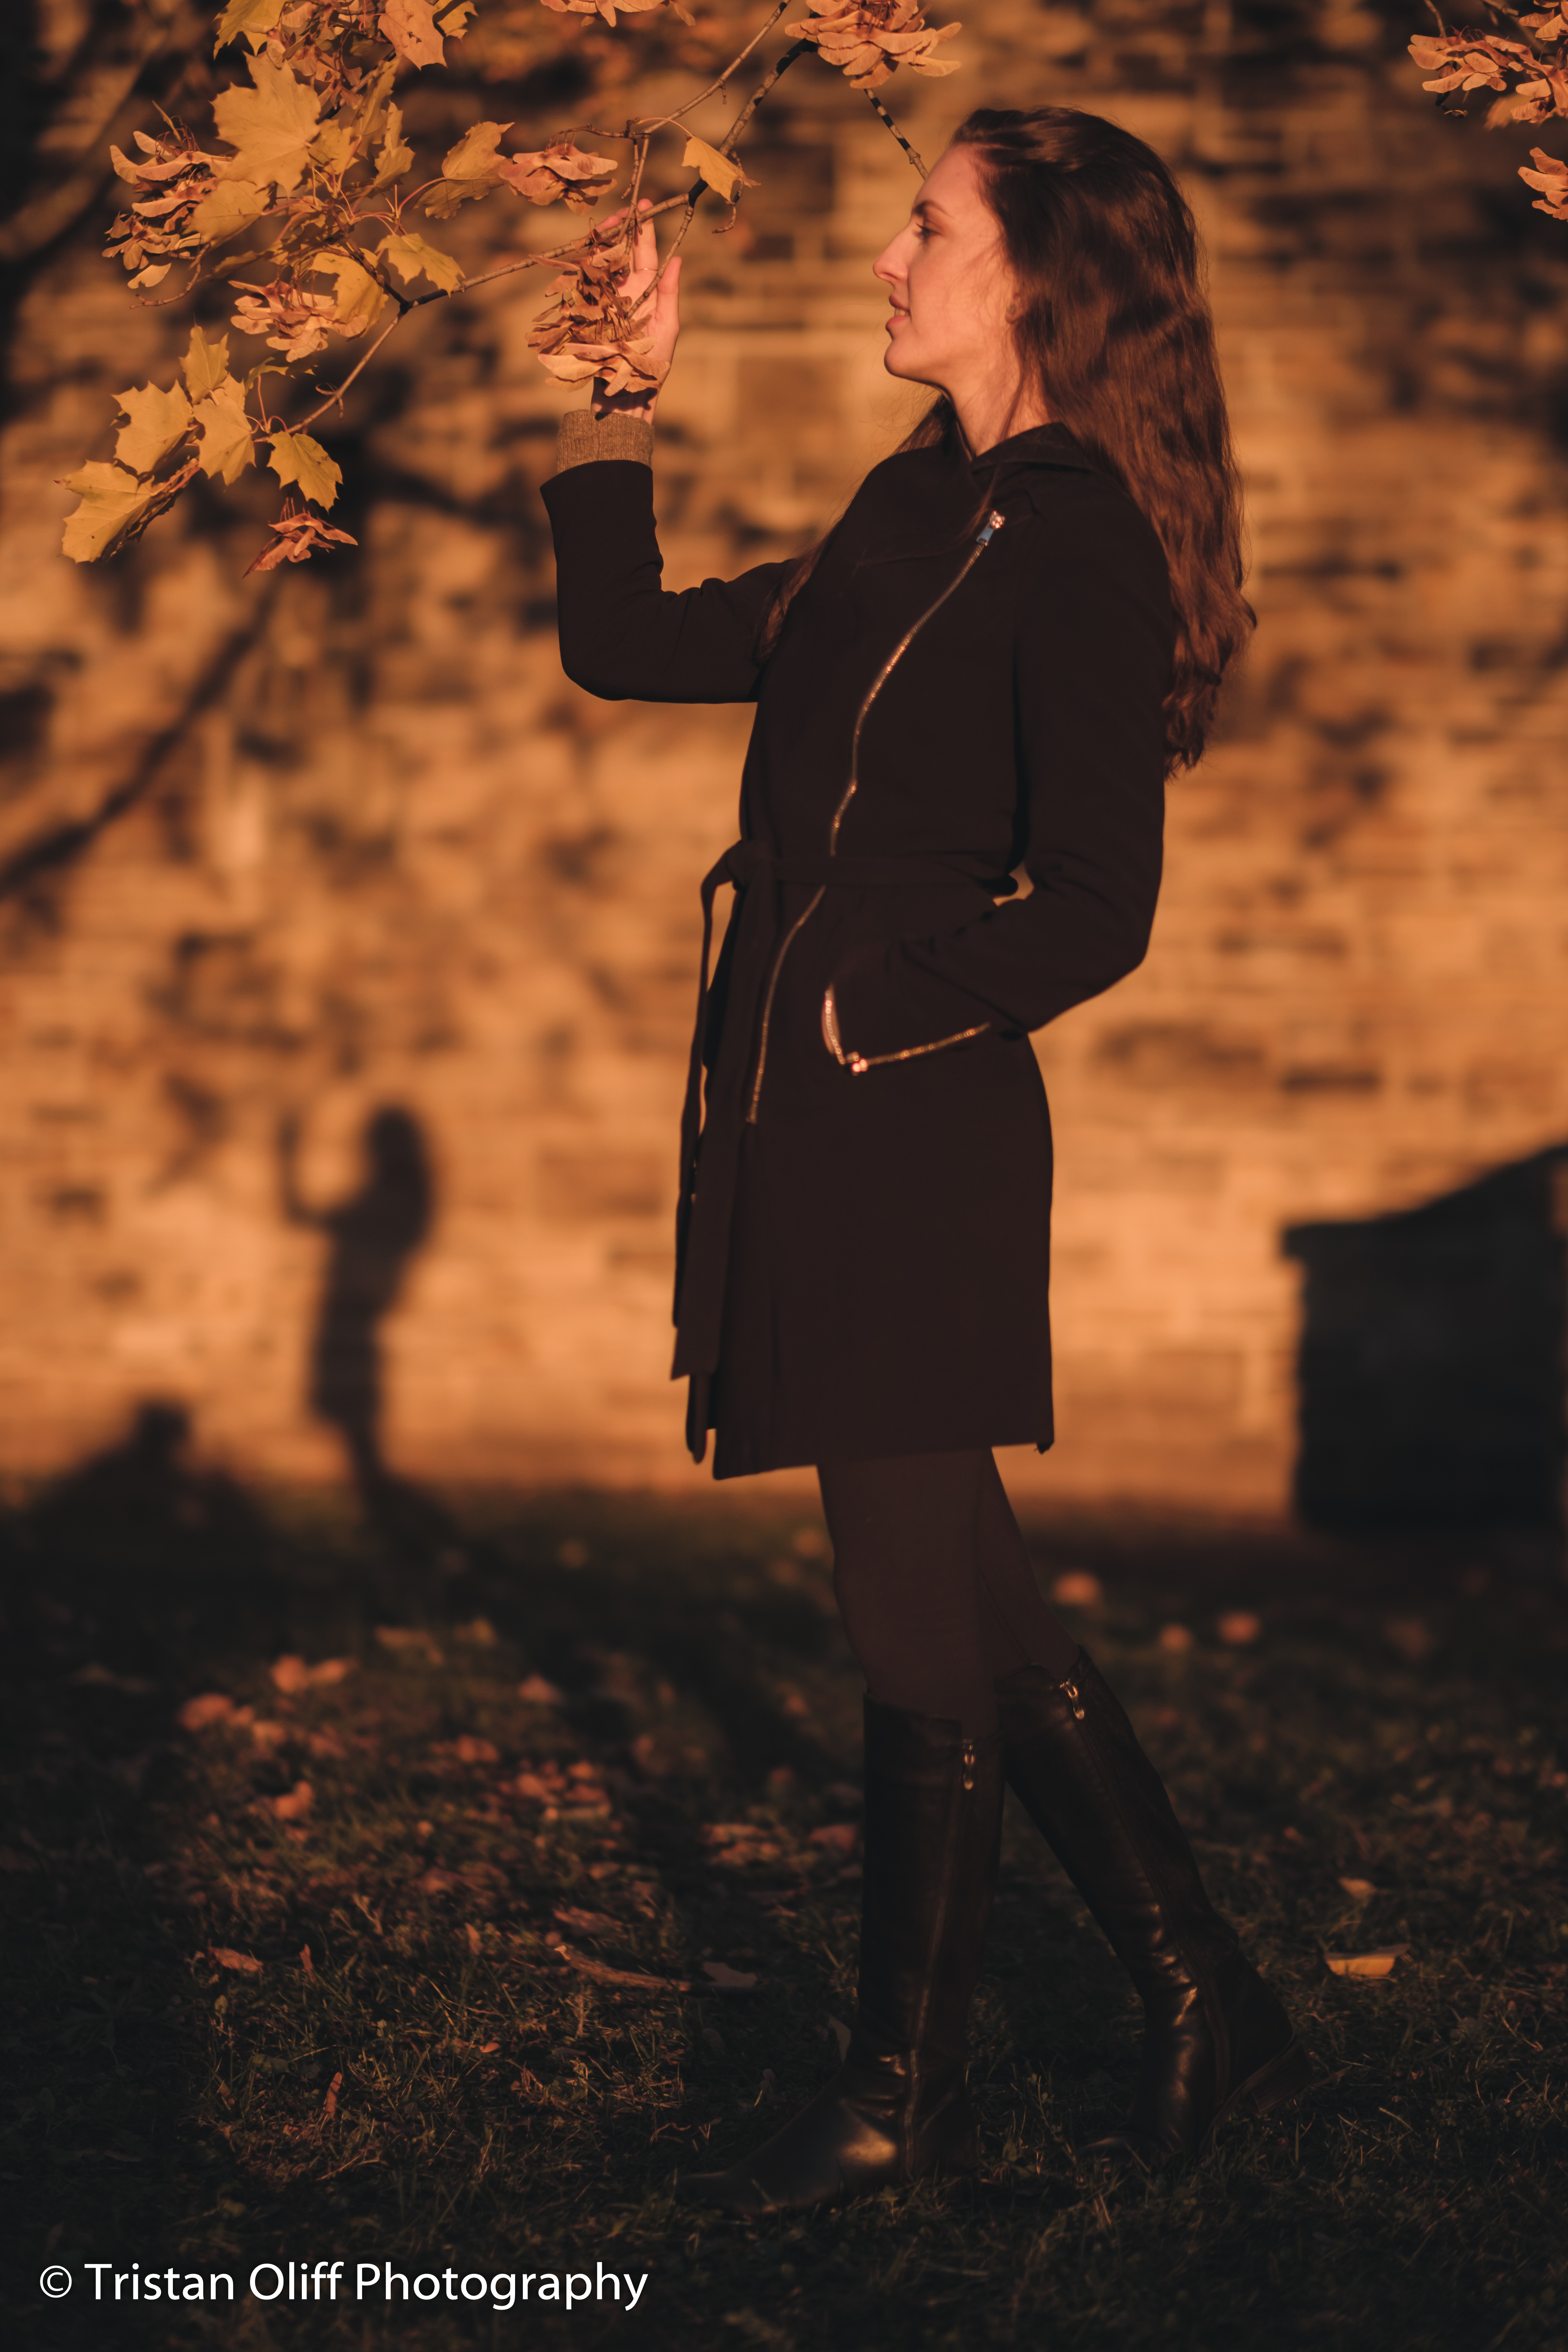
Front-lit portrait (above)
The above picture showcases another way in which I could use the light to make a front-lit portrait. In this case, the light was right behind me and therefore lighting up the entire subject. The direction of the sun can be seen by the shadow on the wall in the photo. Since the entire subject was lit up, I thought this would be a great opportunity to take a full body portrait shot as the light and shallow depth of field allowed for a complete separation of the subject from the scene.

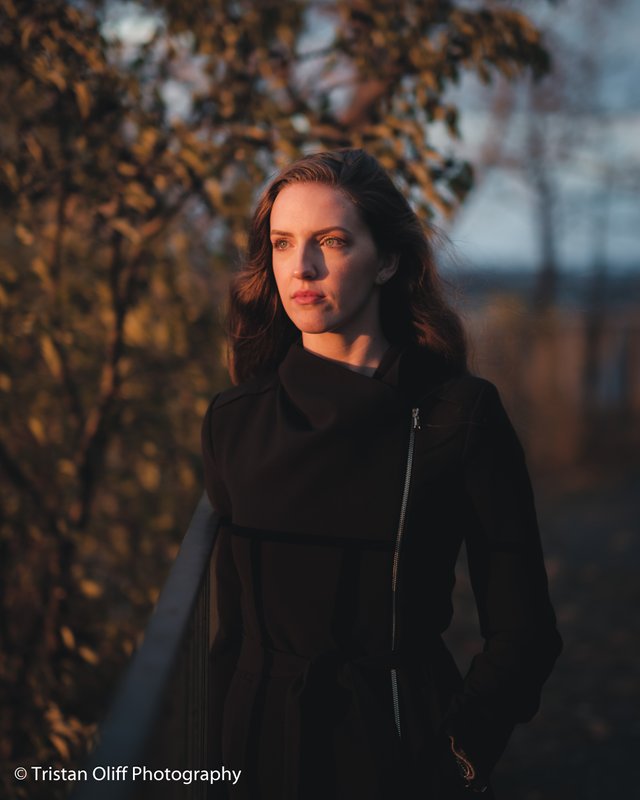
Back-lit portrait (above)
Meanwhile in this portrait (pictured above), I swapped the entire feel of the portrait by having the subject stand with the Sun behind her. This is called a back-lit portrait. To create this, I positioned the subject with the sun right behind her, and I used the manual settings of my camera to increase the exposure substantially so that her face was visible and out of the shadows. This kind of back-lit photo can create sun flares which add to the image and give the portrait a kind of ethereal look.
A few more tips for taking portrait photos
To recap, in this week's tutorial, we learnt that the best light to shoot in is in the 1 hour before sunset and 1 hour after sunrise (if you are an early bird). We also learnt that when shooting portraits, we can use and manipulate the existing light to change the look of your portrait. This includes how you position your subject in relations to the light and whether your shot is side-lit, back-lit or front lit.
Here are a few more tips and tricks I can recommend for portrait photography:
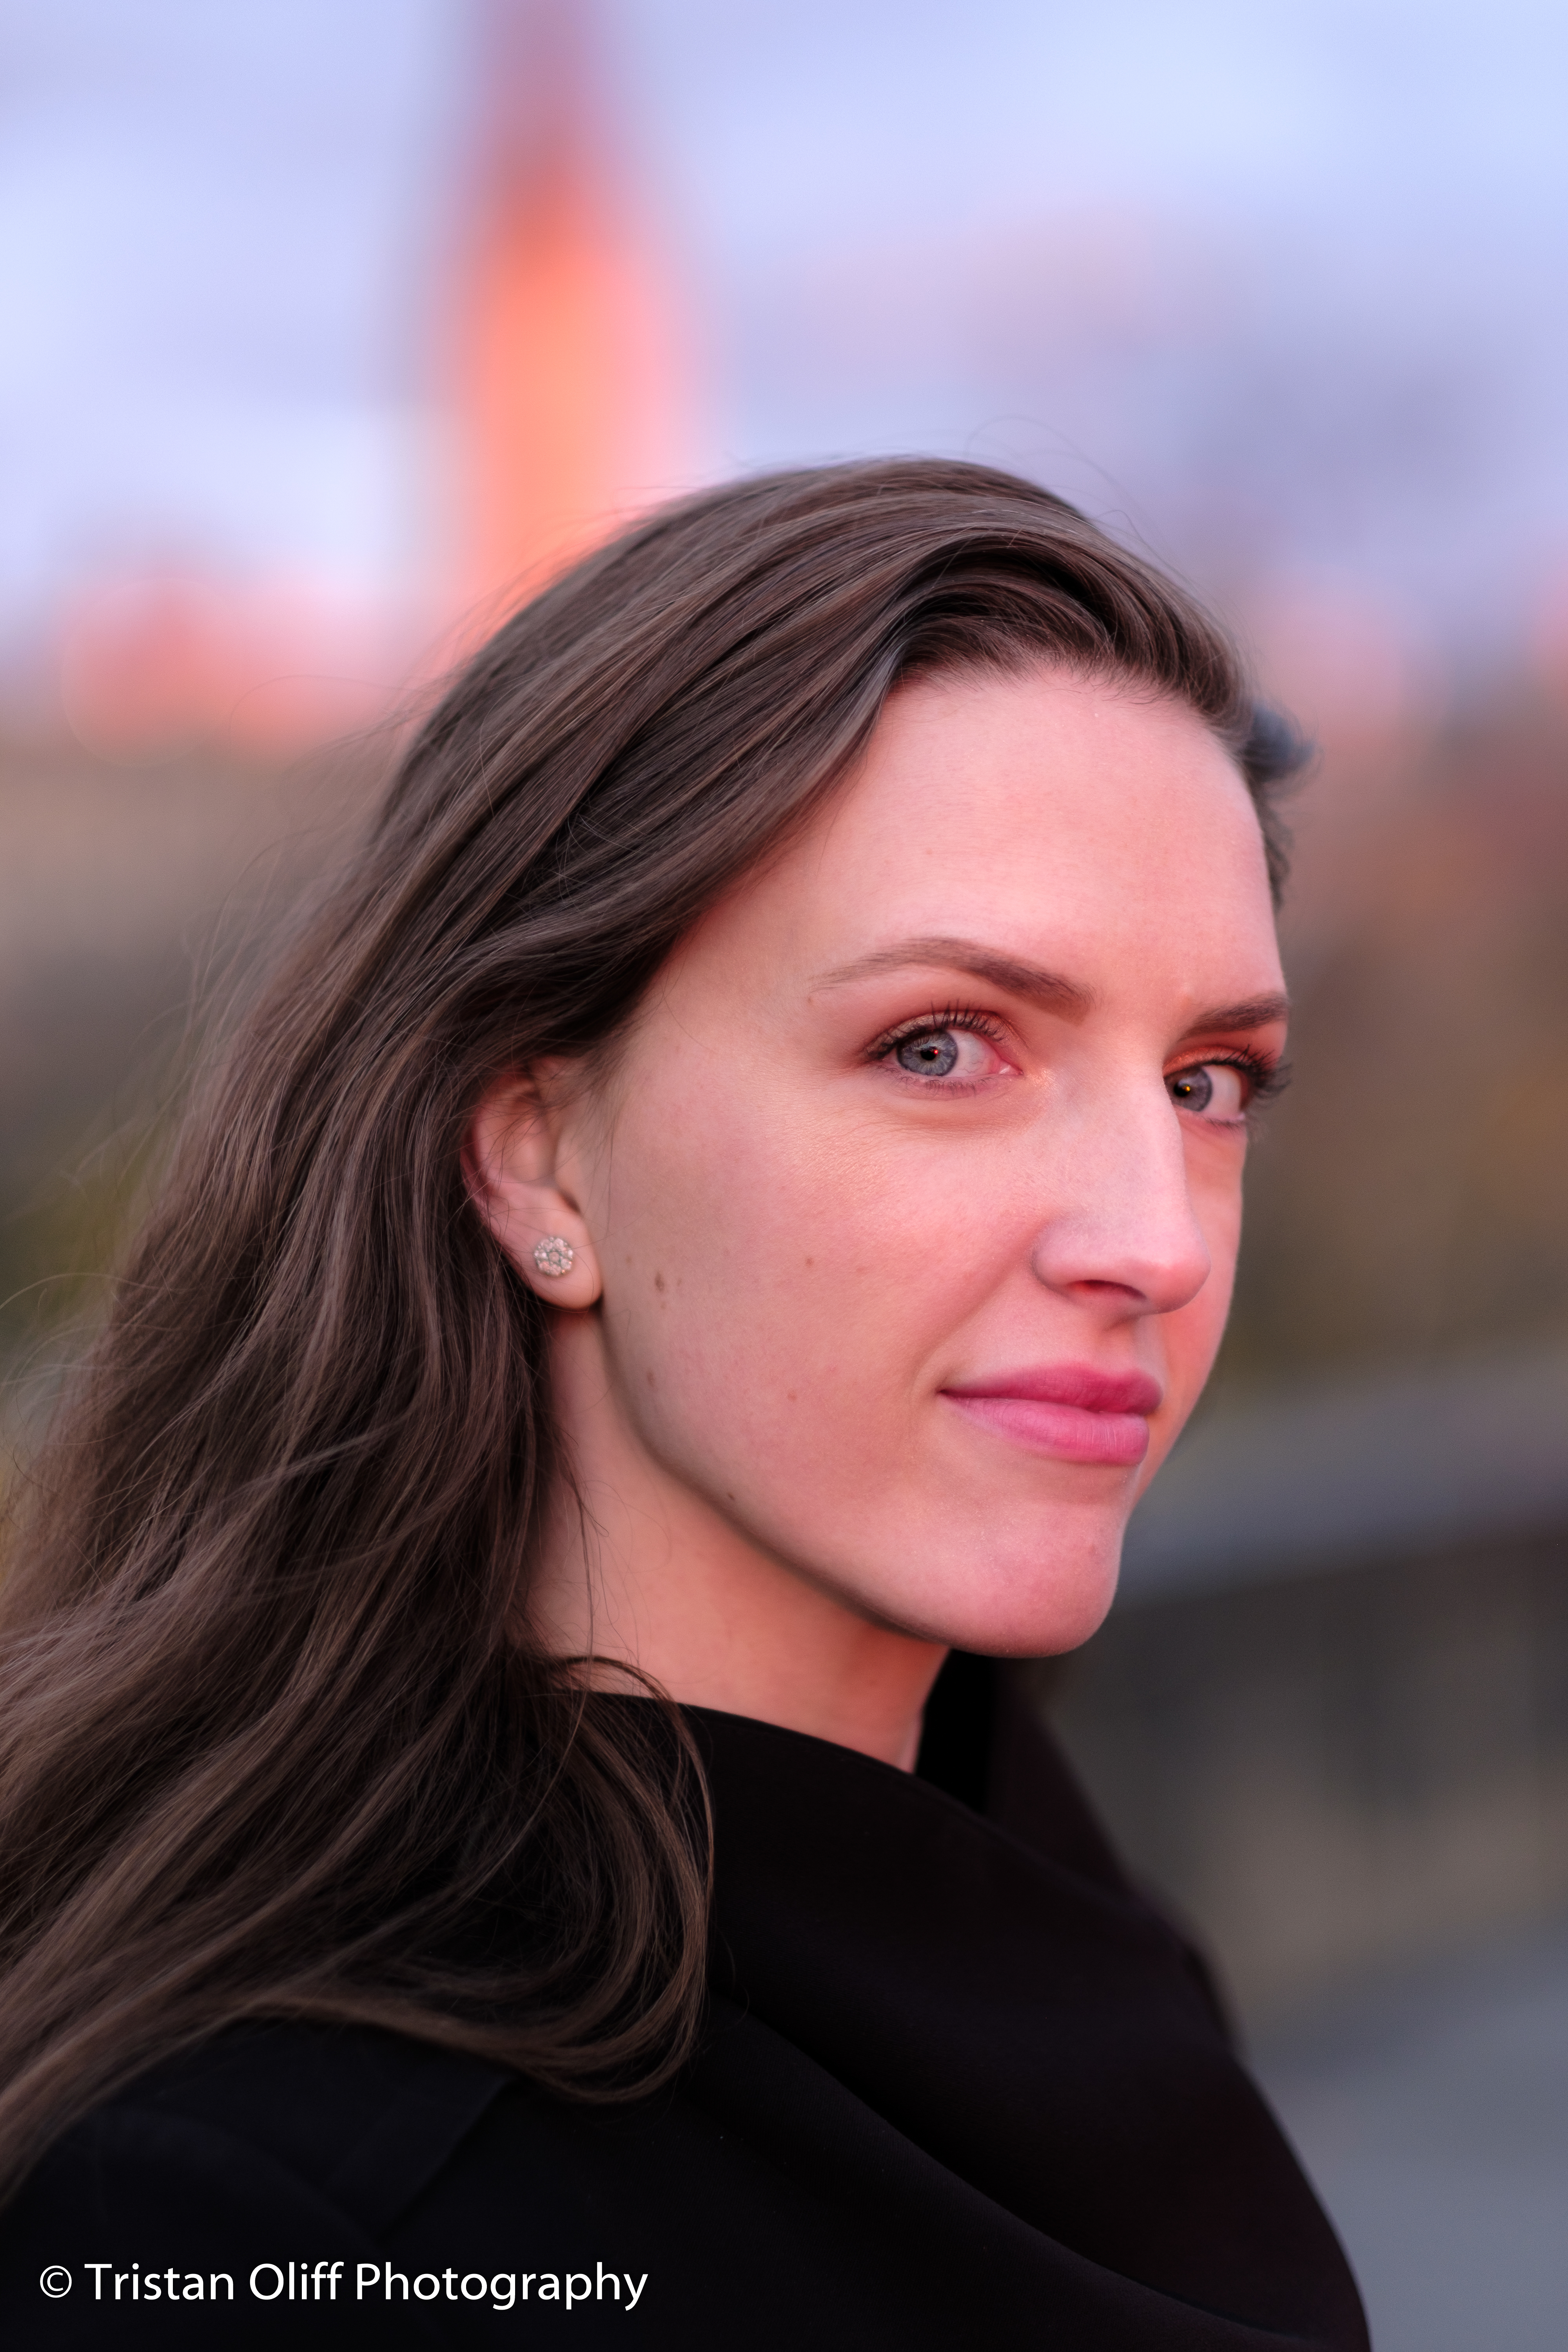
- The photo on the left was taken after sunset and shows how you can get a softer or subtler portrait if you shoot right after the light goes down.
- Most of my pictures were also shot using a lens with a very low aperture of f1.2. The smaller the aperture number, the more the background will be blurred, I recommend this as it makes your subject stand out more when taking photos.
- Think about the colour of the clothes of your model or subject is wearing and how it can make the photo. In this case, we went for a minimalist black and golden feel to the photos! This colour pattern can be seen on the photo above and to the right
I wanted to thank all of you who have made it this far down my post, I hope you learnt a thing or two! Make sure to comment which picture was your favourite and follow so that you don't miss any of the new editions of Tristan's Photography Tutorials or the othe content I post on Steemit.
Until next time,
Tristan
You can read yesterday's blog on "how to shoot at midday vs shooting at sunset" here:
And if you want to read more about me and my story, find my introduce yourself post here:
https://steemit.com/introduceyourself/@tristanoliff/this-is-me-and-this-is-what-i-m-going-to-do-introducing-tristan
very nice post my friend! lots of helpful tips and very knowledgeable! thanks for sharing it with us! :)
My pleasure @andywong31 I’m glad you gave it a read :)
Great tutorial @tristanoliff!
Thank you guys ❤️❤️
Wao, good the tutorial and better th pictures, keep up with the good work my friend!
Thank you so much man! Look out in the future for more posts and tutorials like this 👌 I have so many ideas that I’m excited to share with you all!
We like the effects of the back-lit photos, but front-lit is equally as beautiful. We're still getting the hang of using a DLRS camera, which Sam borrowed from his brother for the HK trip. Took some good photos, so will need to use it in the future again.
Keep it up Tristan, looks like you are getting the notice we knew you would get :)
Thank you Becca! I’m glad you guys are using a DSLR, the HK photos look amazing :) if I can give a recommendation, make sure to have a look at basic photo editing software and tutorials online! Taking the image on your camera is only the first step of producing a great final image :)
Thanks Tristan for the advice! Yes, we just uploaded the photos that we took and there was no editing. We shall look into the software. As you can see we are such amateurs that we spelt DSLR wrong...hahaha take care!
Nice post! upvoted
Me gusto mucho estas recomendaciones!! Muy buenas y orientadoras, gracias por tu información , la califico de excelente!!!.