Cannabis photoshoot #3 - How to take professional photos with cheap lighting
Hello Steemians!
I wanted to start this post by thanking the Steemit community for the positive response I received from my last article! It really means a lot to know I'm posting useful content to some people. The support motivates me to keep trying to make the best articles I can in the future!
Now, back to the photography:
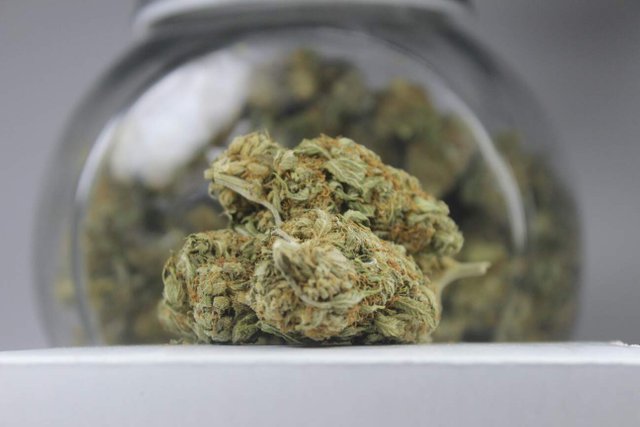
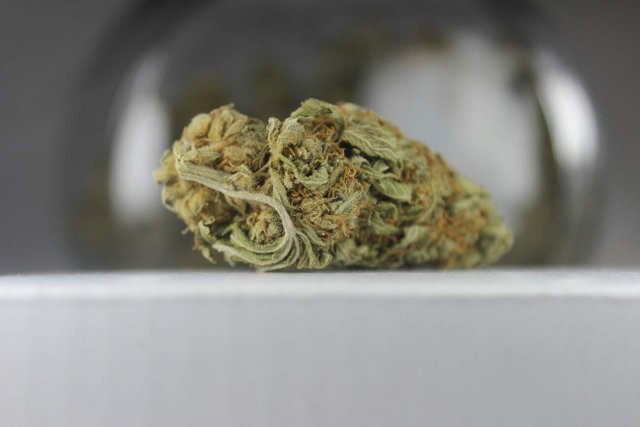
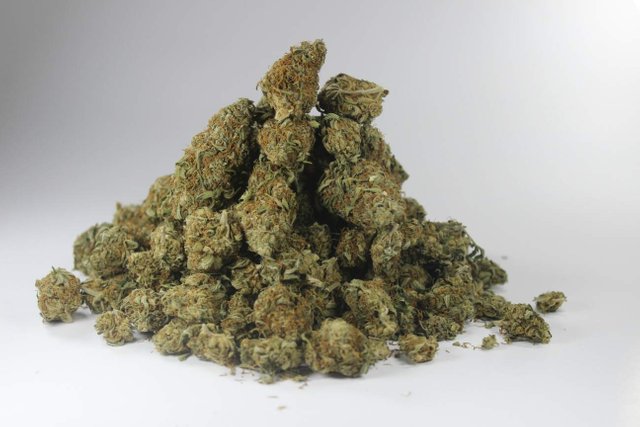
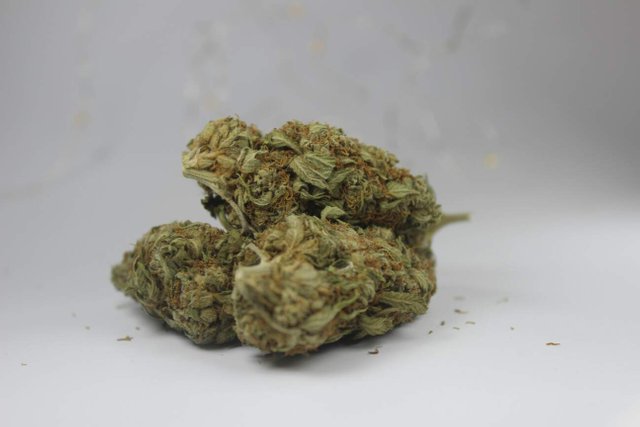
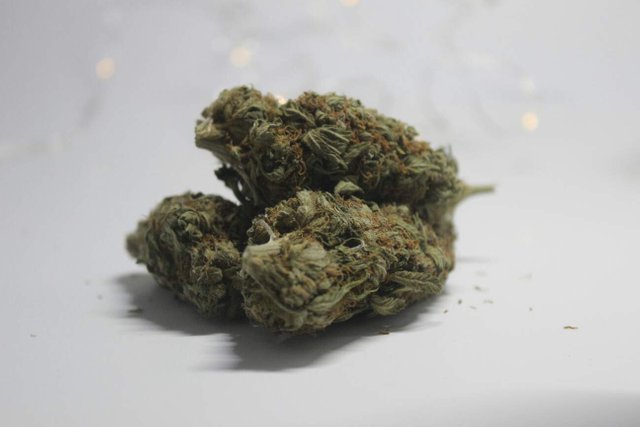
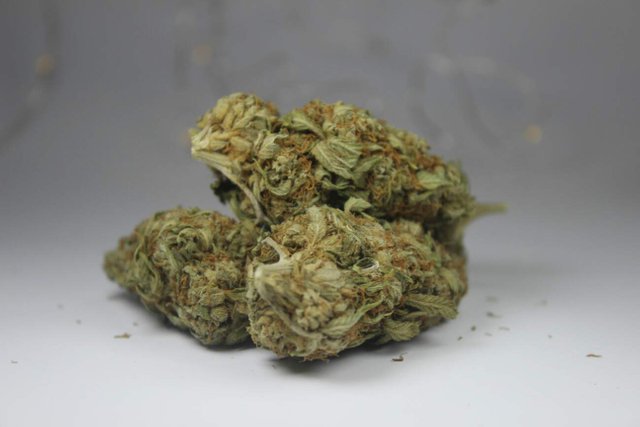
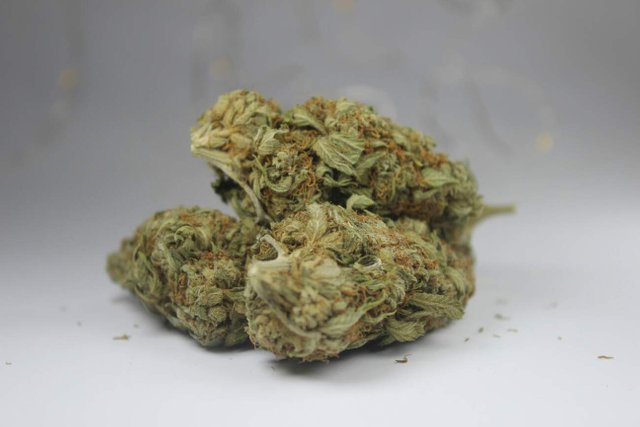
Above are a few new pictures I took this evening on my Canon T3i in my brand new homemade mini photography studio. In my last post I showed you how to build your own studio -- today I'm going to quickly go over how to place your lighting equipment to get professional grade photos without breaking the bank.
Before we get started: The technique I'm using is Three Point Lighting and there are three names for different lights you should learn:
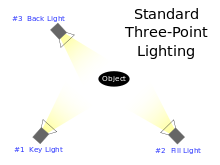
Image
Key Light: This is your main source of light -- the key light often shines directly from the front on the model and dictates most of your overall look in your shot.
Fill Light: The fill is also positioned in front of the subject but from the opposite side -- this light is used to soften hard shadows given from the key light. Fill lights are also usually positioned a little lower than the key and are more of a flood light than direct light.
Back Light: As the name says -- the back light shines from the behind, usually to one side or the other. It gives the subject a rim of light, that separate the model from the background, highlighting contours and creating more of a depth of field.
Okay, now that we have the mumbo-jumbo out-of-the-way -- I'm going to show you a finished shot with proper lighting, then we'll start from scratch. I'll take pictures as we build our lighting -- until we get back to our original, fully lit photograph!
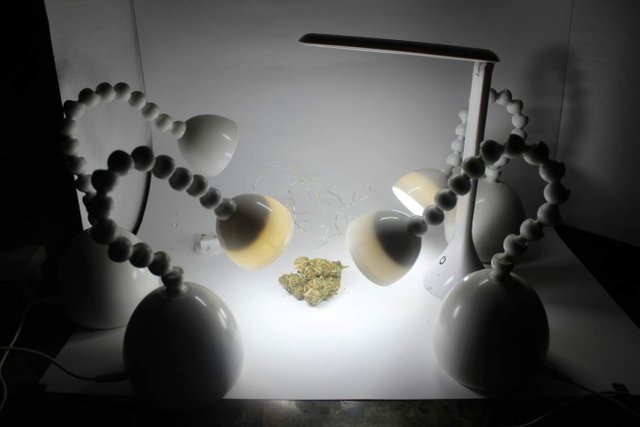
Here's our finished product & our set up with all of our lights on:
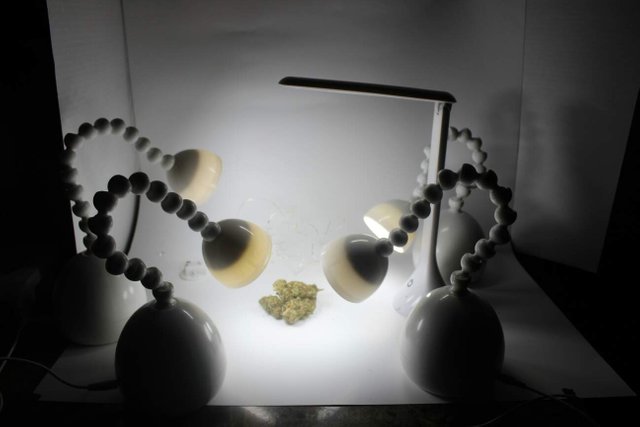
You'll notice I have 5 lights in my set up -- the tall light I'm using is acting as natural room lighting to offset some heavy shadows from taking photos in a dark room. The other light is a Background light: A light that is added to give your background more pop. I haven't mentioned these lights yet because they will be static and don't need to be moved much.
Now, I'm going to keep all of my lights in the exact spot, but turn them off. In each picture I'll show you the set up with a new light turned on and the picture I took with that lighting. You'll quickly see how important lighting is to any photograph:
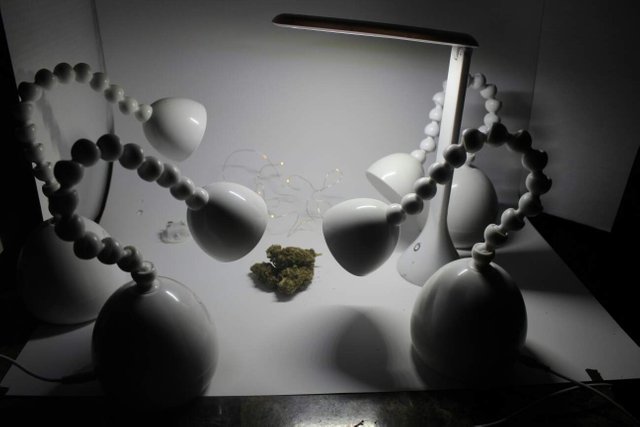
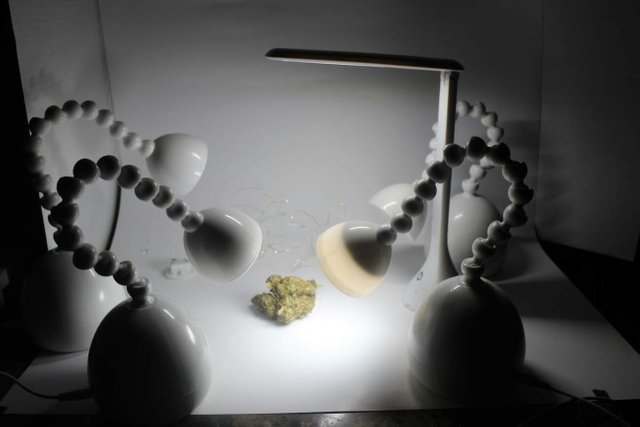
**Here are our photos with the Key Light directly on our subject: **
**Here's the fill light being added -- notice the entire picture is brighter and shadows are greatly reduced: **

**The Back Light is being added in these pictures: **
In each picture you can see how the lights slowly dim shadows and shape where your eyes focus. The lights also bring out colours and sharpness not seen without proper lighting.
Okay -- So, that's pretty much all the basics you need to know for lighting to grab your camera and start taking pictures! I know this is by no means comprehensive and may not explain everything properly, but it will help you gain an understanding of how to take better pictures.
Thanks so much for reading -- I'm new to Steemit and I wanted to thank @kaelci and @ganjafarmer for being a big help getting started -- We all know Steemit can be overwhelming and confusing and it's good to have some help. I also want to thank @curie for upvoting my last article and helping me reach a wider audience than I thought I would this early on my journey in Steemit!
Anyway -- That's all folks! If you liked this post you can follow @theroachmedia and read more content like it in the future or read my last article about creating your own mini photography studio:
Thanks again,
@theroachmedia
Image source:
upload.wikimedia.org/wikipedia/commons/thumb/d/d8/3_point_lighting.svg/220px-3_point_lighting.svg.png
Posted using Partiko Android
Thank you so much for being an awesome Partiko user! You have received a 2.48% upvote from us for your 540 Partiko Points! Together, let's change the world!