Photography explained #1 - Depth of Field (DOF)
A term often heard but rarely explained. What is it exactly? More importantly, how does one get this desired effect?

Depth of Field basically comes down to the difference in focus between the subject and the background, or rather this exact difference that seperates your subject from the background. This is also the reason a good use of DOF is a must for portrait photography, unless you would want to portray the subject in a specific surrounding.
a large aperture (low f/ number) gives a shallow DOF with a nice blurry background. A small aperture (with a high f/ number) gives a deep DOF.
So, how does it work? In the FAQ #1 I posted earlier I already mentioned the aperture (the f/ value) which plays a huge role in creating the DOF. Besides controlling the amount of light that enters the lens, the f/ value (or rather aperture) also influences the amount of DOF. To make things a little more clear, let's just remember these rules: a large aperture (low f/ number) gives a shallow DOF with a nice blurry background. A small aperture (with a high f/ number) gives a deep DOF. This last particular case is usually desired when shooting landscapes where the entire picture needs to be in focus.
Let's forget the factor of light for now. Since this is a whole story on itself, (especially when playing with long shutterspeeds at night) we will talk about this some other time.
 This photo was taken with a 35mm f/1.8 lens. The f/1.8 gives a nice blurry background and really makes this young puppy stand out. This photo has a shallow DOF.
So now that we know what DOF is and why we would want to use it, it's time to look at how to set up your camera to get the results. First we should realize which different kind of settings your camera offers. For now we'll keep it simple and just stick to manual (M) and aperture priority (A for Nikon, AV for Canon).
- In manual mode you are in full control over the shutterspeed and aperture, giving you the most available freedom to create your perfect photo. However, the downside to this is that it could take longer to get the right settings and that is far from ideal. Purists would claim manual is the only way to go, but if you really need this guide...I'd say you're not ready yet. Even so, I rarely use manual cause I don't want every shot to take more time than needed. This of course, heavily depends on your style of photography. My most used mode is definitely the aperture-priority.
- In aperture-priority mode the camera let's you set your desired aperture and will automatically adjust the shutterspeed (to control exposure and movement) accordingly. In this mode you can manually select the aperture of your choice without having to worry about other details. Remember though, when you use a zoomlens with a variable focal length (for example 18-55mm) it usually means the f/ is variable too (like f/ 3.5-5). If you zoom all the way out to 18mm, your camera will be able to lock to f/3.5 but as soon as you zoom in to 55mm it will mean the locked aperture will increase to f/5. If you use automatic mode, your camera will most likely exceed this value and give a far greater aperture, losing that nice blurry background.
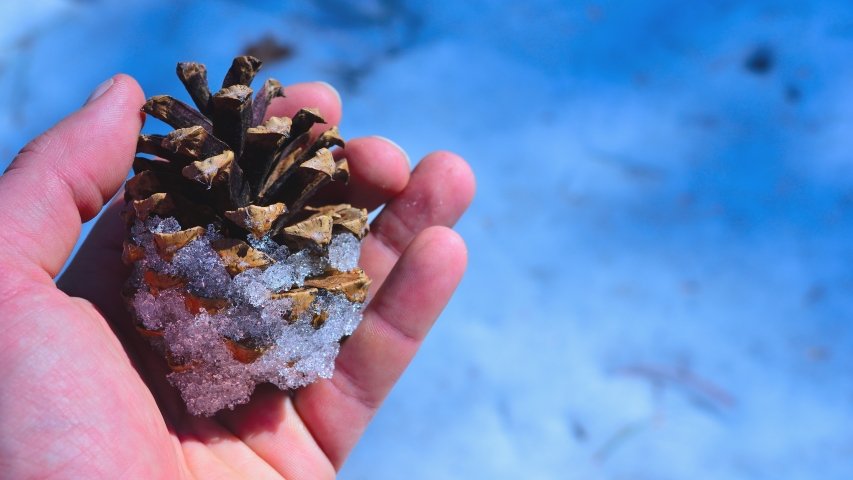 This photo was taken with a large aperture, making the subject stand out against the silky smooth background.
Okay so that's great...but what if you have a simple camera and you are not able to control the aperture? Or maybe you are still confused about this all. That's fine, there is a simple method to give the same effect. All you have to realize that your subject needs to really be seperated from the background. All you need to do is decide what your subject is, frame the photo as you would and then take a step or two back. Now use the zoom option to go back to the subject until it is the same size and you will see the background being more blurry than before. This little trick even works with a smartphone camera. Sure, this trick won't give you the same quality as using the methods described earlier in this article, but it works. Give it a try!
Let me know what you think and if you found this useful! Follow me to stay updated on more posts on photography and feel free to ask me anything photo-related in the comments!
Hey! This post is great, I actually thought about how I need to learn how to use my camera better yesterday. I look forward to reading the rest! :) Good luck on steemit!
Thank you! It's so good to hear someone appreciated the time and effort I put into this. If you have any specific topics you would like to learn or read more about, let me know! Maybe I can dedicate the next post to it :)
Hmm, I would maybe like to know some more about changing lite sensitivity and how to take good pictures in dim or dark environments :)
Thats quite a popular question indeed! I'll dedicate a post to it soon ;)
Cool! Looking forward to that :)
and with good DOF you get nice #bokeh if you use the right lenses ,
nice article , resteemed and followed still recharging my votes at the moment
Very true, I will write an article on that later too. Thanks for the support!
Looking forward to it. These little tips ans examples motivate me to take it more serious.
Let me know if there is any specific subject you need help with
Helpful, thank you!
awesome to hear!
Great article thanks mate, I'm very new to photography and need all the help I can find. If you find the time I've posted some photos on my blog I like the goldfinches the best. Cheers mike
Thanks Mike, thats great to hear!