This is what happens if you aim your DSLR for 2.5h at the night sky…
This is what happens if you aim your DSLR for 2.5h at the night sky…
…well, if you aim it at the right spot.
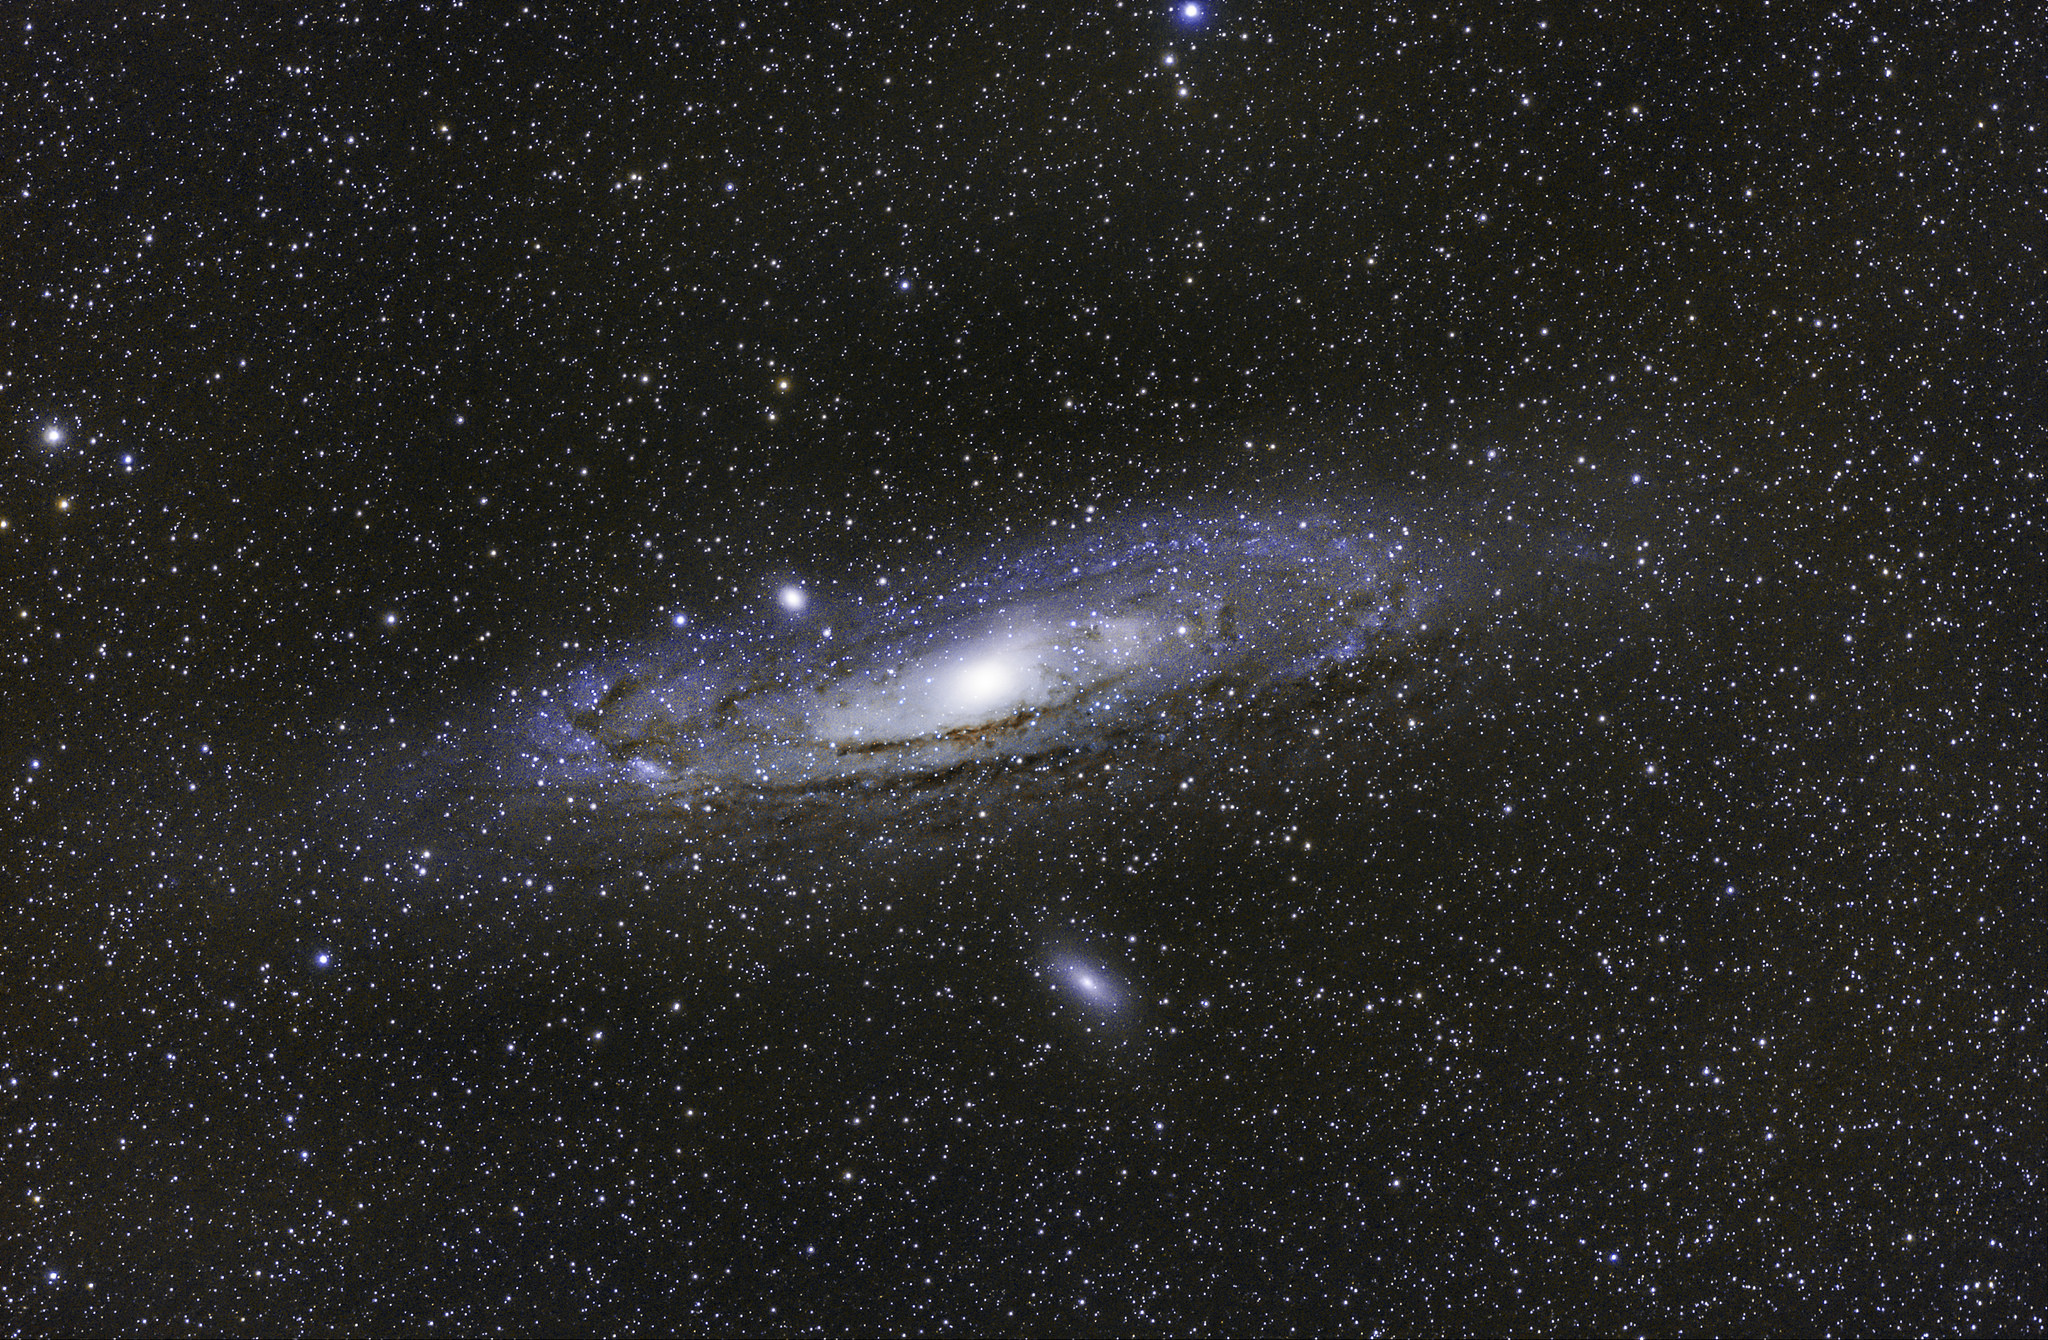
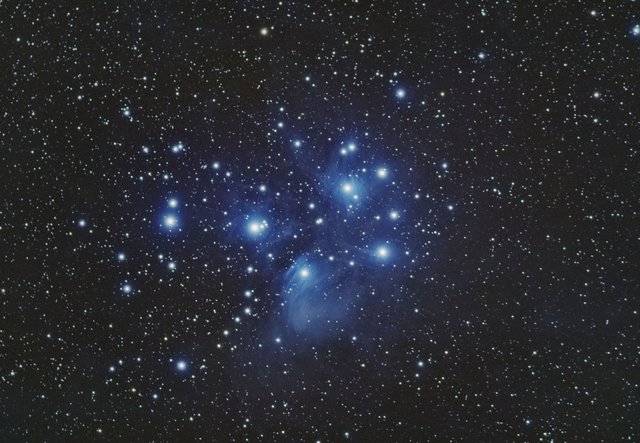
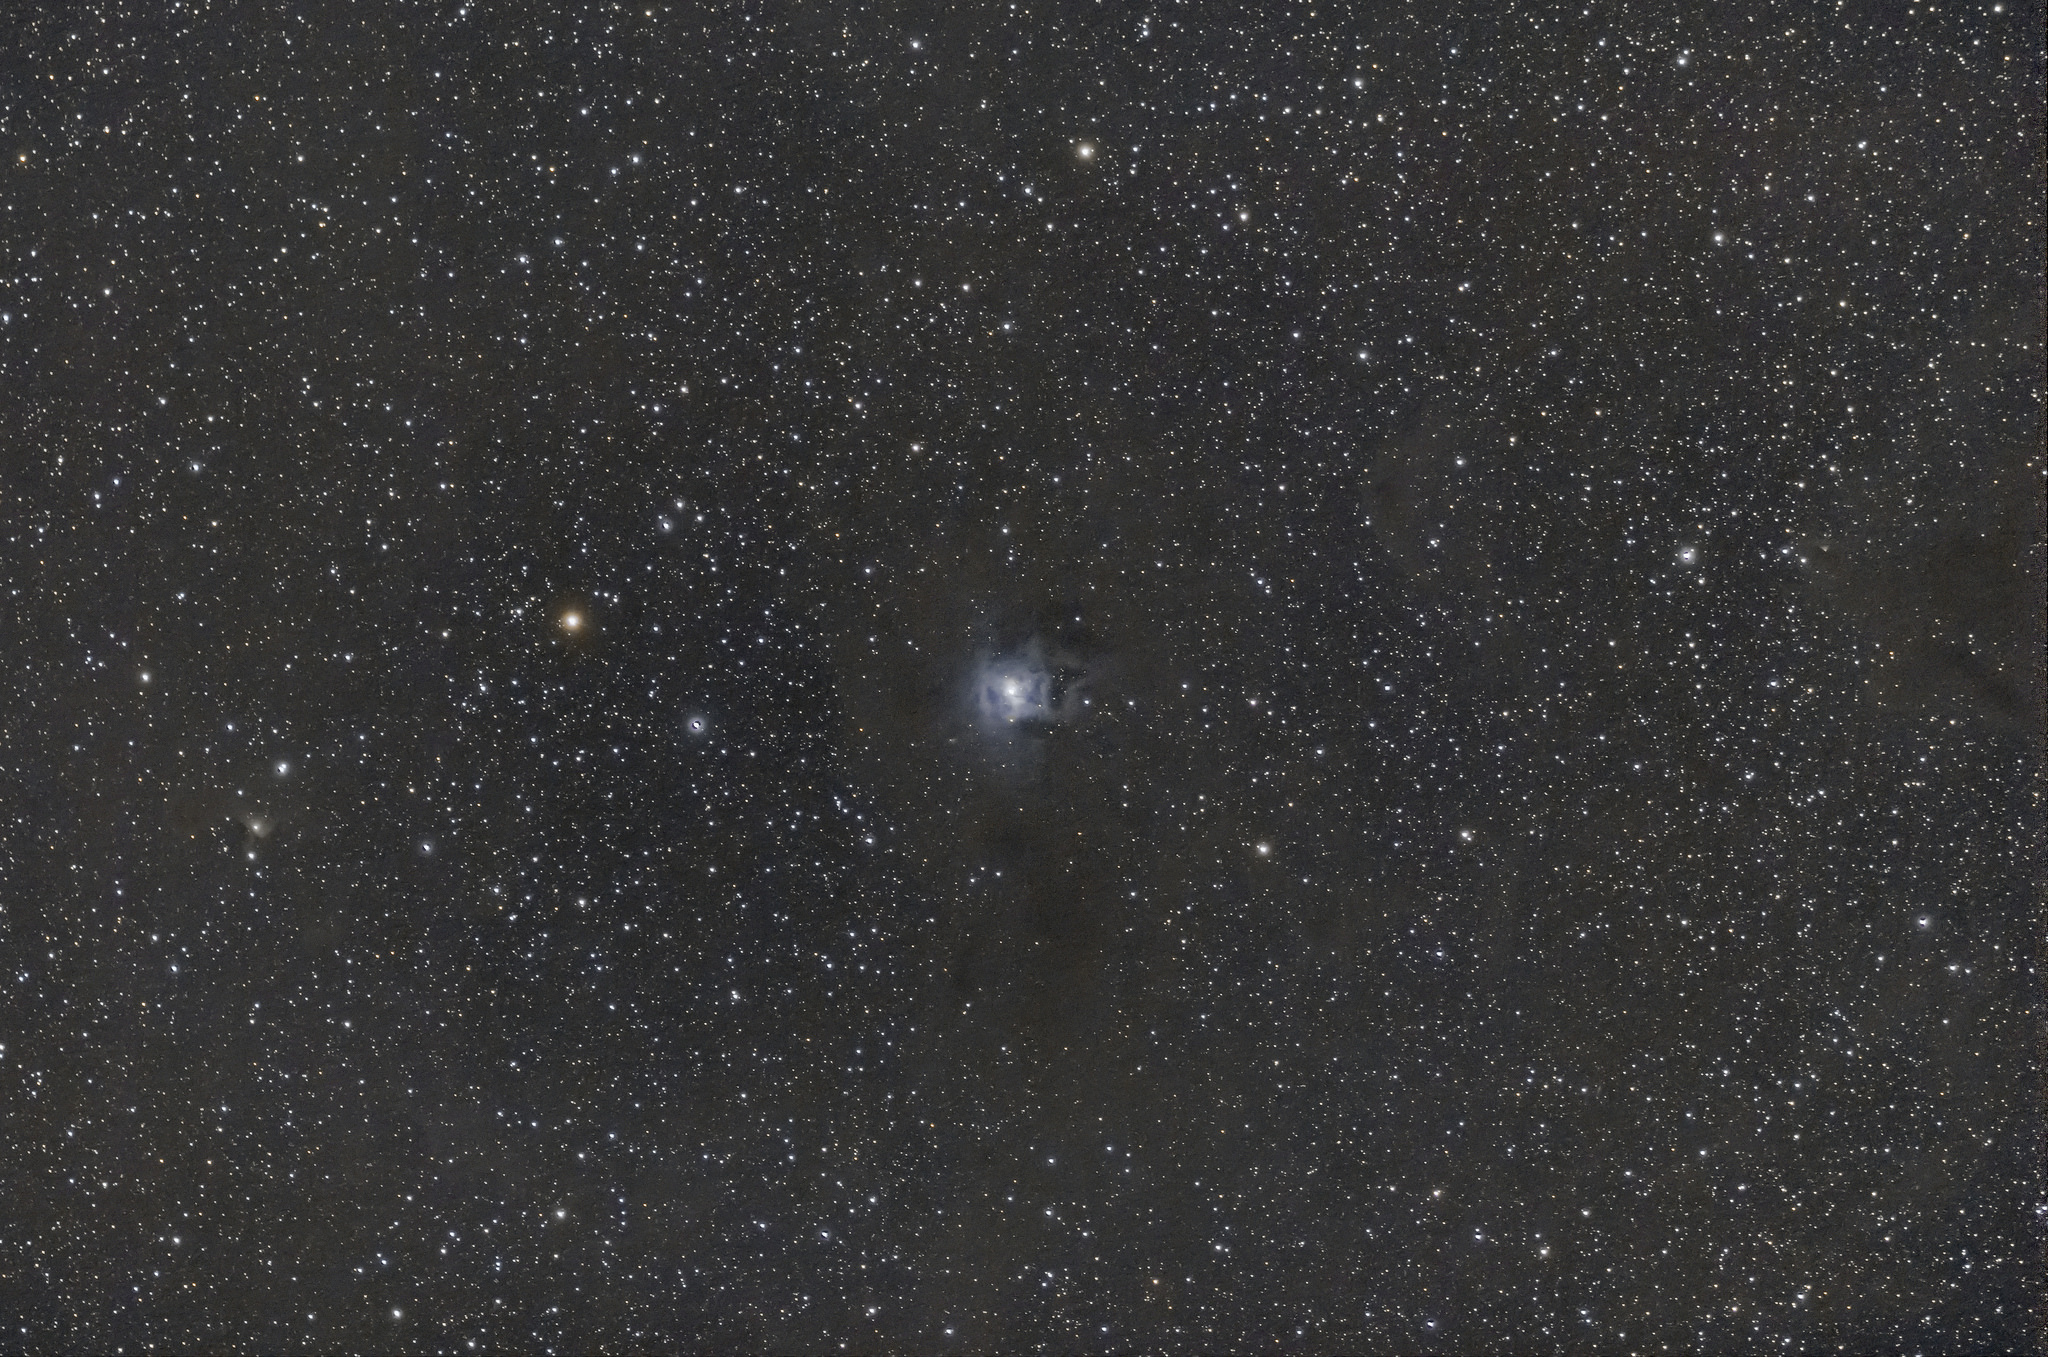
For all of you, who are just here for some nice pictures of our universe: Enjoy and scroll down!
For all of you, who want to learn more about the process shown above and about the hours of work that go into a single picture like this, scroll down even further!


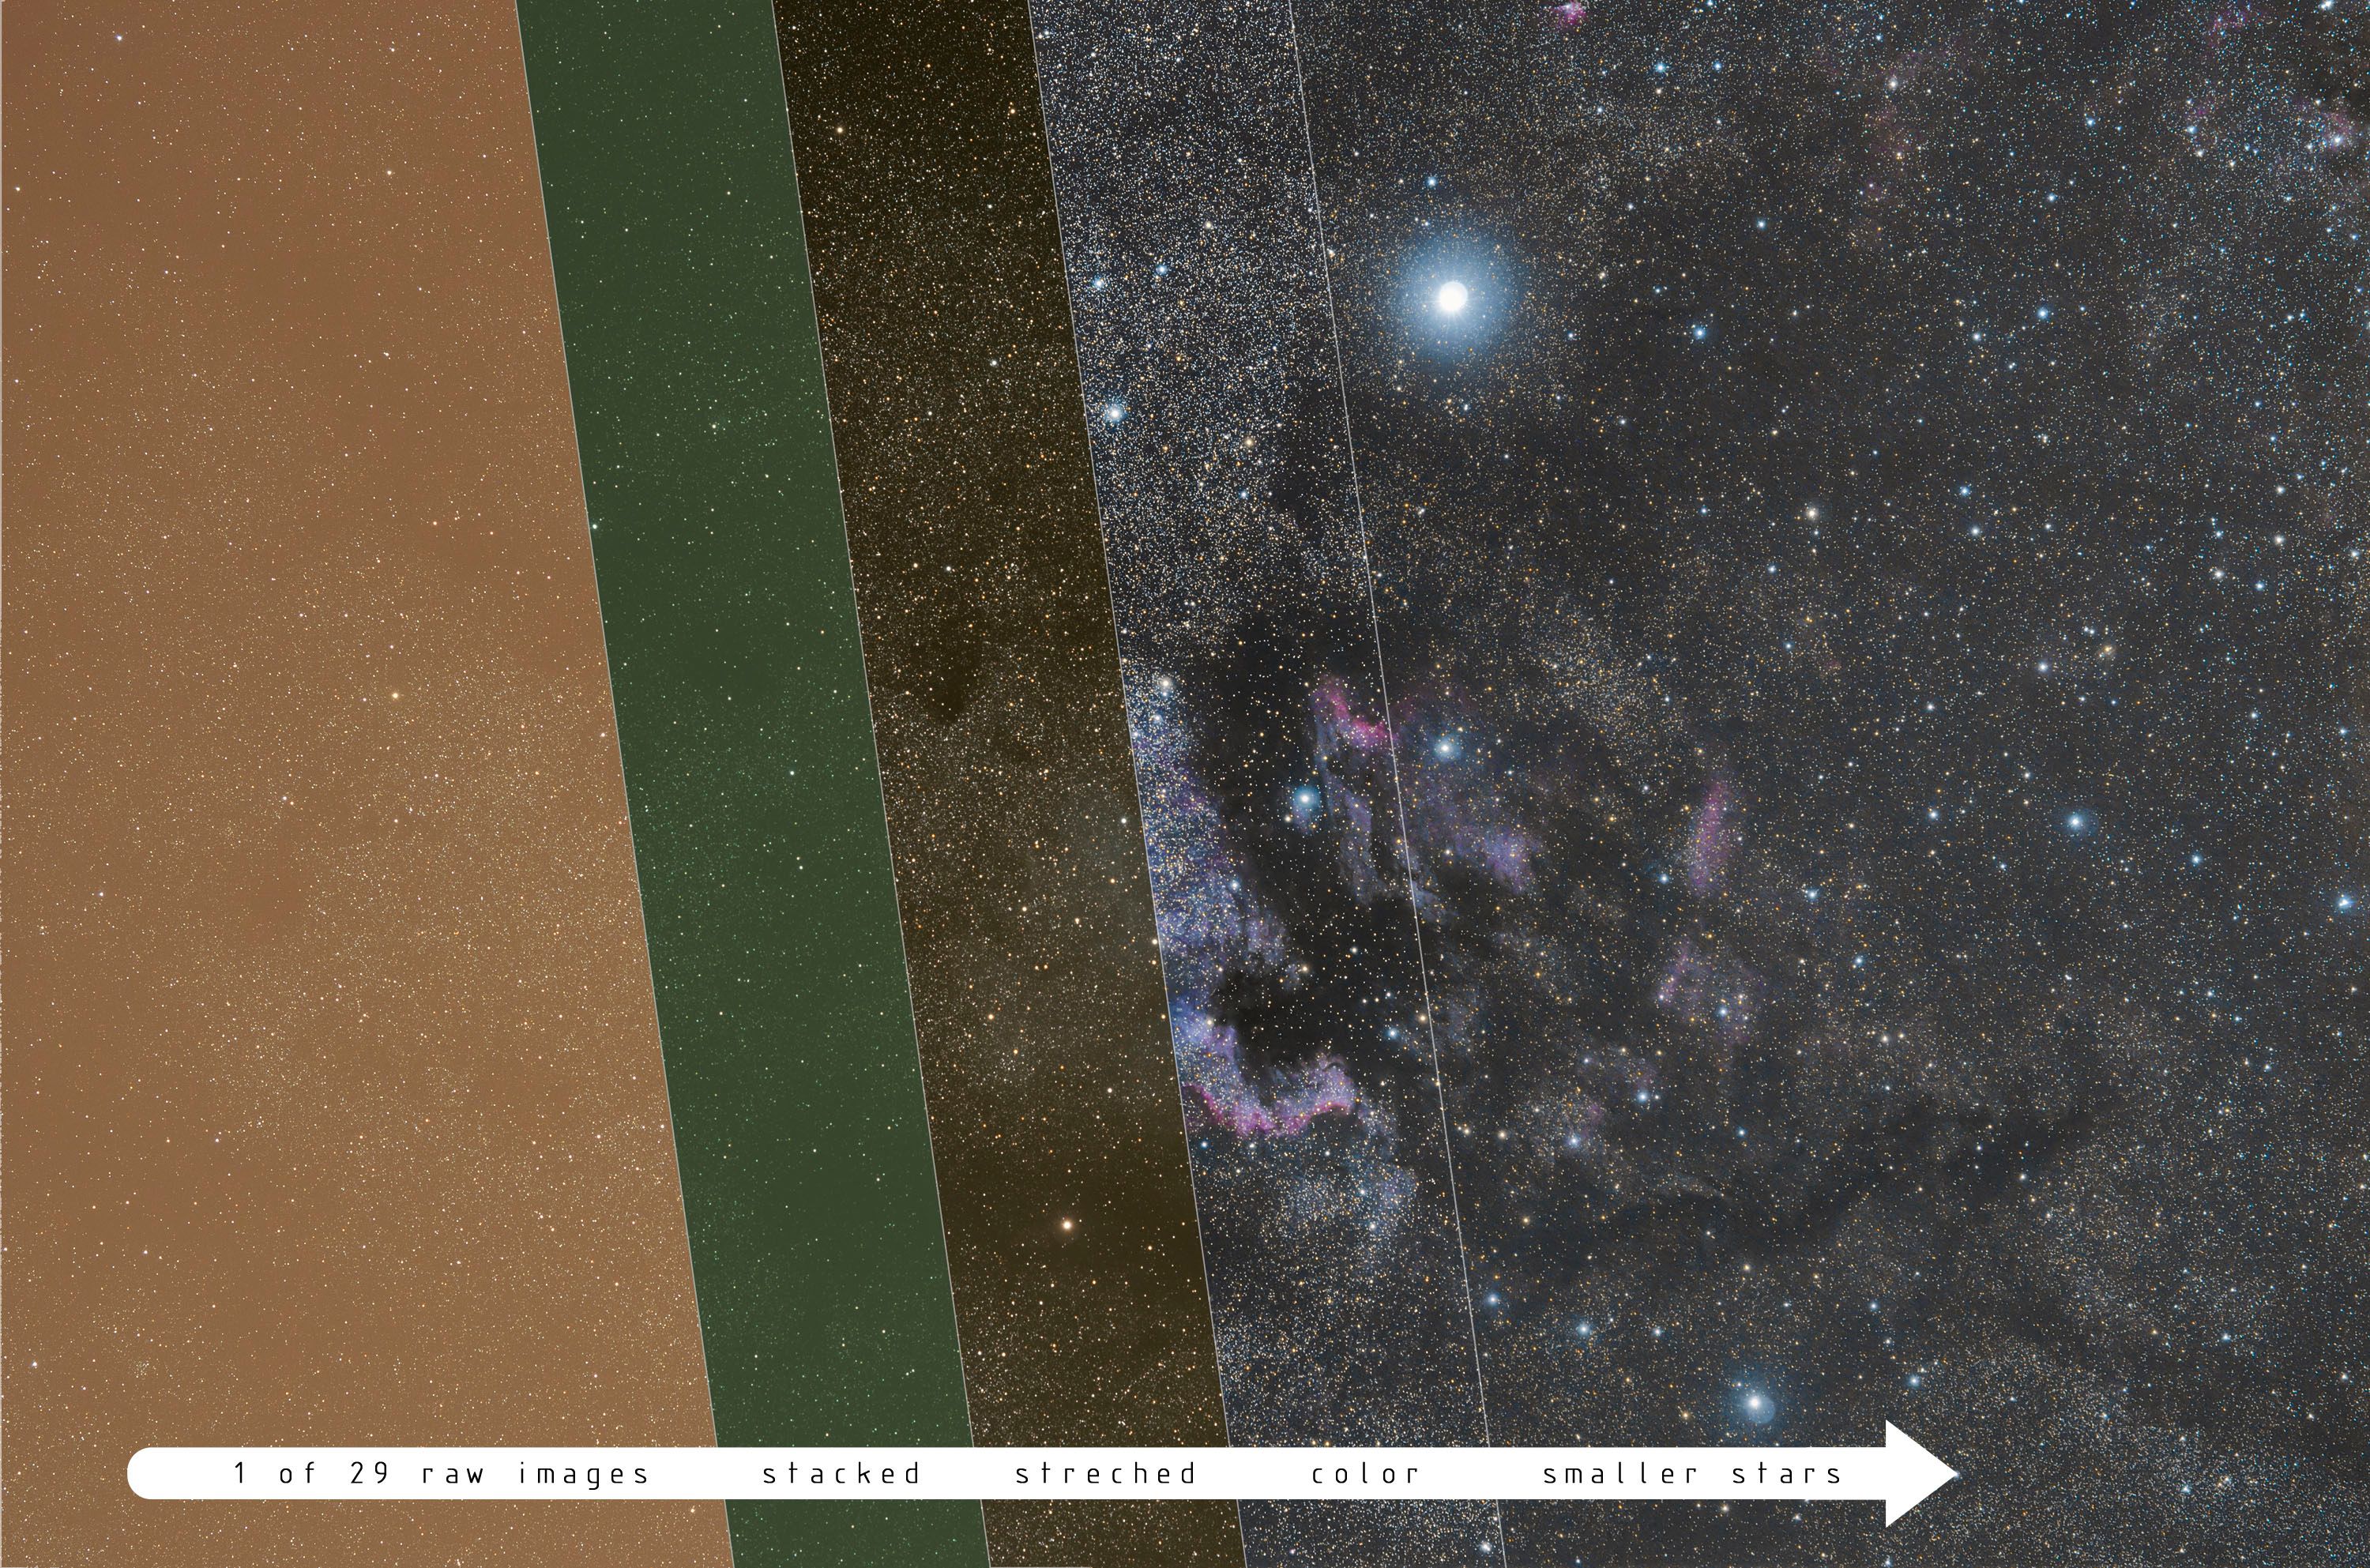
Let’s get right into it and I will explain you how I did and how you can do it too if you want to. But first let me explain you what you see in the first picture. It’s a stacked image (now worries, I will explain that later) of an emission nebula called the North America Nebula or NGC 7000 which I took a while ago. It’s basically “just” ionized gas which flowing around in space which is glowing because it’s hit by the radiation of nearby stars. The nebula in the picture is roughly 1600 light years away from our tiny blue planet which means the picture you are seeing is a snapshot of how the gas looked while the Maya civilization was still busy building their pyramids. Before I took pictures of the universe a really wasn’t aware of the fact that cameras could double as time machines ;)
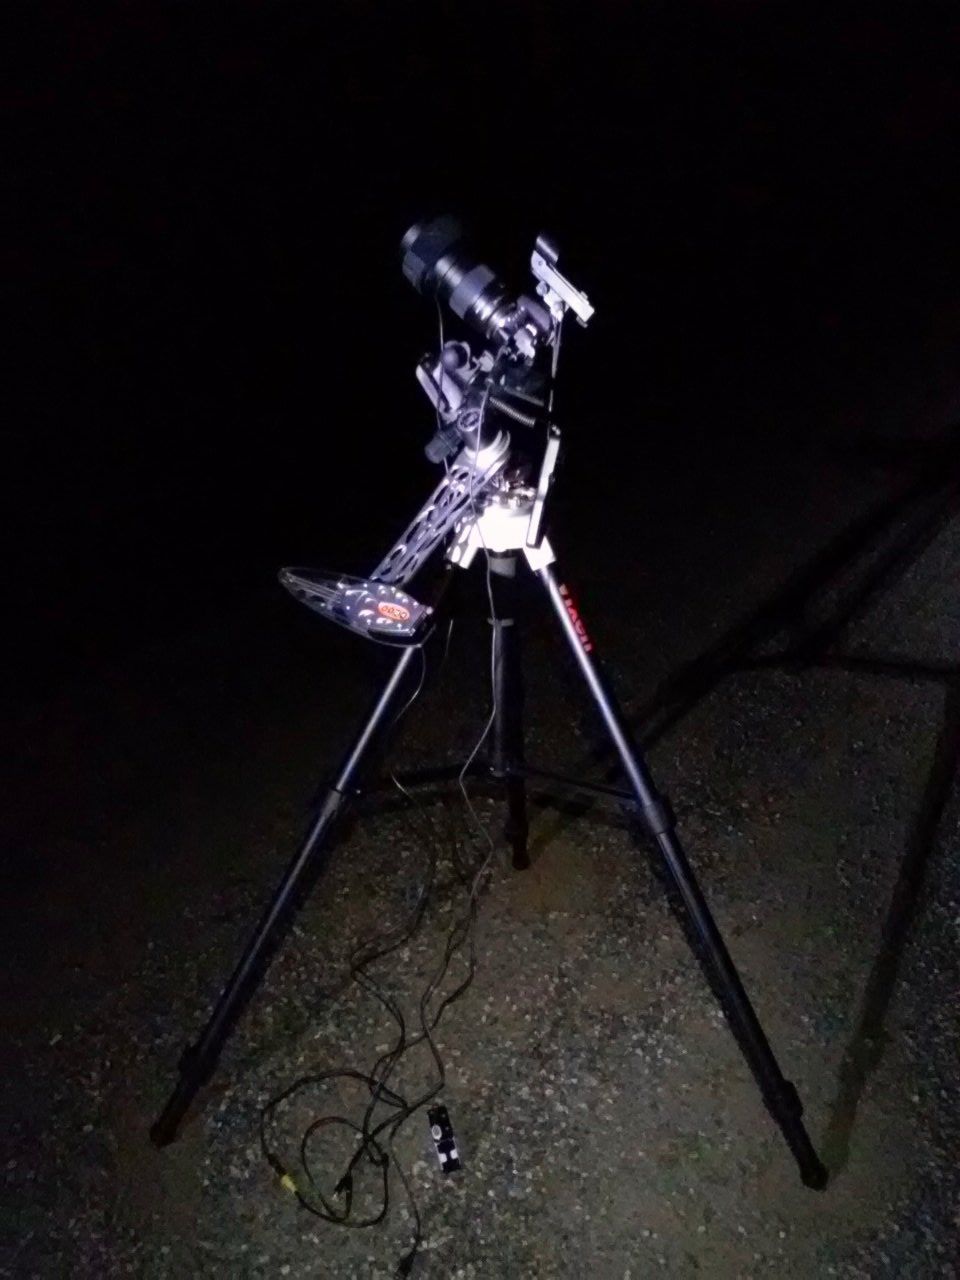
Let’s get technical now: How did I take the picture? I used my Nikon D5100, but any low budget camera with manual setting will work as well. For the lens I used a Samyang 135mm 2.0, which is a great lens because of its big aperture. As you can image, you want to collect as many photos on your sensor as possible so a fast lens will always give you better results in the end. This stuff out there is really (really) faint. Now to the tricky part, the tracking. Since our planet is spinning around its axis, the night sky appears to be moving. If you just took a one crazy long exposure to gather all the light you need, you would only see lines instead of stars. So in order to cancel out the earth’s rotation you need a fancy device which turns you camera in the opposite direction. I used a device called Astrotrack which you see down below. If you are not willing to spend one month’s rent on a tracking device and if you are not all thumbs, google for “barndoor tracker” and build one yourself for 20$! I achieved great results with a self-made barndoor as well.
Okay lets image you have built your darndoor tracker and didn’t spend one grand on a fancy-ass tracker. The next thing you need to do is to align rotational axis of you tracker with the earth’s rotational axis. Lucky for you, that axis aligns perfectly with the polar star! It’s the only star that stays always at the same spot all night long (and for the rest of your life, too). With your tracker slowly turning now, you can start taking pictures of your desired object now. Aiming it at the right piece of sky can be quite tricky sometimes. The nebula above for example is so faint that you can only see it on post processing on your computer hours later even though it is covering an area of more than four times the size of the full moon.
Next part: taking the actual pictures! This is a compromise between gaining enough light, getting pin sharp images and a minimum of noise. I won't bore you with all the details, but took 29 images with an exposure time of 5min each @f/2.8. While taking the pictures you will be confronted with lots of problems that you usually wouldn't face. The cable going to the front of the lens is a heater for example to prevent the lens from fogging up at cold temperatures. (Cold temperatures = less sensor noise = better images)
The last and most important part is post processing. To reduce the noise to a minimum and make all those tiny details visible, you want combine all images into one image. For this process called stacking most people use a freeware software called deep sky stacker. Next up is some work in photoshop (stretching the image, noise reduction, blah blah blah) as well as color correction in lightroom and you are done! Okay, by some work I mean an entire day of work.
Gotta give a thumbs up for the dedication and skills to take these photos. I know most photographers wouldn't have the patience or be willing to brave the elements outside to do these.
yeah, you are right! patience and and a high frustration tolerance are totally needed. I spend hours outside in the cold only to realize that all my images were out of focus when I got home, the lens fogged up, the tracking was off,...
I used to take gigapixel sized images using a Gigapan system. It takes a while for some photos and plenty of things that can go wrong at any stage and most of it only noticed when processing and too late to recapture. The skills for these multiexposure techniques usually are undervalued these days. Keep up the work.
This is really cool. Great job I hope to see more of these from you. Give me a follow as well.
Thankyou for sharing its beautiful its paradiseđŸ’œđŸ’œđŸ’œ @roblux
Wow, that's amazing. I never heard of a barndoor tracker. Great info, great photography.