Urban Night Photography Tutorial
Night photography is one of the best creative exercises for the photographer wanting to improve their craft. Why? There's no auto mode or magic bullet camera setting to get the kind of photos in this post. You have to understand each variable of exposure, i.e. aperture, shutter and composition when taking long exposures. I hate to use the word composition and I'll discuss why later in the post.
I had such a nice response from images of downtown LA that I posted last night, I decided to write a tutorial on basics and process of photographing at night
here's a link to the original post that inspired the tutorial
https://steemit.com/photography/@lightenup/downtownla-night-shots-of-the-walt-disney-concert-hall
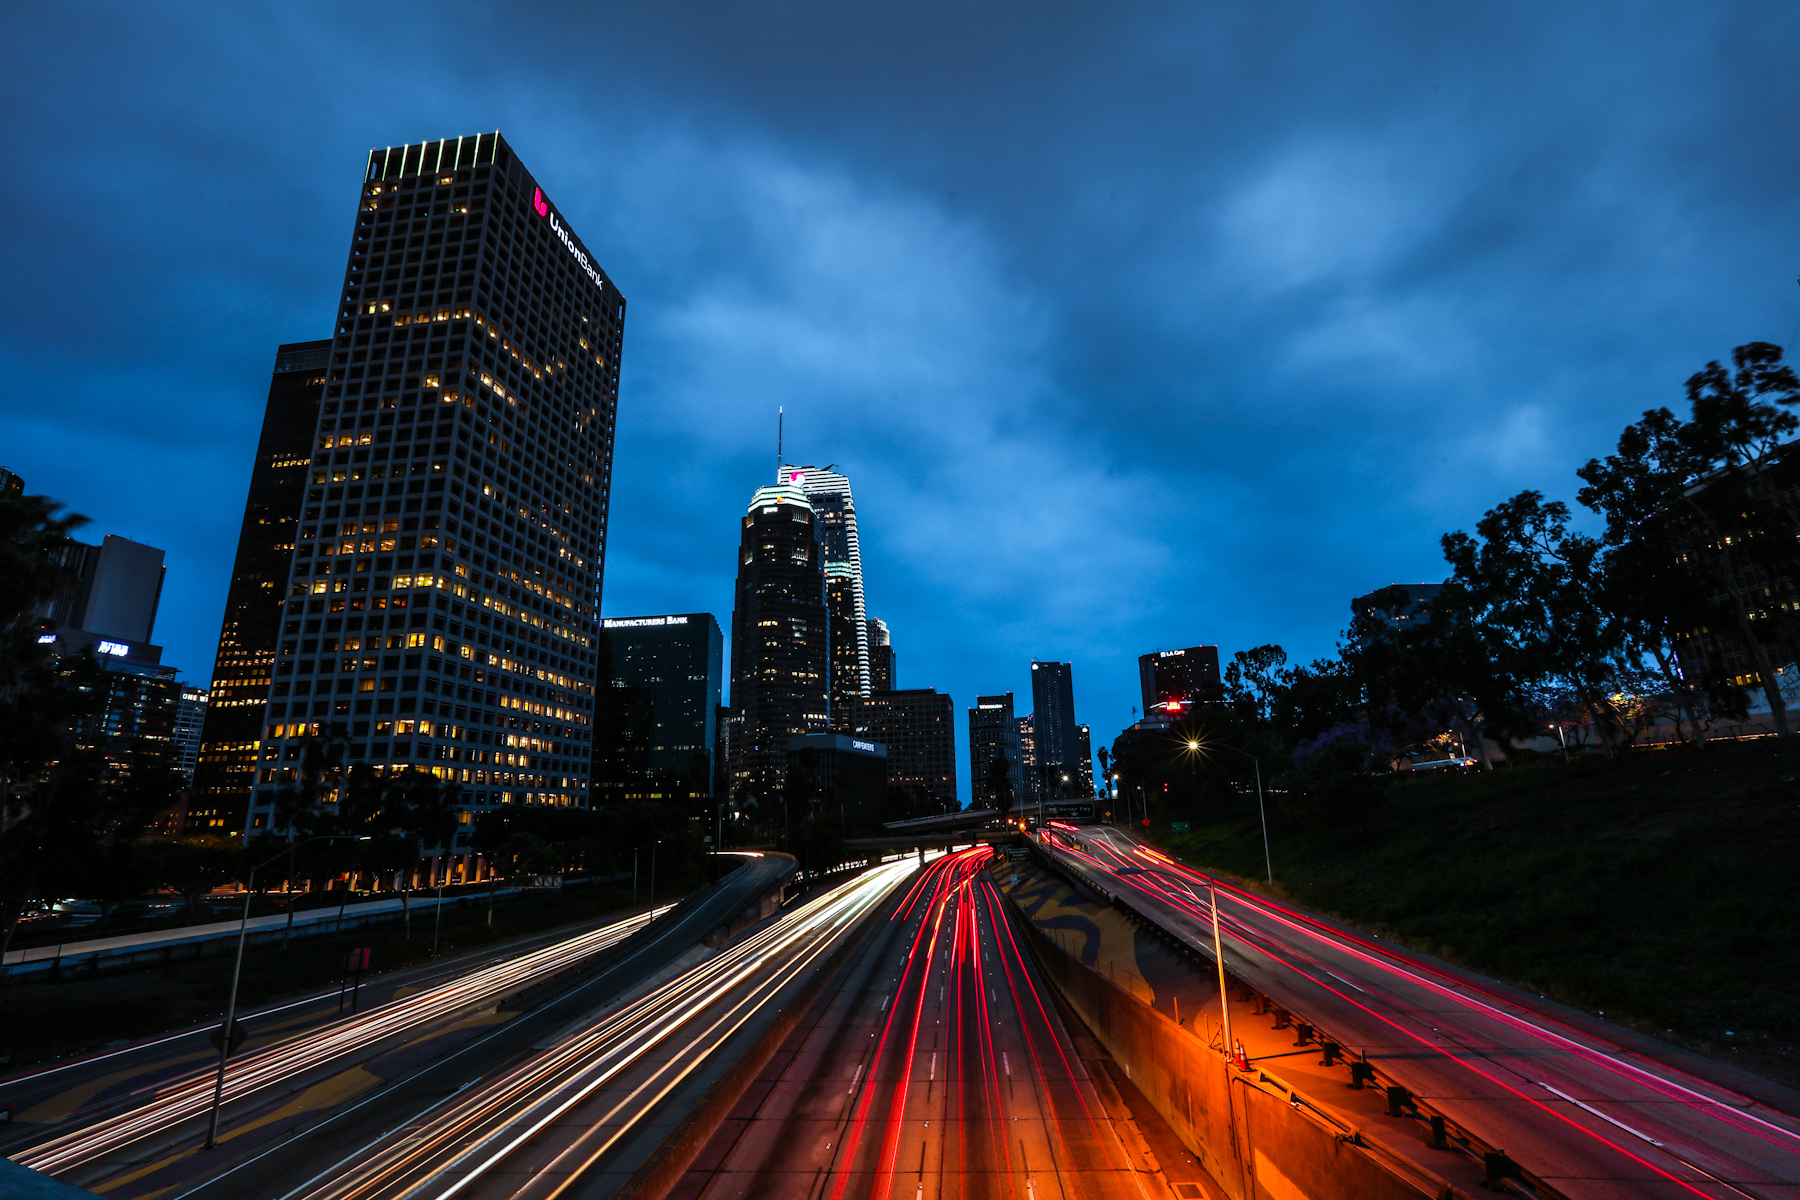
I'm not going to give a lesson on the fundamentals of each variable of exposure. You should have a basic understanding of aperture, shutter and ISO for this post. But I will dive into the thought process and tips you need to know to get these kinds of shots. I'll also dive into the creative aspect of what makes a great image.
As always I'll use images to help tell the story because I'm a visual learner and teacher:
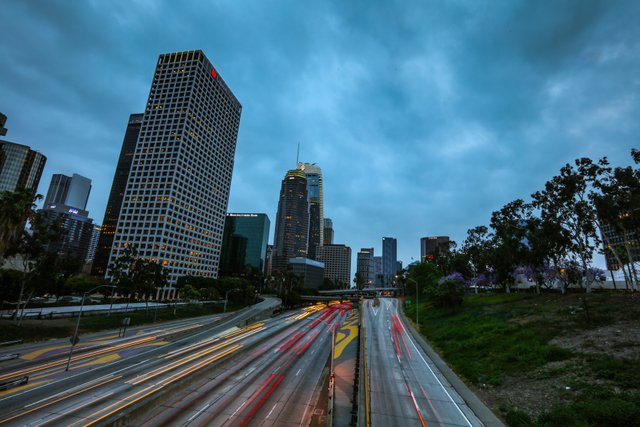
Above shot was taken right at sunset. There's obviously a lot of ambient light from the sun; not necessarily a bad thing but not exactly what I was going for. I wanted more blacks so I would have to wait a few minutes to get the look. Generally speaking it starts to get good 20-30minutes after the sun goes down. But this is great because it gives you 15-20 to warm up and get familiar with your gear. Because as soon as the ambient sunlight goes away, that means you'll be working in th dark.
Other notes on the above shot:
when first set up
-start with 3-5 second shutter, lower your ISO all the way down, and then adjust the exposure using your aperture
-my shutter was about 2-3 seconds. I was at f22 - to get those long lines from the car lights I like 15-30 seconds (so I couldn't stop down any lower). I had to wait until the sunlight was 2-3 stops darker. That's why 20-30 minutes after sunset is a good time to start.
Safety
-I was shooting last night in downtown LA. In a city like LA, use common sense and don't put yourself in a position where someone could take advantage of you.
"At Rex Kwan Do, we use the buddy system. No more flying solo." ~Napoleon Dynamite
FYI - The tripod makes a great defense weapon
Gear needed
Sturdy tripod - those cheap travel tripods are flimsy and quite honestly I don't trust them. Last night I had $7,000 sitting on my tripod...no $50 tripods please.
Wide angle and telephoto lens for variety (helps tell the story)
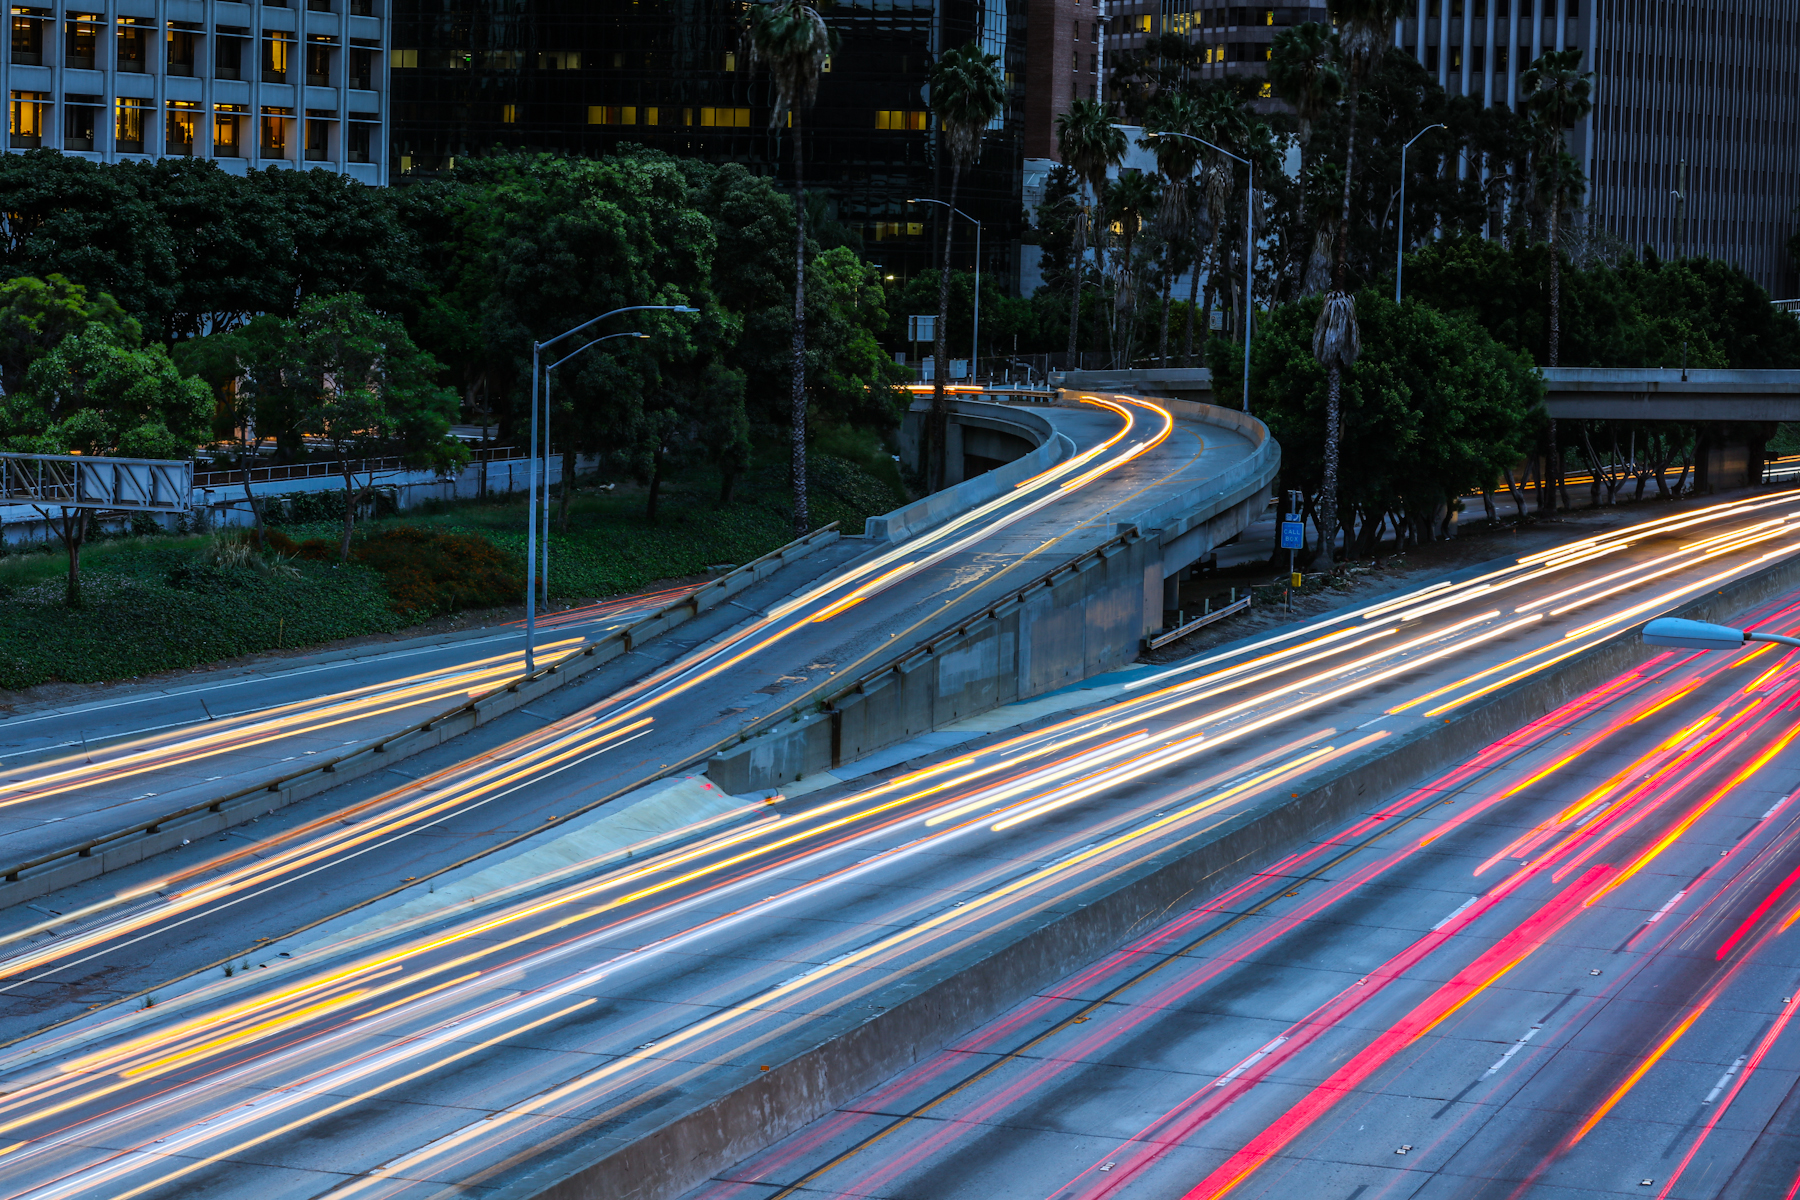
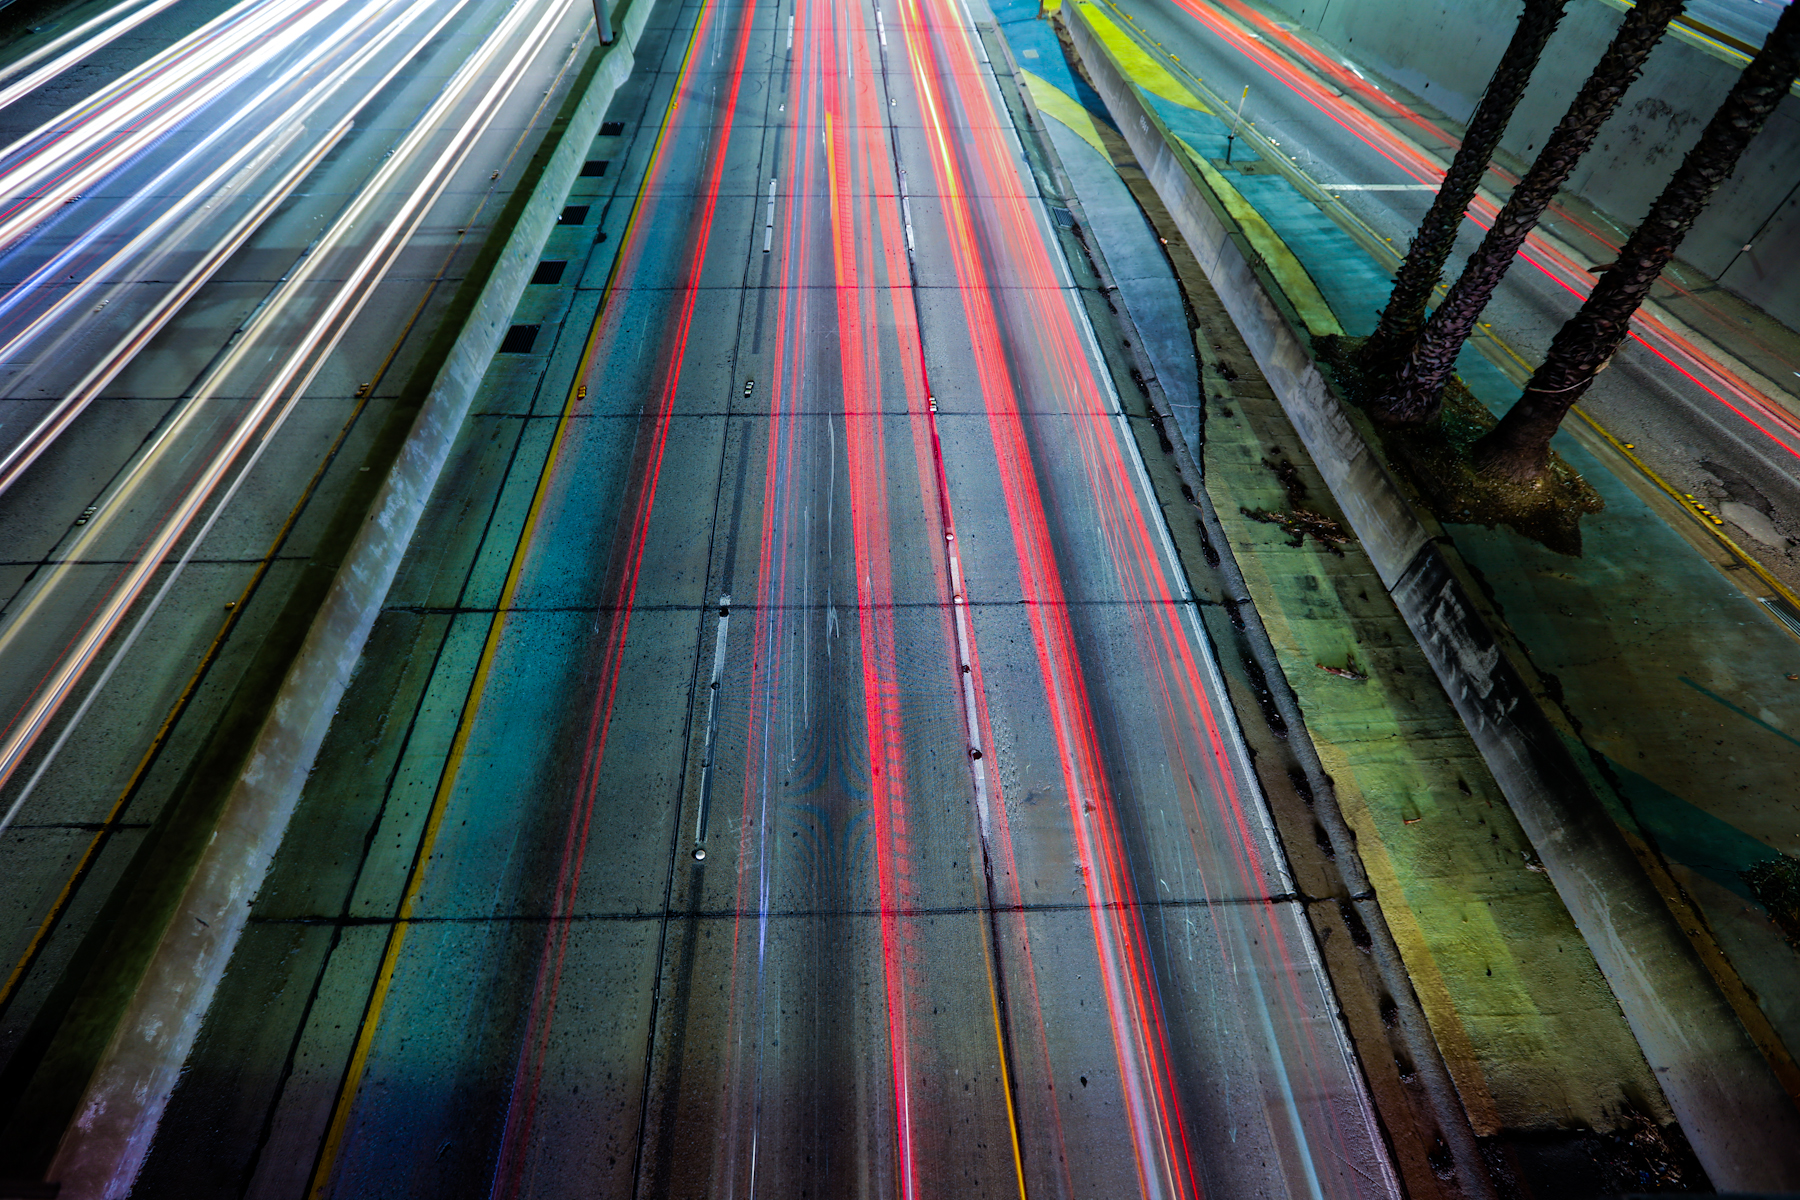
Another hot tip. I like to take my time and figure out what is going to be a great shot. Take a few shots from different angles and take mental note of it. Come back to it when the conditions are just right. Next is the shot I was looking for:
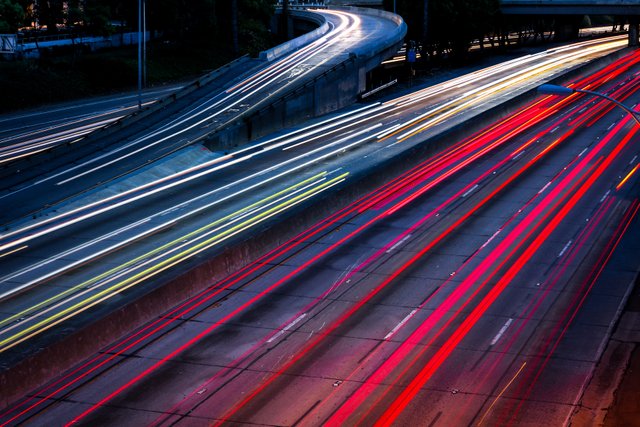
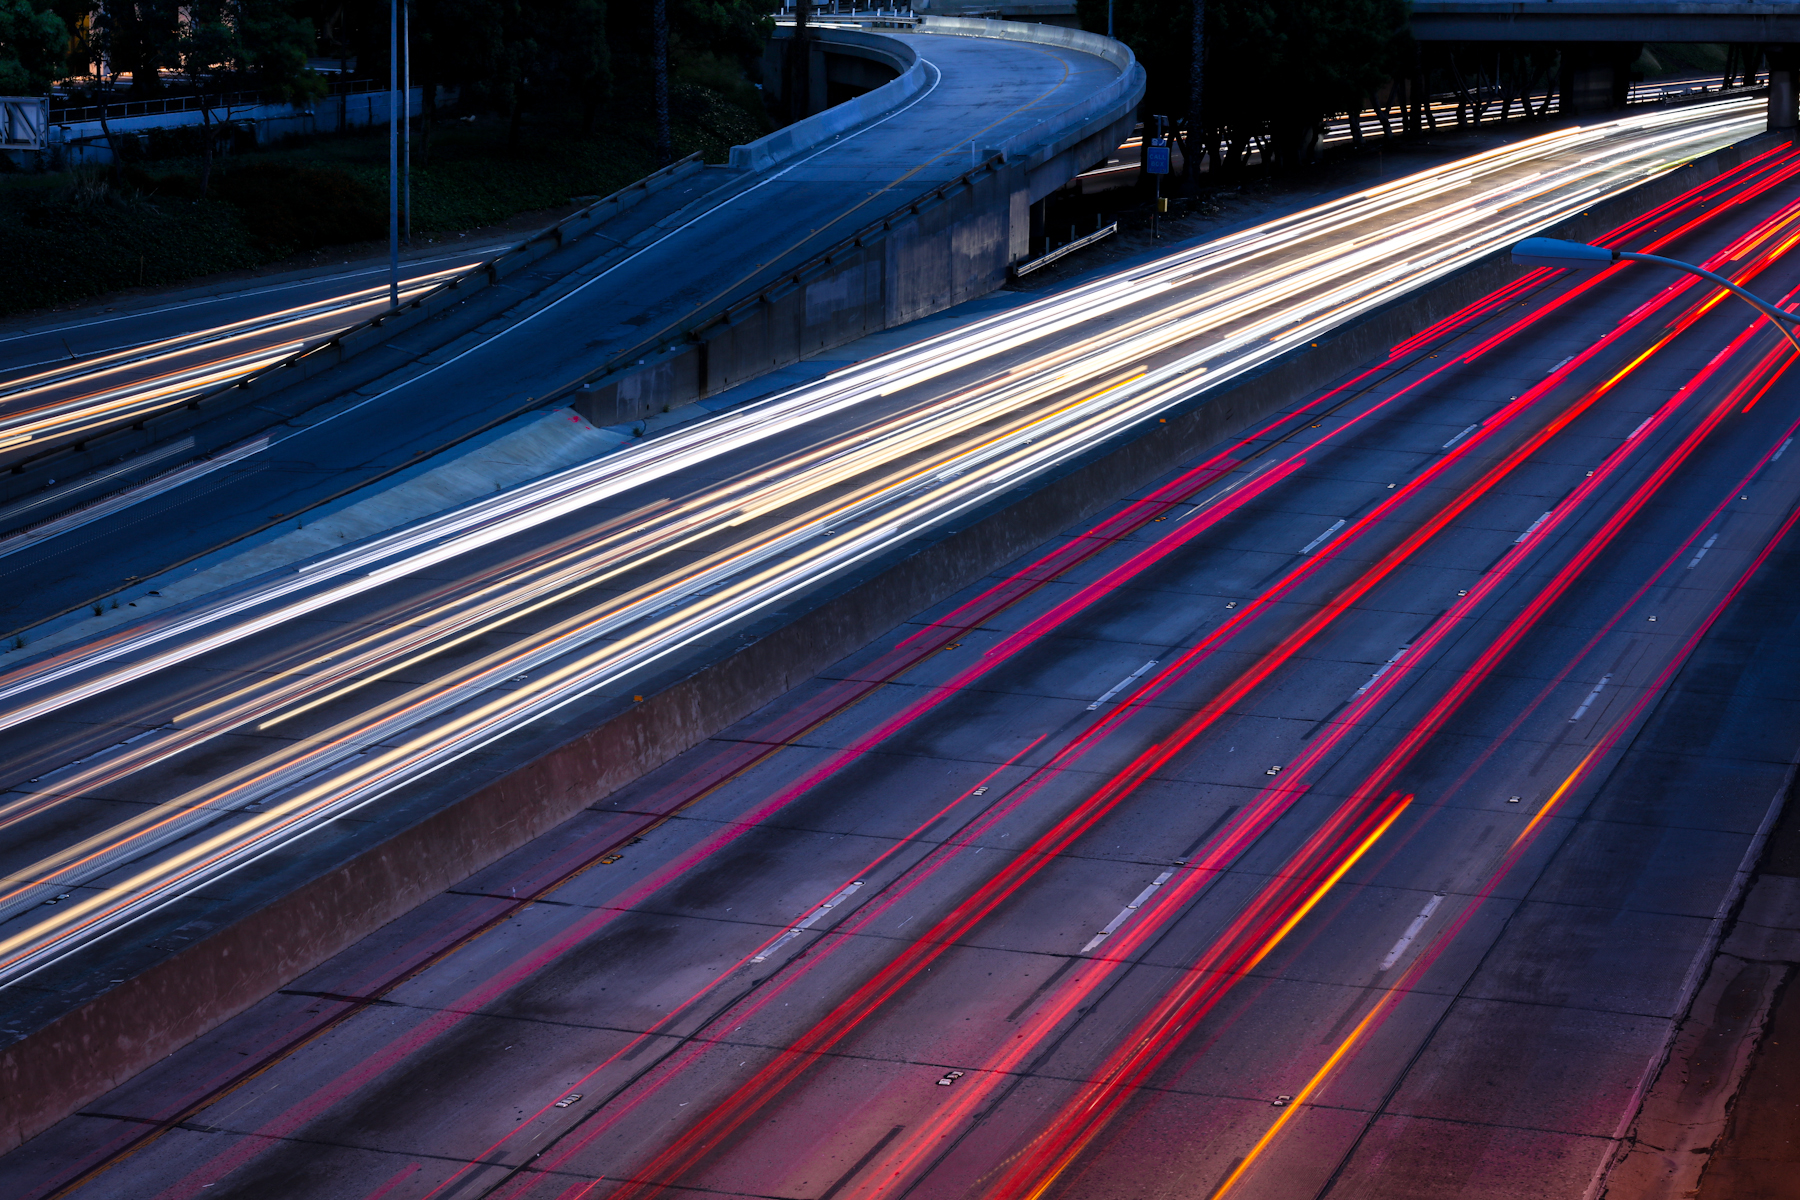
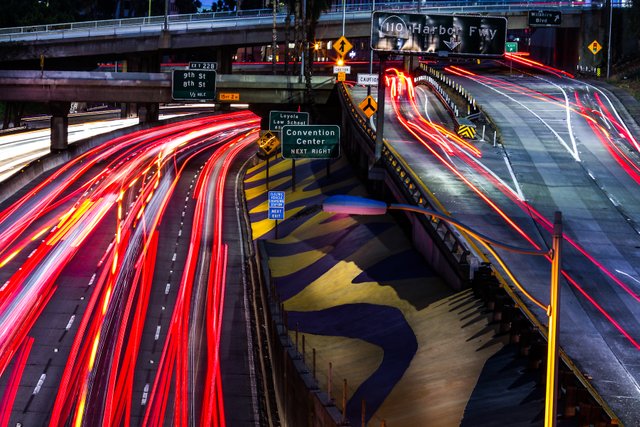
Because there are so many cars going by, I will take multiple shots and decide later which I like better. Can you see the difference in the two images?
I prefer the top image because there is a car coming onto the off ramp
Most night photography shooters choose to use a wide angle lens. I say use whatever looks best for your taste. I had the pleasure of working with Dan Winters recently and he told me that he "shoots whatever looks rad." That sums it up for me, if it looks good your eye, then it's a good photo.
The image above I used a 135mm lens. That's some major zoom.
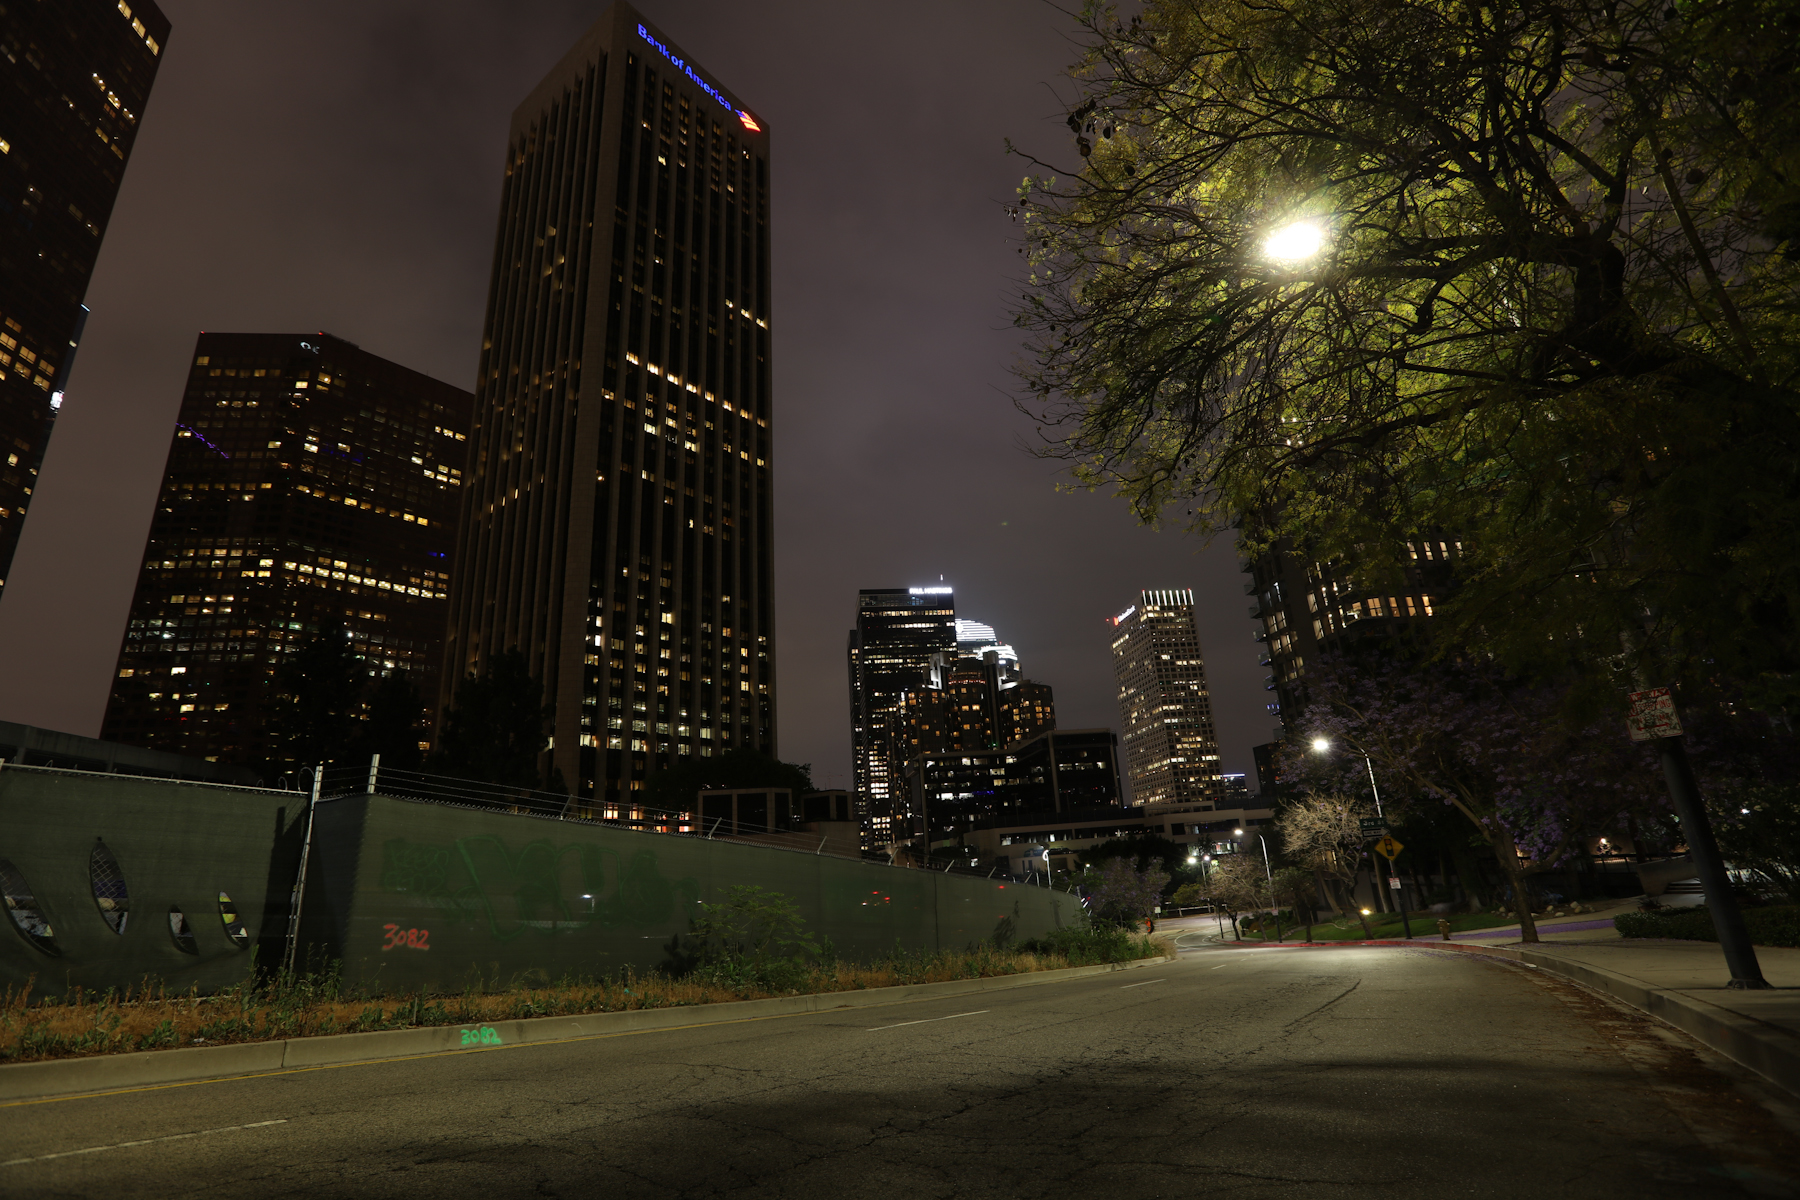
Here's one of the most important things to realize when you're shooting in the dark. Your eye can't see the final outcome until it shows up on your LCD screen or computer at home. It's a long exposure and it can be a bit of a guessing game. That's part of the fun and why it improves your skills as a photographer. Composition, color and camera settings all play a major role. Try to visualize the image in your mind. Also, think about the exposure: did you get enough shadow and highlight?
Color is especially important thing to consider when shooting in an urban environment There are all kinds of crazy color lights happening all over the place. Look the image above...it's straight out of camera. It looks orange and olive green to my eyes. I cooled it down in post to suit my taste.
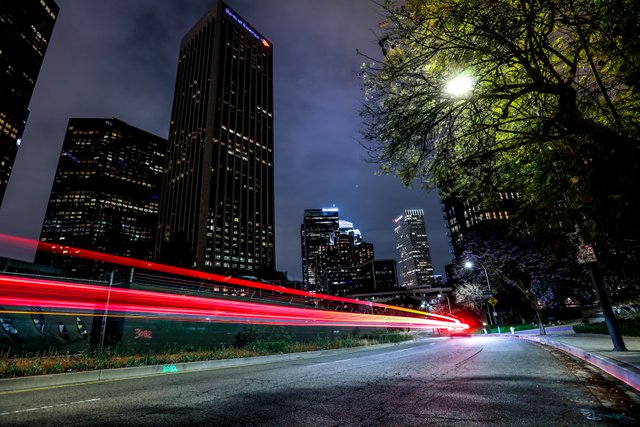
I not only cooled it down, I patiently waited for a car to drive by. Timing is also the key. How long of an exposure do I need? Composition? I definitely take a few test shots before winging it.
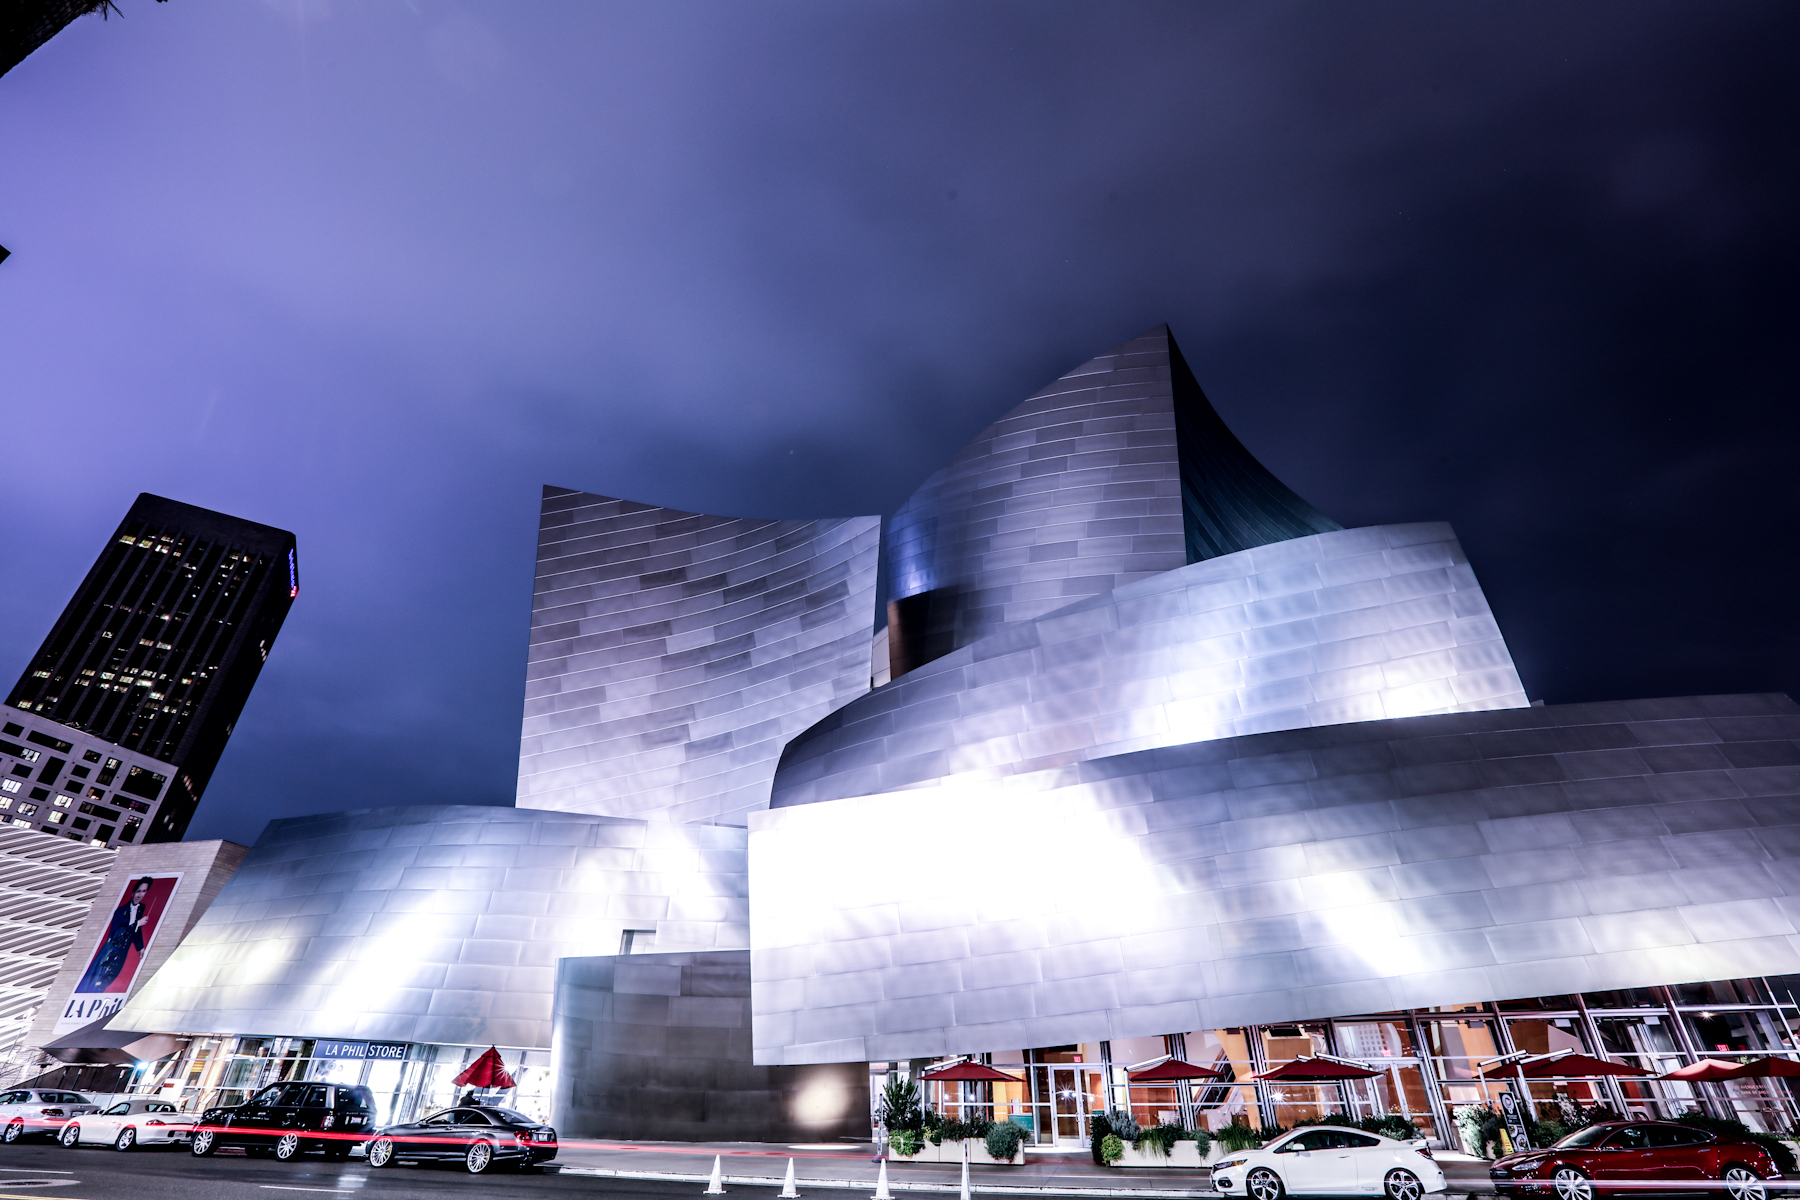
I really wanted some nice images of the Walt Disney Concert Hall in Downtown LA. It's an iconic building and probably shot a million times. So I walked around the building looking at different perspectives and took a couple of test shots to get the exposure right.
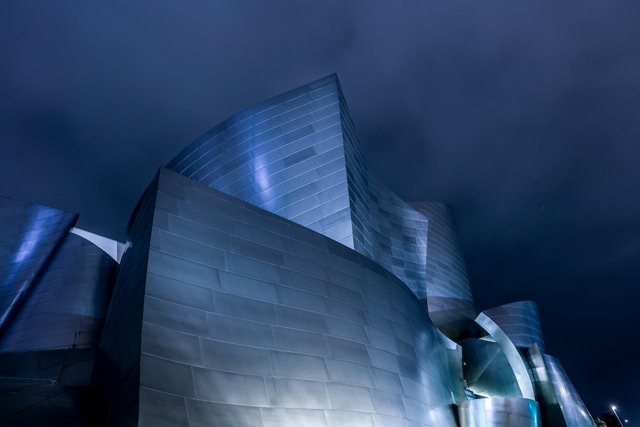
I decided to get in tight and get just parts of the building that I found visually interesting. It's part of the story. So didn't stop there, I kept on searching...
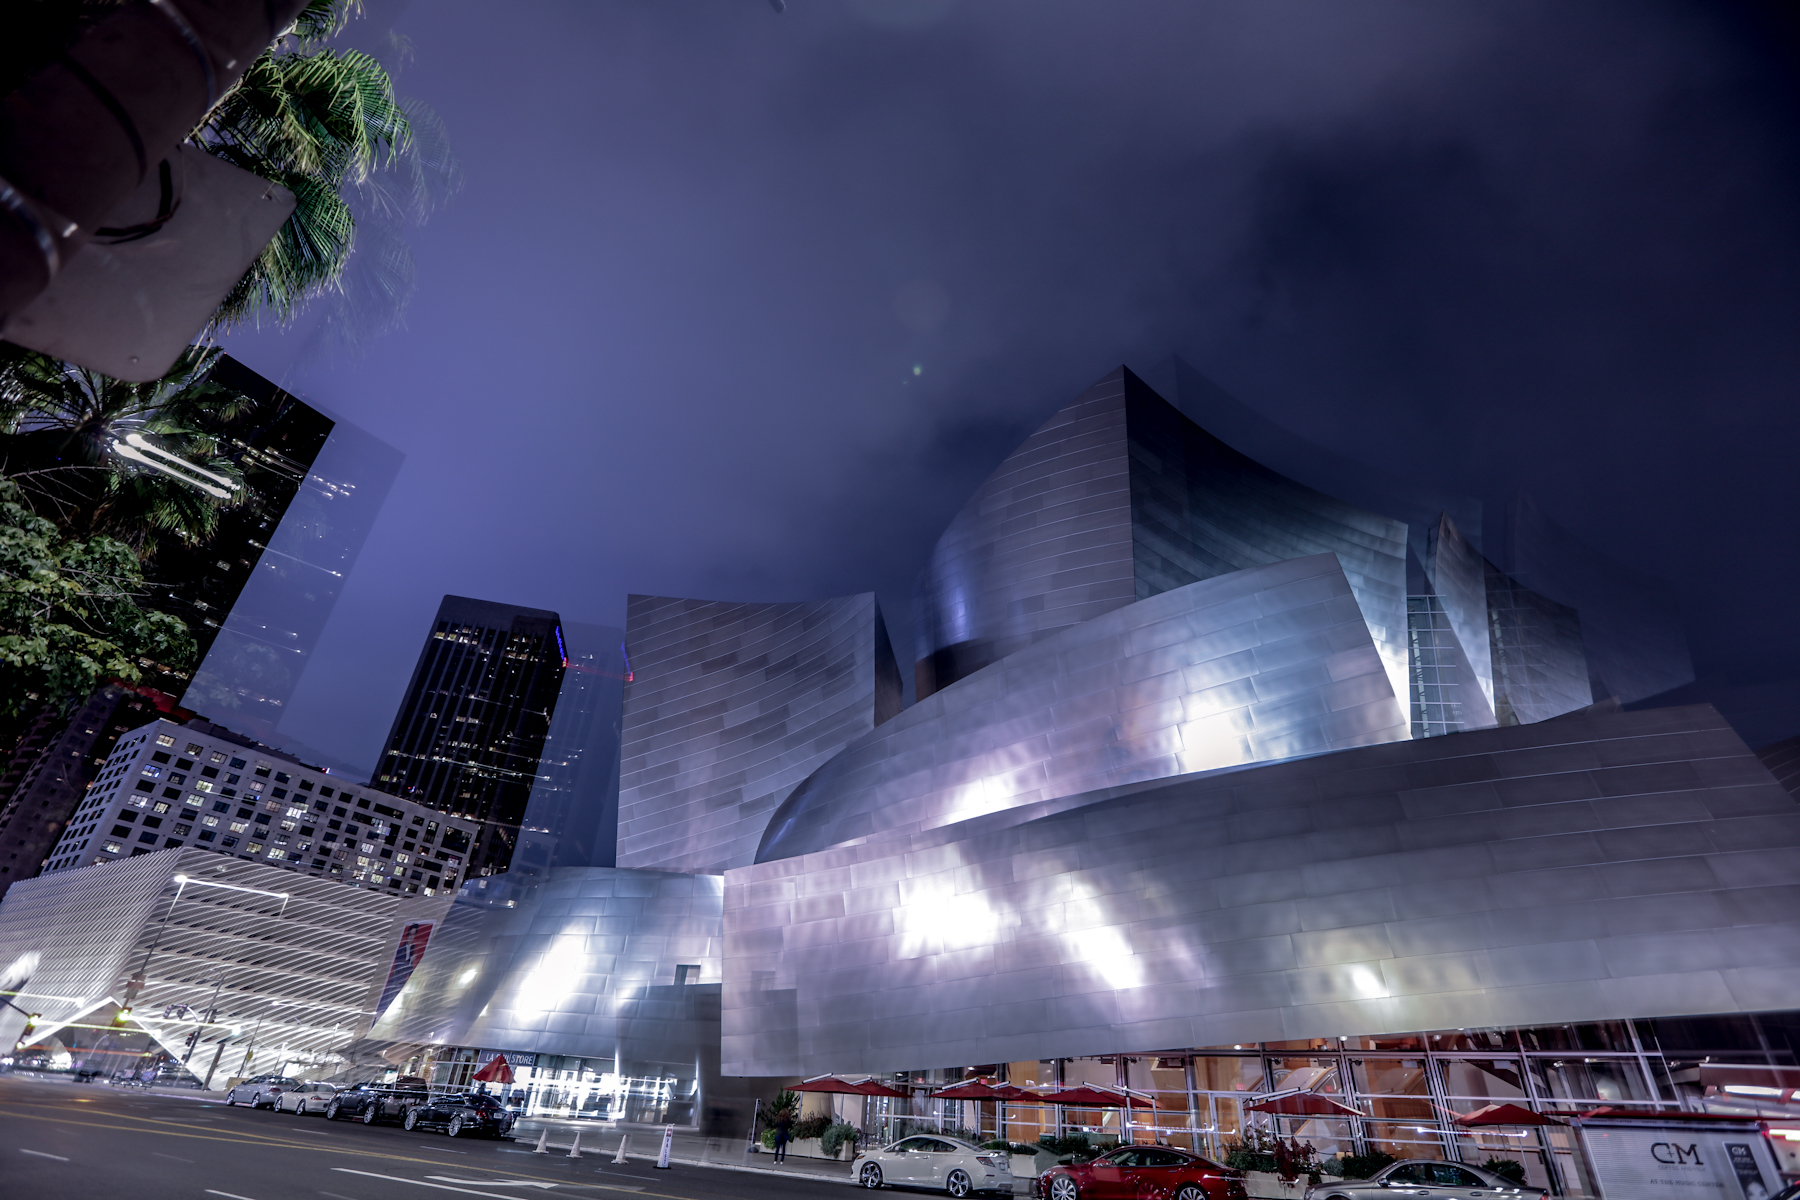
Oooops! I must have bumped the tripod and got what looks like a double exposure. Sometimes I put the camera into a 2 second timer mode so the shot is perfectly still after I have pushed the shutter.
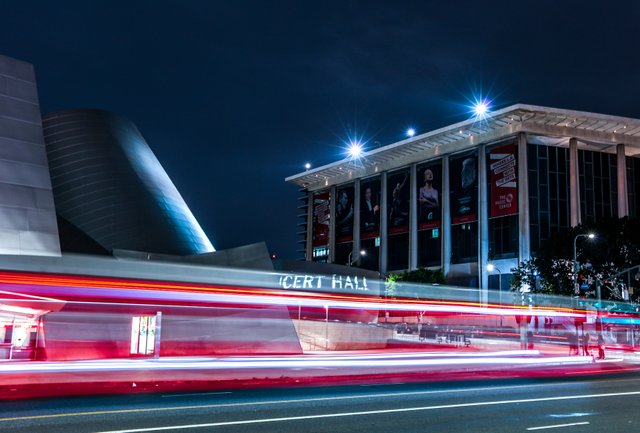
I noticed that buses were zooming by every couple of minutes, so I hoped to get some blue from the interior lights. But I just couldn't get what I wanted so I gave up and moved on.
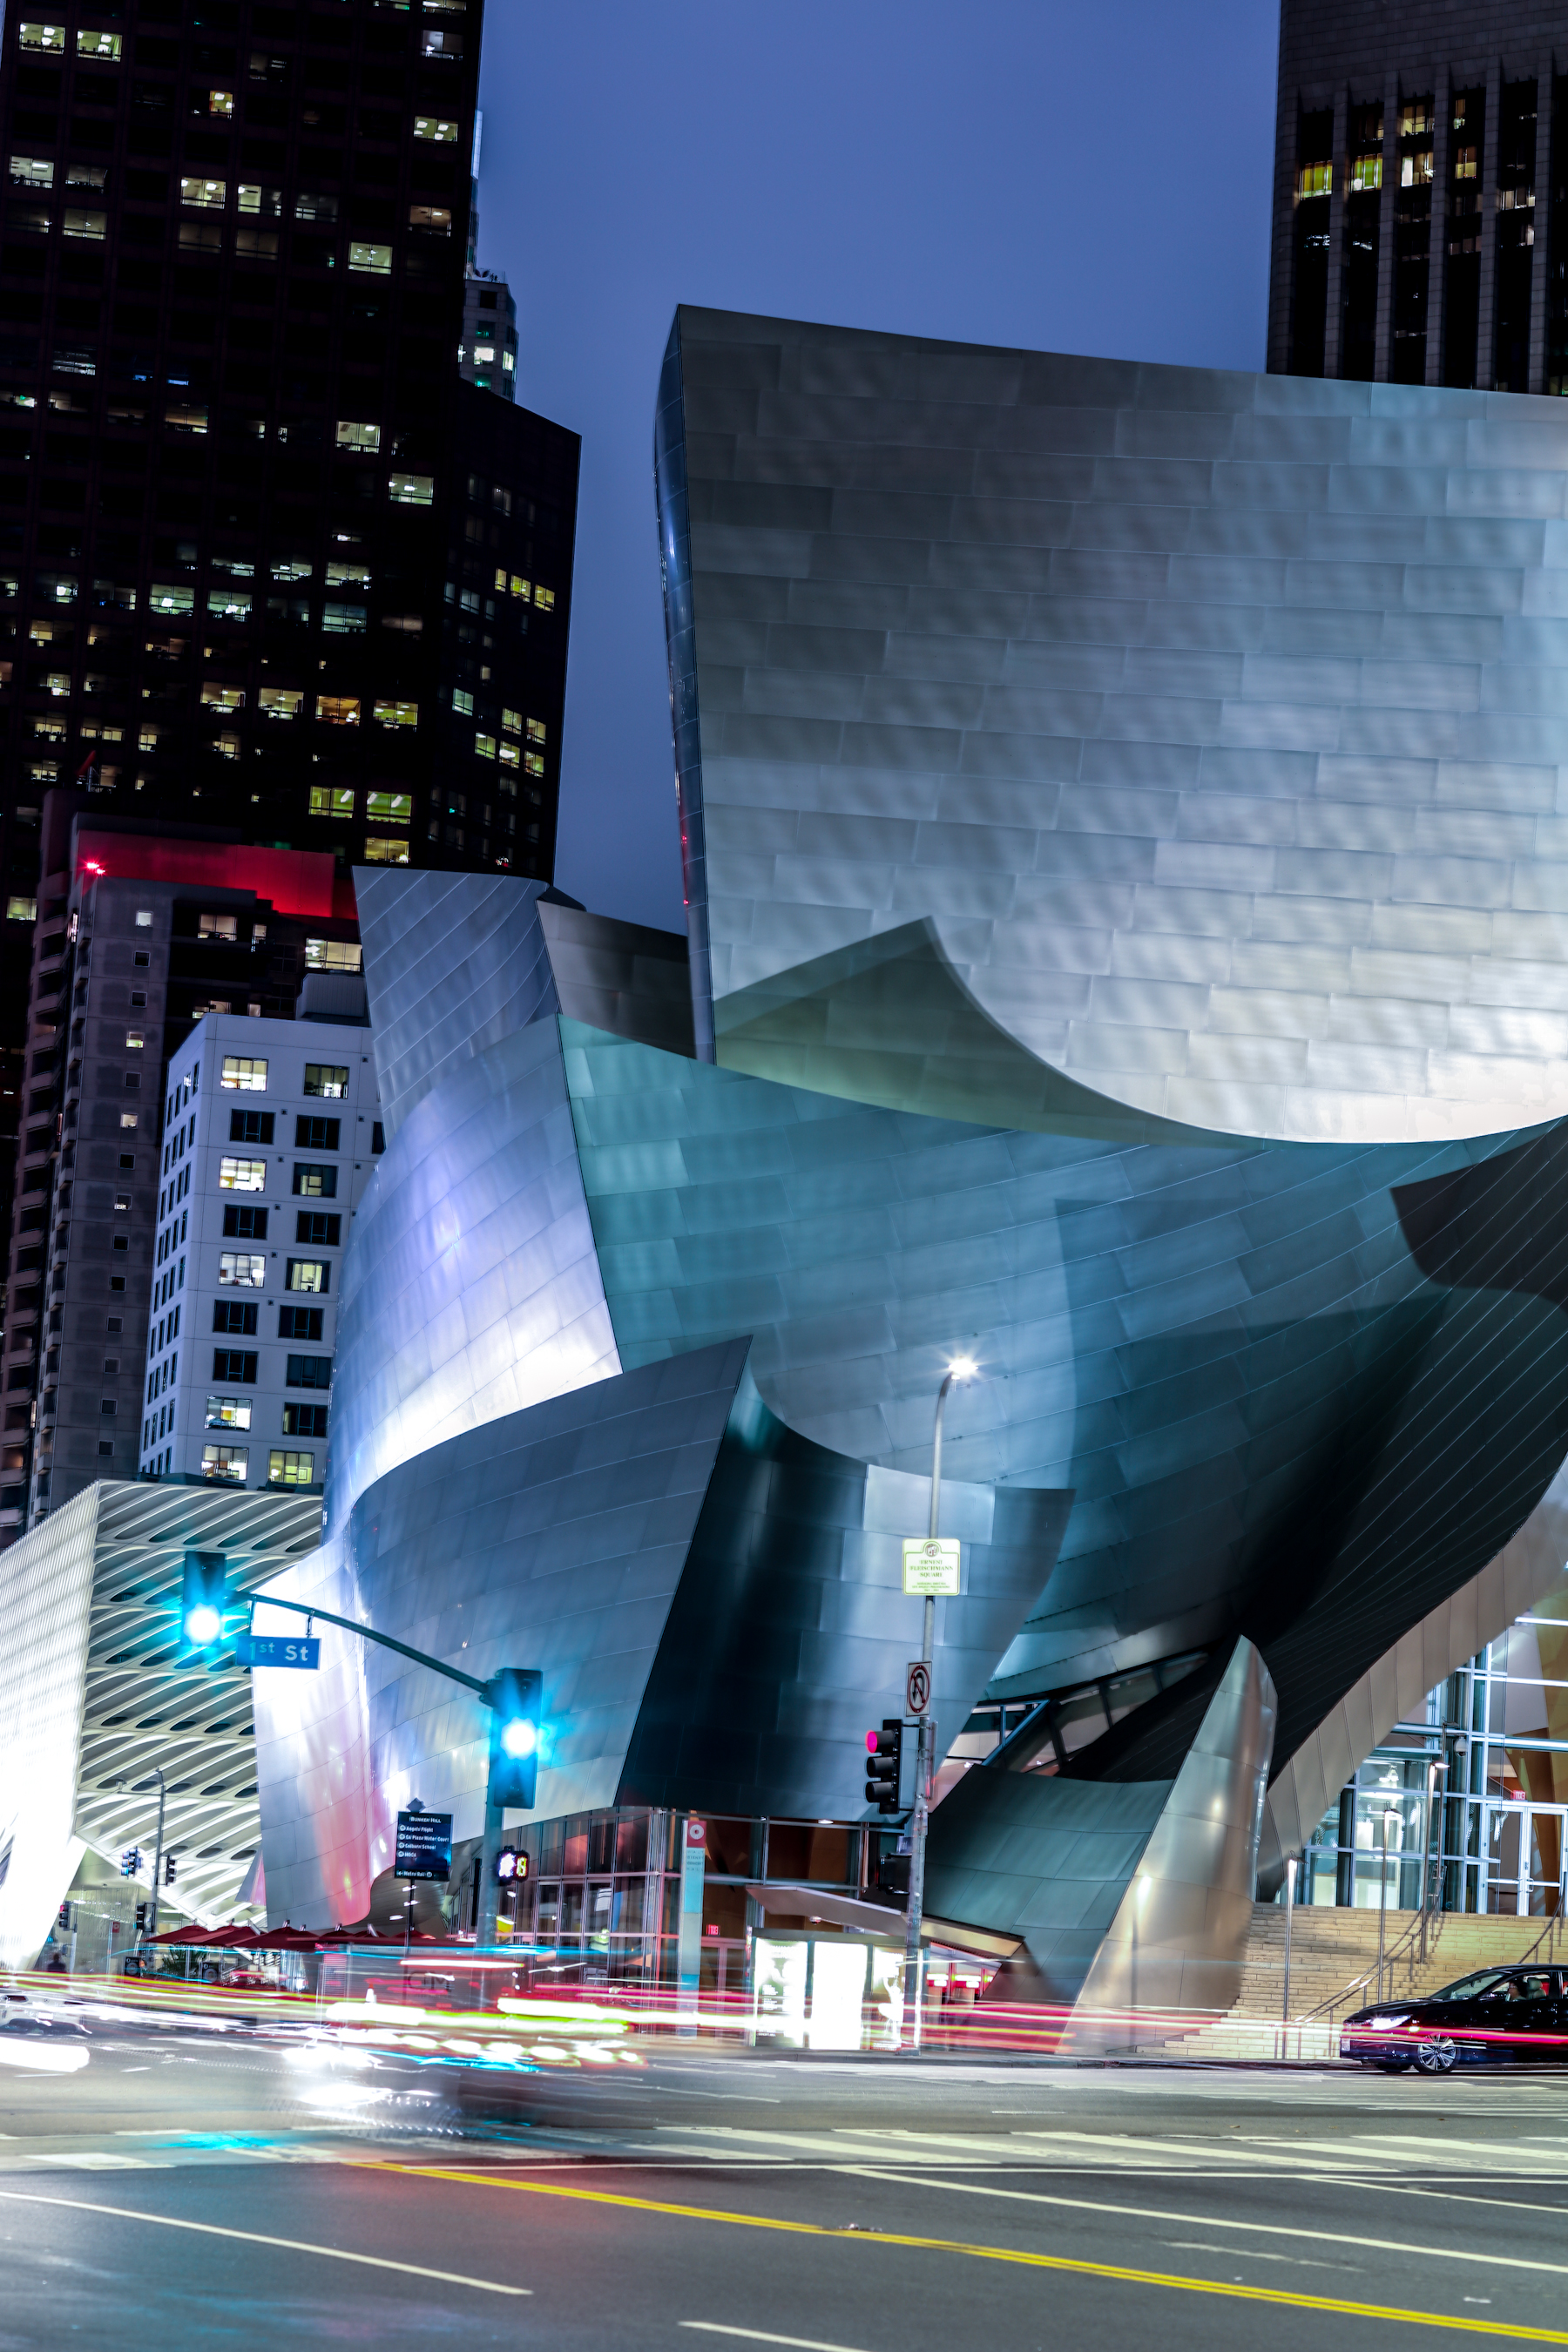
I broke out the long lens again. This time an 85mm. As always I test out a shot and make adjustments to exposure of composition on the second try.
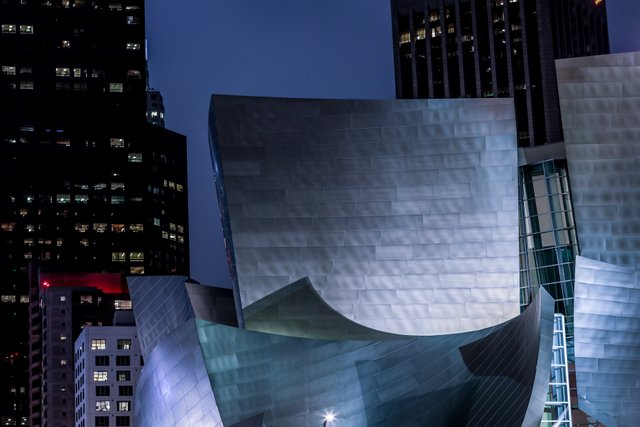
Boom! I like the in tight shot of the concert hall.
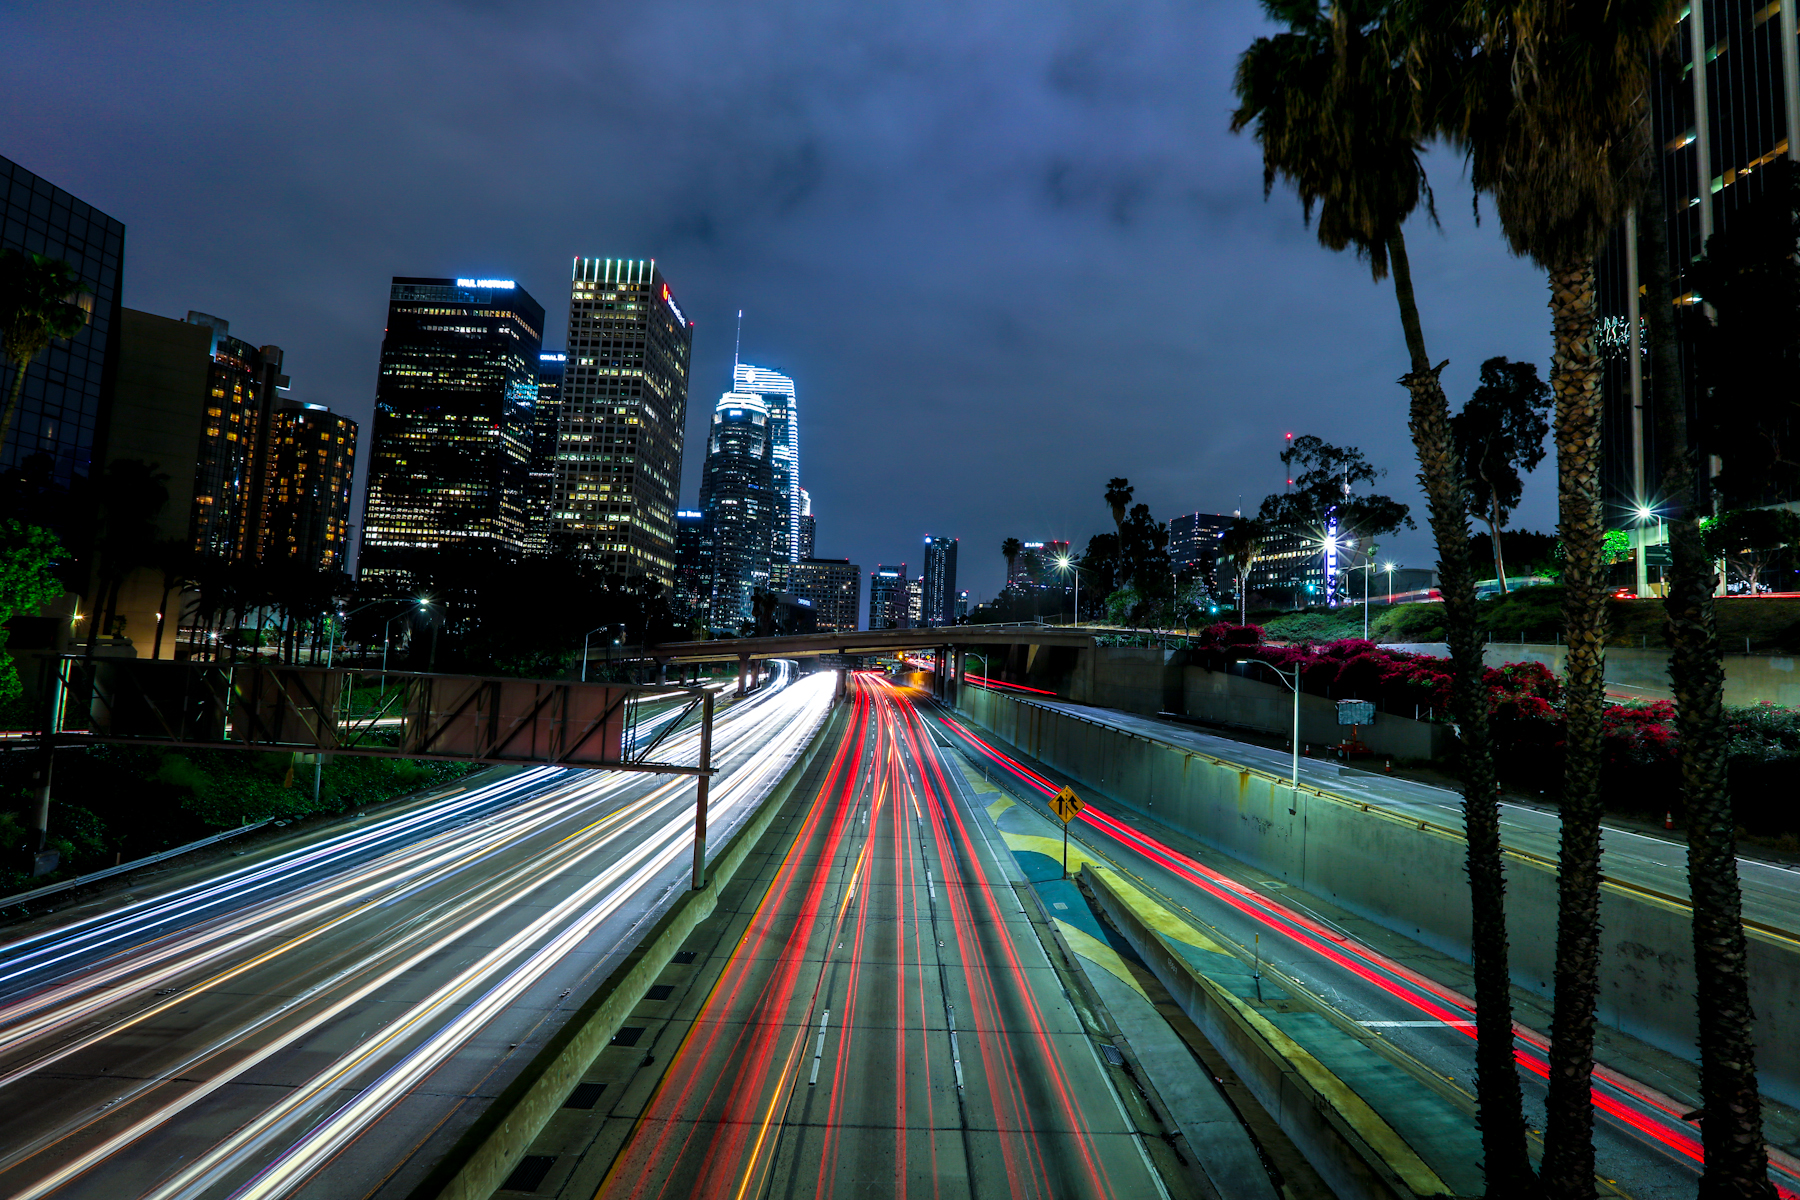
On the way back to the car I decided to get another freeway shot. It's cool. But what other possibilities are there? Simply moving the camera a couple of feet in any direction gives you an entirely different image. Let's explore what happened for the next two shots:
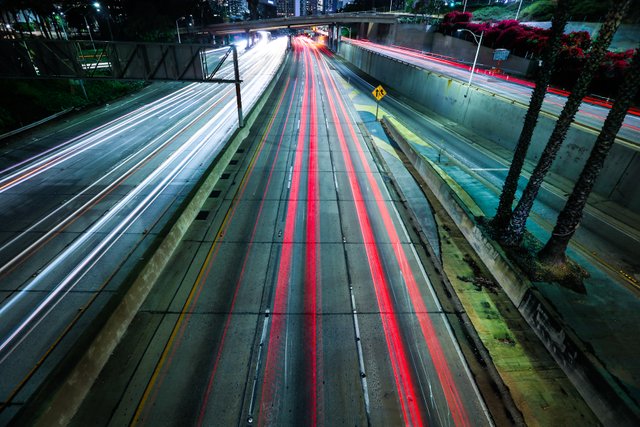
As they say in Thailand, "Same Same but Different"
Let's look at another:
I'm not sure which I like better, I honestly like the all for different reasons.
There is no Right or Wrong Remember that. If you get one thing out of this tutorial it's that...
THERE IS NO RIGHT OR WRONG ... photographers/artists shoot because they have to. We shoot because it makes up happy.
Thanks Steemians!
Michael
Excellent tutorial @lightenup. Can you share what equipment was used in the frames of those $7,000?
I used a Canon 5DSR body with 16-35mm, 85mm 1.2, 135mm 2.0 and an old Bogen tripod.
I'm used to worrying about the $$ on my back. Many times I'll have a 5d4 & 1dx. Scary part is that in the future, I'll probably be paying more of a price on back surgery
That's some top notch content there, if the platform was justice-balanced you'd get hundreds of dollars for texts like this. Upvoted, resteemed.
Hahaha...maybe I should try taking furry cat pictures.
Great Night Shots! I was just in LA a couple weeks ago, wish I had someone that knew their way around the city to get shots like this- and to have my back.
Steal my wallet, not my camera bag- Safety is my biggest concern. I haven't taken shots like these in a while.
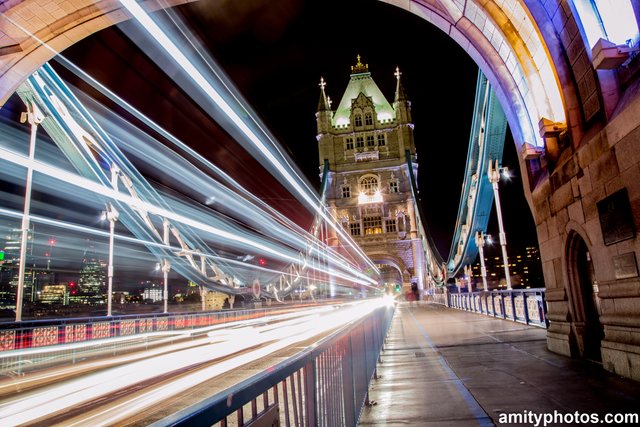
Tower Bridge
Niagara Falls
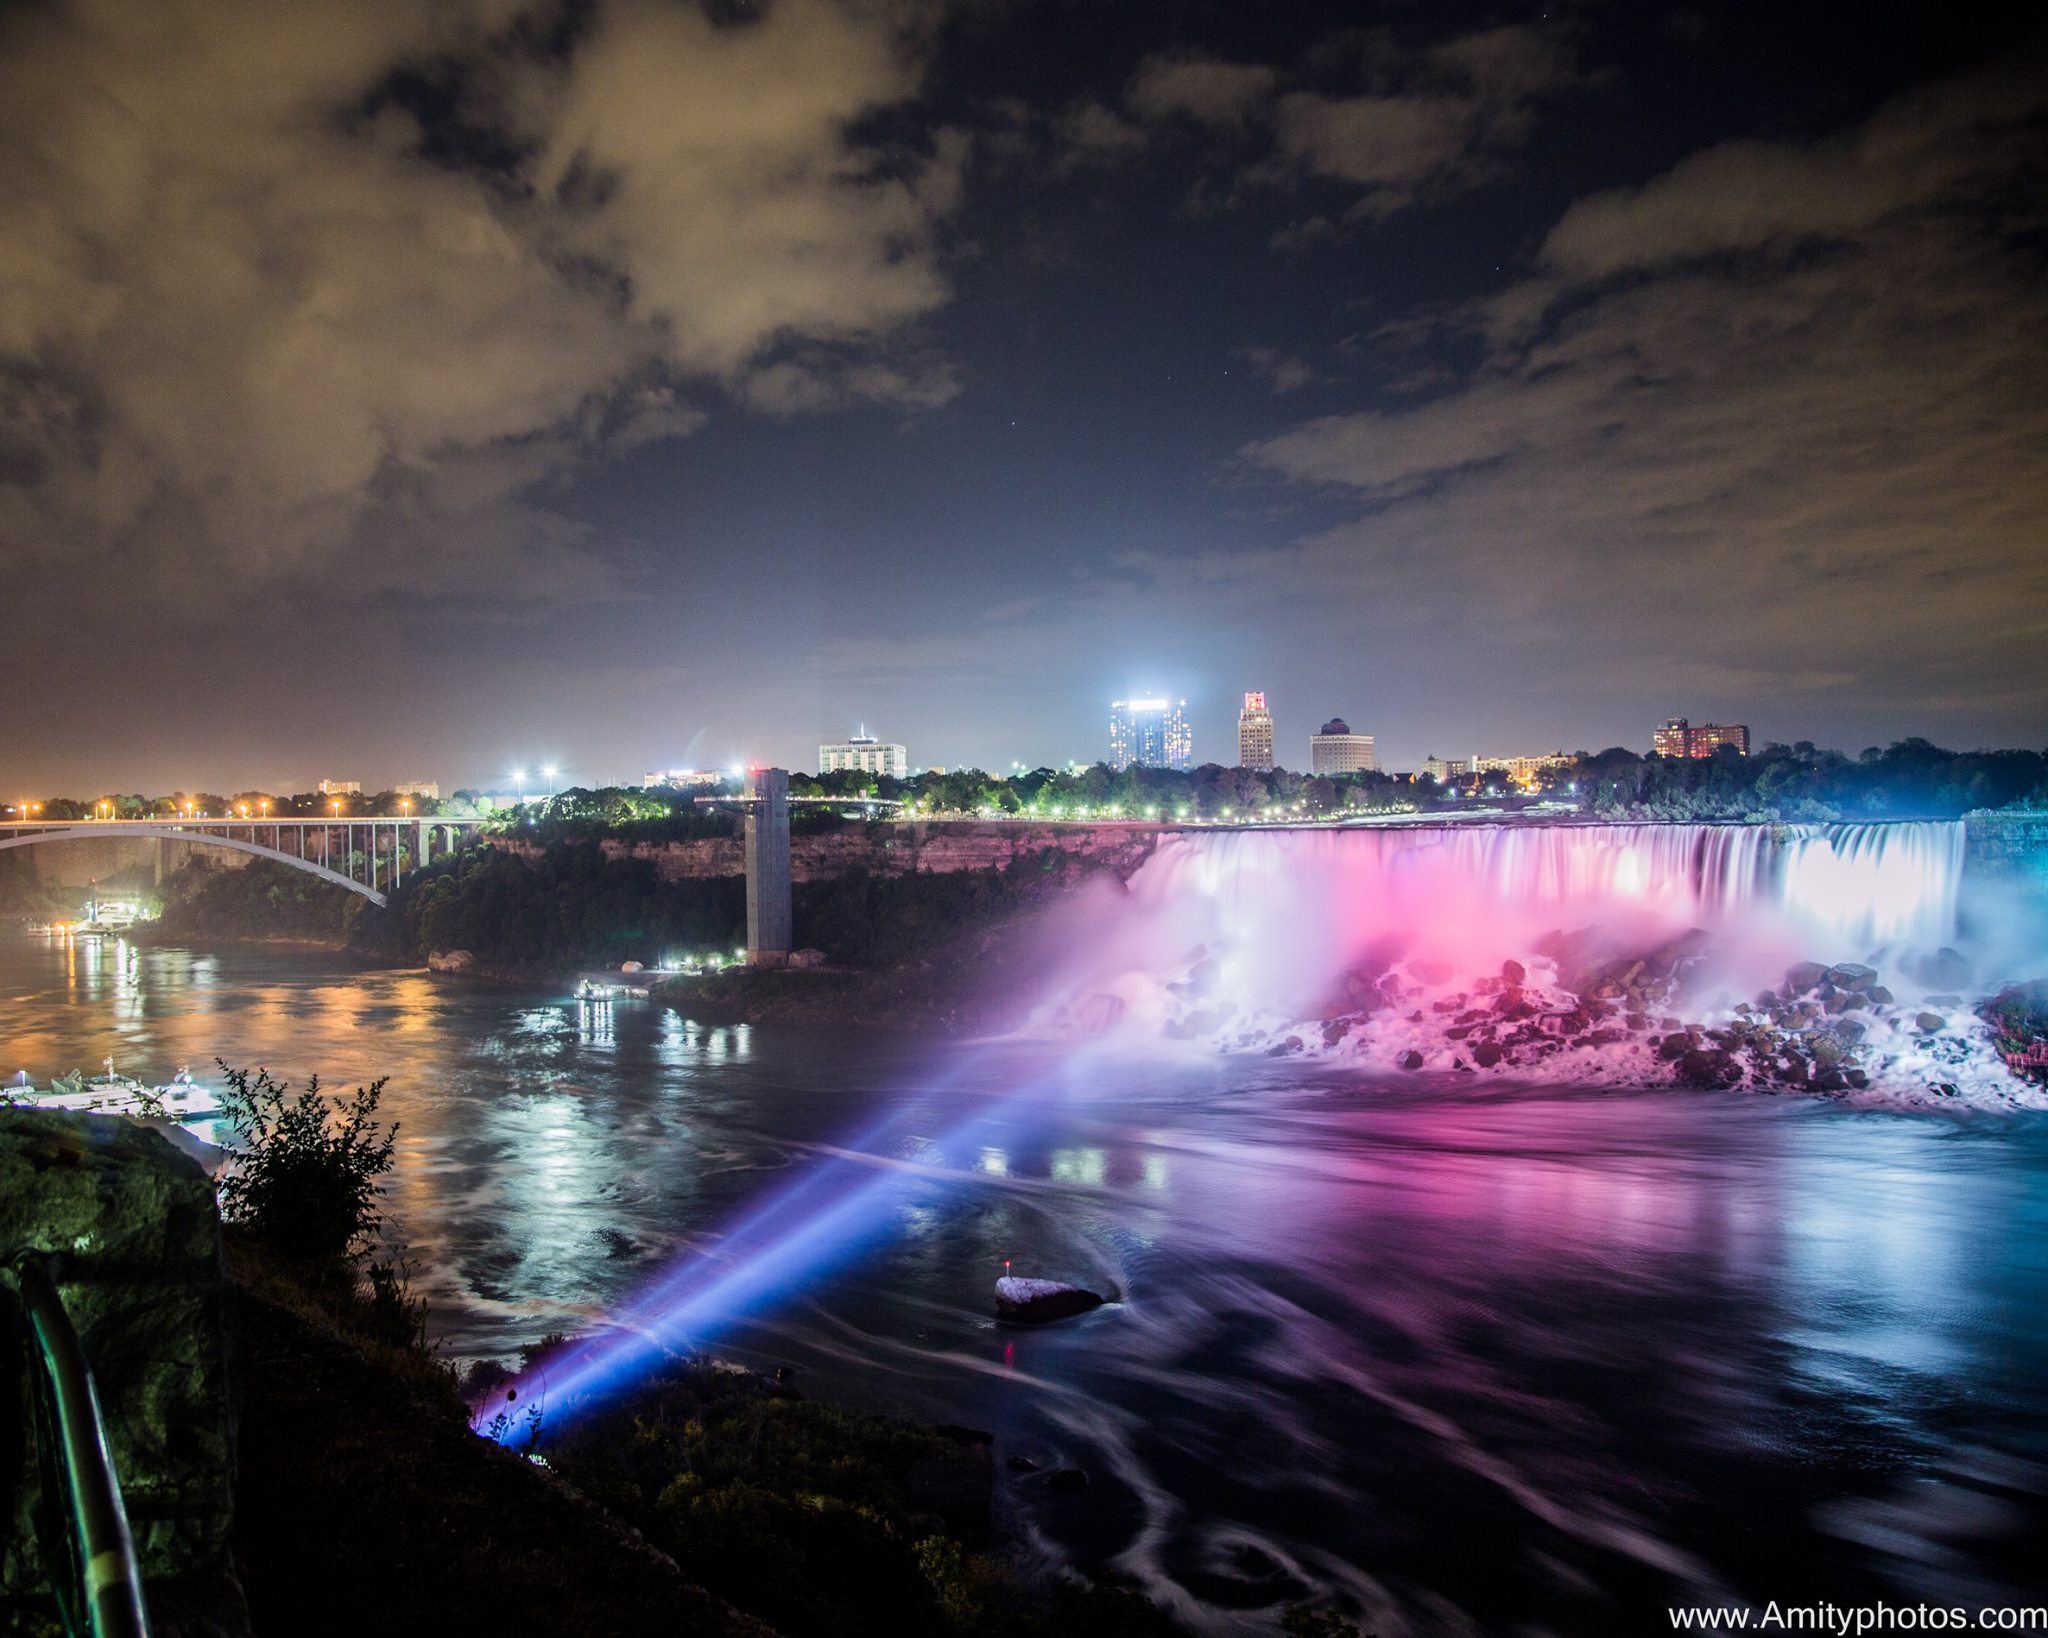
I shot again last night and I was by myself, it was a bit sketchy to say the least. GREAT SHOT AT NIAGRA!!!!