Before and After #1 - Step by step with pictures showing how I edited my images
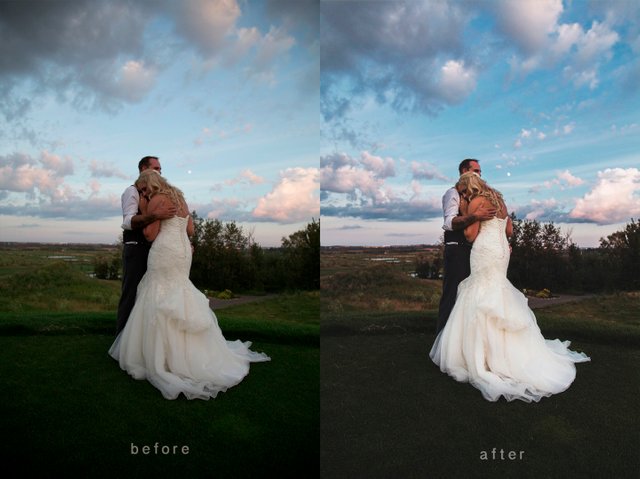
I want to show you how I edit my photos by posting before and afters along with how I did them. I will be going through all different kinds of photography examples but wanted to start with a wedding portrait. I love editing, so I hope you like this and get some helpful information out of it!
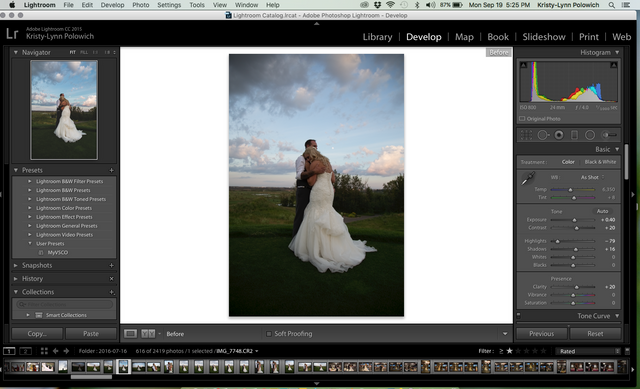
First I opened my image in Lightroom and did a few adjustments with the Exposure, contrast and highlights. This shot was taken at sunset and I shot it a bit dark so I brightened it up a bit to start. I also lowered my highlights because for this image I really want to bring out the sky and the beautiful blue, purple and pink clouds. The sky as well as the brides dress is what I have decided to focus on.
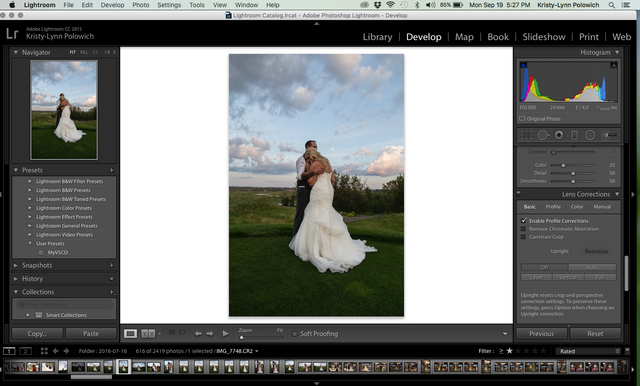
Next since I used a 18-40mm lens I have some major distortion so I want to correct that right away before I move on. To do automatically in Lightroom go to the lens corrections box and then click on profile corrections. It really brightened up the corner edges of the picture and made the image not as distorted in the middle.
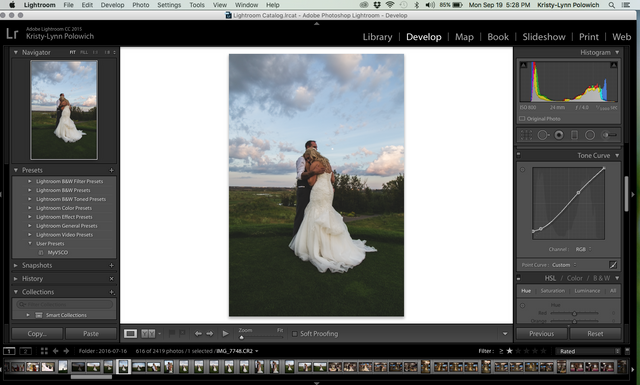
Next I go to Tone curves and I make an edit that looks like this. I use this in a lot of my images because it starts to give it that matte film look I like. This is a lot like what the VSCO filters do. So you bring up the blacks by clicking on the bottom of the curve and bring it up a little, then make another selection above it and bring back some shadows and then also make another selection in the highlights to bring those back like an S curve. If you want copy my curve in the photo above and then adjust it to your taste.
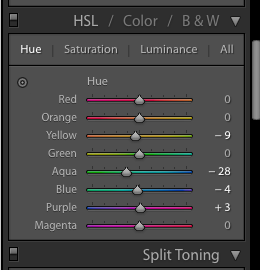
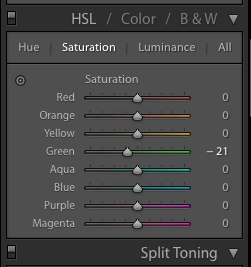

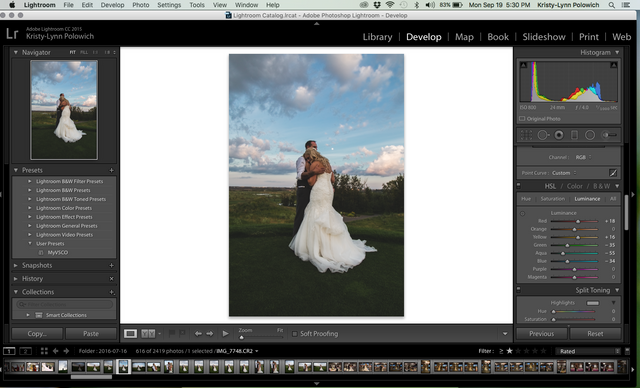
I then move on to adjust the hue, saturation and luminance. This is where I really enjoy deciding how I want my colour to look. I wanted to enhance the sky colours and take away and dull the grass. I make the blue a bit more turquoise by moving the sliders in the hue section. In the hue section you can completely change the colours in your image by moving around these sliders. I then went to saturation and took down my greens so they were a bit more dulled since I don't want much green in this image. I did a lot of adjustments in luminance which changes the brightness of the colour you select. Since skin has a lot of red in it I brightened that up as well as a bit of the yellow since her dress had some cream/yellow in it from the sunset. Then to really make the sky look more dramatic I lowered the luminance for the aqua and blue to make the sky more colourful. Again this is a great place to try moving the sliders and just experiment to find the look you want.
A lot of times I stop here and I am finished but I wanted to add some adjustments in photoshop as well since I was loving the picture.
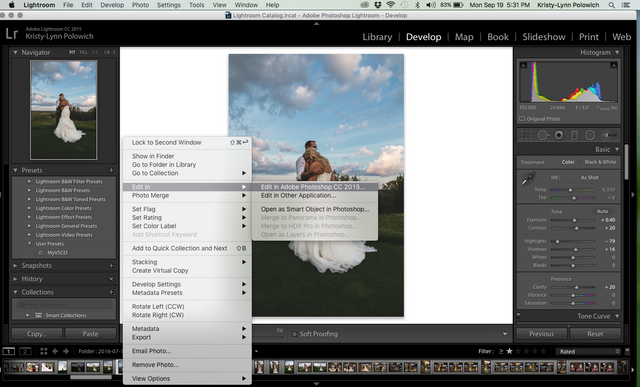
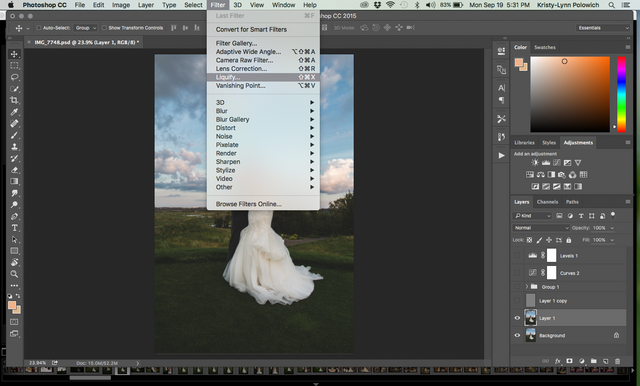
This is how you open your image in photoshop from Lightroom
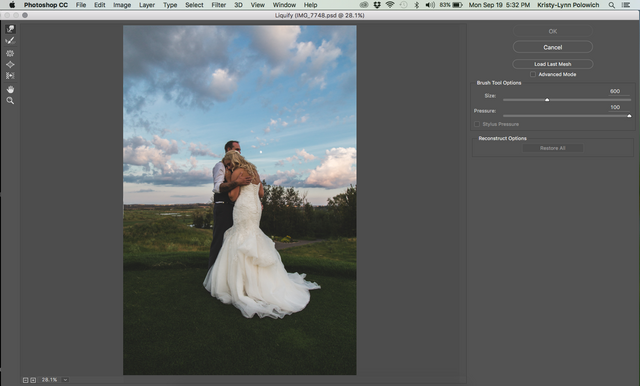
First I used the liquify tool and I made some adjustments to the dress making it trail a bit longer at the bottom. I also tucked in the dress on the sides a bit as well.
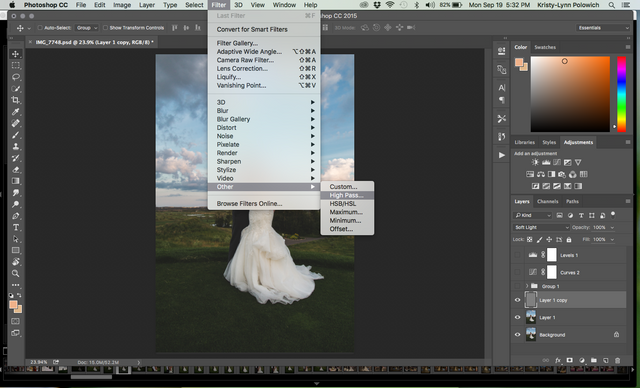
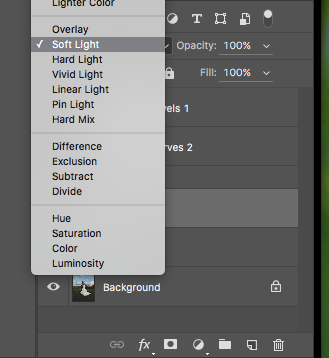
Then I made a new layer and selected highpass at 4.0, then I adjust that layer to soft light. This is a great way to sharpen an image a bit more.
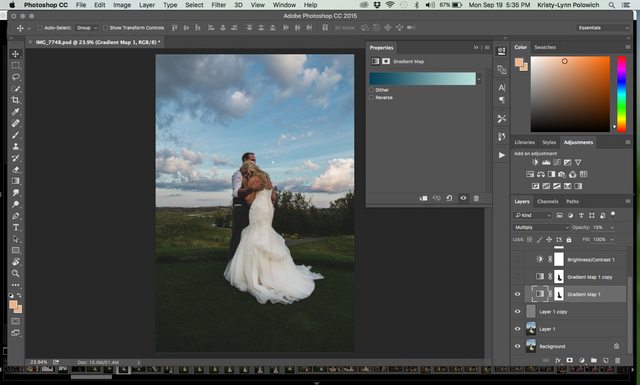
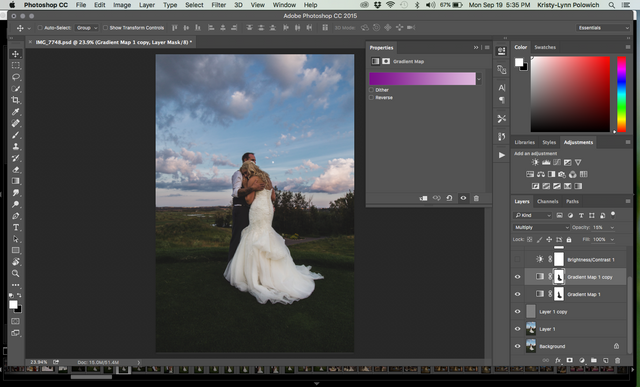
I really like using gradient maps so I used one blue one and a purple one to emphasize those colours in the image. I then set both layers to multiply and opasity of 15%. For both I clicked on the layer mask and painted the colour off the dress so it stayed white. (For these colours I made my own gradient maps by selecting the colours out of the sky)
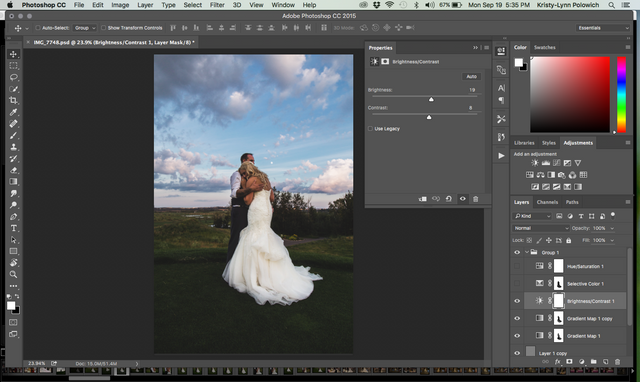
Here I added some brightness and contrast
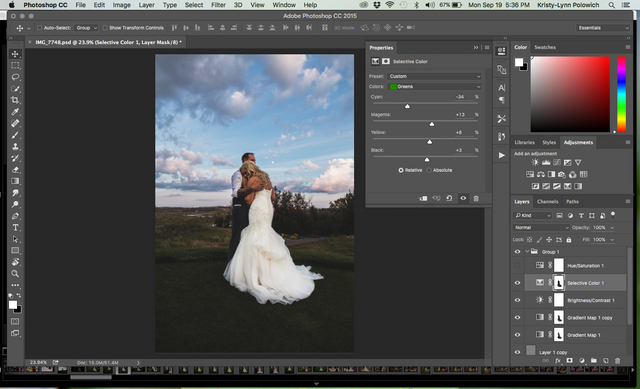
Did some more selective colour correction on the greens and still painted the colour correction out of the dress in the layer mask
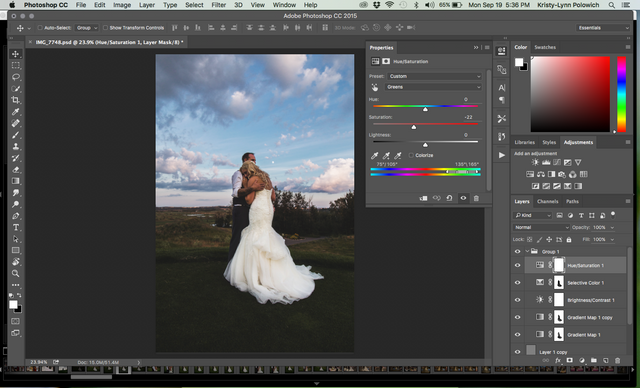
Like I said at the beginning I really wanted to mute out the green grass so I took out more colour in the hue and saturation to take attention away from it.
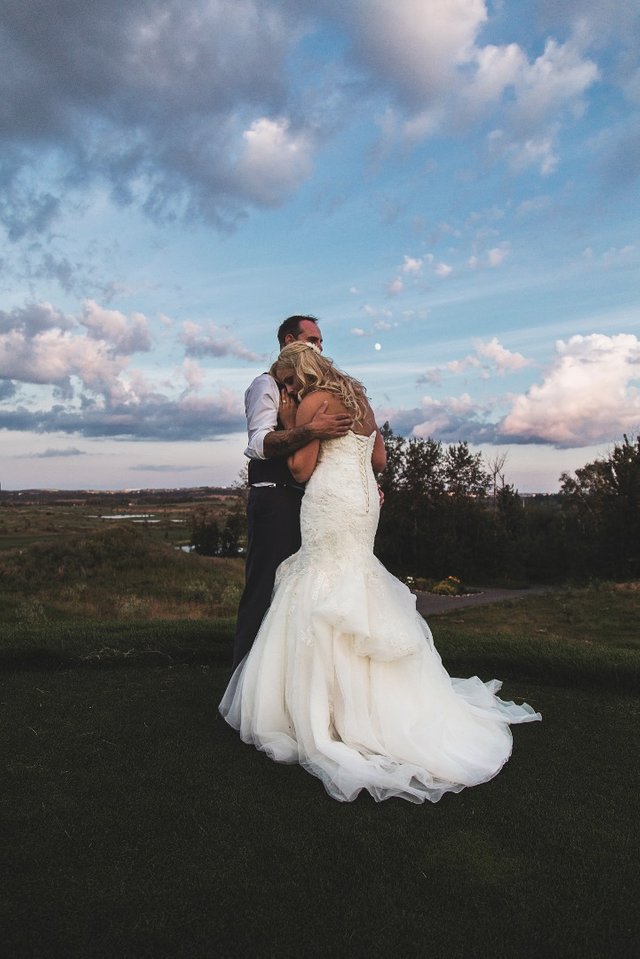
Then I was left with my final image that I was happy with ( I bet your thinking holy finally!) I wanted to walk through my whole process and it is not always this many steps. If you are more of a beginner I hope you learned a few things from this and if you are more advanced I also hope you liked it or got some ideas! This is just the first one!
I will be posting more before and after images with how I did them! So stay tuned and please follow if you would like to see more.
Wow the picture turned out beautifully!
I read in your intro post that you already offer portrait session paid in Bitcoin. You might be interested in checking out Peerhub.com to offer your services such as photo editing or portrait sessions paid in Steem dollars (you can find more info about it here). It is a marketplace that is focused around Steem dollars and the Steemit community. We're holding a raffle this week with a pool of 150 SD if you post a service or item on the site. I will also be making a weekly post highlighting newly listed items in the marketplace that could potentially help your services reach a wider audience :-)
How do I find it? That sound interesting.
Awesome! You can read about it here: https://steemit.com/steemit/@steemrollin/peerhub-bringing-steem-beyond-social-networks-to-the-new-economy
The website is Peerhub.com and you could post under the "Service" tab.