Dark pinup Photoshop tutorial; retaining shadows and mood!
Steemian’s! I did another Photoshop tutorial for the photography/art community here on Steemit! I’ve been asked to do tutorials for years. I never took the initiative to actually do one for two reasons. Firstly, I do suffer from major imposter syndrome. I’ve thought to myself that no one would actually want to watch me amble through my schizophrenic approach to editing. There are so many industry professionals that do world class, industry level post processing and retouching, and who am I? Secondly, and contrastingly, I admit to having be a bit “protectionist” in the past. I know, at the very least, my photography does have a unique voice. I’ve had scores of people tell me “…I can just look at a photo and know you took it.”. That is some serious career equity, and I’ve been afraid that doing tutorials would dilute the significance of my style. I know now, that’s dumb. I’ve learned some of the techniques I still use today from tutorials I watched before YouTube existed, so I’m just paying it forward. Also, surprisingly, these are really fun to make.
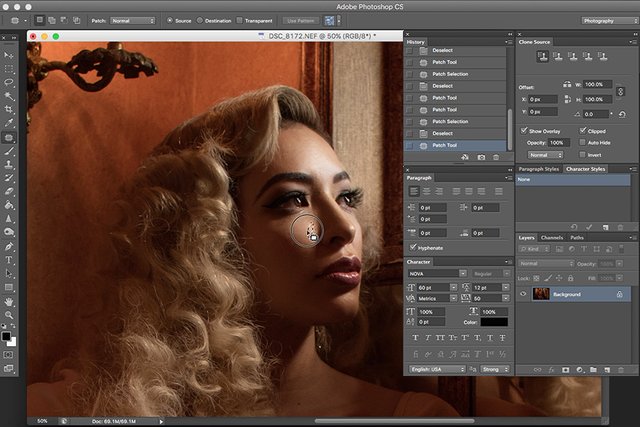
This particular tutorial walks through the editing, retouching and post processing of a photo of my beautiful friend Cindy. I have a few shoots coming up over the next couple of weeks and I’ll be making a video of how I set up shots on set with available or diegetic lighting, but for now, this is a look at my process once the photo is taken.
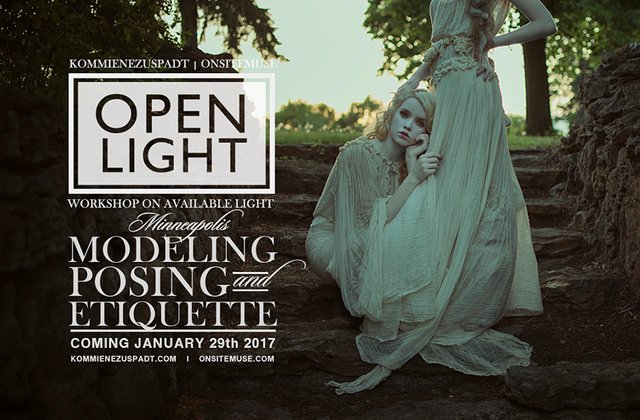
To my point earlier, one of the qualities that makes my photography distinct is embracing the depth of shadows and mood. I teach workshops all over the United States called OPEN LIGHT, expanding on what I learned from my mentor and documentary photographer, Jim Gavenus […in fact, many of the first OPEN LIGHT workshops, he and I hosted them together]. Jim’s career took him on a journey telling stories with photos through Haiti and The Deep South. In these remote locations, huge, obtrusive equipment ins’t practical.
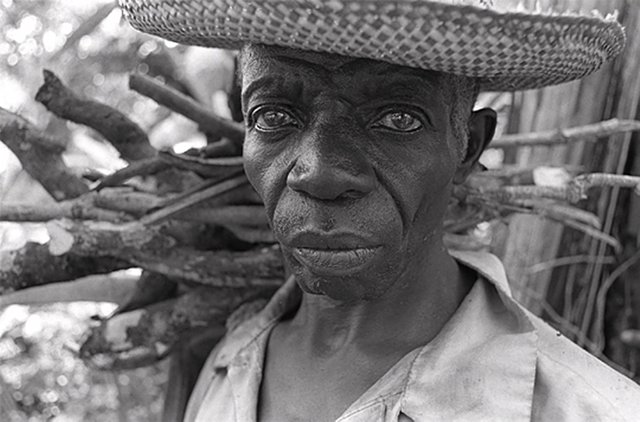
Jim always made beautiful pictures with just his camera body, and it was five years of working with him before I ever considering using lighting equipment. Jim could walk up to anyone […sometimes right in to their house!] and start a conversation while documenting his project. I wasn’t comfortable with that, and I veered towards portraits, and eventually fashion, but I always retrained that diegetic, OPEN LIGHT approach.
In this video, I’ll show you techniques I use to preserve the dark pinup look. How I soften skin […it’s a painstaking process], then enhance the subject from the shadowy surroundings while still keeping a moody esthetic. I also go in to the reality that some of my retouching is becoming closer to digital painting, more than it is post processing […one of the reasons I don’t use actions]. Each photo is it’s own, unique piece of fine art […or at least that’s my goal].
Link to the Portraiture plugin I used during this tutorial is by Imagenomic. Available at www.imagenomic.com for $199.
Again, I actually like doing these […as it turns out]. If you’d like to see a specific technique or approach to shooting or editing, I’m all ears. Also, feel free to comment with suggestions to make my process better or more efficient. I’m learning as much today as I was 20 years ago.
Follow my blog here @kommienezuspadt for more art, photography, tutorials and thoughts on life in general. Have a great day!
Excellent post again, thanks for sharing the wisdom and knowledge, we all win from it. Namaste :)
Thank you @eric-boucher! These have been surpringly fun to make.
Very cool!
Thank you @jasonrussel!
nice
Thanks @photono!
Thanks!
Thanks @tuck-fheman! Glad you enjoyed it. It was fun to make.