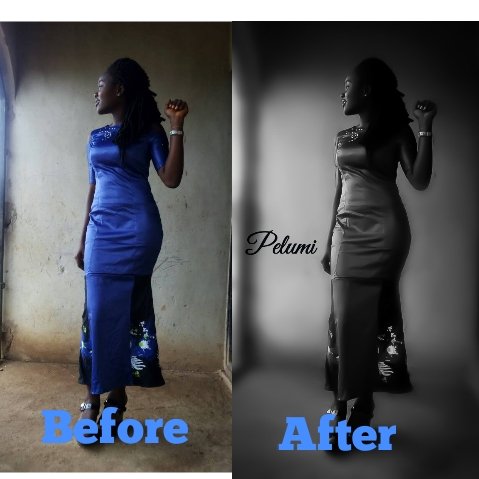
Check out these photos i edited, and the steps I took.
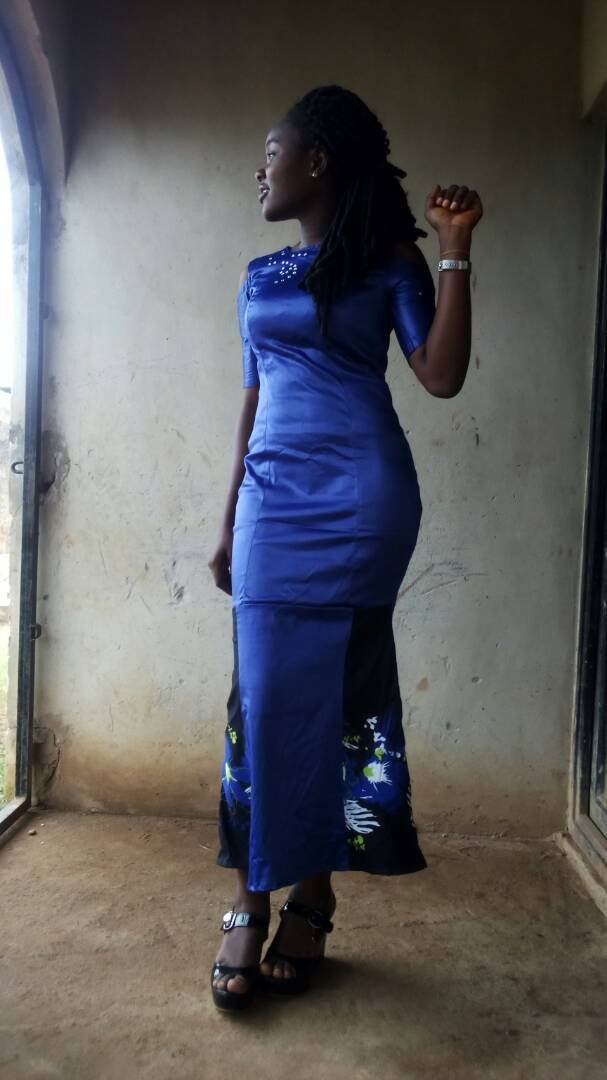 original image
The first step was to blur the background which I used DSLR blur for
- zoom into the photo then carefully blur the background slowly using mobile phone for this is very difficult so don't give up.
Note: there are icons **blur, pan and clear **
blur: every area you move with your hand every where you swipe would be blur
pan: this is to move the picture, zoom in and zoom out
clear: this is to clear a path you have blurred before
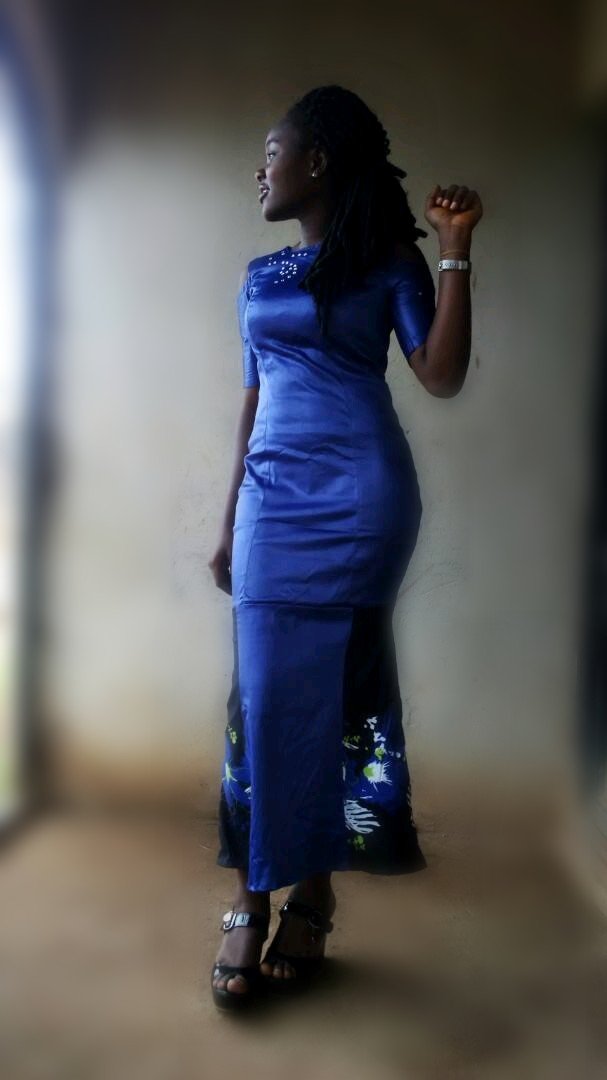
then I saved and carried the picture to Adobe light room where I tried different profiles
in light room you can try different profiles like artistic, monochrome, colour, vignette, modern e.t.c. well it's better you go through all to see the best you can come out with.
you can also work with the lightning using contrast to brighten or darken the picture, u can use noise reduction to reduce the amount of noise in the pictures
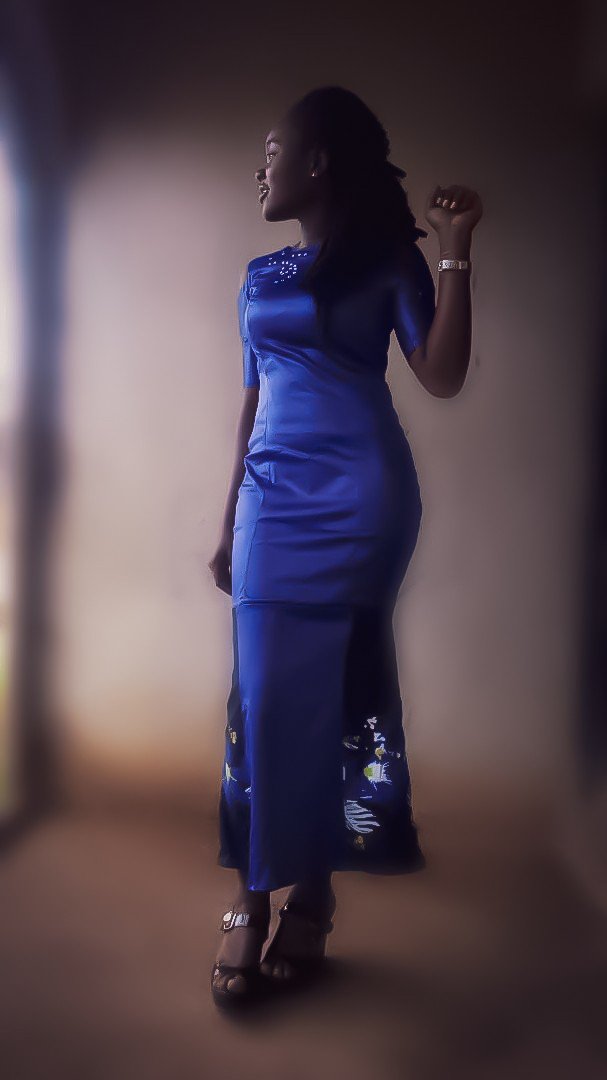
The above is the artistic profile
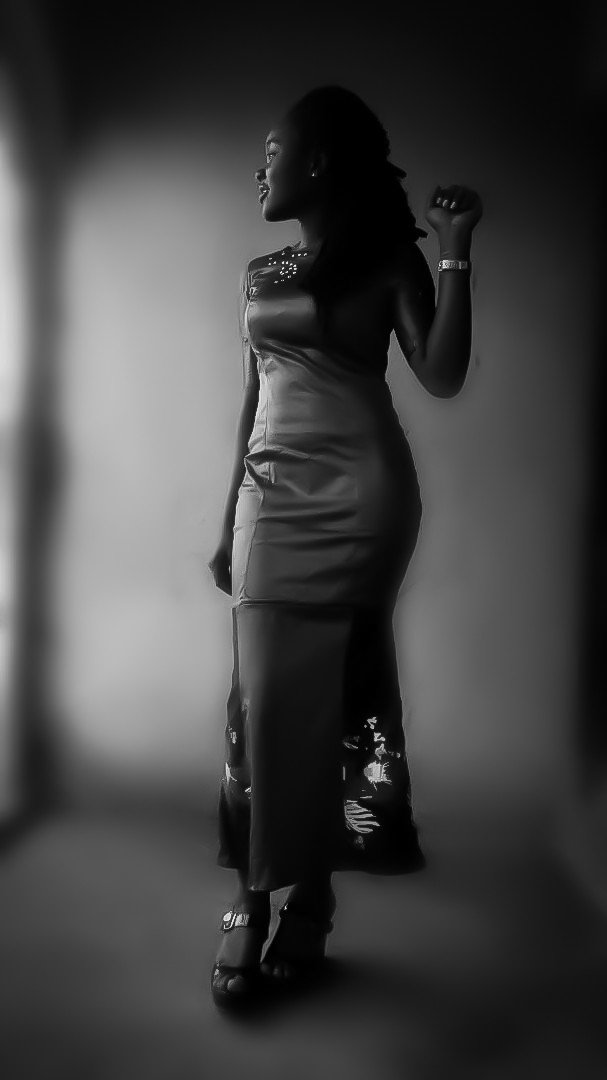
While this is the monochrome which I used for the picture
I designed the ladies name Pelumi using logopit
There are different fonts on the logopit app so you pick the one you would love to use.

After which I used Adobe fix to merge her name on the photo that is merging the design on logopit and the photo
when you insert the pictures on Adobe fix you select blend, blending blends the two photos together under blending I advice multiply, well depends on what you want
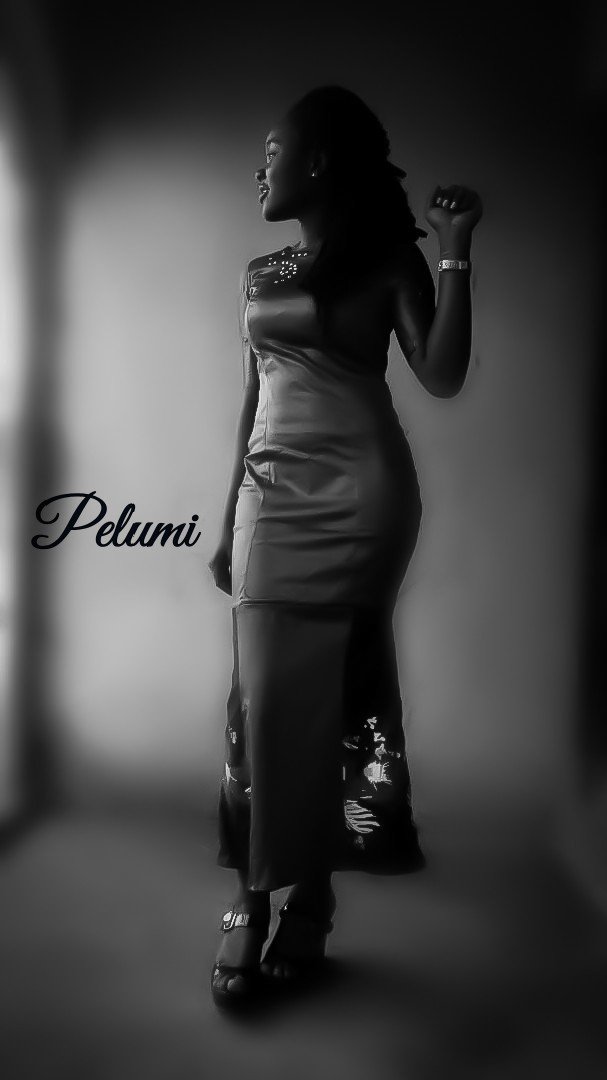
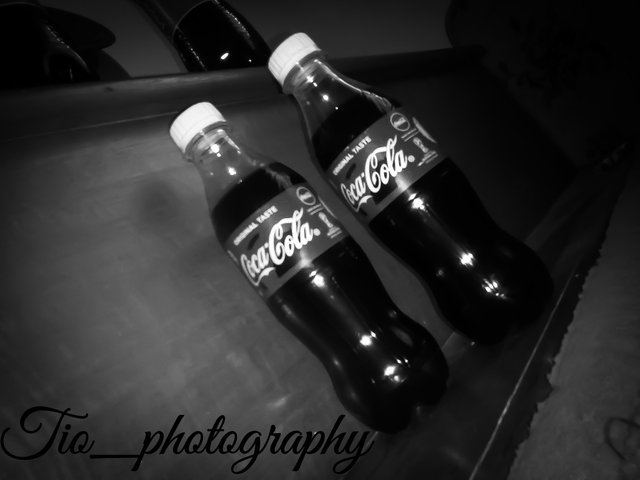
And that's how I made this unique photo below are more of my works I would post the steps soon