Step 3
To finish editing just press enter and you image will now be straightened and cropped, if you chose to do so. Save your image how you would like and you now have your straightened final image.
Photoshop
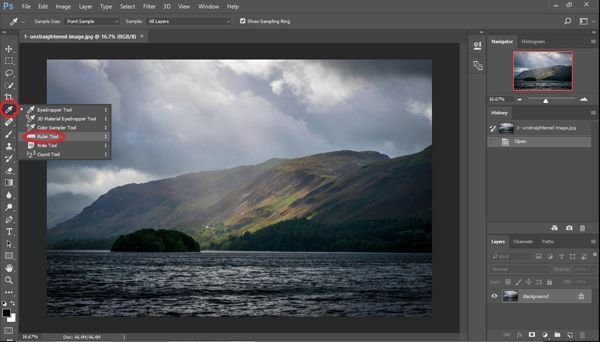
Step 1
Once your image is loaded in to photoshop, select the ruler tool, then click and drag along the edge you wish to be straightened.

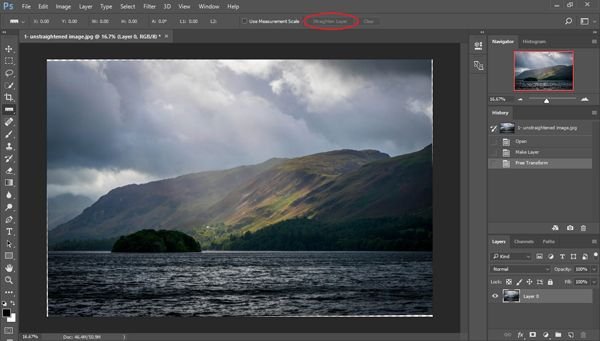
Step 2
Next you need to click the straighten layer button, this will rotate the image along the line you have selected.
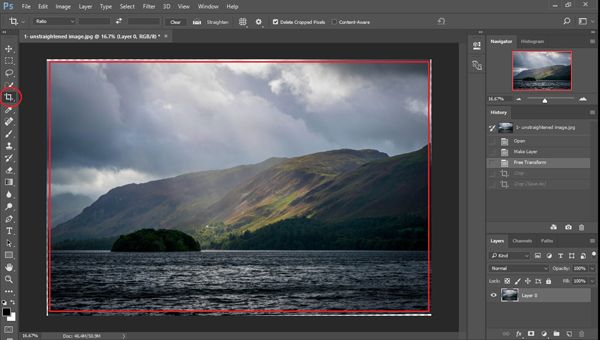
Step 3
As you can see from the image above, there are now white lines at the corners of your image where the picture as a whole has been rotated. To fix this simply select the crop tool and crop down to the white edges. Press enter when you have the image cropped how you like and save the final image.
If you liked this tutorial please upvote and follow me to see other photography guides


@originalworks