7 TIPS AND TRICKS TO PHOTOGRAPH THE NORTHERN LIGHTS
Northern Lights are such a beauty. Staying under the northern sky waiting for them to appear and dance in the darkness is an amazing experience, something a photographer should try at least once in his lifetime.
But it’s not so easy to take a good image of the Aurora Borealis for many reasons: it’s dark outside, they’re moving and it’s freaking cold!!
I want to give you 7 tips and tricks to take good pictures of those great green ghosts.
1: You need a tripod.
It’s impossible to take a picture of the Northern Lights without a tripod, because you need to set a long exposure on your camera and it has to stay steady all the time. You can choose a small one or a tall one, but the important thing is to have a headball to change from a horizontal to a vertical position.
2: Use a camera shutter release cable
A shutter release cable will help you to minimize the vibrations on your camera. You want your image to be sharp and being out in the cold, with gloves or freezing hands, won’t help you at the moment of shooting. You could use a timer too, but the Northern Lights move very quickly and delaying your shot could make a difference in color and composition.
3: Use a flashlight
Having a small flashlight is really handy. A strobe would wash out all the field in the first 2 meters of your composition, and without a light you’ll have only silhouettes and the Lights in the sky. Using a small flashlight to light the details around you for a couple of seconds will improve the quality of your photos a lot.

4: Camera settings
It’s always a good rule to start with high ISO as 1000, and a shooting time of 10 seconds at the maximum aperture: f1.8 would be great, but you can go up even to 4.5, depending on your lens. In this case you’ll have to add some seconds at your shot. The Northern Lights move fast, as said before, and they can be brighter or darker in a fraction of a second. So be ready to adjust your settings not to be over or underexposed. If it’s partially clouded or you don’t have a very powerful lens, you can go up to ISO 3200, but your image will be more grainy and you’ll have to denoise a lot.
Plese remember that your camera is able to pick out colors even when your eyes see nothing but grey. The shutter’s aperture will let red and green in all the time, even if the Aurora is not very bright, so when you see something just shoot. You never know what can come out!
5: Battery heater
It’s so cold out there, you could stay outside for hours waiting for the Northern Lights only to find that in the meantime your batteries went low because of the cold. I found a little trick that looks awful but works great: use a feet warmer on the battery side of your camera. It seems that your gear has a baby diaper on, but hey, who cares! Your batteries will work perfectly for a really long period. Put another one in the pocket of your jacket where you’ll take the spare ones and you’ll set.
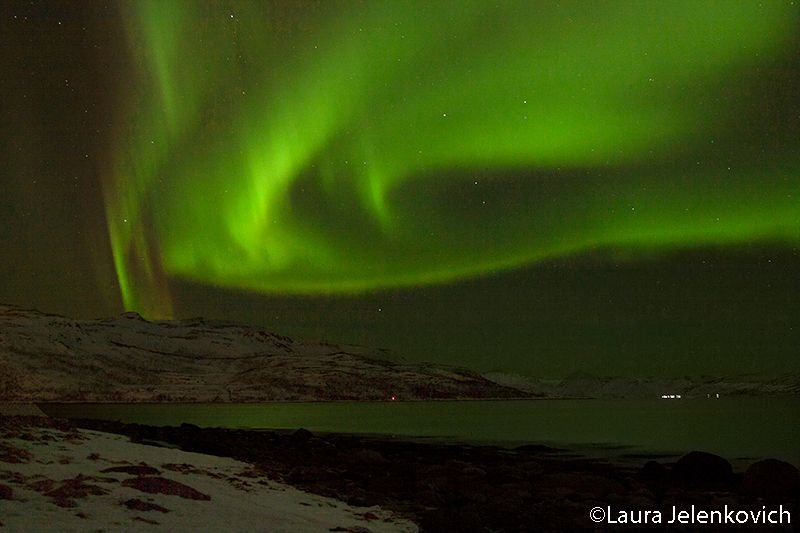
6: Find a subject if you can
A good idea is to find a spot that has maybe a person, a tree, the sea or a mountain for your composition. Northern Lights are wide and huge, a small subject helps to add deepness and proportions to the final image. If you can’t just enjoy what you have

7: Bring some chocolate!
You’ll have to be patient, really, really patient. So bring some chocolate, maybe some warm tea and buiscuits. Look at the sky with a full stomach and try to be happy. Northern Lights are amazing because of all the process it takes to see them: you drive somewhere, you make contact with nature, you start to feel the cold and sometimes you are frustrated when nothing happens. Chocolate will never fail you!
Enjoy yourself!
Great tips!