Jetbot (11)
While I was showing components of the Jetbot, I was asked whether I would put them together, the answer was "YES". So now I am going to show the steps of assembling this little so called "Robot". I think it is more like a car than a robot.
在過去的一段時間中, 當我仍是每天的在展示這車的部件時, 有位大哥大問我會否把車組裝起來. 這個當然是會啦. 現在就開始示範如何組裝這車.
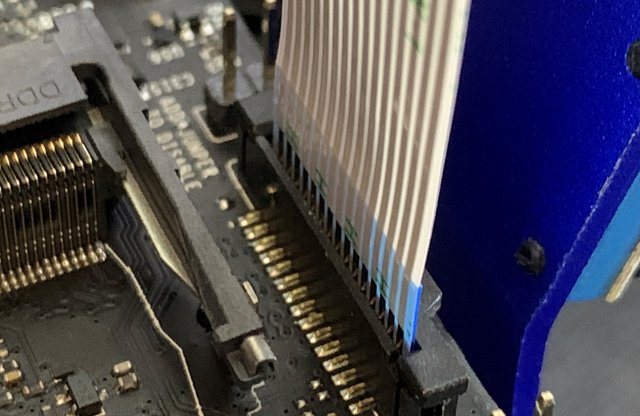
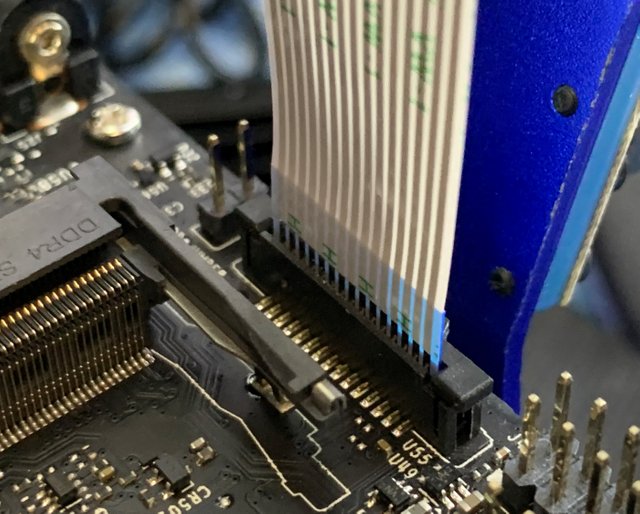
Before putting back the heat sink, I connect the camera to Jetson Nano.
將散熱器裝回去之前,我先把影像鏡頭接好。
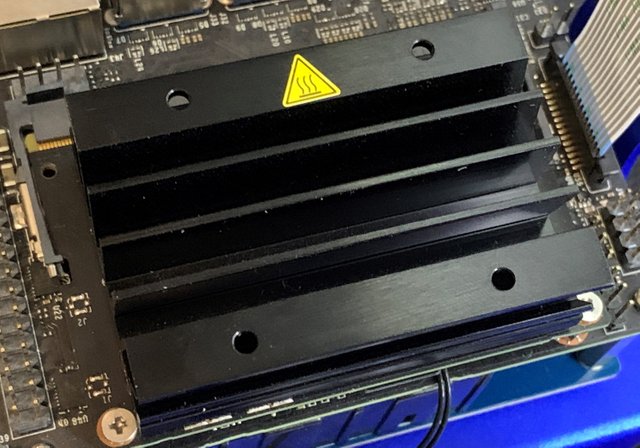
Then install the heat sink to cover the Wifi module.
再把散熱器安裝好,從而遮蔽著Wifi模組。
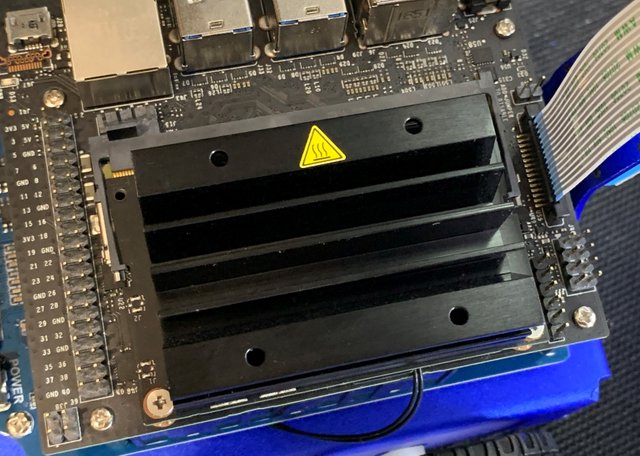
Next step is to install Jetson nano on Jetbot using four screws.
再把Jetson Nano用四顆螺絲固定好在Jetbot上面。
請關注!點讚!轉發!
吃了吗?请支持中文区的见证人, @abit @bobdos @ety001 @justyy @oflyhigh @partiko (首字母顺序),全投,一个都不要漏。倘若你想让我隐形,请回复“取消”。
slowly getting ready for something amazing :)