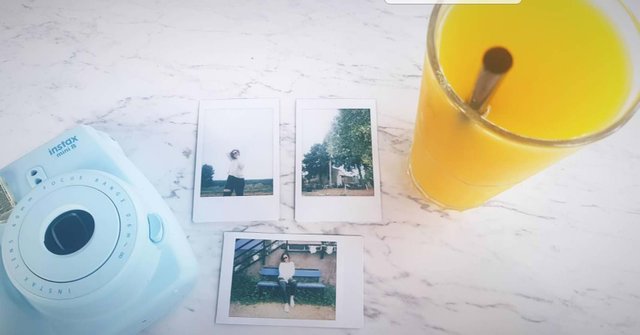
instax mini 8 cam ♥
Finally! I've been waiting for so long!

I can't remember when was the first time I heard about the instax mini 8 camera. It was probably somewhere around 2015.
For those who don't know - the instax cam is an instant film camera.
I really thought about buying it, but I couldn't afford it.
One day, a really good friend gave it to me as a gift, and all I had to do is to buy the film for the camera and start taking pictures.
In the beginning, my pictures came out really bad and I started thinking that something must be wrong with my camera. But I figured out there are modes to the camera, so I thought about giving you guys some tips before I share my work with you.
All the pictures on this tutorial are taken from heidiswapp.
The first thing you need to know about your instax cam is that you have 5 modes, and each one of them is for a different lightning situation with a different shutter speed.
What is a shutter speed?
It's the time for which a shutter is open at a given setting.
It means that as long as the shutter speed is big, there will be more time for light to get into the picture. In other words - if the shutter speed is big, the picture will be bright, and if it's small, the picture will be dark.
As we're taking a picture, we need to take into consideration the lighting conditions.
Here is an explanation from fujifilm site about what shutter speed we have on each mode -

It basically means that when you have a dark lightning condition, you have to use a mode that will let more light to get into the picture (house mode f/12.7 or cloud mode f/16), and if you're taking pictures and it's pretty bright outside, you should take them with a bigger shutter speed (sunny f/22 or sunny and bright f/32).
In a matter of a fact, you instax camera will tell you which mode you have to use by lighthing up a red light next to the mode you need

So basically, all you have to do is to look at the red light before taking the picture. Of course you don't have to follow what the camera suggests, and you can think about how you want the picture to be and set the mode by yourself.
The only mode we don't have a red light to is the Hi-key mode.
The Hi-key mode is basically to get the picture brighter and more exposed.
Take the pictures on this mode when you're at a dark setting because if you use this mode in a place with a strong light, it might cause the picture to burn (meaning it will be white).

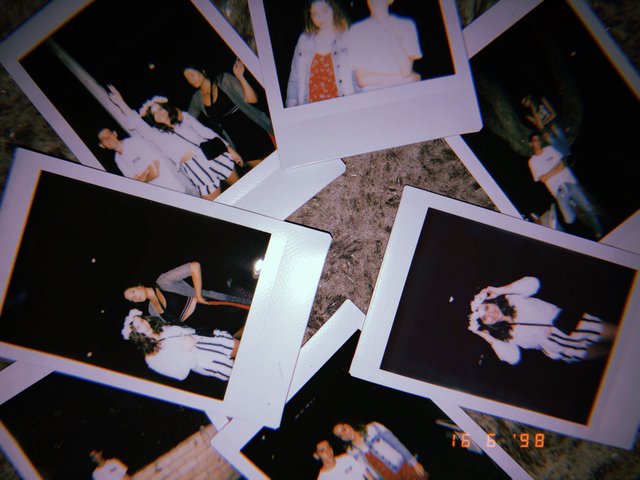
In the next posts I will share some of my instax pictures! :)
I hope the tutorial helped, and pls feel free to ask any question if you have some ♥
Nice Picture fofi ! :D
We would love to invite you to our Discord server.
In here we have more artists for you to connect to and
the ability to promote yourself and your blogs. Keep on Steemin my friend !
http://discord.gg/B6CxGGS
Nice Picture fofi ! :D
We would love to invite you to our Discord server.
In here we have more artists for you to connect to and
the ability to promote yourself and your blogs. Keep on Steemin my friend !
http://discord.gg/B6CxGGS
Awesome Work!
I've verified that your photography is original, and that means it's so good that I had to check.
Your post has just been upvoted and resteemed by @yourluckyphotos - The nonprofit service that verifies and promotes original photographers on Steem.
Your photography will be featured in Today's Lucky Photos showcase, alongside numerous other photographs. Tag your posts with
yourluckyphotosto increase your odds of being featured.