Tutorial: How to make your own tilt-shift lens
I have done some tilt-shift photography in the past, but I’ve always had to apply the tilt-shift effect in post. If you know what tilt-shift is then you know about tilt-shift lenses and how this can all be achieved in camera. Unfortunately for me I don’t have very deep pockets and such a lens can be expensive. Fortunately there is another way, freelensing. Freelensing is a technique where you emulate the actions of a tilt-shift lens by disconnecting the lens from your camera body and angling it manually with your hand. Digital Rev does a nice youtube demonstation.
There is one problem I find with freelensing and that is the possibility or should I say probability of light leaks. This can sometimes be a welcome side effect depending on what your aim is. My aim is to do funky and unique tilt-shift photography and primarily that at night. So I decided to make my own lens.
Here’s what you need:
- A medium format relatively wide-angled lens (I got a MINOLTA MD fit 28mm f2.8) – £30 on ebay
- A Body and rear lens cap – £1 on ebay
- Cable ties
- A bicycle tire inner tube (try and get as a big a tube as possible as they’re super tough and don’t stretch much) – £5
- A craft knife is handy
- A drill
To start with (in no particular order), cut a 4 inch length out of the tire inner tube. Then drill out the center of the body cap. This is what will attach your lens to your camera body and why you can pretty much do this with whatever lens you want. Here’s what it will all look like:
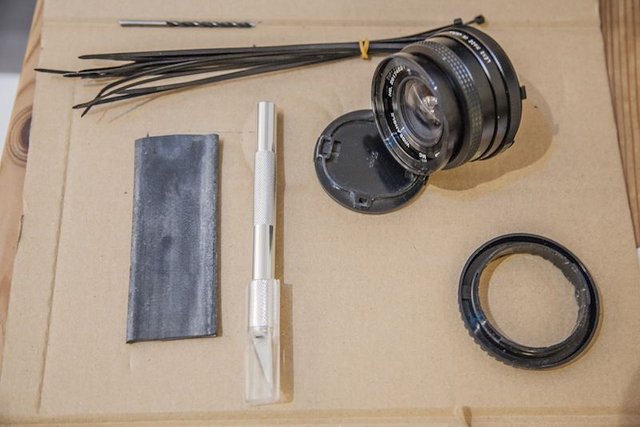
Here’s your section of bicycle tube, cable ties, the lens and in the bottom right, the body cap with the center drilled out.
Next we remove the back of the lens. This will require some very small screwdrivers (the kind used to tinker with the insides of computers tend to work well) and a bit of brute force. In doing this some parts just wouldn’t come off until you hulk out on them. When you’ve done this you will see a little metal pole poking out of the back of the lens. This is part of the mechanism that controls the aperture blades in the lens. You want to push this to the point where the blades are completely open and keep it there. I used a rubber band to keep this in position while I worked the bicycle tube over the lens.
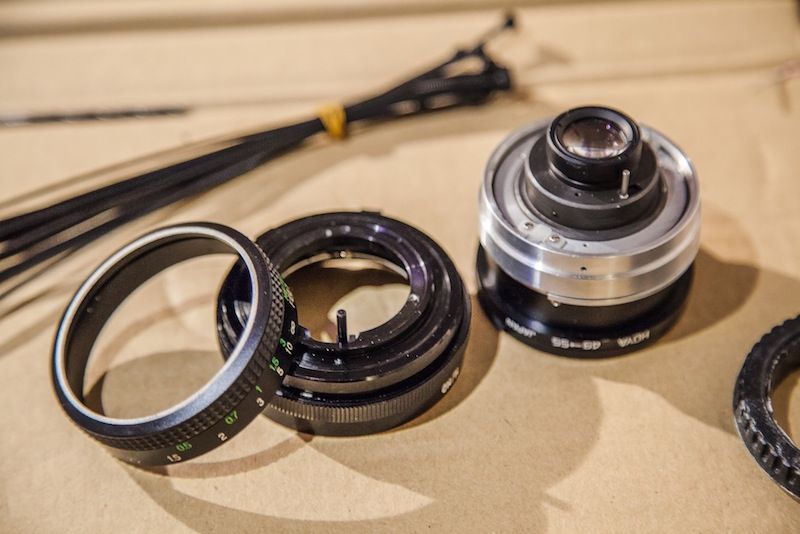
The backing of the lens removed you can see the little metal pole that controls the aperture blades on the side.
So the final step is to put the bike tube around the body cap, secure it with some cable ties, and then put the other end of the tube around the lens and secure that with cable ties. You might need to take some time to work the rubber of the tube to a more pliable state. Hot water and stretching helps.
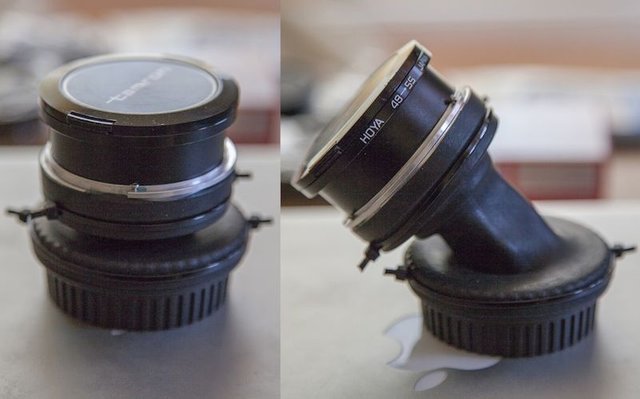
The final result, lens connected to the body cap which can be sealed with the lens cap it came with and connected to the lens with the rubber tube.
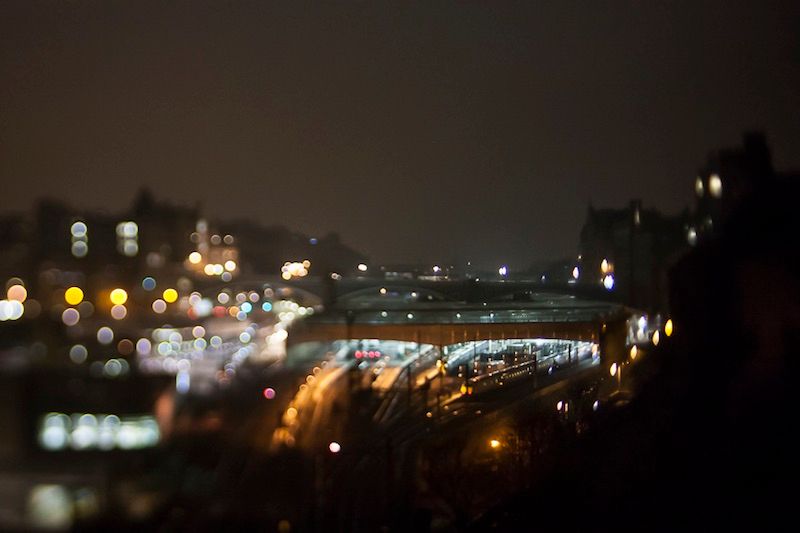
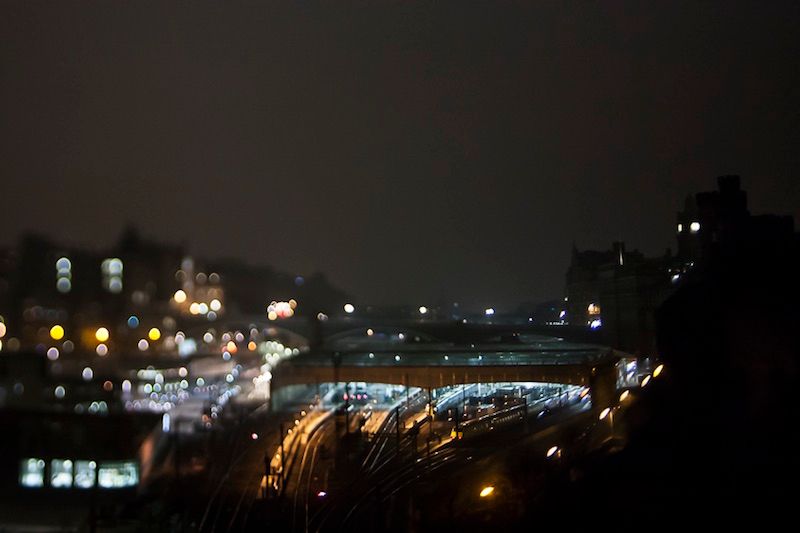
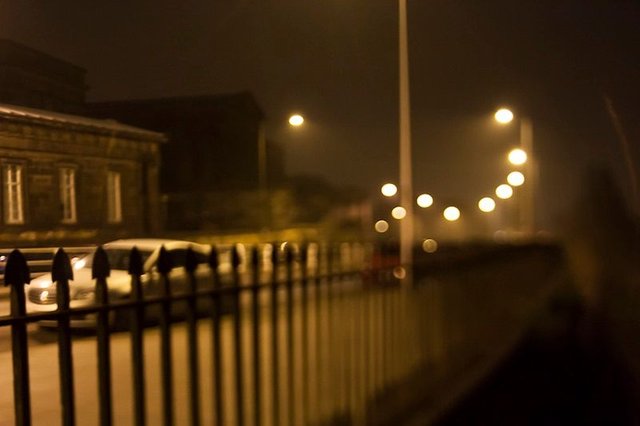
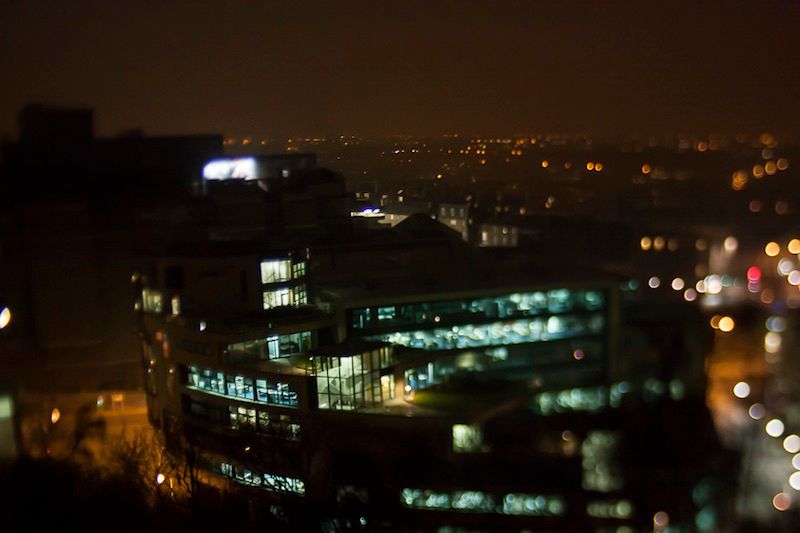
It looks a bit weird and it feels weird having it connected to your camera. And of course you cannot control the lens through the camera body now, so everything is full manual now. It takes some getting used to but once you practice moving the lens around a bit and find where the focus points are it becomes a fun lens to play with. Here are some of my results:
Here is another blog post (the one i used to read up on this) that has far more coherent information and advice about creating diy tilt-shift lenses. The guy goes a little more into the technical details too which is great: Bendycam.
Thanks for Looking.
Follow me and read more of my posts here: @fiftysixnorth
Don't forget to Upvote and Resteem
Thats awesome, never read about this, such a creative idea, I may have to try this sometime when I can find a suitable lens
Thanks, it's a lot of fun to play with, but I do recommend using a slightly larger tubing than I did here and wash it out thoroughly because they come loaded with powder to preserve the rubber and if that gets on your sensor it's going to suck.
Have a look on eBay, there are tons of cheap and really good old lenses you can use. :)
I will for sure have noted it down may be a fun project to make over Winter
Wow, you are a real handyman :D I used to own a real 24mm tilt/shift once i used to do real estate photography back in a day. Sold it after as it is expensive glass to keep just for fun.
lol thanks! Alack of cash can be a strong motivator to do it yourself ;) It is a super expensive lens just to keep for fun, which i why i never bought one.. though i do want one!
Yes, because the one you can do yourself does not have all the functions of a tilt/shift. You can get that dof effect thought. And it looks like my vote did not go through the last time. Fixed now :)
This is true, it wont ever replace a real tilt/shift lens (your typo made me laugh!) but its a fun stop gap measure until you can afford one :) The other option is to rent a lens.
Oh, damn it, sorry for that, fixed! at least it made you laugh :) It is an interesting thing to try ofc, i use another option thought when i go for this effect it's a tilt/SHIFT blur in photoshop :)