How to photograph and photoshop. Using my Lego design as an example.
Simplified tutorial of photographing and post processing small subjects.
Using light
Most important aspect about presenting anything with a photograph is the light. To be more exact the quality of the light. Light can be soft or hard depending on the light sources size and distance to the subject. Usually people think they need to buy expensive lights or flashes. I would recommend everybody
to try the free light available from sun :)
For most uses the direct sunlight is too harsh to flatter any subject. The quality of this light can be made better. When shooting indoors Try to use north facing windows. Other tip is to shoot on a cloudy day. Clouds act as a really large diffusor softening the light.
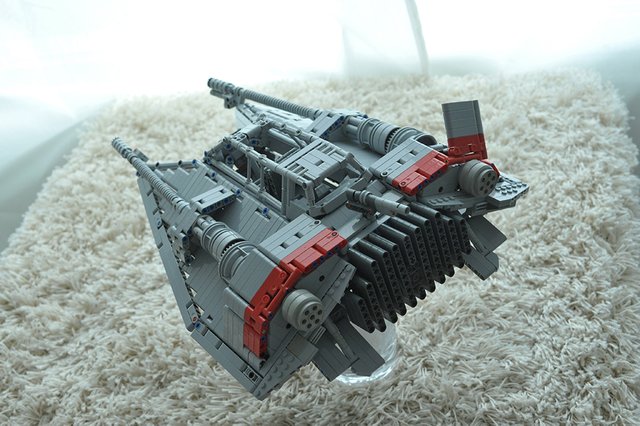
Lego model used: https://steemit.com/lego/@drakmin/my-lego-design-star-wars-snowspeeder
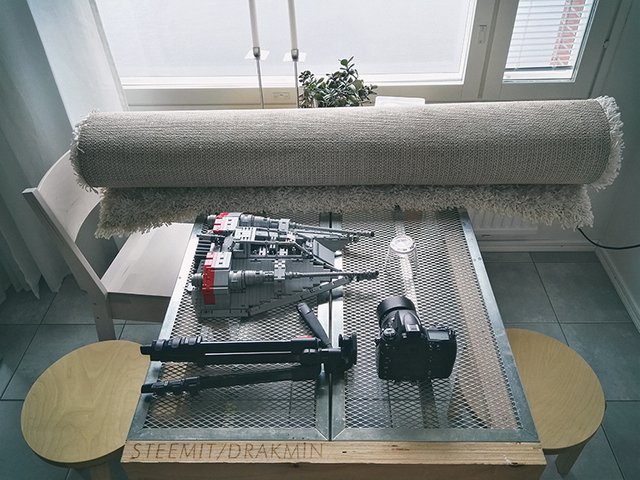
equipment used
any camera mine is from 2008 and thats ages in digital bodies
tripod
window
cloudy day yeah I like to call weather conditions part of my equipment :)
transparent curtains
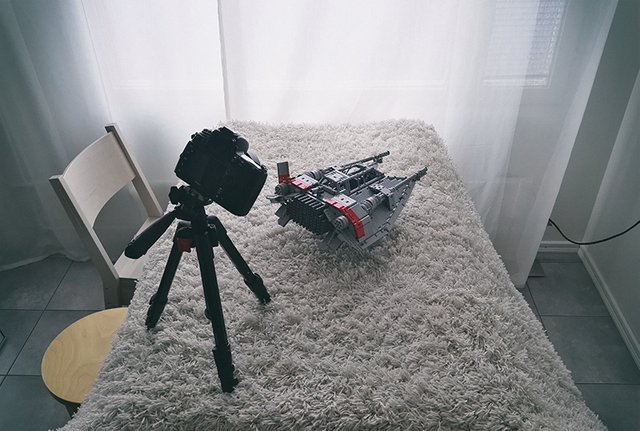
setup, only light coming through window and curtains used
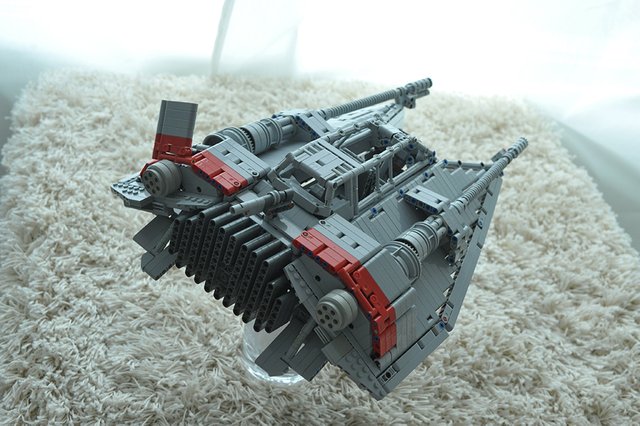
unprocessed camera file, light quality is soft as wanted
Post processing

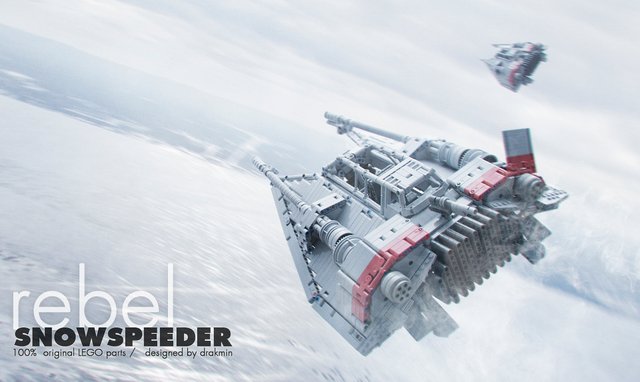
This is the original camera file opened in Photoshop. I've already started cutting out the backround using basic polygonal lasso tool.
In this step I have finished the cutout and reduced it's saturation. (image -> adjustment -> hue/saturation)
I have placed an aerial photo on a layer below the subject. To be accurate my backround consists of several layers. (you can drag and drop external image files into your open project)
I have also flipped the cutout horizontally. (edit -> transform -> flip horizontal)
You can search usable backrounds in many stock photo services like Pixabay which offer also royalty free content. Even Flickr has different licensing options in their search tool.
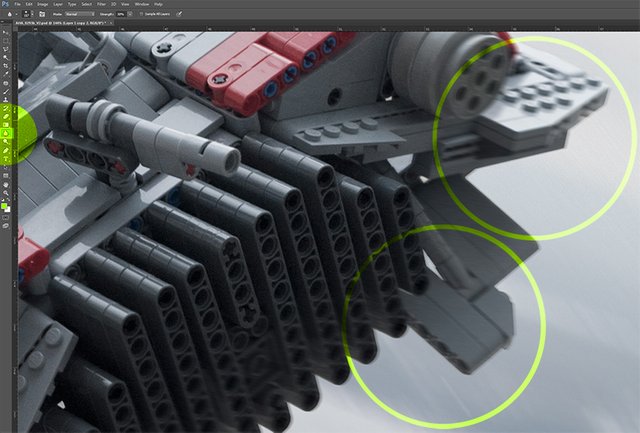
This step shows the usage of blurring to blend the cutout to the backround. This also simulates motion blur of a fast flying vehicle. Only apply blur to rear or front of a moving subject. You can also use (filter -> blur -> motion or radial blur)

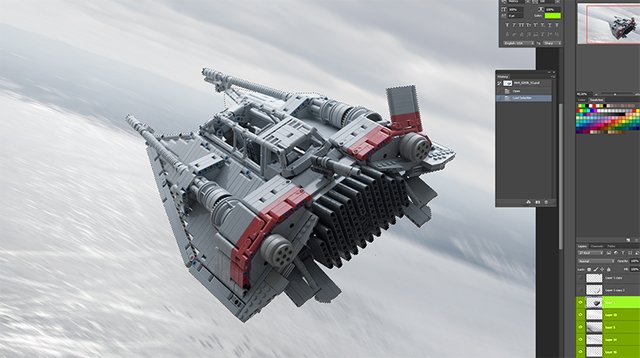
I have added another photo of the same model in the backround in a slighty different perspective. I used the same cutout and blurring techniques. I placed a bluish image of snow on the top layer. This layers blending mode is switched to overlay to cast the layers bluish tint on top of everything.
These are roughly the methods used producing this image. I think you could also try shooting a model in front of a uhd-tv or video projector to actually cast the backround straight into the camera file. This requires more planning and lighting the model is way harder to match the white balance and contrast of the screen etc.
Final comparison
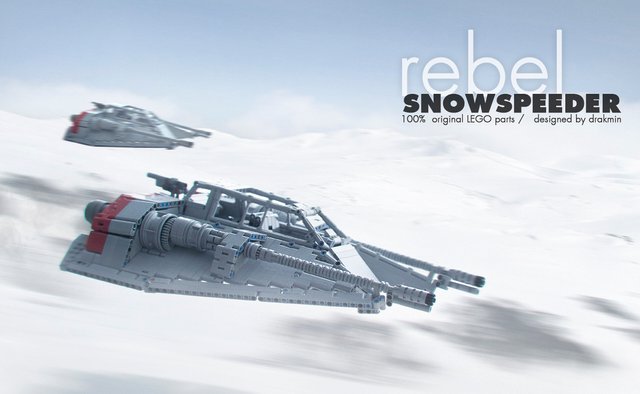
this photo is made with exact same methods
Few hours of practice really pays off in this kind of presentation purposes. As a final tip it is a good idea to draw the image on paper first. With this kind of a sketch it's easier to plan the camera angles and backround photos required.
Thanks for reading!
Awesome!
Thanks!
Followed and upvoted
Thank you!
That's really interesting. I like that you think of the weather as part of your equipment. : )
That's amazing, can't wait to see more of your lego masterpieces. Followed :)