Let's learn Photography. Elements and how they works
As it was my course at last semester, I would like to share with all of @steemins , some basic elements of photography . Wish people who are interested they might learn somethis from here. Mostly, all are collected from here,source , But I have made it short with my word to make it easy to understand. Even, with example.
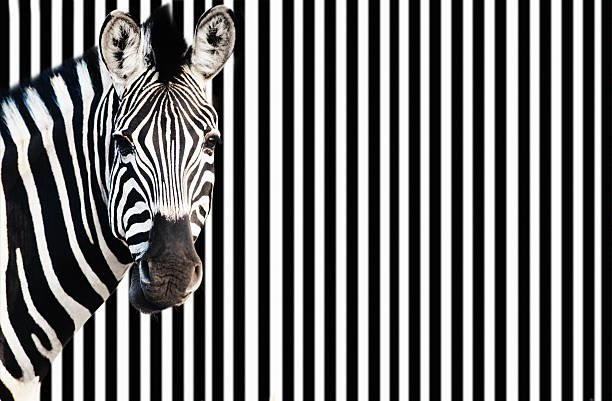
Pattern
source
There are shapes all around us, just need to focus if we try to see them to learn. Highlighting and underlining these patterns can lead to striking shots – as can high lighting when patterns are broken.
Texture

source
Images a two dimensional thing yet with the clever use of ‘texture’ they can come alive and become almost three dimensional. Texture predominantly comes into play when light hits the objects at interesting angles.
source
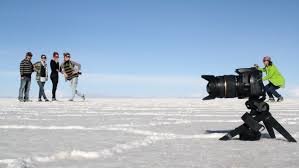
Perspective
source
Standpoint is one of the visual design fundamentals. It indicates depth in a two-dimensional image. The perspective that a shot is taken from, is another element that can have a big impact upon an image. Shooting from up high and looking down on a subject or shooting from below looking up on the same subject drastically impact not only the ‘look’ of the image, emphasizing different points of interest, angles, textures, shapes etc – but it also impacts the ‘story’ of an image.
Photography is a two-dimensional medium. Perspective is the tool we use to indicate depth. We can decrease or magnify the sense of perspective by how we arrange our other design elements (lines, shapes and textures).
If we arrange them in a way that reflects the "real" three dimensional world, then we can easily communicate in a familiar language.
How large objects are in relationship to each other gives us an indication of their distance away. If there are two objects that we know to be the same size in real life, and yet one appears much smaller than the other in the image, we assume the smaller one to be further away.

source
Think of two people in a photo. One appears large, and the other tiny. We don't jump to the conclusion that the tiny one has been magically shrunk! Instead, we simply assume that person is standing further away. We use focus as a cue for distance. This is related to the atmospheric effect defined above. In addition to making distant objects appear lighter, the haze also makes lines and edges softer, and less "focused". As a result, we tend to interpret sharper, in-focus objects as being closer to us than softer, out of focus ones.
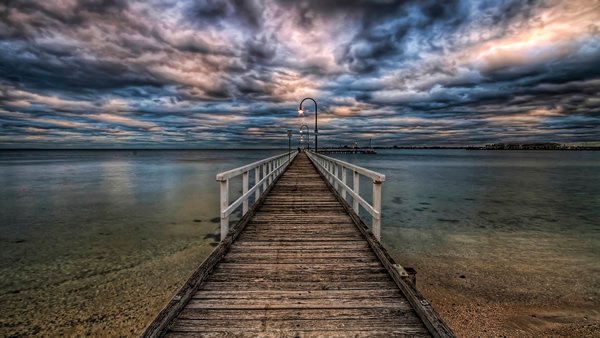
Line
source
Lines can be powerful elements in an image. They have the power to draw the eye to key focal points in a shot and to impact the ‘feel’ of an image greatly.
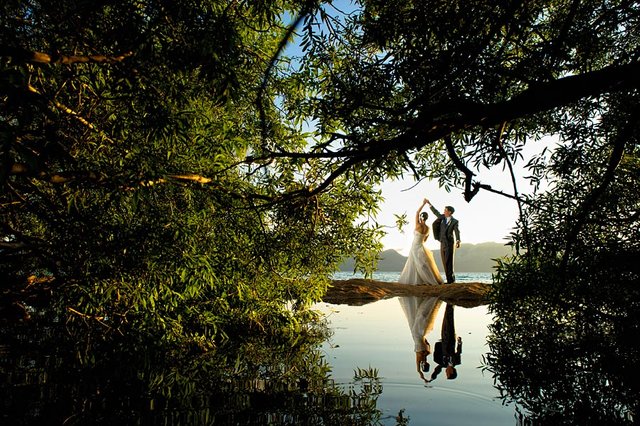
Framing
source
Most of us use ‘frames’ to display our images when we hang them on walls for viewing – however ‘framing’ can be used within the composition of a shot to help you highlight your main point of interest in the image and and/or to put it in context to give the image ‘depth’
Space

source
There can be a fine line between filling your frame with your subject (and creating a nice sense of intimacy and connection) and also giving your subject space to breath.
Either technique can be effective – so experiment with moving in close and personal and moving out to capture a subject in its context.
Sometimes it is what you leave out of an image that makes it special.
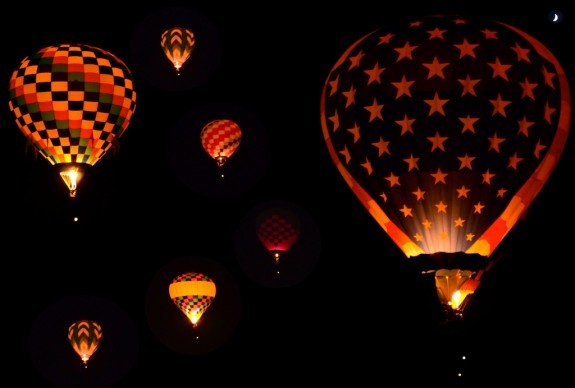
Balance

source
The positioning with elements in a frame can leave an image feeling balanced or unbalanced.
Too many points of interest in one section of your image can leave it feeling too ‘heavy’ or complicated in that section of the shot and other parts feeling ‘empty’.
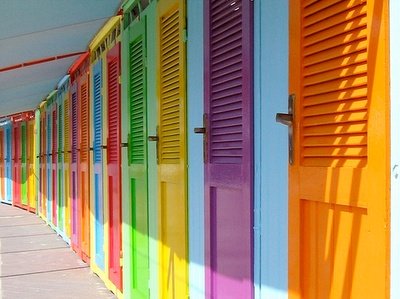
Harmony

source
In visual experiences, harmony is something that pleases the eye. It engages the viewer and it creates an inner sense of balance and order in the viewer's visual experience. When something is not harmonious, it can be jangling, wearisome or disordered.
Basic Techniques
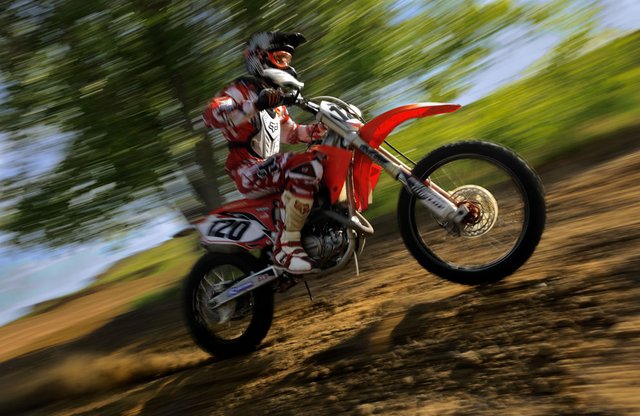
Panning
source
Fast and Slow Speed : It depends on the variable numbers that you use in your shutter speed dial.
The fast and slow speed can produce interesting picture if photographer use it effective and creatively .
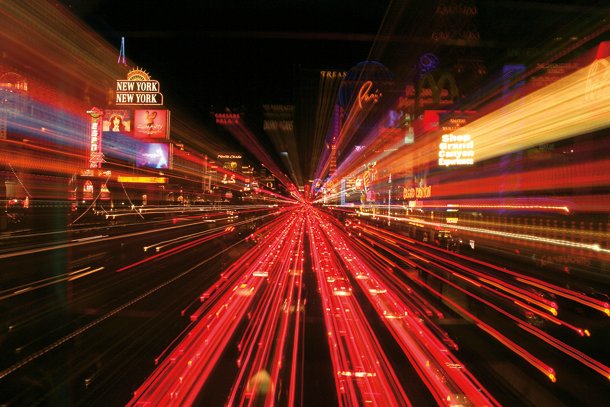
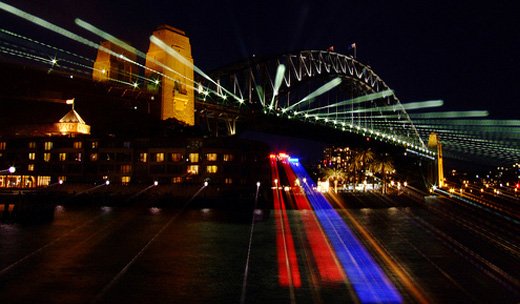
Zoom Out and Zoom In
source
Keep the Camera Still – as you will be using a slow shutter speed any movement of the camera will significantly impact your shot. Ultimately you want to capture a zooming movement in these shots so any side to size or up and down shake will impact the smoothness of the lines in your image. Of course camera shake can also add interesting effects to the shot but it can also make the shot too blurry. To eliminate camera shake use a tripod or set your camera on a still surface.
Move the Camera Manually if you don’t have a zoom lens or your camera won’t let you zoom while the shutter is open (as happens on some point and shoot cameras) the other way to get this effect is to manually move your camera towards or away from your subject. Of course this introduces other camera shake (see above) but it is possible to get a nice shot if you’re good (or lucky).
Work on Smooth Zooming – to get nice smooth motion lines in your photo you’ll need to work at a ‘smooth zoom’. ie you don’t want to zoom at one speed early on and then speed up and then slow down (see next point for the exception). This will make your lines a little jerky. Getting a nice smooth zoom technique takes practice.
source
Follow me @dipu123 and keep supporting me. Love))
Thank You.