TOP 5 INTERIOR PHOTOGRAPHY TIPS FOR BLOGGERS
Now that I’ve covered equipment, let’s get into the tips! These are 5 things I do every time I take photos for the blog, and they have improved my photography immensely.
- CREATE THE BEST POSSIBLE LIGHTING SITUATION
One of the most frustrating things to try to figure out with photography– and particularly interior photography– is lighting. Natural lighting is ideal, of course, but it’s not always possible to do every shoot on a bright day when it is slightly overcast so the sun isn’t too harsh. There are a few things I do to help create great lighting.
The first thing I did was experiment a ton and find the spot with the best lighting in our house. In our last house, this happened to be one particular wall in my office (which is part of the reason it became my office!) at desk height. This room only has one window, which is to the left of the desk, and for some reason the sun always seems to be shining perfectly (without being too harsh) on that spot, making it perfect for shooting photos of small projects or printables.
Sometimes I’m trying to shoot a whole room, and I obviously can’t move the entire room to the perfect lighting spot in our house! I do have a little trick that helps me improve the lighting in any room, though: I have lightweight white curtains or Roman shades in many of the rooms in our house. This is partly just because I love how they look, but they also serve a functional purpose. If I am photographing a room and the light is too harsh, I can pull the curtains closed or put the Roman shades down; they will still let a lot of light in, but they’ll diffuse it enough that I’m not getting a harsh effect or yellow glow to my photos. If you don’t have white curtains or shades, I’ve also hung white bedsheets over the window to achieve the same effect.
The final thing I do to get enough natural light for my interior photos is to…
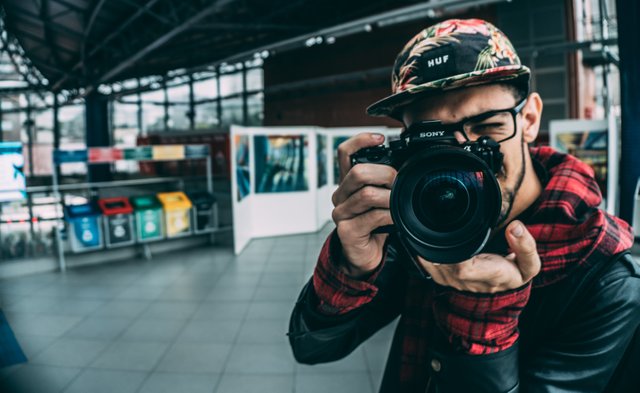
- USE THE MAGIC FORMULA: TRIPOD + LOW ISO + LONG SHUTTER SPEEDS
This formula completely changed my photography for the better. In order to get my photos light enough in our house, I used to bump the ISO all the way up to 800 or sometimes higher; I would also need to keep my f-stop low so that I could use a fast enough shutter speed that my photos didn’t turn out blurry. The problem with a high ISO, though, is that you get some grain to your photos, and they’re not incredibly crisp and clear. The other problem with this method was that it was hard to get an entire room in focus since I had to keep my f-stop so low so the photo would stay bright.
Our last house was really dark, so it wasn’t unusual to use even 10-15 second shutter speeds, but since the camera was on a tripod and my subject wasn’t moving, it worked well.
I can use the same method if I’m taking a detail shot with a lower f-stop. I have my camera on the tripod with the ISO at 100. I can set my f-stop at 4 or 3.5 or even lower if I need to. Then I adjust the shutter speed to get the photo as bright as I need it, which in this case would be shorter since my f-stop is lower
One issue you can run into when using a long shutter speed is that if you bump the camera when you push the button to take the shot, your photo can get blurry. There are a few ways to avoid this. One way is to use the camera’s 2 second delay. I turn on the delay, push the button, step back from the camera, and the camera takes the photo without me touching it at that moment. That method works in a pinch, but my favorite way to avoid moving the camera while the photo is being taken is to…
- LEARN HOW TO TETHER
Tethering also changed my photography for the better and has saved me a ton of time. With tethering, I use the cord that came with my camera (the same one you would use to transfer photos from your camera to the computer) to connect the camera to the computer. Then I get into the Canon EOS utility on my computer and choose the “remote shooting” option. This allows me to adjust the settings and push the button to take the photo from my computer rather than on the camera itself.
The other reason I love tethering is that I can get a big preview of my photos on my computer, rather than relying on the tiny image on the screen on the back of the camera. This has saved me time for sure. I used to have to do the whole shoot, upload my photos to the computer, check them all out, and then if I noticed something was out of place or they weren’t as clear as I wanted, I would have to re-do the entire shoot. When I tether and get a big preview of the photo on my computer immediately, I can quickly see if anything is out of place or if I need to change any of my camera settings to get the shot I want. I talked more about how to set up tethering in this post.
TAKE SHOTS FROM MANY, MANY DIFFERENT ANGLES
When I’m doing a shoot, I usually have in mind the types of photos I want to take for my upcoming blog post(s). I don’t stop there, though. If I have a room or project set up for a shoot, I take photos from every possible distance and angle– close shots, medium shots, far shots, shots from all different sides of the subject, shots from above, shots from behind, etc. Not only do I end up with some unexpected “money” shots from these different angles, but having so many different shots of a single space or project can help me have the perfect shot for all of my different social media platforms, and it can give me weeks worth of photos I can post on Instagram!
You read that right– almost none of my Instagram posts are actually “insta.” I take a ton of photos on the same day, edit them, and then I can drip them out in my IG feed over time. This is a huge time saver because I don’t have to worry about making sure everything is perfectly styled all the time (hello, two small boys who think they’re tornadoes!), taking out my camera every day, and spending tons of time getting the perfect shot. Two birds. One stone. Boom. 🙂NAIL DOWN YOUR EDITING PROCESS
Finally, I would say that honing my editing process has been almost as important as the actual photo-taking process. I started out by editing in PicMonkey, which worked well for me for a long time. I then took the time to learn Photoshop, and again, it was a total game changer. Advanced programs like Photoshop and Lightroom can seem intimidating, but once you have your process down, you can basically do the same thing for every photo and soon it becomes second nature.
Since it’s hard to explain photo editing through writing and screenshots, I decided to make a quick video to explain my quick photo editing process in Photoshop: