Some Photo Examples of Using a Regular Flash and a Macro Ring Flash
In my previous post I was talking about some good and affordable macro ring flashes for digital cameras and I want to continue the topic with showing you some sample photos of how a regular flash affects a macro photo and how a macro ring lite does it, so that you will easily see the difference. The example photos below are shot with Canon EOS 5D Mark II using Canon Speedlite 580EX II as a regular flash as well as Meike MK-14EXT as a macro ring flash and a Sigma 105mm macro lens.
Examples with a Golf Ball with Reflective Glossy Surface
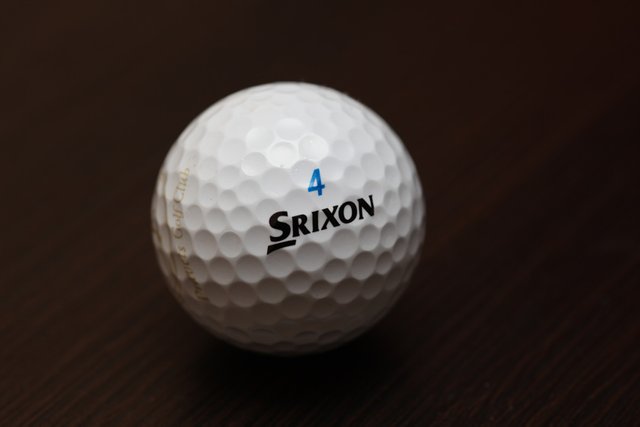
This is a shot with the regular flash not pointing directly at the golf ball, but pointing up instead.
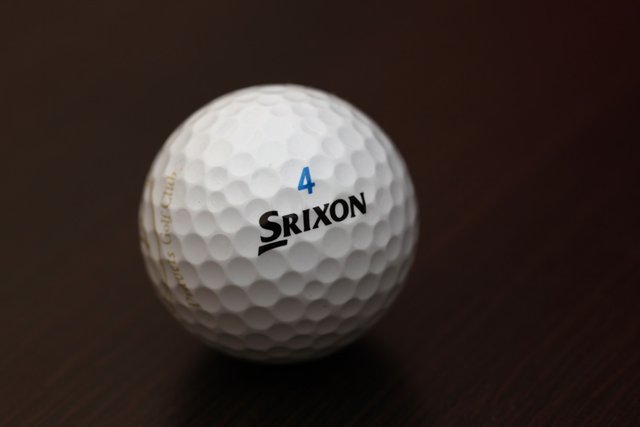
A shot with the regular flash pointing up and with the diffuser applied.
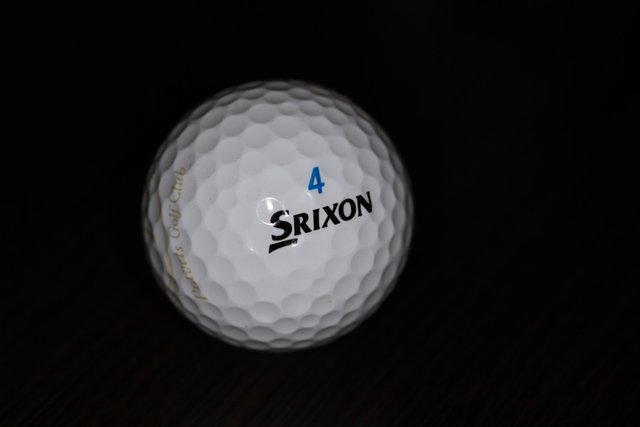
Here is the shot with the macro flash light, it is diffused light, but pointing directly to the golf ball.
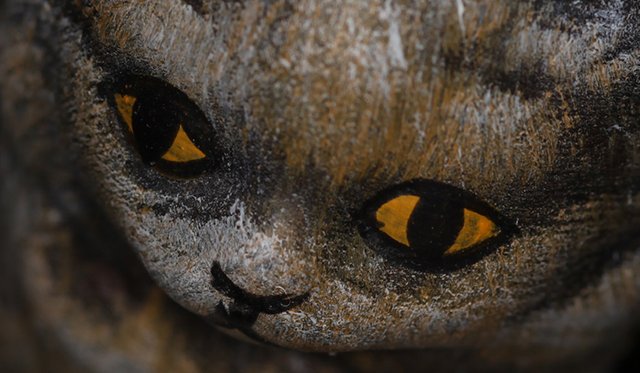
Examples with a Cat Figurine with Matte Surface
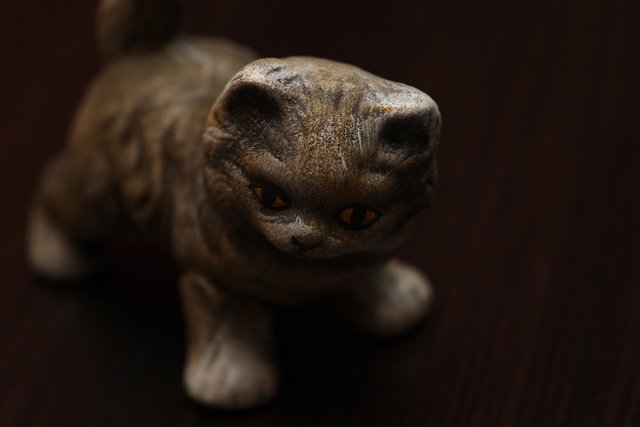
This is a shot with the regular flash not pointing directly at the cat figurine, but pointing up instead.
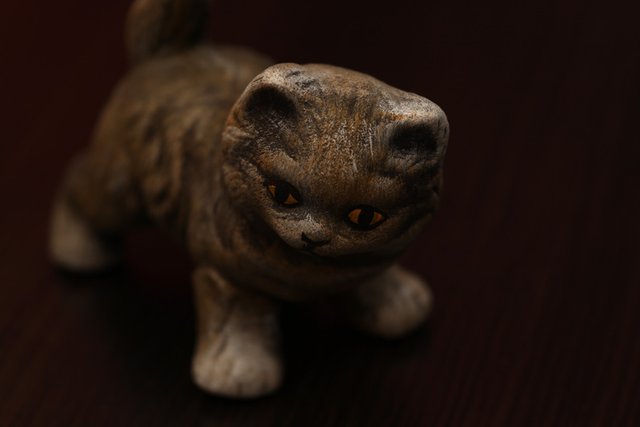
A shot with the regular flash pointing up and with the diffuser applied.
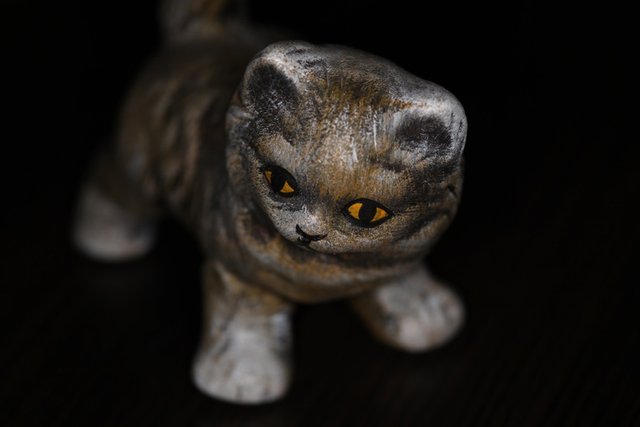
Here is the shot with the macro flash light, it is diffused light, but pointing directly to the cat figurine.
What are the Differences
As you can see there is some reflections shown on the golf ball when using the macro ring flash even though the light is diffused, that can happen as it is a direct light. Pointing the regular flash directly at the golf ball will have similar effect, but even harsher. On a matte surface there is no problem with the direct diffused light coming from the macro flash as expected. With macro photography using a regular flash that is directly pointed at what you are shooting is usually not a good idea, though sometimes it can work and if you use a light diffuser it will be better.
The major difference in the results is that when using a regular flash pointed up it brightness all of the surroundings and can change the overall look of the image based on the colors of the objects around you. It shows not only the object you are shooting, but also the surroundings. With the direct macro flash light only the object of attention gets bright while the things surrounding it are not so bright and this is probably what you would want to have for a macro shot. You want to emphasize on what you are shooting and besides blurring the things around it you can also get help with them being darker if you need to use a flash.
As usual with photography it is best to just experiment and see what works best in each case, just take more shots with different settings and then choose what seems to be the best one.
If you have a question or want to add something, then please leave a comment below.
Did you like what you have just read? Check my other posts on steemit @cryptos
I am really interested in macro-photography so this was very intriguing to me. Its interesting that the macro flash light almost blacks out the surrounding areas and surfaces to highlight the object being photographed. Thank you for sharing!