📷Photography Using Canon M5 50mm: Steps on Editeding with Lightroom CC

result after editing
Hi everyone! Good day 😊 Today I would like to share what I've learn from taking photos and editing them using Canon m5 with 50mm lense and Lightroom CC as editor.


🏢So my friends and I decided to go out and have a Photo walk along the city. We came across different places and got some good shots. However, this shot catched my attention the most.

The Setup
📷As most of you guys can see that the photo is kinda dark. I set the ISO to 250 to maximize image quality and wont have much grain. I also set the white balance to automatic. Shutter Speed 1/30 and F3.5 Aperture.The image can be edited after all and I believe that the best editor for these captures is Lightroom CC.
📱I only use my Phone when it comes to editing because it is way easier and more convenient for me.
Lets start editing👍
 Download Adobe Photoshop Lightroom CC to your phone from playstore. Its juts very light so it doesnt need much space. Reserve your storage for high res photos 😉
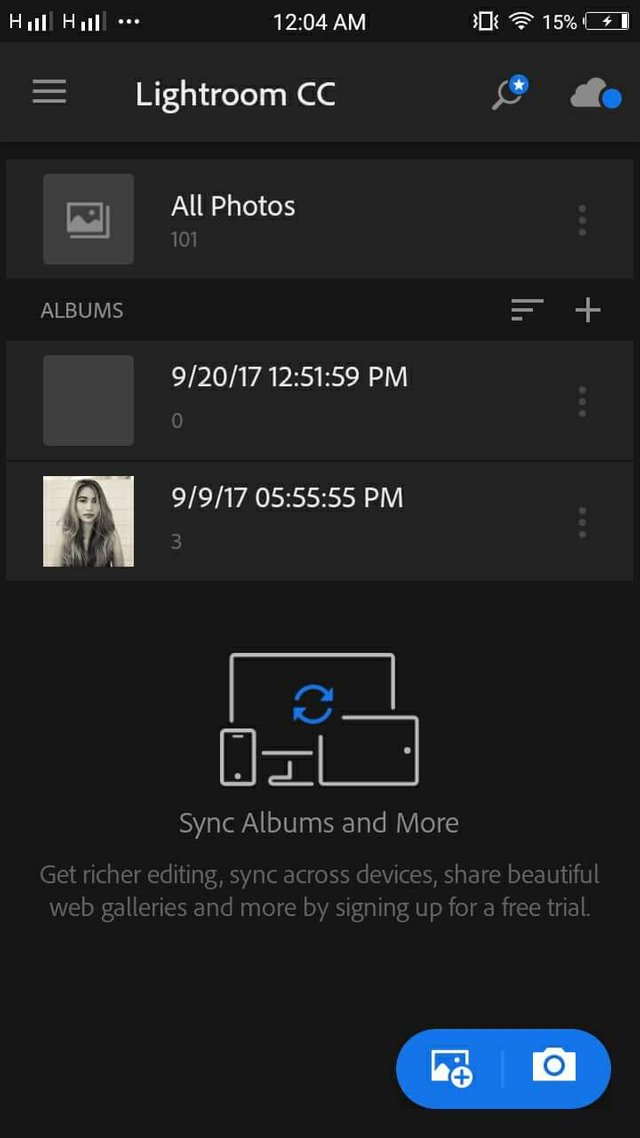
Choose the photo you want to edit from your storage device. Its easy as 123 so I believe you guys can easily pull it off 👍
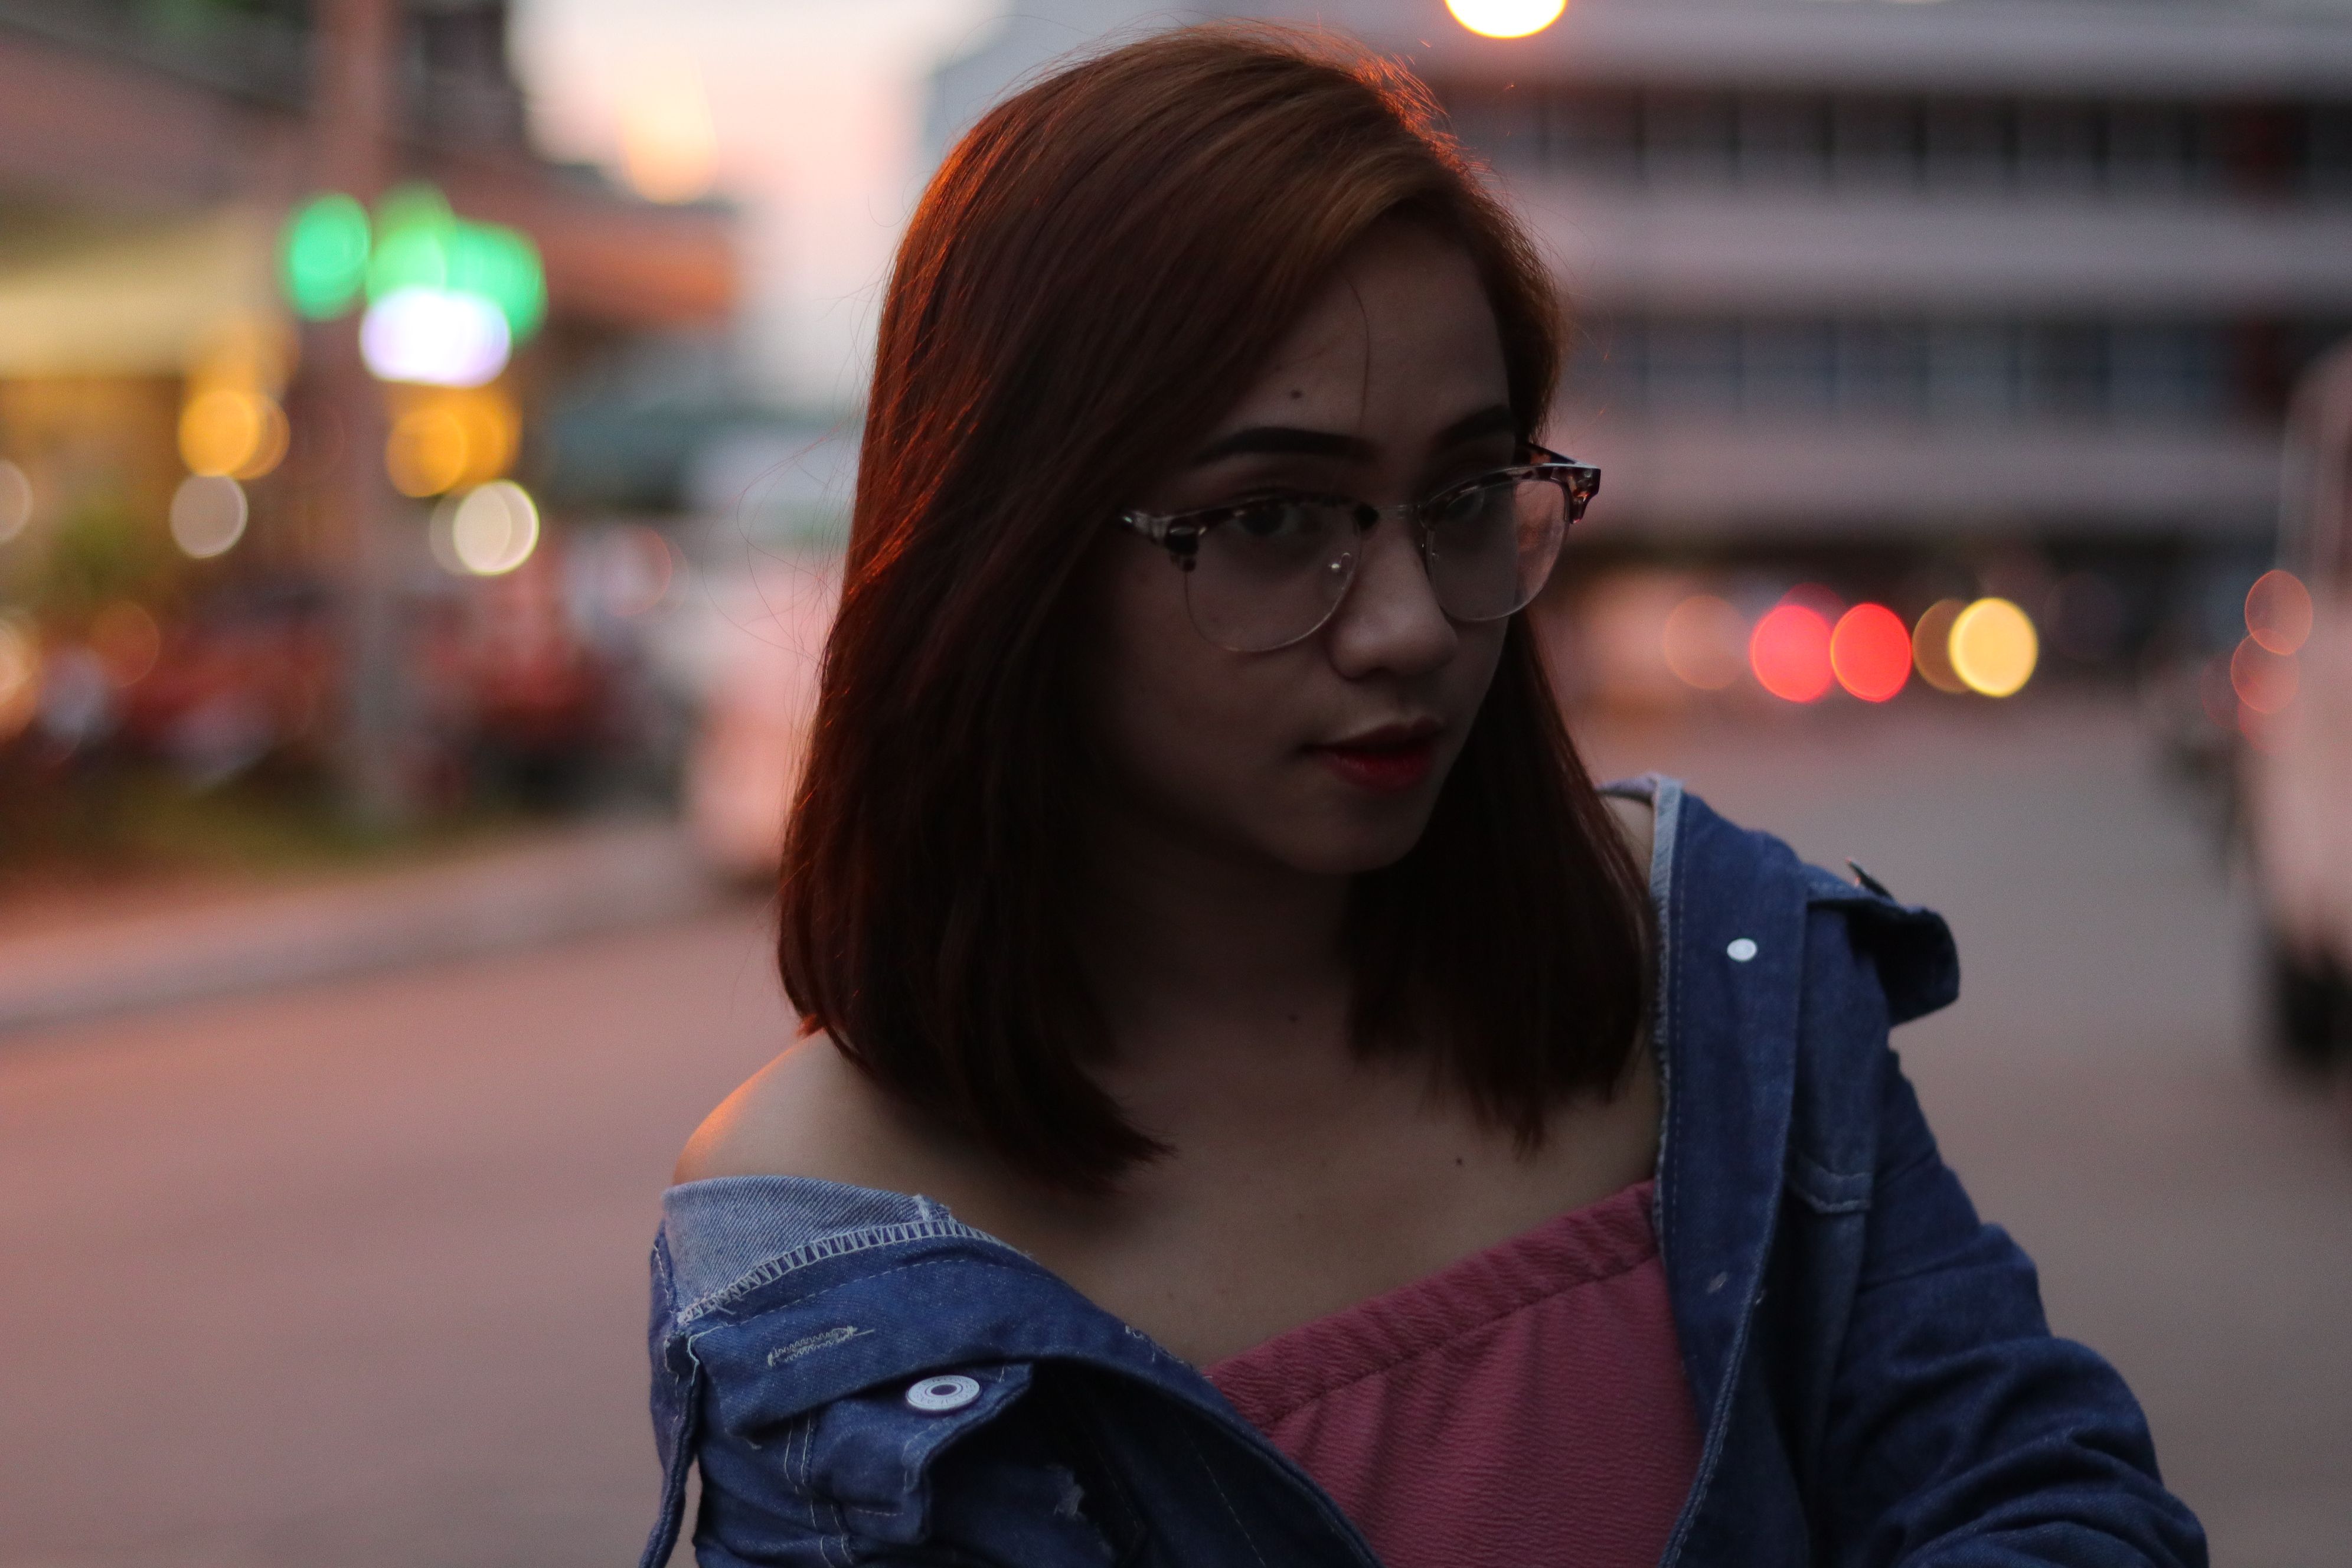
So here it is! The photo I wanted to edit. I have my own personal prospect of how the photo should look like so lets see how it goes 😊
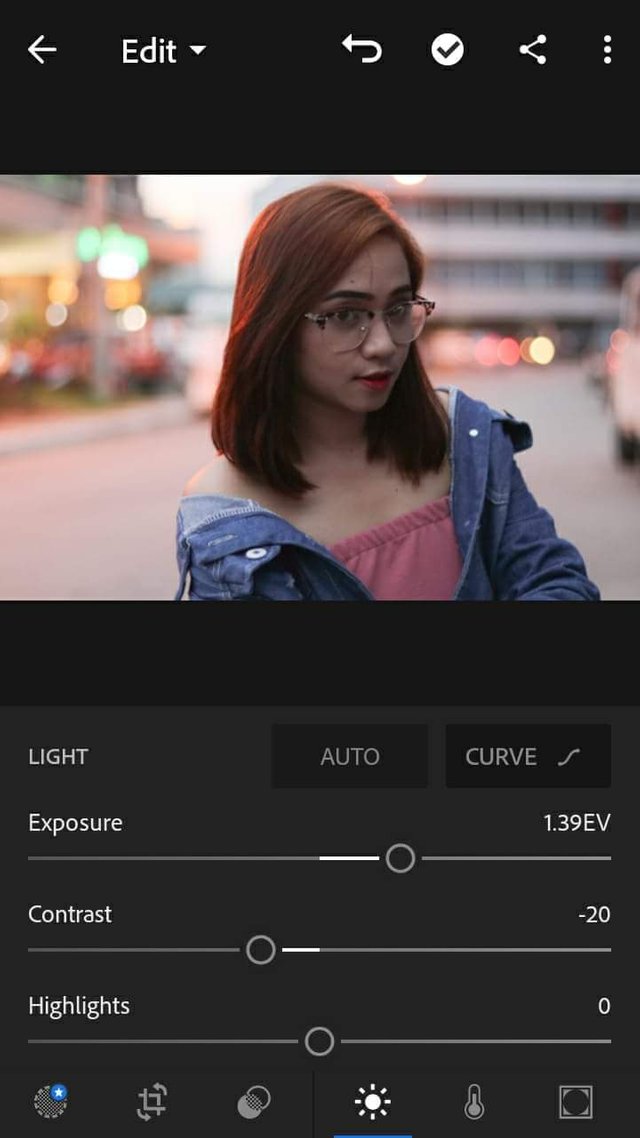
First off I wanted to lighten up the photo by clicking the Light Icon (4th icon on the bottom part) and changing the exposure to 1.39EV and contrast down to -20.
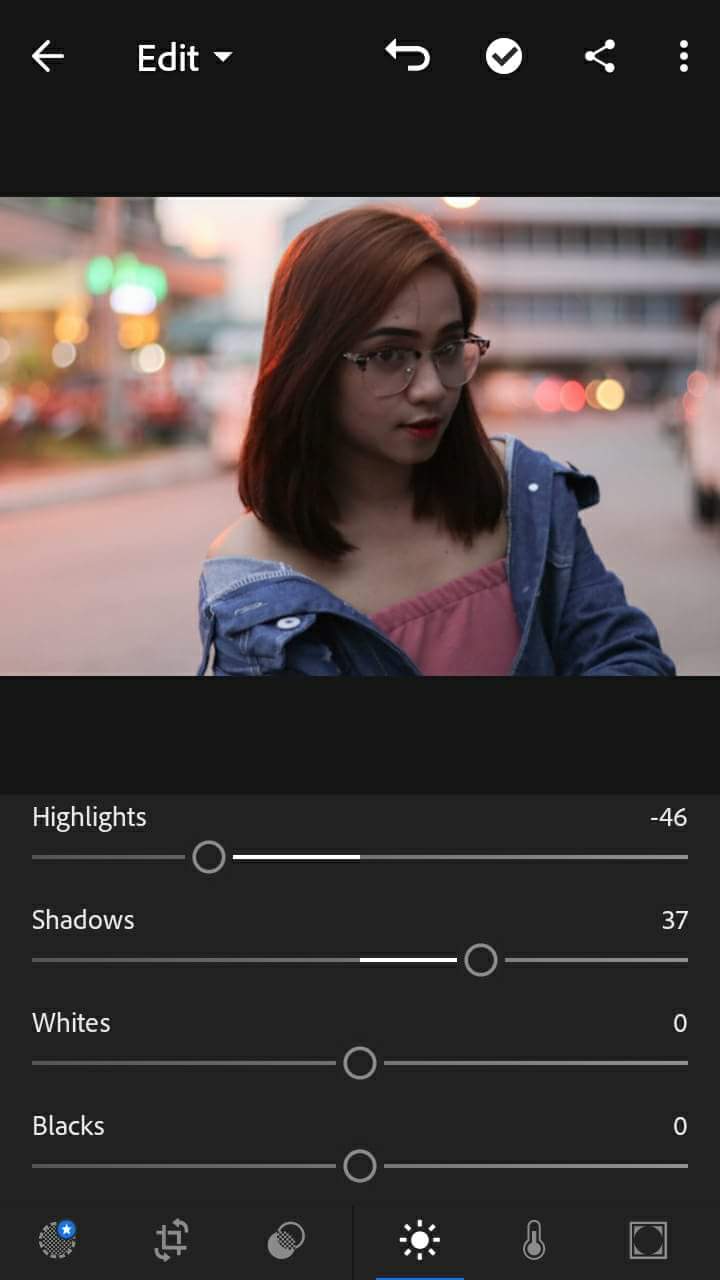
I also changed its Highlights down to -46 and added more shadow upto 37. This way I have made depth on the picture since it was too flat the moment I lightened it up.
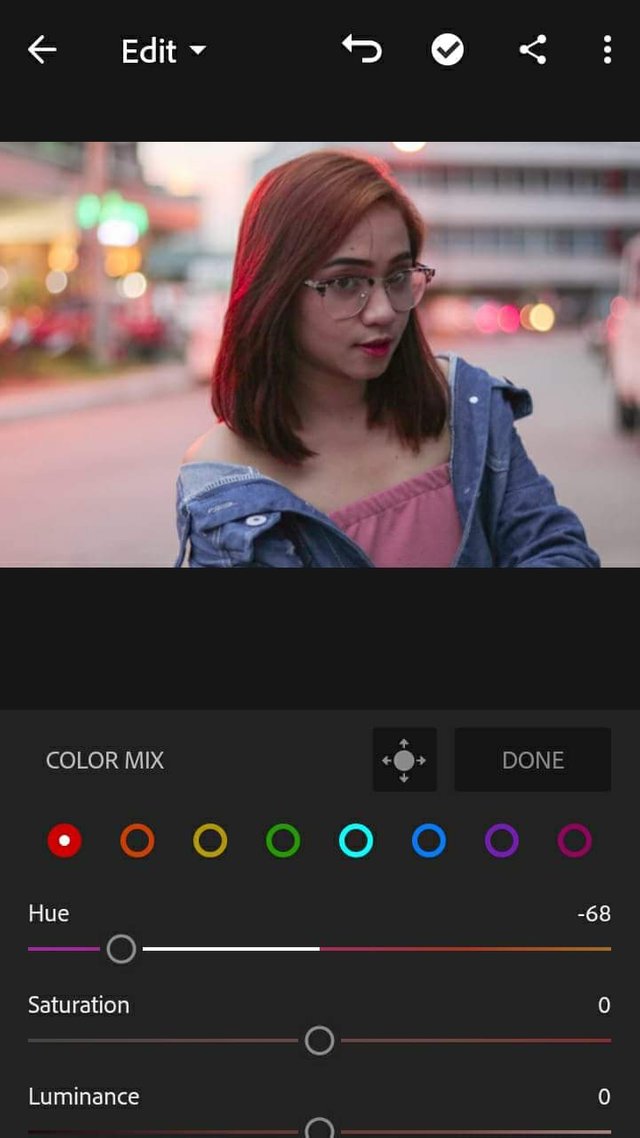
Moving forward, I decided to boost the colors around to maximize the effects offered by Lightroom CC. By clicking the Color icon(5th icon on the bottom part) you'll have the freedom to change the color. Click the icon Mix on the color portion. I wanted my red to appear a lil bit purple so I toggled the color red and changed its hue by dragging the button to the left gauging -68.
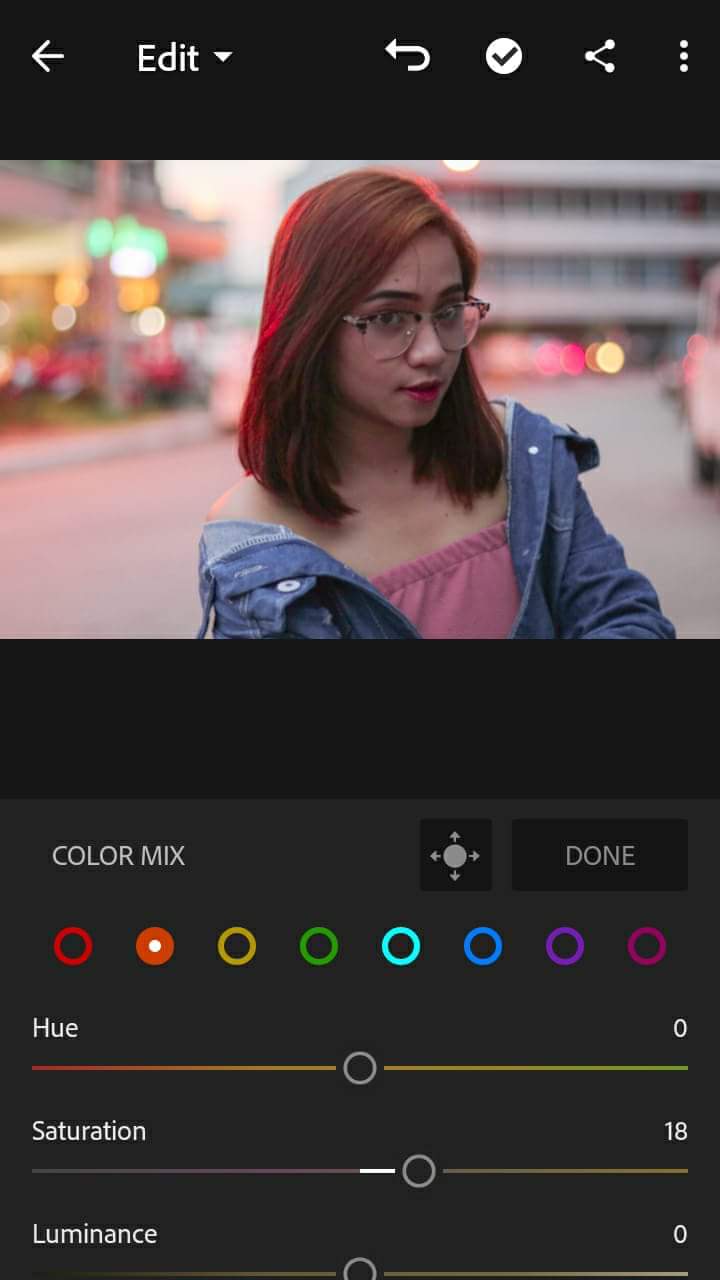
Also changed the saturation of color orange gauging up to 18. Doesnt change much though. By this moment we can see that there are lots of changes already happened since the moment we started. Honestly I am satisfied by the results already but still I wanted to maximize the use of the app.

I have noticed that the color green is taking too much place because of its brightness so I decided to set it off a lil bit by changing its hue gauging -41 and saturation up to 49. This time its color was set off.
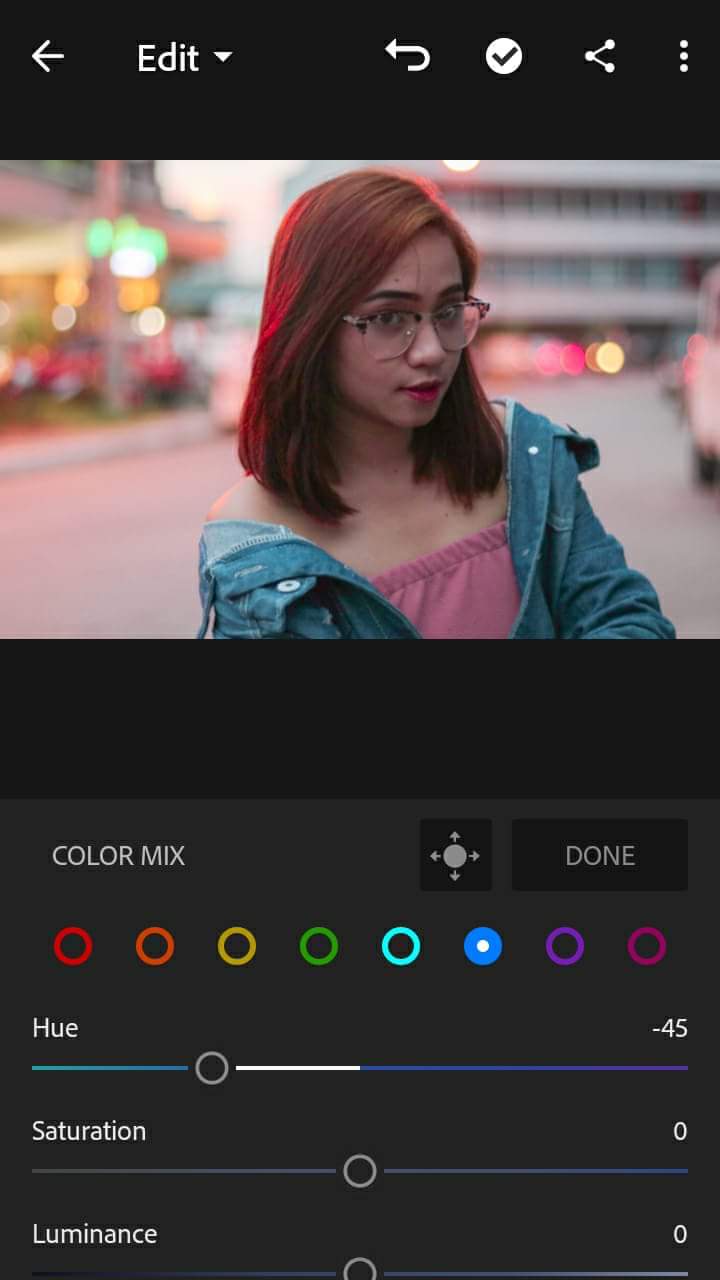
I personally like the turquoise color so instead of having the jacket blue I changed it to turquoise. By dragging down the hue gauging -45 it will give turquoise effect. Just the way I wanted it 😍
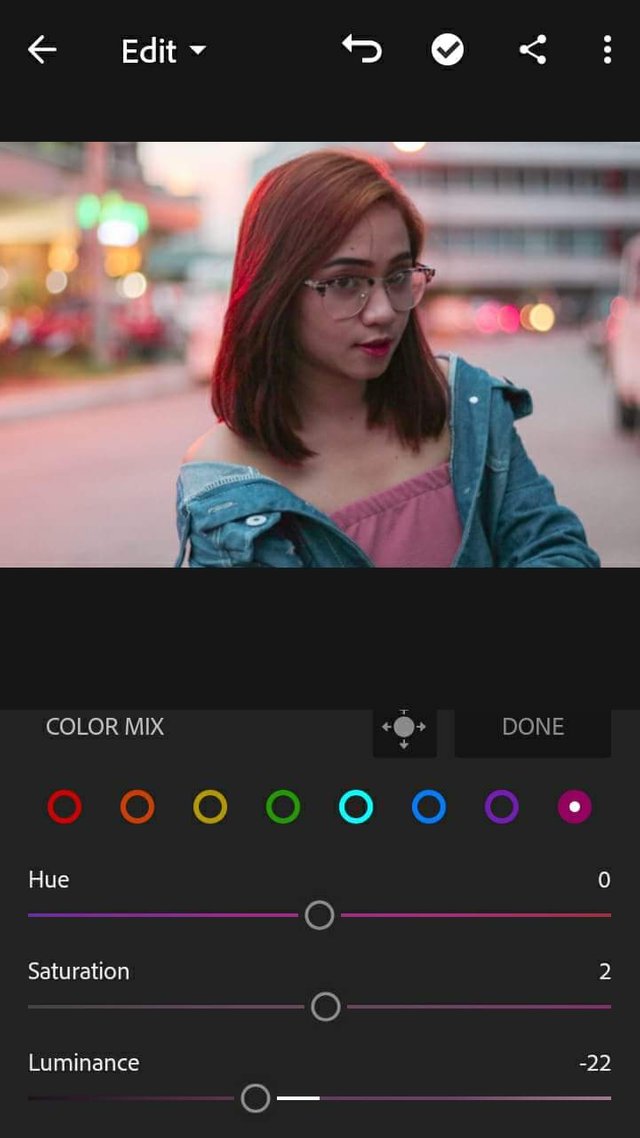
I also wanted to set off the "shine" effect of purple to I set down its luminance to -22 and saturated it just a lil bit. By doing this the color red would burst out. Doesnt affect much though.
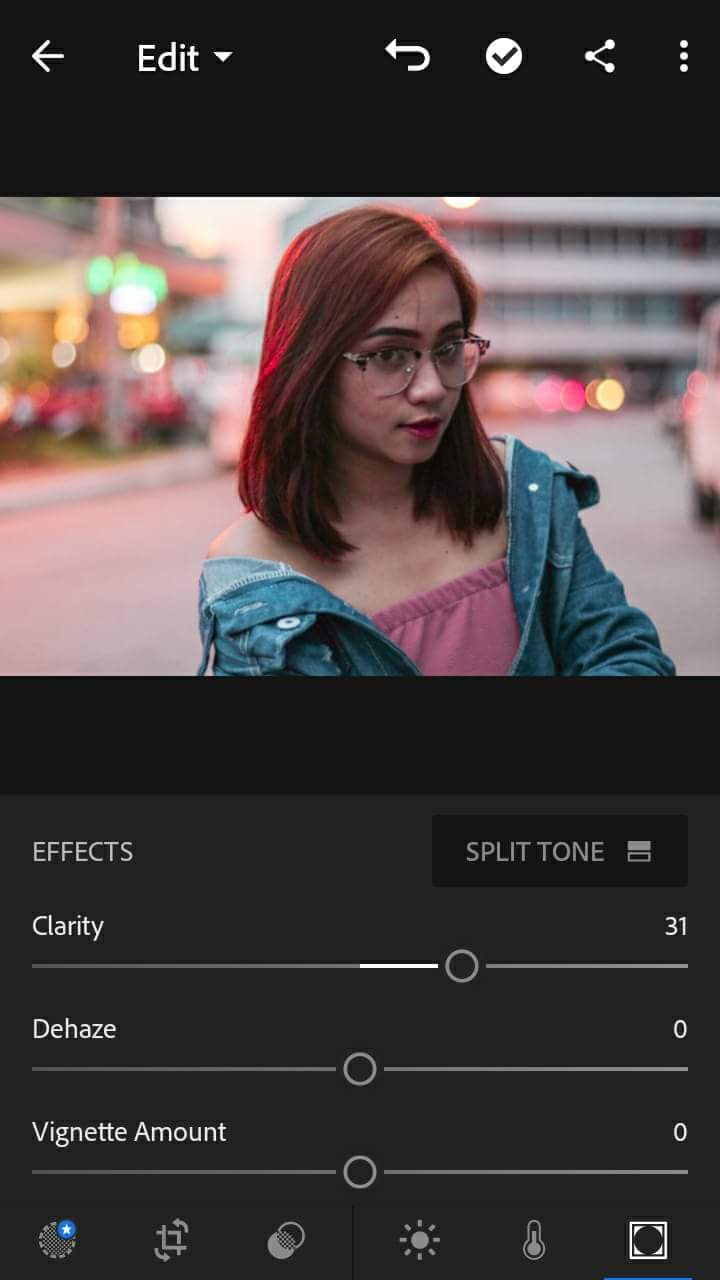
Since I used Manual Focus on the camera I can sense a little bit of blur on the image. However, I have changed its clarity through the Effects icon(6th icon on the bottom part). I have set its clarity to 31. Some editor call it sharpness.
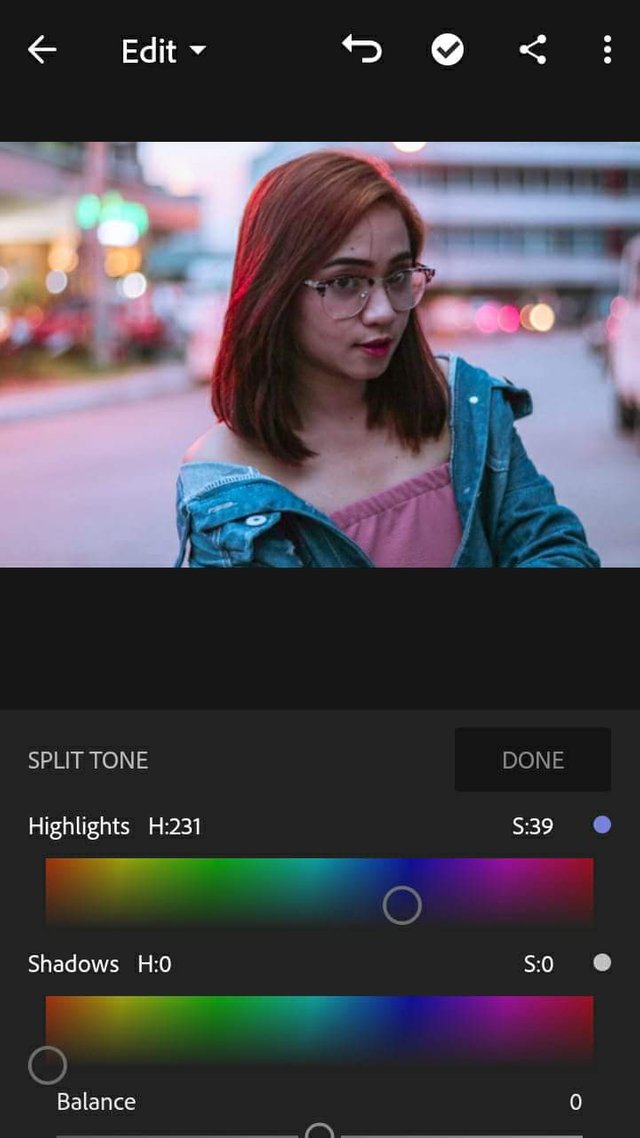
I have also noticed that the building at the background is kinda dull I believe it is part of the Highlights so I click on the Split tone and set it near to color blue gauging H:231 and S:39. There you can see its not dull building color anymore.
And we're done! 😁

And heres the result! 😍
Sometimes the camera is not to blame as to how the image looks like. It only takes proper editing. The best thing about Lightroom CC is that you can literally do anything to your photo because it has a wide range of color changing tools. Exploring such app takes time but trust me it is worth it 👌
Thats it for today 😊 I hope you guys liked what I did with the photo. I would also like to thank these people. @kennik for giving advises towards how to make effective posts. @deveerei for linking us to people that we could learn something with. @jacinta.sevilla for non-stop support.
Have a good day everyone 😘
Nice editing skills! I am fan of LR too.
thank you so much! 😊 i would love to see your posts as well
Upvoted! Thanks for reminding me about lightroom cc. Ill download it now.
The edited photo looks way brighter and vibrant, only, she looks slimmer in the darker photo hahahaha
Nice photography!
I'm learning through this :)
Resteemed.
Ill try to do some editing myself.
☝️✌️Cheers
thank you so much! i'm glad you liked it 😊
Nice camera, you can do a lot with it.
waiting for more.
following.
still exploring the camera and the app as well :) thanks!
Thanks for sharing this, I'll try this app!
you are welcome 😊
Your Post Has Been Featured on @Resteemable!
Feature any Steemit post using resteemit.com!
How It Works:
1. Take Any Steemit URL
2. Erase
https://3. Type
reGet Featured Instantly – Featured Posts are voted every 2.4hrs
Join the Curation Team Here
Hello. Is this feature available in Photoshop CS6? Thank you.
I believe CS6 has different feature and I compared them. Lightroom is easier to use. But I havnt explored CS6 that much