Digital Camera - The sensor - Lesson 2
Sensor of the digital camera

In the next few lessons we are going to discuss:
- The sensor consists of…
- RGB
- Processing and formatting
- Different size sensors
- ISO, Sensitivity and noise
- Low light
- High ISO
- Noise
- Low ISO
- Noise and size of the sensor
In the previous lesson, we discussed the first 5 topics above, in this lesson we will look at the following:
6. Low light
By changing the ISO of the camera, a photographer will still be able to good pictures in the dark or cloudiness (where the shutter speed is not slow). A too slow shutter speed with a high ISO, will give “noise” on the photo taken.
If you don’t use the flash of the camera, the ISO can be set higher, if you are not using a slower shutter speed.
In darker light, a slower shutter speed must be used. This means that the camera must be placed on a tripod so that there won’t be “camera shake” and the ISO must not be more than 200, otherwise there will be noise on the image as the sensor is too sensitive.
The above actually means that, if the shutter speed is slow and the ISO is too high, there will be noise on the image taken.

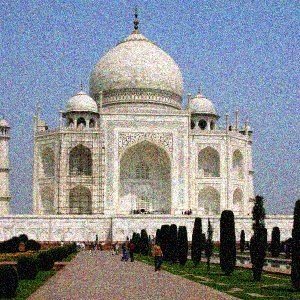
Difference between a low and higher ISO
7. High ISO
There is a direct relationship between the shutter speed and the ISO setting
By making the ISO higher, the shutter speed must also be set faster, for example:
- ISO 100 Shutter speed 1/30 second
- ISO 200 Shutter speed 1/60
- ISO 400 Shutter speed 1/125
- ISO 800 Shutter speed 1/250
Otherwise there will be noise on the photo.
A faster shutter speed also helps to prevent ‘camera shake’
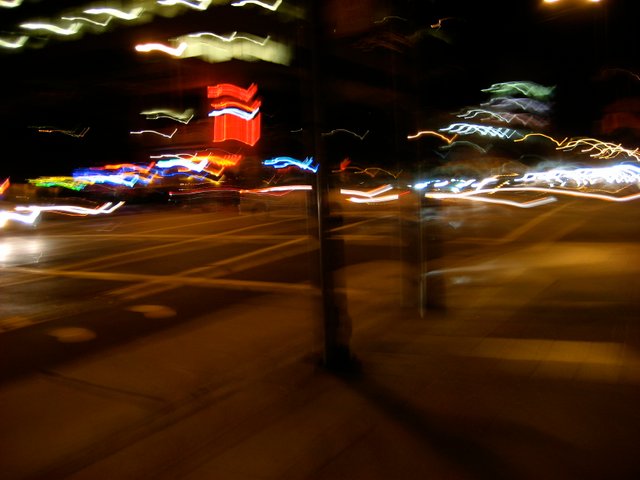
An example of camera shake (a blurry photo)
8. Noise
The disadvantage of using a high ISO, is that you will get a photo with noise.Why does this happen???By setting the ISO higher, the electronic signal of the sensor increases, but also the background noise of the camera. The signals are interfering with each other, therefore we get ‘noisy’ photos.
An example of noise on a photo.
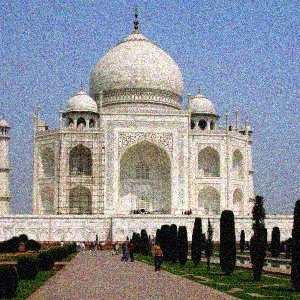
9. Low ISO
It is recommended the lowest possible ISO be used for those specific light conditions, with a faster shutter speed. This will prevent ‘blurry’ photos.The photographer can also use a tripod, then a lowers ISO can be used. For example: ISO 100 and shutter speed 3 second. The photographer must remember that photos taken during the evening, must be set on a slower shutter speed. The ISO for this must be 100.
If the camera has a noise reduction setting, you can switch it on. This will help to prevent noise on the photo.
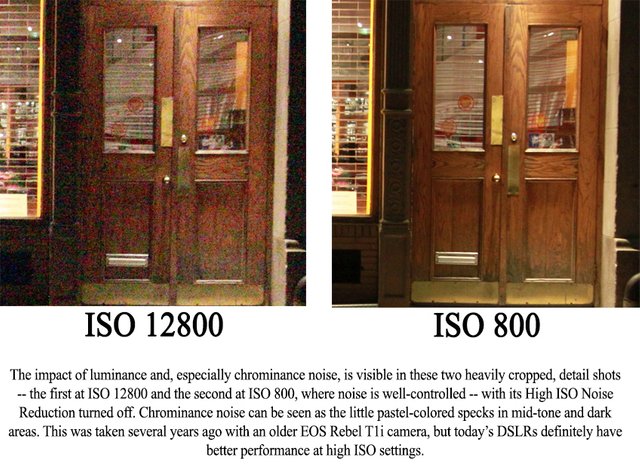
Image source - Noise reduction
10. Noise and size of the sensor
Bigger sensors shows less noise because the bigger photosites gather light more effectively and therefore the ISO setting does not have to be too high to take photos in bad light.Because the photosites are further apart from each other on a bigger sensor, a higher ISO does not interfere and therefore less noise is shown on the image
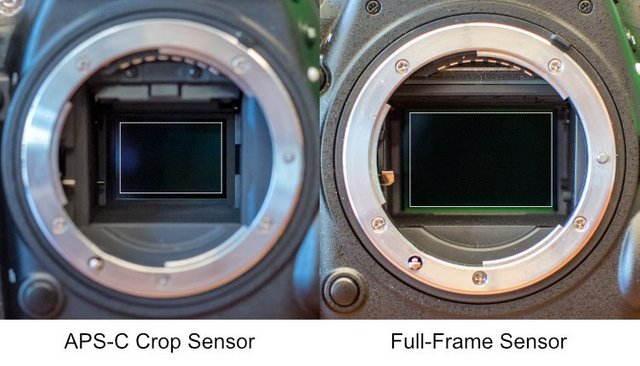

You got a 2.14% upvote from @postpromoter courtesy of @apteacher!
Want to promote your posts too? Check out the Steem Bot Tracker website for more info. If you would like to support the development of @postpromoter and the bot tracker please vote for @yabapmatt for witness!