Online Photography Class #1
Kelas Fotografi Online #1
Belajar Memotret “Bokeh”
Selama ini banyak orang bertanya bagaimana cara menghasilkan foto bokeh? Bagaimana cara membuat bokeh yang halus? Kenapa foto saya tidak bisa bokeh?
Bokeh sendiri merupakan serapan dari bahasa Jepang yang berarti “mengaburkan”. Dikalangan fotografer ini sudah disepakati bahwa bokeh secara teknis berarti “blur”. Dalam kata lain disebut kabur,tidak tajam, tidak jelas, atau tidak nampak objeknya.
Bokeh ini dihasilkan dari keterbatasan cahaya yang masuk dan diterima oleh lensa kamera menjadi tidak fokus atau biasa disebut “out focus”.
Berikut cara menghasilkan foto yang bokeh:
- Yang harus kita perhatikan adalah bukaan lensa kita. Ini biasa disebut nilai aperture. Kita harus menggunakan nilai aperture tinggi (bukaan lensa terbesar) biasa ditandai dengan nilai “f” yang kecil. Misalnya f/1.4 sampai f/2.8.
- Perhatikan ruang tajam yang diterima lensa untuk diteruskan ke kamera. Ruang tajam dalam dunia fotografi biasa disebut DoF ( Deep of Field )
- Jarak antara objek dan latar belakang. Jauhkan objek dari latar belakang atau dari objek yang berada didepanya. Sehingga fokus lensa hanya tertuju pada objek yang ingin kita ambil. Sebaliknya jika latar belakang semakin dengan objek maka akan semakin nampak jelas latar belakang tersebut.
- Dekatkan kamera dengan objek. Ini sangat penting, karena akan mempertajam objek dan mengaburkan latar belakang yang tidak tertangkap ruang tajam.
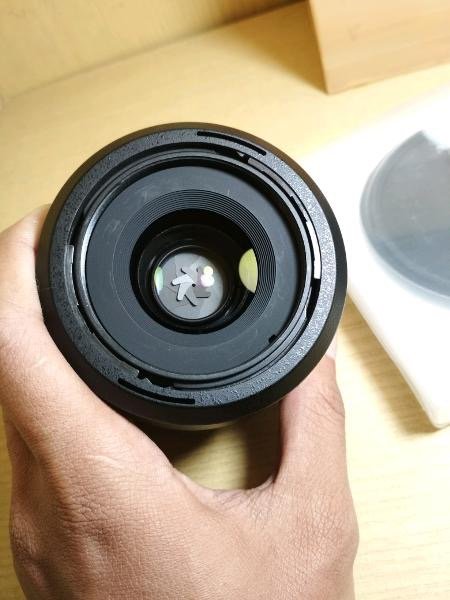
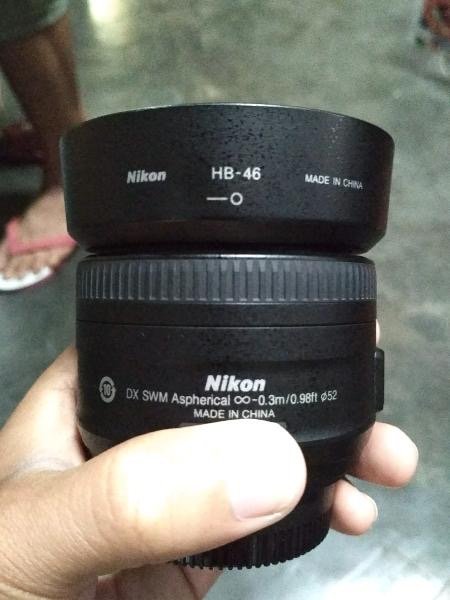
- Pilih kualitas optik yang bagus. Semakin bagus kualitas optik maka secara otomatis kualitas gambar yang dihasilkan akan semakin bagus.
- Pilihlah lensa prime ( fix ). Karena lensa fix biasa memiliki bukaan yang besar.
- Pilih focal length terpanjang. Sebagai contoh saat anda menggunakan lensa yang bisa di zoom. Maka pilihlah focal terpanjang yang akan mendekatkan focus ke objek.
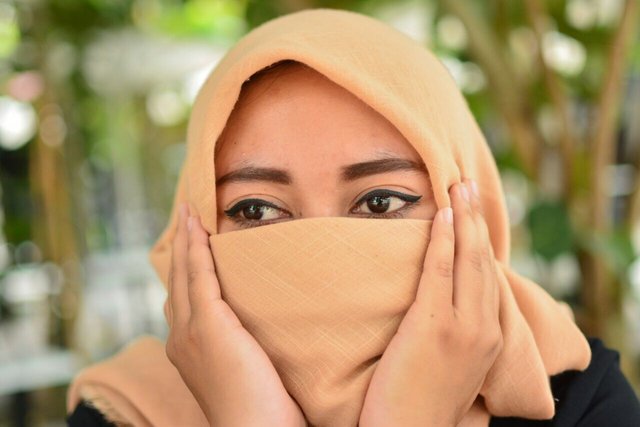
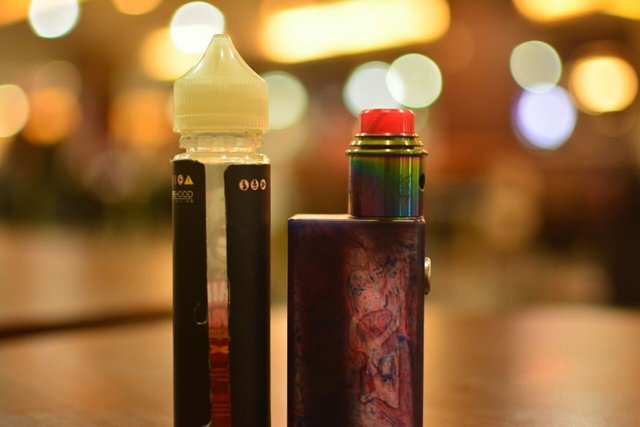
Dengan bukaan aperture yang besar dan kamera dekat dengan objek kemudian latar belakang berada jauh dengan objek maka ruang tajam akan semakin sempit dan area lainya akan menjadi blur.
Sekian tips dan trik dari saya untuk membuat foto bokeh yang menawan. Artikel original dari saya. Berikut saya sertakan hasil jepretan saya menggunakan kamera nikon D7100 dan lensa fix nikkor 35mm f/1.8 :


Online Photography Class # 1
Learn to Take "Bokeh"
During this time many people ask how to produce bokeh photos? How to make a smooth bokeh? Why my photo can not bokeh?
Bokeh itself is an uptake from Japanese which means "obscure". This photographer has agreed that bokeh technically means "blur". In other words it is called blurred, not sharp, vague, or invisible to the object.
Bokeh is generated from the limitations of light entering and received by the camera lens to be out of focus or so-called "out focus".
Here's how to generate a bokeh photo:
- What we should consider is the opening of our lens. This is commonly called aperture value. We must use the high aperture value (the largest lens aperture) commonly marked by a small "f" value. For example f / 1.4 to f / 2.8.
- Note the sharp space the lens receives to be forwarded to the camera. The sharp space in the ordinary photography world is called DoF (Deep of Field)
- The distance between the object and the background. Keep objects away from the background or from objects that are in front of them. So the focus of the lens is only on the object we want to take. Conversely, if the background is more with the object will be more visible clear the background.
- Close the camera with the object. This is very important, because it will sharpen the object and blur the background that is not caught sharp space.
- Choose a good optical quality. The better the quality of optics then automatically the resulting image quality will be better.
- Choose a prime lens (fix). Because the regular fix lenses have large openings.
- Select the longest focal length. For example when you use a zoomable lens. Then choose the longest focal that will close the focus to the object.
With large aperture opening and camera close to the object then the background is far away with the object then the sharper space will be narrower and other areas will become blur.
A few tips and tricks from me to create a charming goto bokeh. Original article from me. Here I include my shots using nikon camera D7100 and nikkor 35mm f/1.8 :

Istimewah..... postingan bapak sagat bagus dan sangat membantu
Your post is amazing, hopefully we can all comment and discuss each other in the post steemit so as to add insight and friend of course, and you also can peek and give input in my account. Thanks.
Thank you sir. hopefully I can further improve the quality of my article. wait and keep an eye on this account, because more articles will be better for the future
Salah fokus sama gadis berkerudung orange hahaaaaa.
Hhhha apa kamu t yul
Sama mbak saya juga hehehe
Mantap, sangat membantu mas