Evolving the Tiger toilet part 3
Welcome dear Steemians! This is part 3 of the building of a new kind of Eco-Toilet, modelled on the Tiger Toilet, with our extra innovations in design and building process
If you havent read our previous installments please check them out @
Link to Part 1 https://steemit.com/permaculture/@reville/evolving-the-tiger-toilet-part-1
Link to Part 2 https://steemit.com/permaculture/@reville/evolving-the-tiger-toilet-part-2
Link to Part 4 https://steemit.com/permaculture/@reville/evolving-the-tiger-toilet-part-4
The build begins!
After I returned to site I gave the all clear to begin applying in the ferrrocement to the formwork
We use a sand, cement mix, a mortar for the ferrocement. To this we add a little common Detergent to the water. Detergents act as a plasticiser allowing better workability of the mix with less water. Less water means a stronger construction.
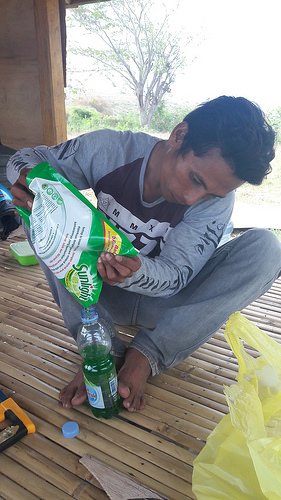
We use about 50ml of Sunlight dishwashing detergent per wheelbarrow of sand and cement. We could use more, but it helps a little even at 50 ml
The mortar is mixed by hand. First we tried in the Wheelbarrow
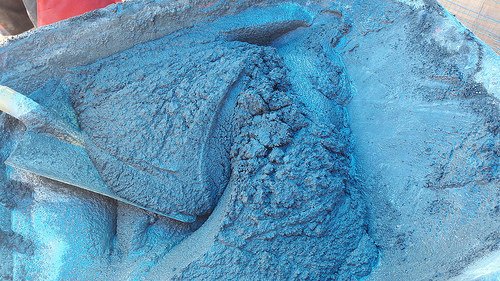
This is the desired consistency, smooth and forming nice peaks like a good Meringue
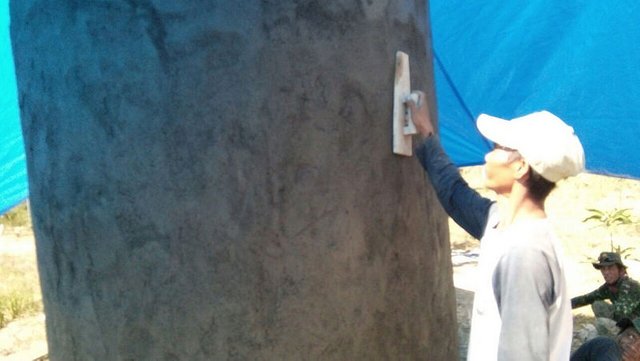
A thin consistent coat in upwards strokes, Thankyou Mr Jumahir!
But as we only have one wheelbarrow, we switched to using a clean space atop used cement sacks.
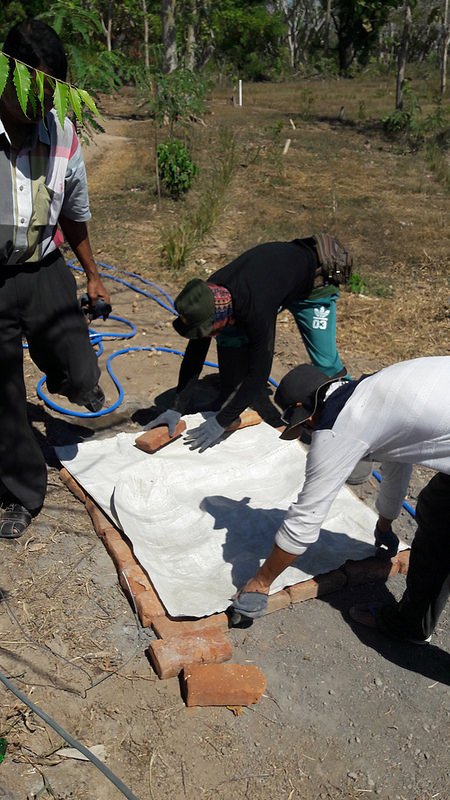
The mix is dry mixed first then the water and detergent mix added with hand mixing
Applying the mix
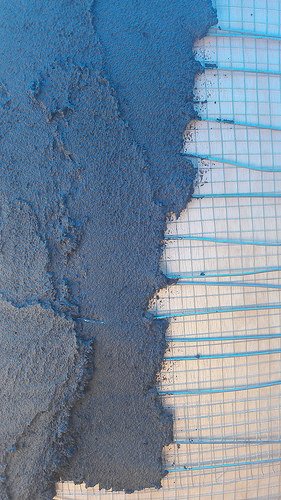
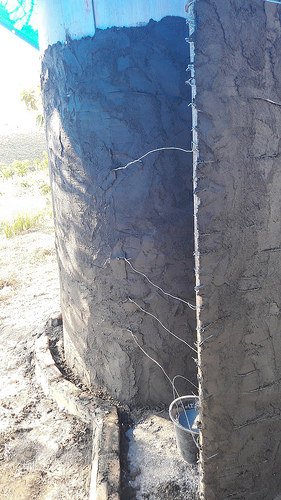
Starting from the base the morater is applied in a thin layer ensuring only to cover the wire and mesh. The team worked quickly to complete the task
Once the first coat is finished we will wait two days before removing the formwork
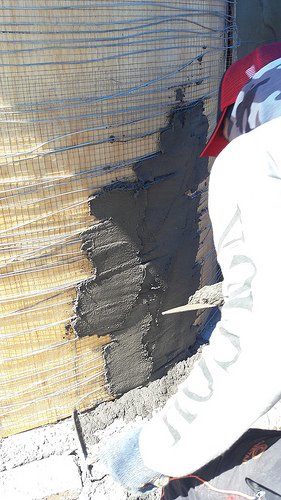
We start at the base and apply upwards in a thin coat. Ferro cement does not need to be thick to be strong, just enough to cover all the wires in about 14mm of mortar
On the first day we just completed the shell first coat
Amaq Agung gives the surface a rough finish, ensuring all wire is covered. We want to to remain rough so that the render / plaster coat can adhere to the surface
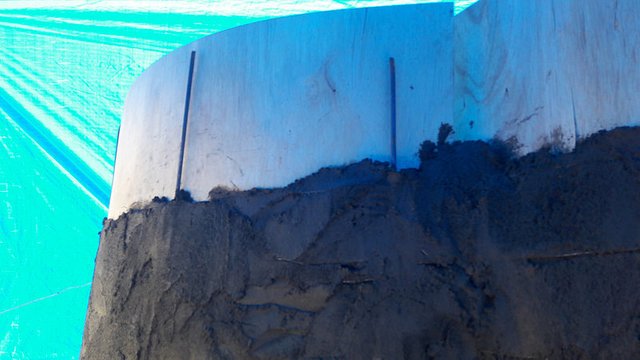
The 20-25cm of rebar is left protruding above the wall rim
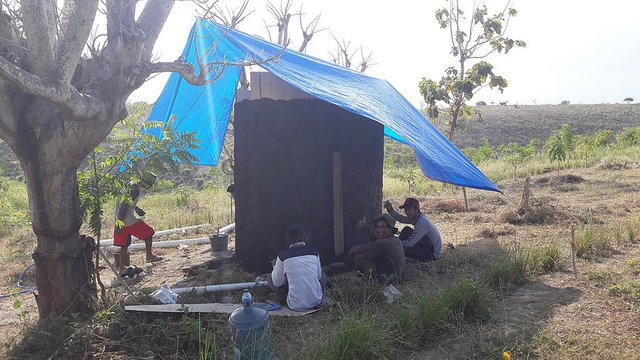
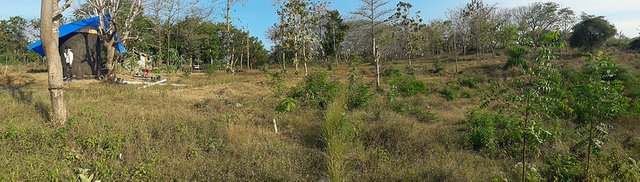
The use of the tarp gave me an idea for a future office block that catches its own water
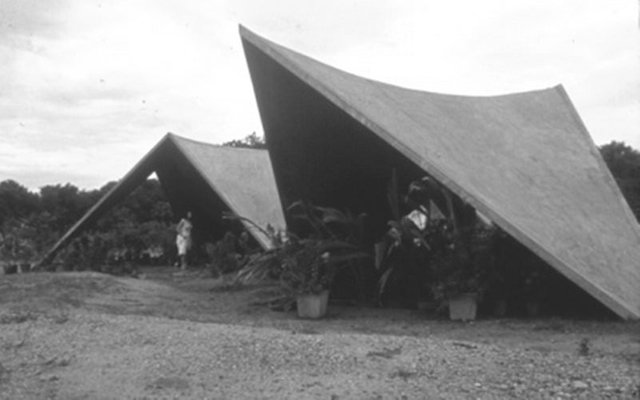
This old photo intrigues me for its ease of water collection, but that's a story and a project for another time..
The wing is braced for temporary security in case of strong winds up the valley
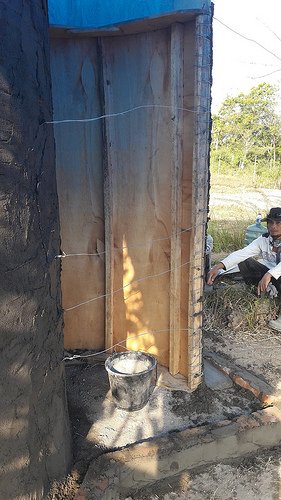
the wing offers a degree of privacy and protection from winds and sun
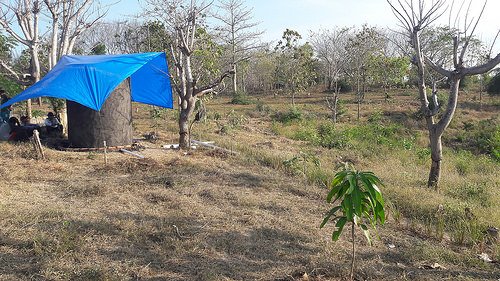
done for the day
The profile showing the toilets position giving ideal fall to the vermifilter tanks, and more fall to run the treated effluent to Wastewater gardens.
The next step
After two days setting the moulds will be removed. On Thurday the inner coat of mortar will be applied. This Friday half the team will continue with installing the toilet seat, plumbing and set up of the vermifiltration chambers
The other half of the team will build the roof from local long lasting Sugar Palm fibres, Ijuk, and begin to apply the lime : sand : cement outer render
Ferro cement shell
Ferro cement is no new technique. It uses a scaffold, usually of wire, to hold a thin layer of mortar mix. There are other methods that can incorporate bamboo and nylon in place of some or most of the metal that we will explore in future.
Its is stronger than concrete, lighter and durable to earth tremors. It has a lower thermal mass than brick walls, so it cools down faster at night under tropical conditions
https://en.wikipedia.org/wiki/Ferrocement
It is very strong, and durable, and uses considerably less cement and sand than an equivalent build using local Batako cement blocks. It is easy to learn and quite forgiving.
The wire and mesh needs only a 14mm cover of mortar mix on either side. The outer layer is applied first and after the formwork is removed the inner coat is applied.
BATI course on Ferro cement Tank constructions
We sent 8 local villagers to train in Bali for 6 days in september 2016, with Mr Rus Alit of the Bali Appropriate Technology Institute (BATI), where they learnt how to build water tanks, low cost water filtration jars and other appropriate technologies.

Mr Rus Alit and family at BATI
If you are looking for a worthwhile holiday edutourism event, join a BATI course, in Tabanan, West Bali
They offer excellent practical and life changing educators, in truly paradise settings.
Our course was delivered in Bahasa Indonesia for our Villagers from Lombok, but Rus speaks impeccable English having lived and studied in New Zealand many years and worked around the world teaching his practical kills to thousands of people, so his courses also cater for visiting international students. And the traditional balinese food and accomodation onsite are excellent. Thankyou Rus!
http://www.baliappropriatetechnology.org/
These 8 graduates from BATI formed our core team and we used them to transfer knowledge to another 28 villagers by working alongside and conversing in their own local language and terminology to build tanks in each of the 6 local hamlets
We’ve built 11 water tanks with this method and this is our first dry build. ( Hint: Next we will build a hut)
Other materials
Local fired clay bricks also have a lot more embedded energy and a lot of wastage due to breakages in transport. We only use about 250 clay bricks in this build for the perimeter of the foundations for the building and vermifiltration tanks
Carbon offsets
This project is allocated about 1.2 tonnes of raw sand, prior to onsite sieving. About 20 x 50kg sacks of cement and some rebar, wire and mesh.
In a later evaluation, once the project is complete we will calculate the estimated carbon footprint of these materials and plant a minimum of 20x its carbon footprint in trees on previously deforested land.
We will use local Tamarind trees provided by the Forestry department and plant them on site below the toilet where we can manage them.
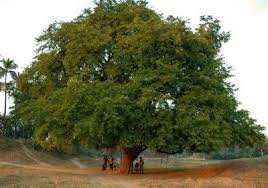
https://en.wikipedia.org/wiki/Tamarind
Tamarind trees can live for 400 years are are reported as one of the highest carbon sequestering trees of the local forests. After 7 years they will start to bear harvestable fruits that give additional income. A mature tree can produce around 100kg of pods per year and the pulp is sold for culinary seasoning while the seeds are roasted and eaten by local villagers as a snack
This project is fully funded by
![]()
This build is funded by Ecoregions Indonesia, as part of their ongoing support for the people of Sekaroh forest, with a 9 million Indonesian rupiah research and build budget, along with use of Ecoregions staff hours to make and test the prototype. After some months testing we hope to also gather some Steem community support to continue prototype and business model development for job creation.
We hope you follow our progress towards a workable solution to these problems that is socially acceptable, economically sound and environmentally beneficial.


please Comment, Upvote, Share or Resteem!
A shitty project, but someone's got to do it! ... but seriously: Good work!
Congratulations @reville! You have completed some achievement on Steemit and have been rewarded with new badge(s) :
Click on any badge to view your own Board of Honor on SteemitBoard.
For more information about SteemitBoard, click here
If you no longer want to receive notifications, reply to this comment with the word
STOP