Fix Pentax DA*50-135 F2,8 dead SDM [Supersonic Drive Motor] and other fixes
Fix Pentax DA*50-135 F2,8 dead SDM and other fixes
This will also "work" on other SDM lenses like the DA16-50, DA60-250, DA*300, DA 17-70 etc.
*It might not work. The SDM is a fairly simple piesoelectric motor. The usual cause of "death" is that the motor simply has too much friction - the piesoelectric motor gets stuck. So it's not really dead :)
Before fixing
- Know that by opening a lens and meddling with the interior you are probably losing your warranty.
- Taking apart any complicated objects should be a last resort.
- All Pentax SDM lenses are capable of using the screwdrive mechanism/DC motor. If you have a K5, K7, K-x or K100 you can use the DEBUG MENU on that camera to change the settings on the lens to force the use of the screwdrive over the broken SDM. (newer Pentax cameras don't have that option anymore. Why? You'll have to ask Pentax that.)
To further learn about how to access DEBUG MODE, just google it. It's fairly easy and well documented. Just know every camera model uses a specific set of filenames to enable debug mode. - If you are going to attempt this fix, it will most likely take an hour if you haven't done anything like this before. Above all, have patience and don't ever lose your nerve. Most steps of this fix are very easy.
Fixing a dead SDM on an DA*50-135 F2,8
Get yourself a clean table, preferably a cloth or a small bowl where you can store the tiny screws, a needle and a small crosshead screwdriver.
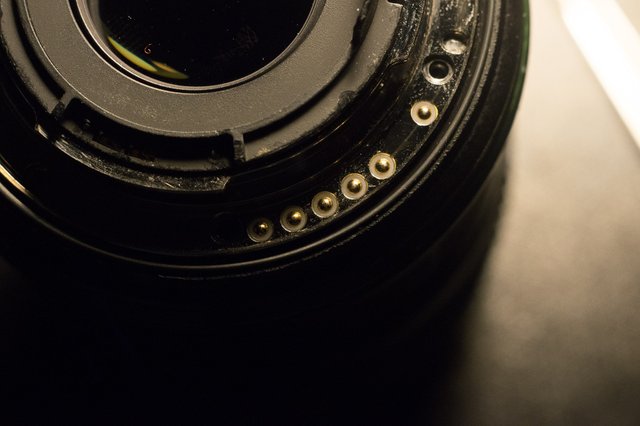
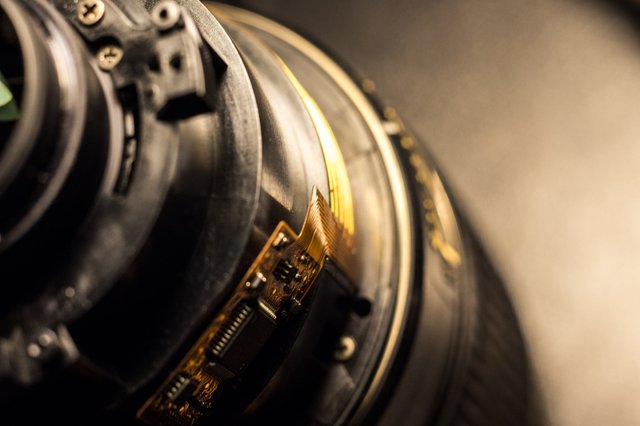
We'll start by disassembling the back of the lens.
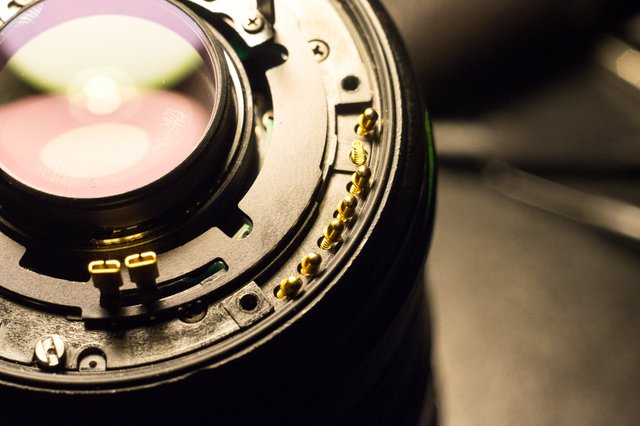
First, unscrew the 2 small black screws holding the two lens power contacts in the middle. It's a small plastic piece with two golden contacts.


*Notice that there are two small sockets. Afterwards when you have to put back the backplate, you have to align them back to the holes.
Next, you'll see 5 white screws on the back, unscrew them.
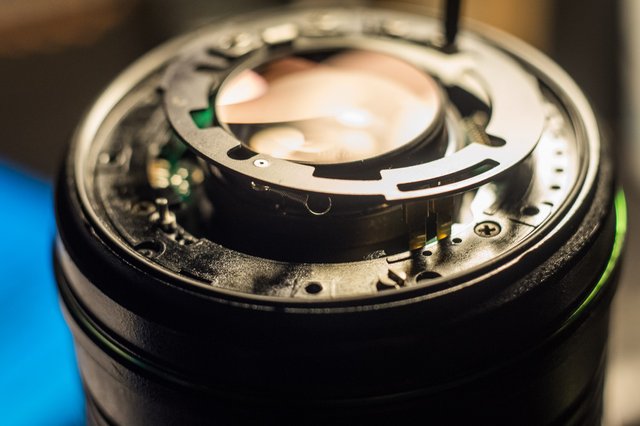
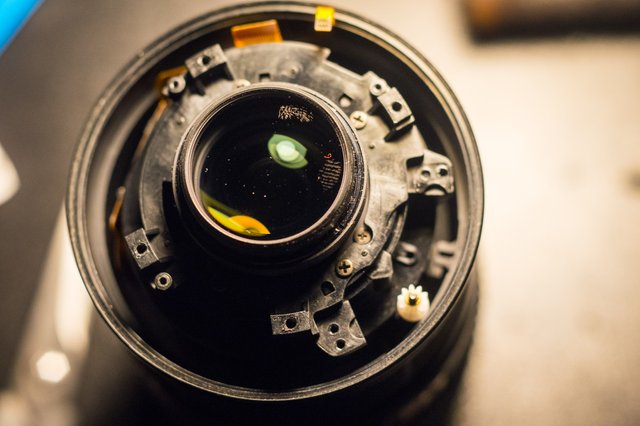
Now, carefully lift the back metal plate off the lens. Be extra careful not to lose any of the golden pins. There are 6 golden pins and one golden spring hidden underneath the plate!
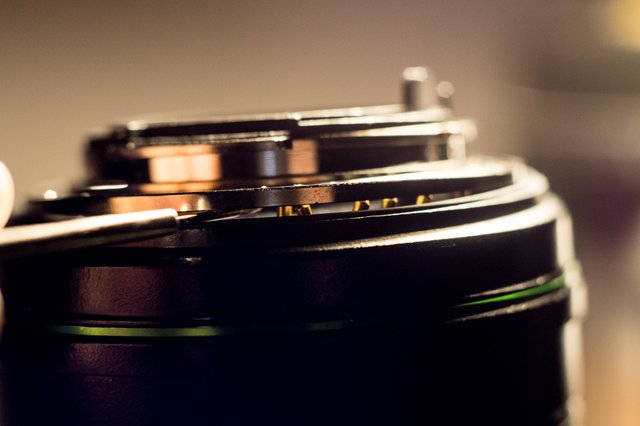
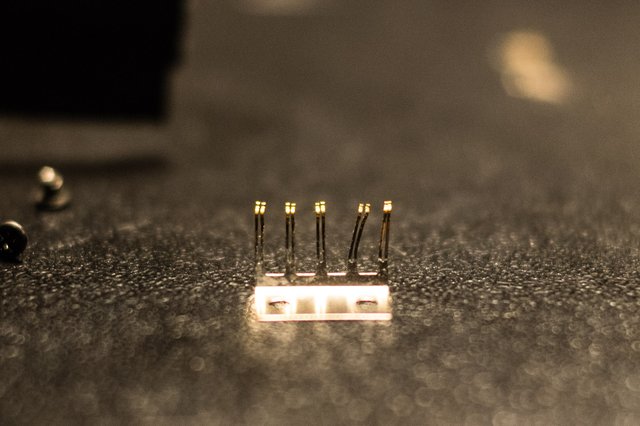
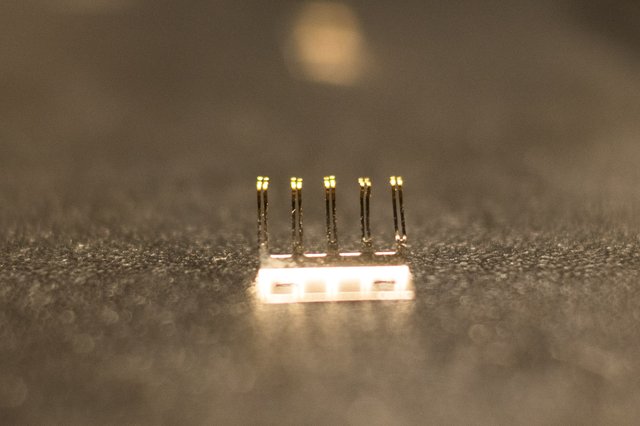
When you are putting the plate back afterwards, put the pins back first and lay them resting against the outer side of the lens, like they are in the middle picture.
Once you put the plate back on, you notice it's a pain getting the pins all into the holes at once. Don't even try. Use a small needle to push the pins one by one into the holes from the side.
Now, with the plate removed, remove the spring underneath the aperture lever and then remove the aperture lever also. The spring is not permanently attached to anything, so watch out and don't lose the spring.
There's a small notch you'll have to reattach the lever afterwards.
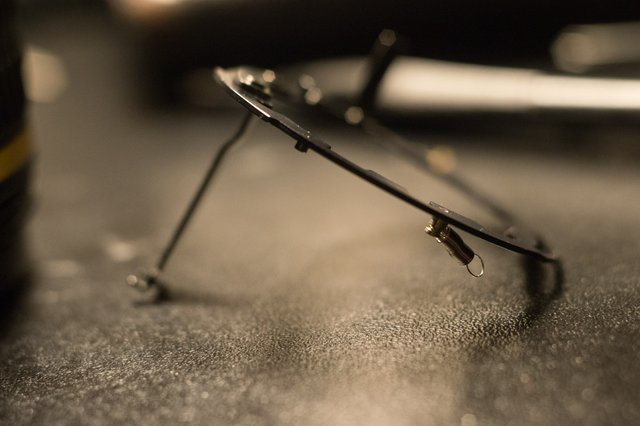
Pulling out the lever is pretty straight-forward. At the end you'll have to turn 90 degrees to get the end out.
Putting it back is just as easy.
Now it's time to remove another metal plate, this time black.
Unscrew the 4 screws and carefully pull the back piece away.
**Keep in mind the lens is weather sealed which means it has small rubber bands between every section. The rubber is probably stuck onto the piece, in that case you don't have to worry much, just leave it. If it comes off you'll have reattach it afterwards.
**By removing this part of the lens, the ZOOM RING comes loose also! Try avoiding pulling on the zoom ring. We don't want to make things more complicated by getting another rubberband out of it's place.
**You cannot stretch these rubberbands as they are old and will break fairly easily.
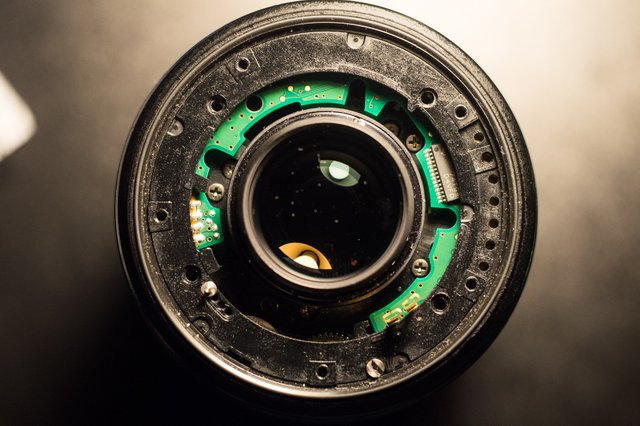
Congratulations, you don't have to take anything else apart!
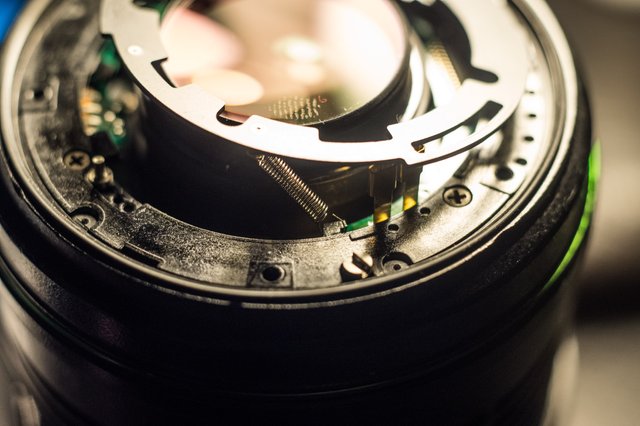
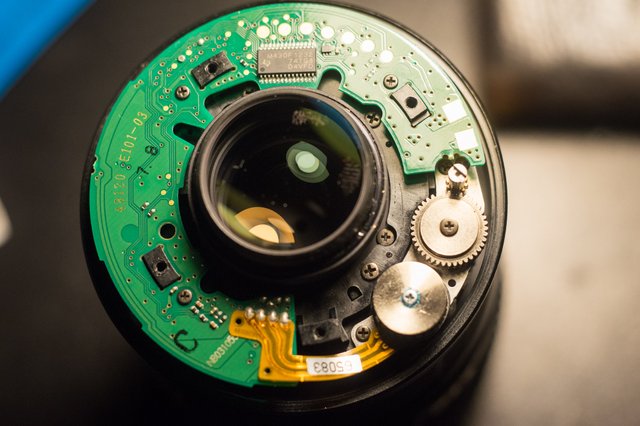
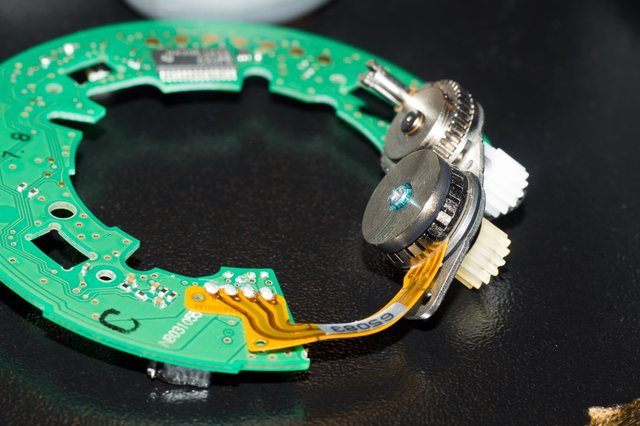
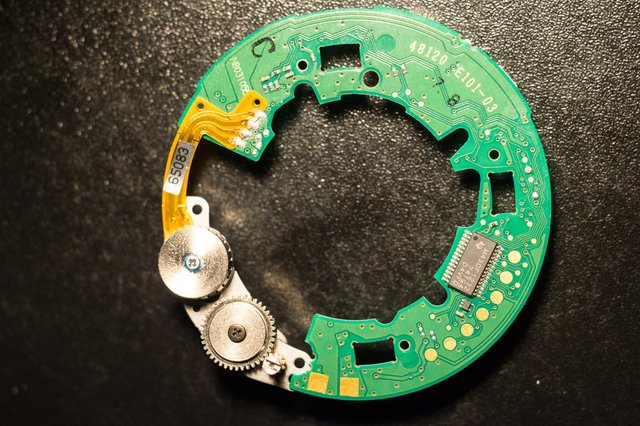
Now, see the cogwheel? That's the DC screwdrive mechanism.
The other cogwheel-like thing with a glued screw in the middle is the SDM.
All you need to do now is to turn the screw. Because the screw is glued solid with the SDM, you basically move the whole focusing mechanism by turning it left and right. Turn it gently both ways and if it moves that's basically it. Put the lens back together.
**There are different suggestions around the web how much you should turn, but every failure is different in intensity so you'll never know. I suggest turning it slightly to get it unstuck. If that doesn't work, do the whole thing again and turn it more.
**In my case, I had to disassemble my lens 4 times and I gave my SDM a good bit of elbow grease turning it from infinity to close focus over 20 times the last time.
If you need to remove the ZOOM ring
You'll need a pair of small tweezers.
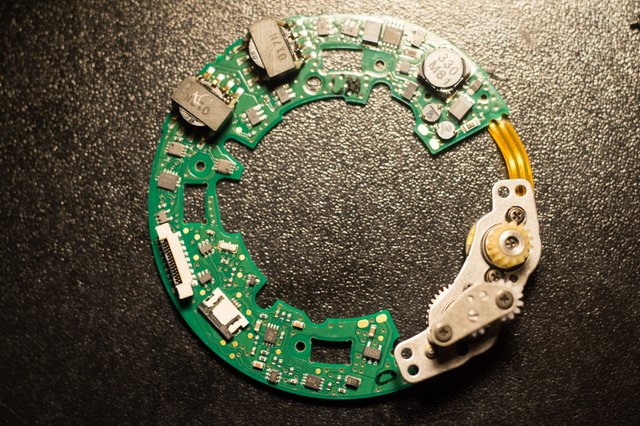
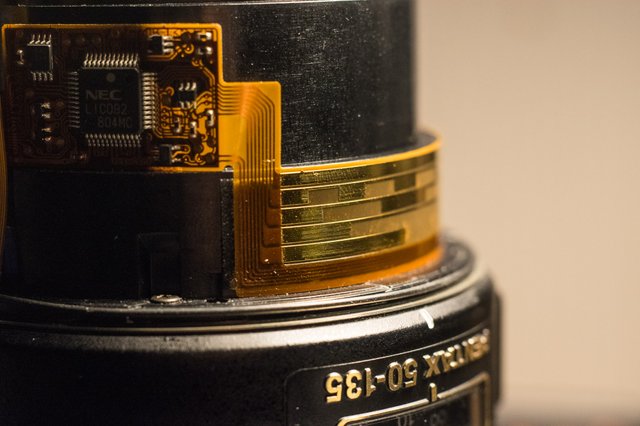
Removing the zoom ring is a bit tricky, as you'll need to remove the logicboard and motorassembly.
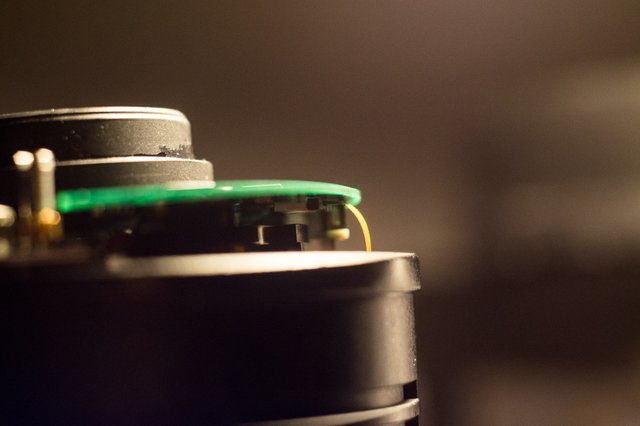
Remove the 3 screws from the board first.
Then pull the 2 cords from the board.
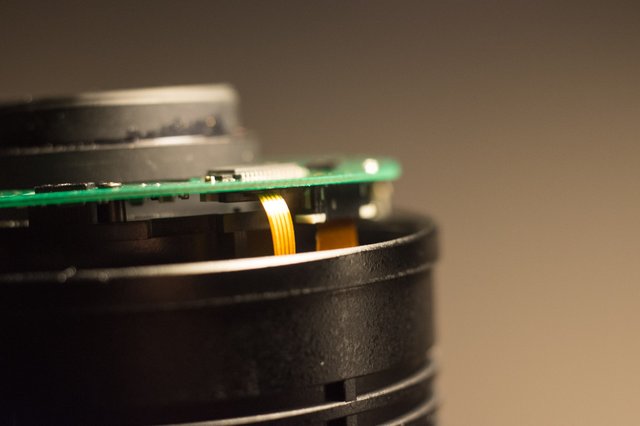
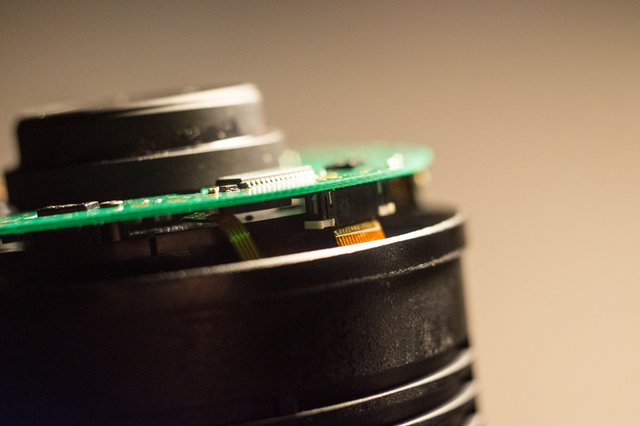
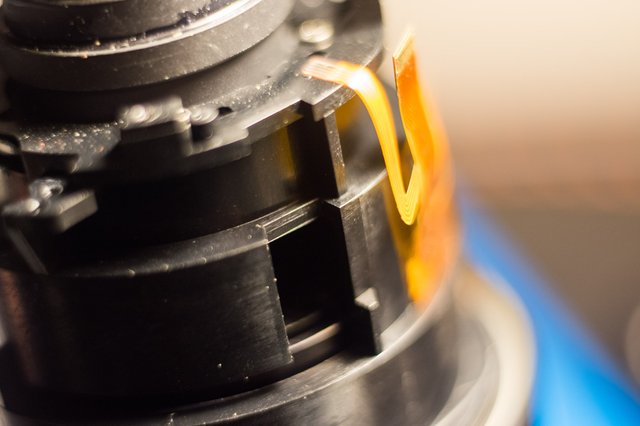
Once that's done, start removing the 4 screws that hold the motor in place. One screw is under the orange flexible "cord".
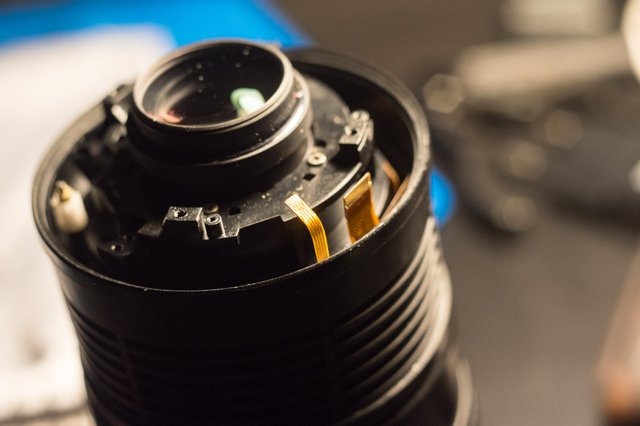
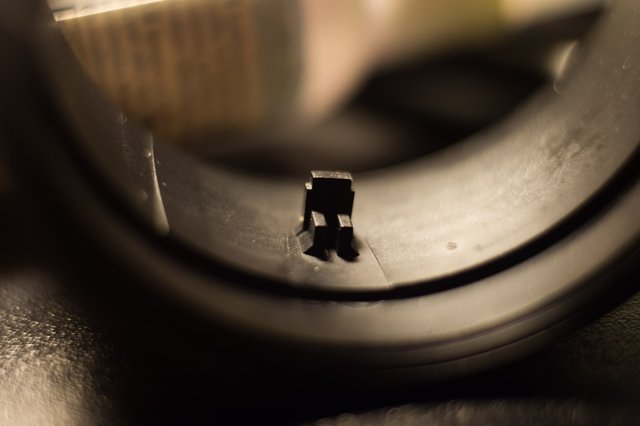
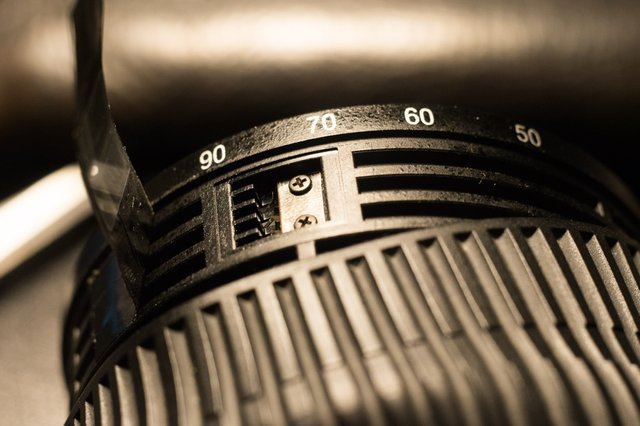
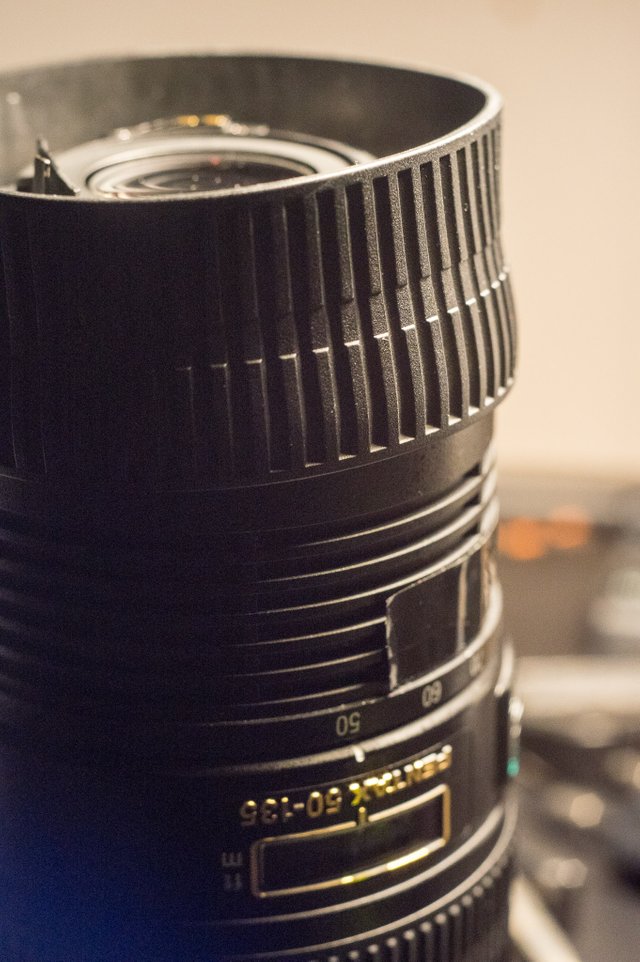
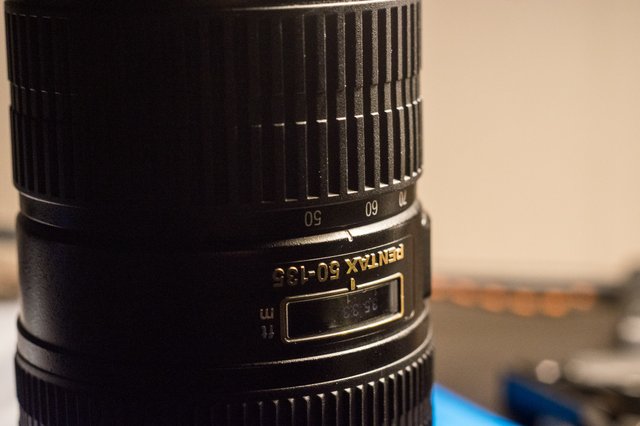
Now, turn the zoom ring to 50mm and pull it off the lens.
There is a small notch on the ring which fits into the groove on the lens as shown in the pictures. Keep that in mind when putting the lens back together.
**You also want to keep an eye on the edge as the rubberband tends to jump out of it's groove.
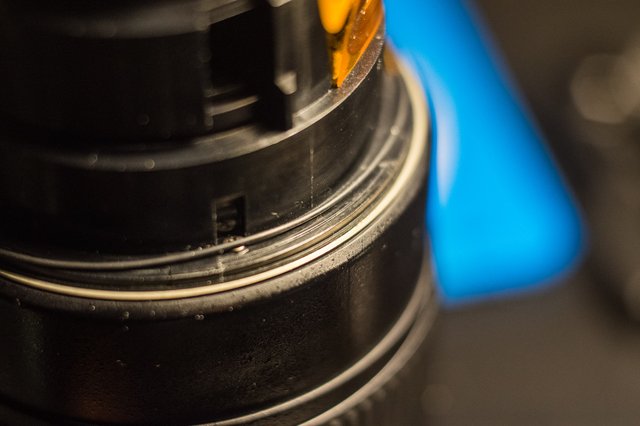
**Secondly, there are small contacts on the inside of the zoom ring that can get easily bent.

**Watch out when putting the ring back, so you won't bend these contacts. It can happen very quickly. They usually get stuck infront of that orange cord.
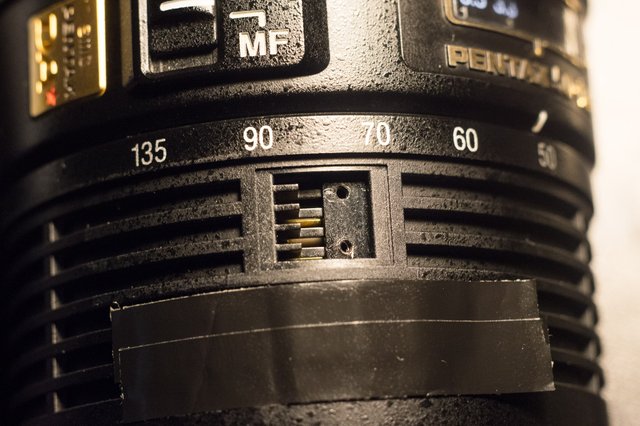
How to FIX bent contacts on the zoom ring?
When your lens doesn't focus correctly on some focal lengths, it's because the contacts are heavily bent.
You don't need to disassemble the lens to fix them!!!!!!
Pull away the rubber grip of the zoom ring. You'll find some black tape.
Underneath the tape there are the contacts.
Unscrew them and bend them gently back to shape. Try to be careful.
Getting a replacement is pretty much impossible.
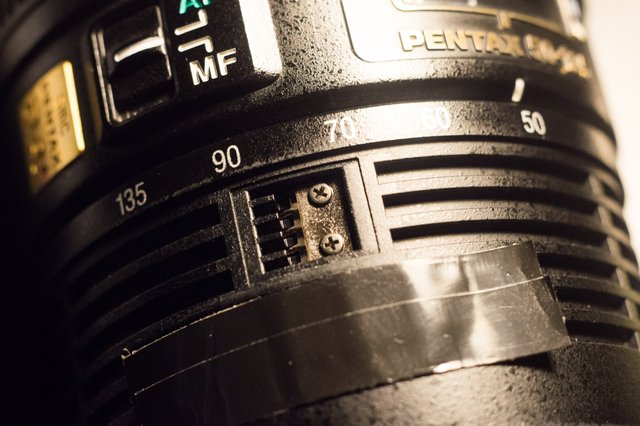
Put the tape back too ;)
And pull the grip back on.
How to fix a broken rubberband / rubber seal
Super glue.
Glue both ends togehter or at the same position in the edge/groove where it's supposed to be.
Use as little glue as possible!!!!!!
This is more of a temporary fix. I don't think it will hold.
The lens will still work perfectly, but it's hard to find a replacement seal.
**I broke my seal by stretching it about to 140%. So, be extremely careful with these seals. I've never seen rubber break so easily.
That's all
I hope this will help someone.
Tips are welcome.
Let me know about your fixes in the comments!
Posted using Partiko Android
Thank you so much for participating the Partiko Delegation Plan Round 1! We really appreciate your support! As part of the delegation benefits, we just gave you a 3.00% upvote! Together, let’s change the world!
Hi, @sulev!
You just got a 4.44% upvote from SteemPlus!
To get higher upvotes, earn more SteemPlus Points (SPP). On your Steemit wallet, check your SPP balance and click on "How to earn SPP?" to find out all the ways to earn.
If you're not using SteemPlus yet, please check our last posts in here to see the many ways in which SteemPlus can improve your Steem experience on Steemit and Busy.
Congratulations! Your post has been selected as a daily Steemit truffle! It is listed on rank 20 of all contributions awarded today. You can find the TOP DAILY TRUFFLE PICKS HERE.
I upvoted your contribution because to my mind your post is at least 4 SBD worth and should receive 118 votes. It's now up to the lovely Steemit community to make this come true.
I am
TrufflePig, an Artificial Intelligence Bot that helps minnows and content curators using Machine Learning. If you are curious how I select content, you can find an explanation here!Have a nice day and sincerely yours,

TrufflePigThanks piggy Truffle the TrufflePig!