Modeling Clay Bear Tutorial
Hi folks! So I got a bit carried away with the troll.I got me some coloured clay.Again, I did my best to create something that is easy with common tools found in basic clay sets or, common household items.
I know it bothers you that I do not really want to cure my stuff but, I travel a lot these days. Besides, its easily recreated in polymer clay or any type of clay.
So, do you want to learn how to make this?
It's a clay bookmark actually.
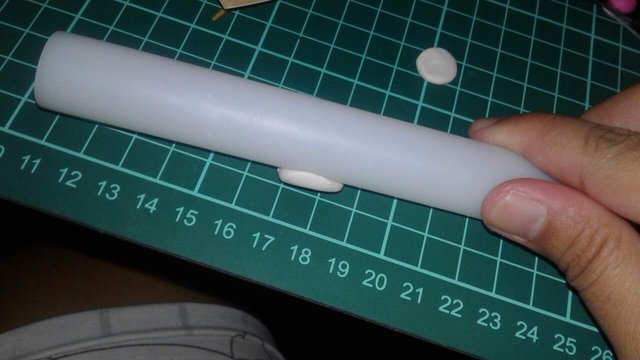
Let's start with this:
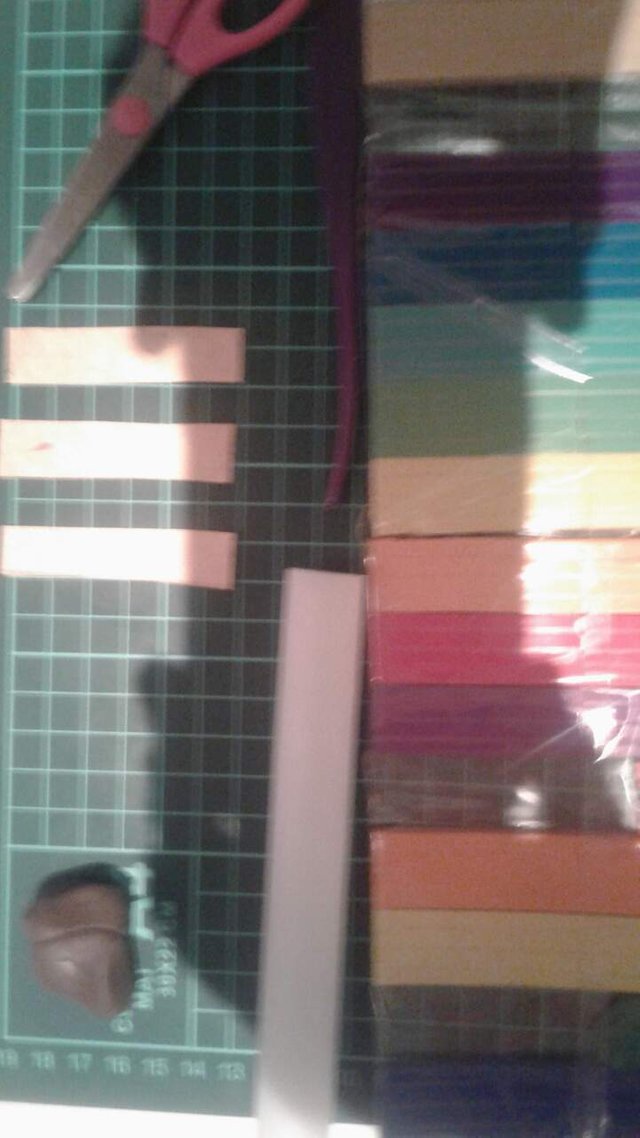
Clay, roller, scissor, pieces of multicolored clay, strips of cardboard.You guys can use toothpicks, acrylic plastics or any other type of cardboard.For me, I just re used my coffee cardboard container.
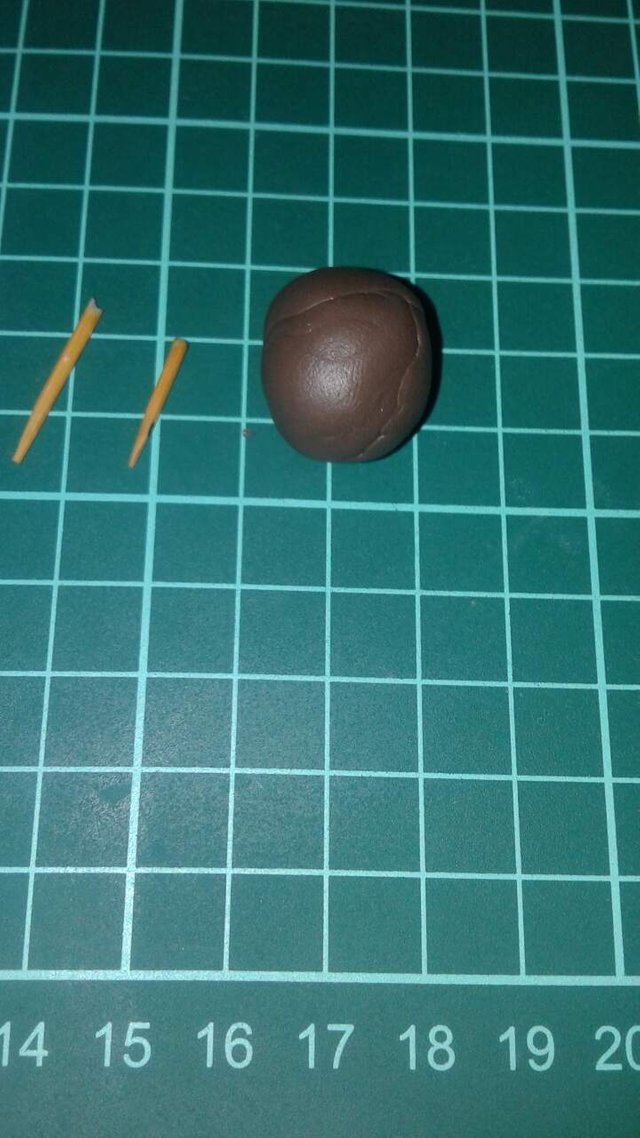
a closer look......
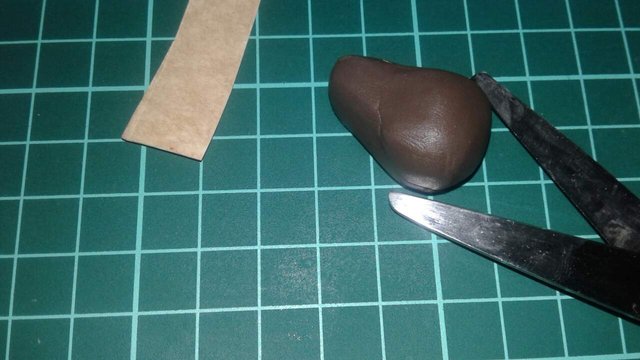
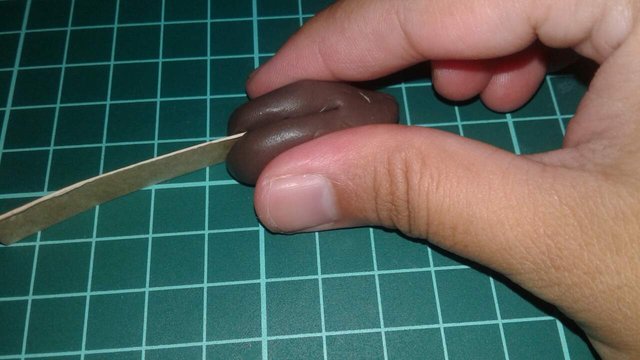
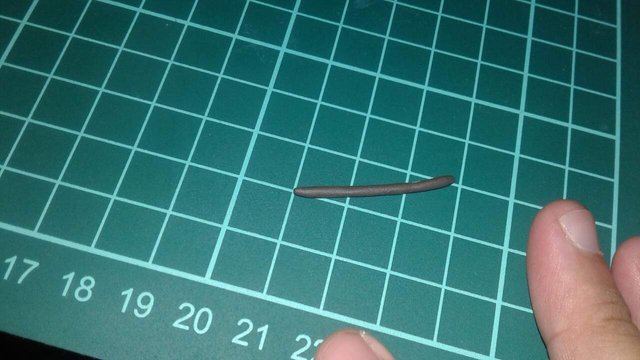
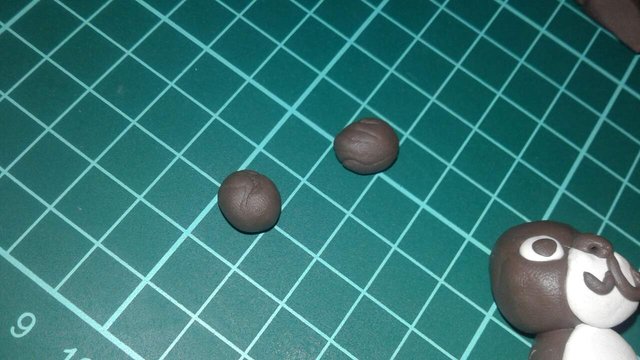
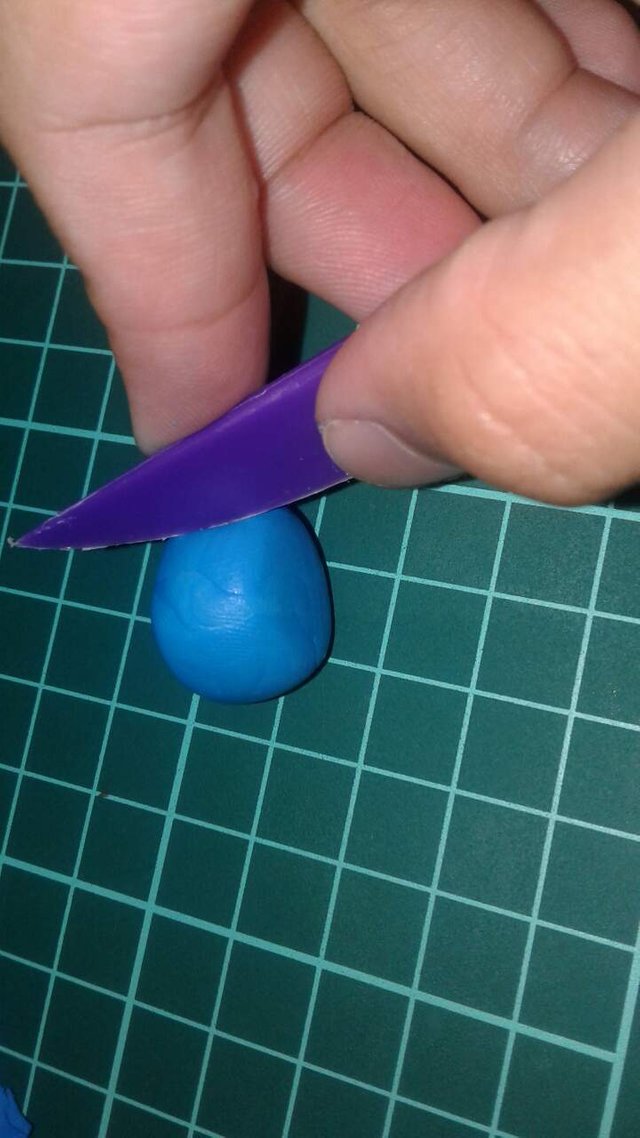
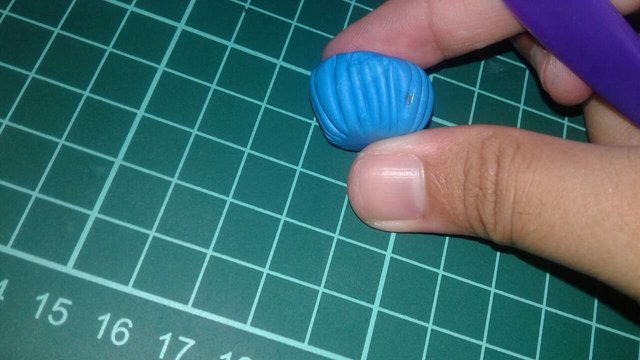
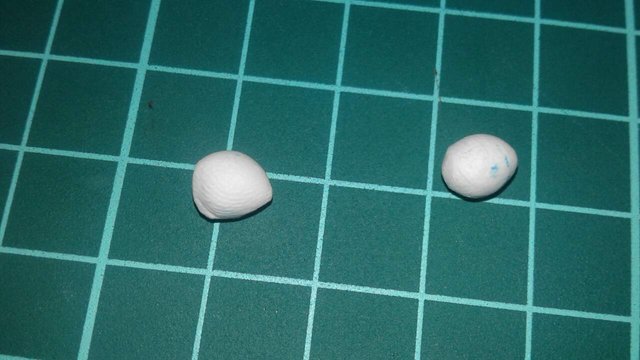
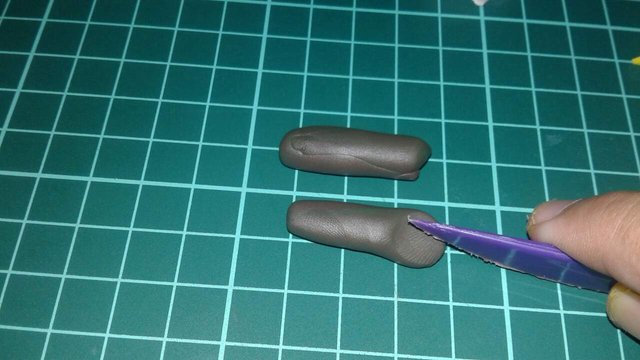
start with a ball of clay....
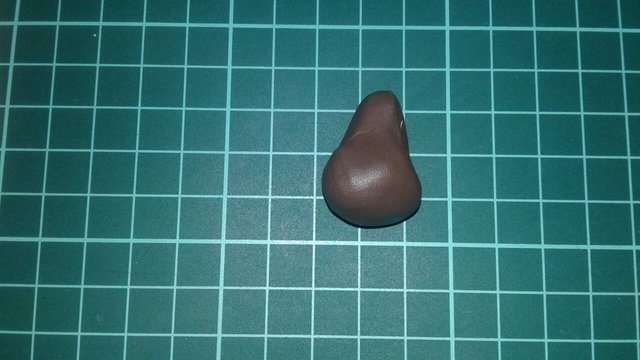
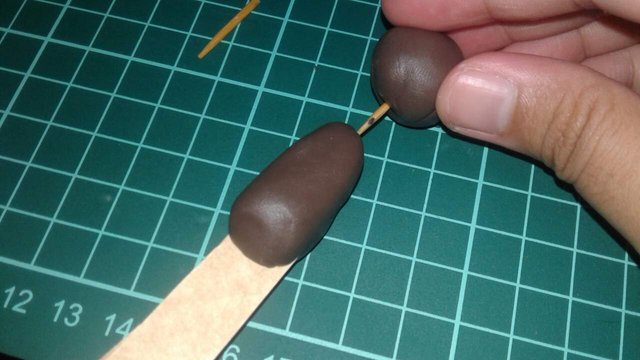
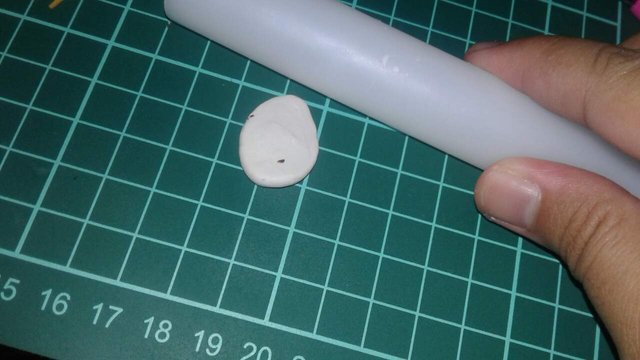
then cut at the bottom.....
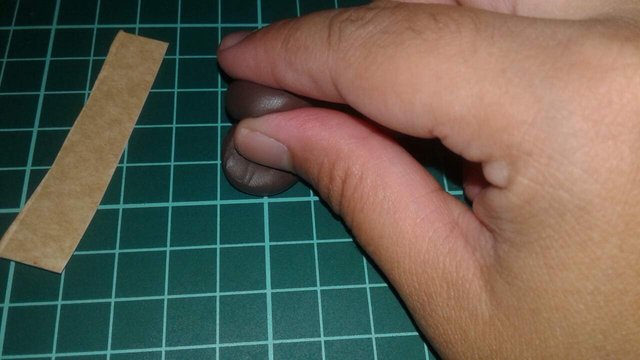
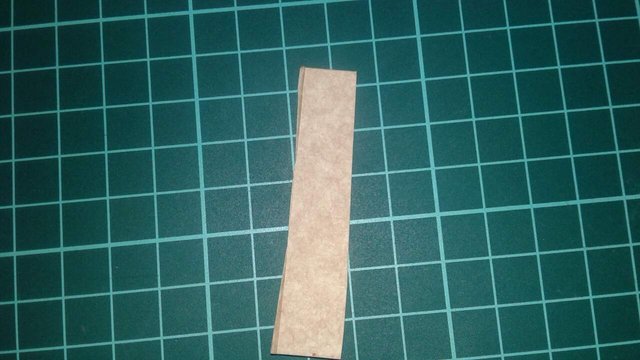
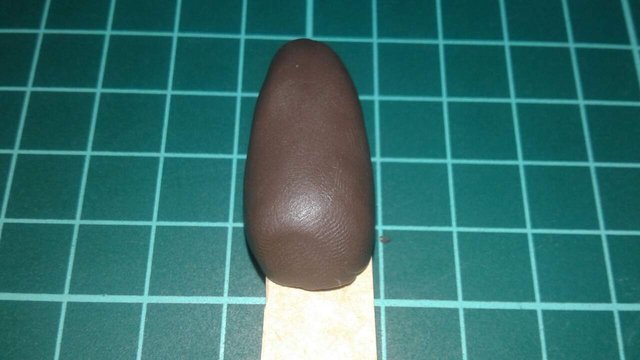
take the cardboard strip......
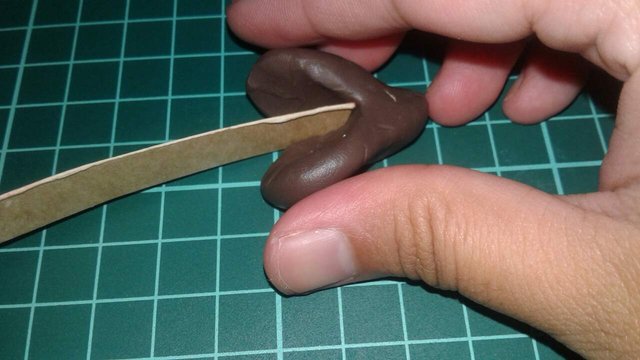
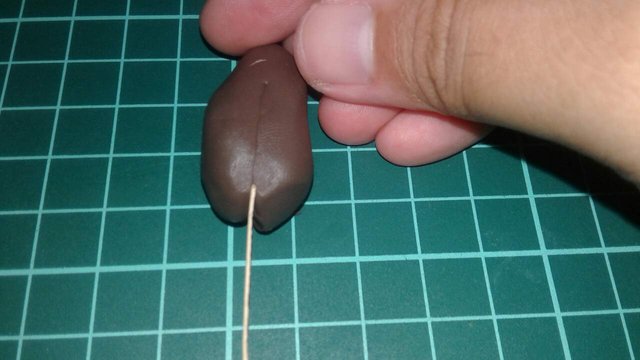
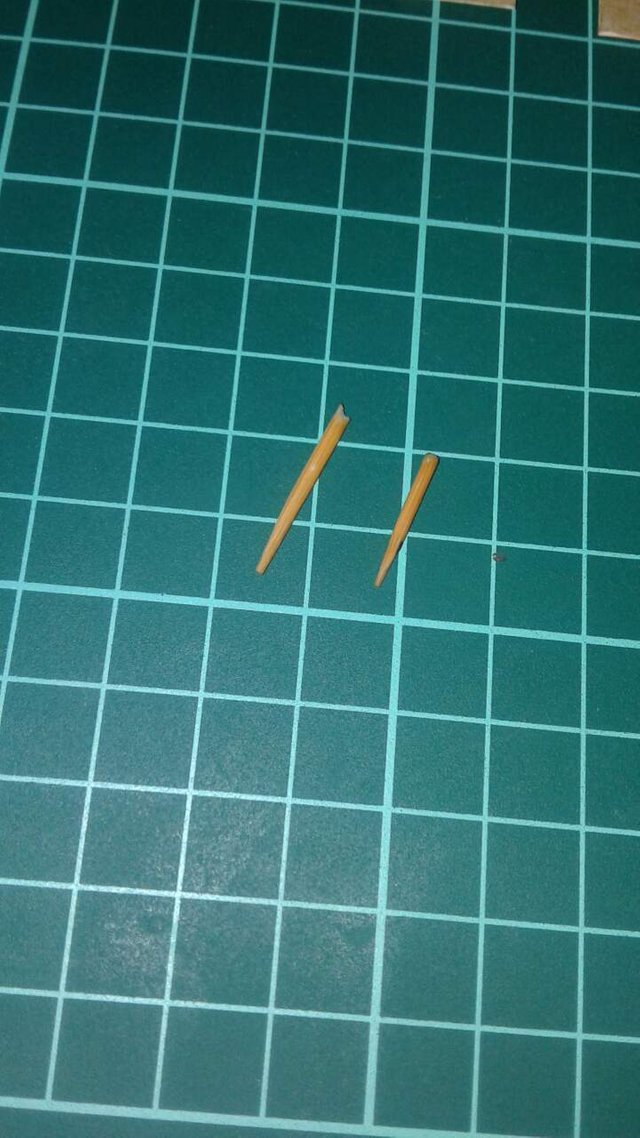
Take some toothpicks....preferably this size.....
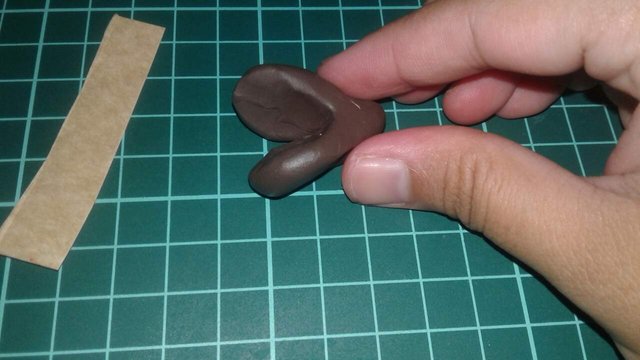
Make another ball of clay.....

Then.....
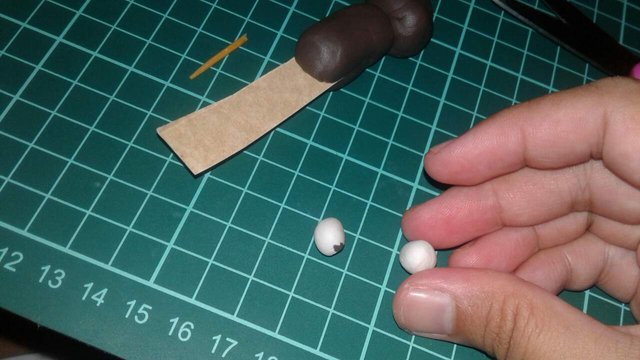
2 balls of white clay please
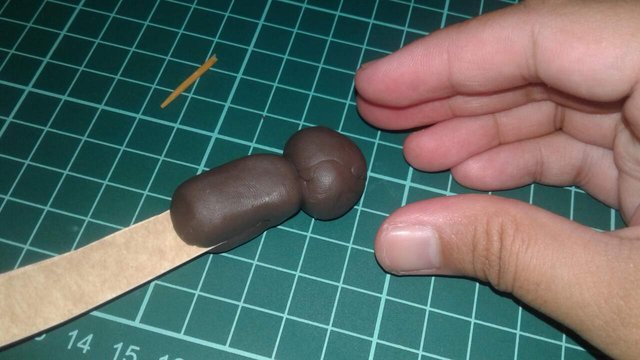
then.....
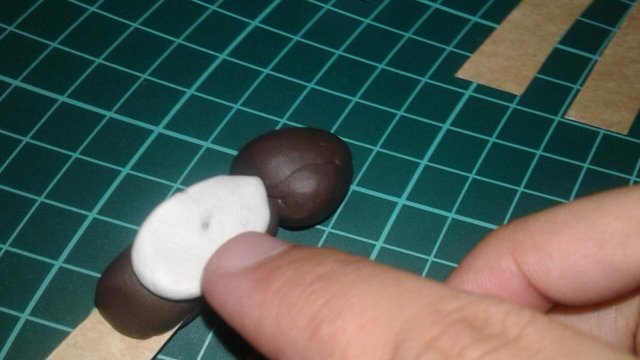
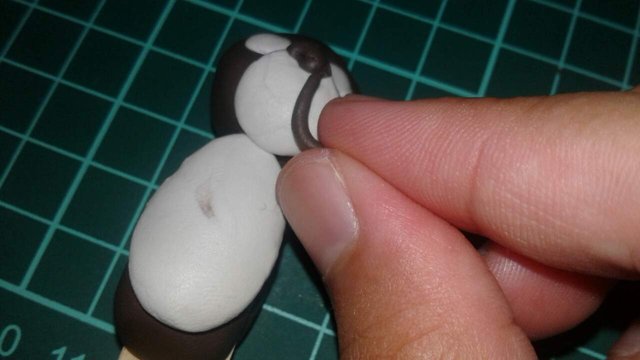
get a tiny brown lump and place it here....
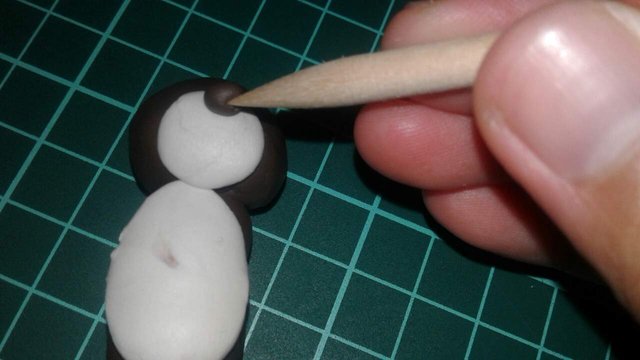
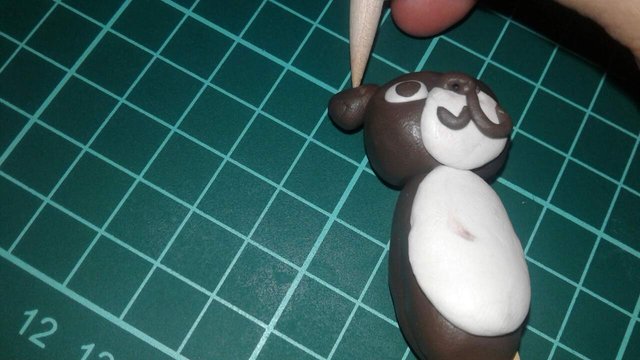
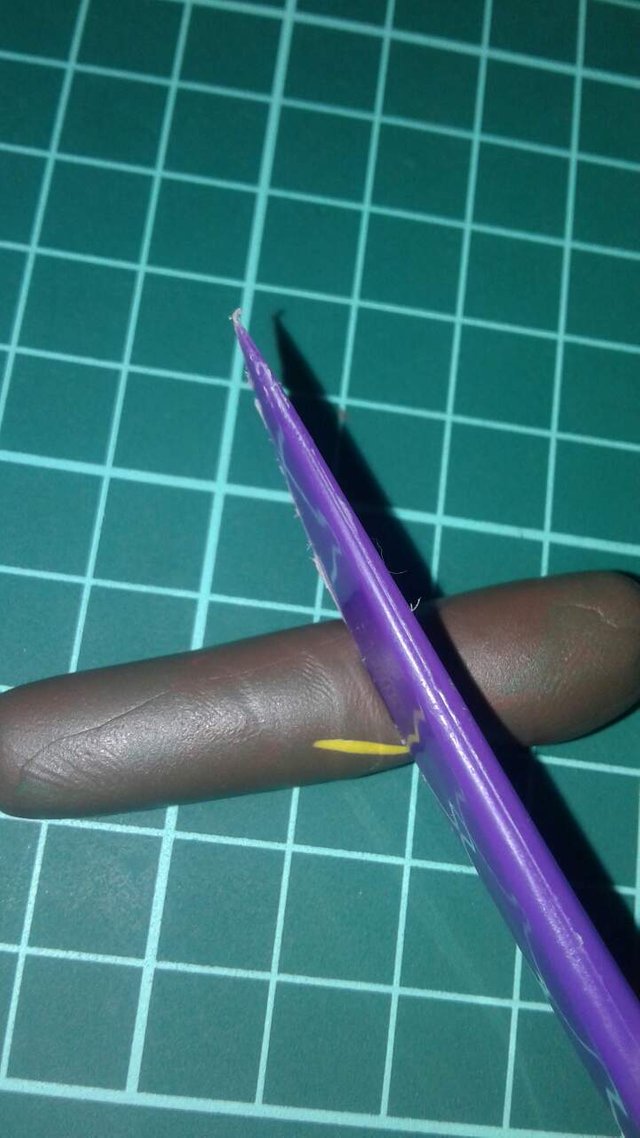
you guys can use ballpens or pencils.Somehow, while I was doing this, I cannot find any of my pens or pencils so I was forced to use one of my tools....
The effect is just the same guys.
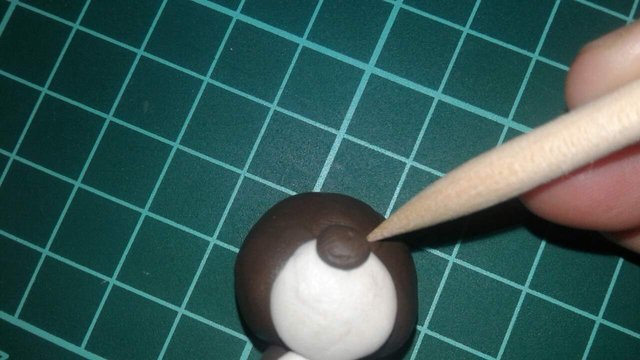
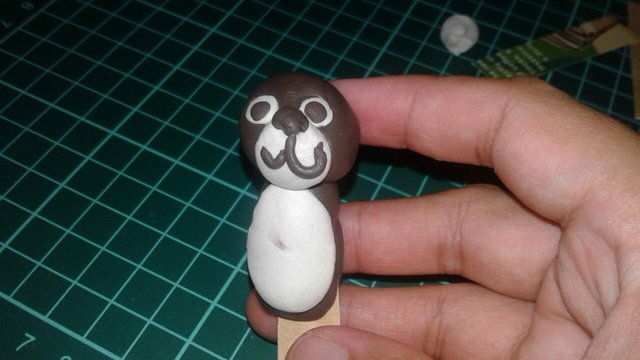
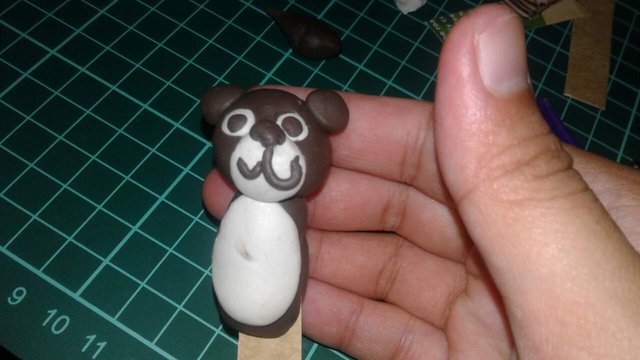
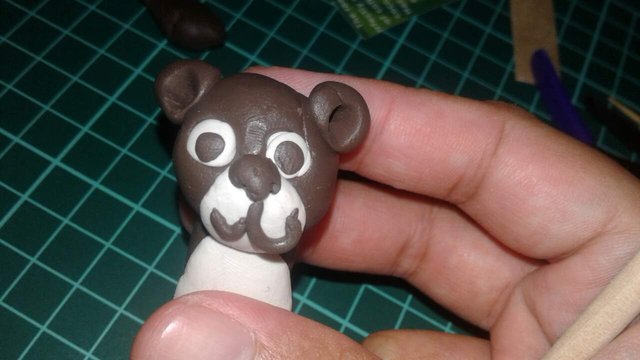
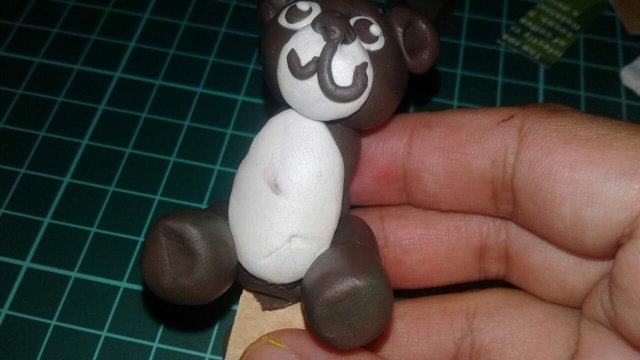
Congratulations!You have just created nosetrils!Now, make the eye sockets.When you're done you'll have something that looks like this....

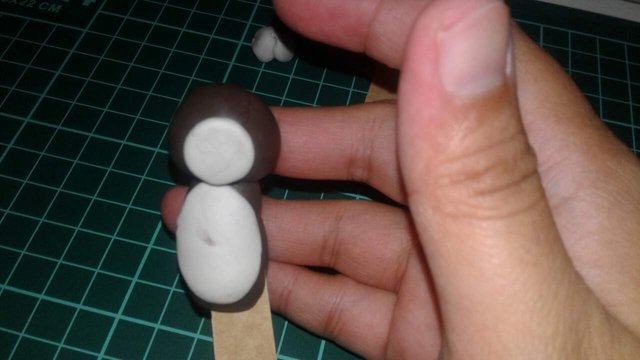
White pieces of clay please....
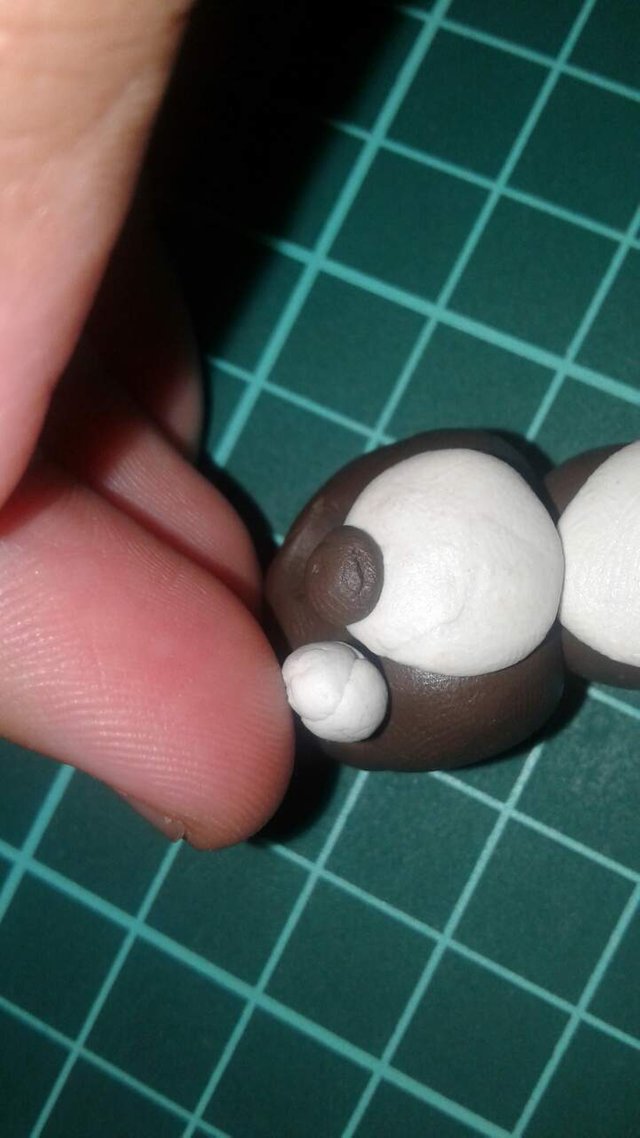

One tiny clay....
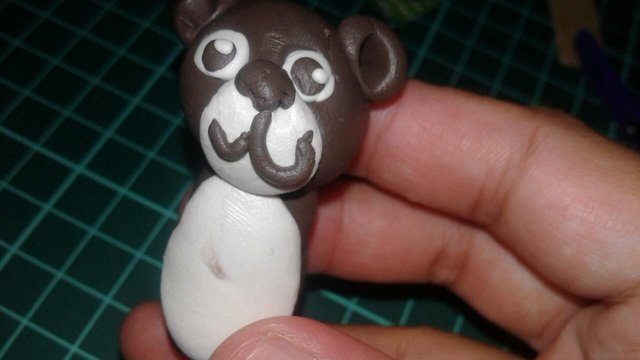
work out the "mouth........"

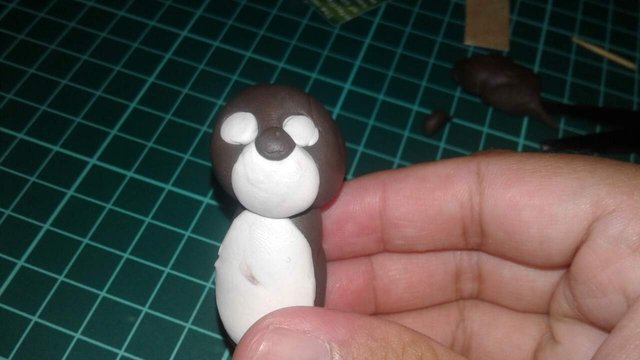
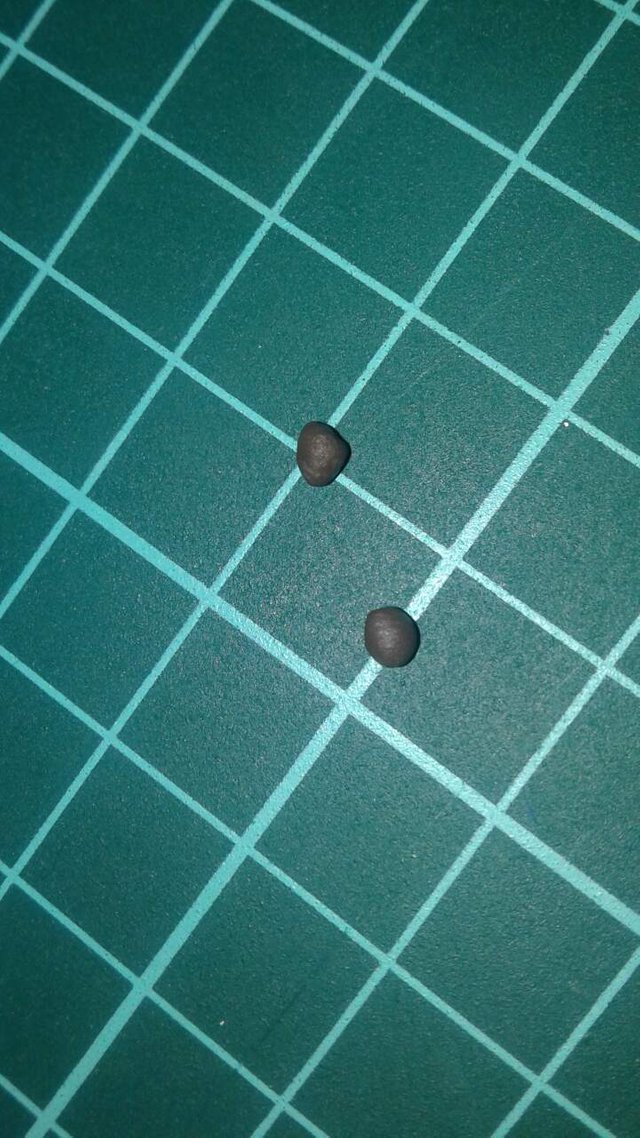
2 pieces of tiny brown clay.....
Another 2 tiny balls of clay please
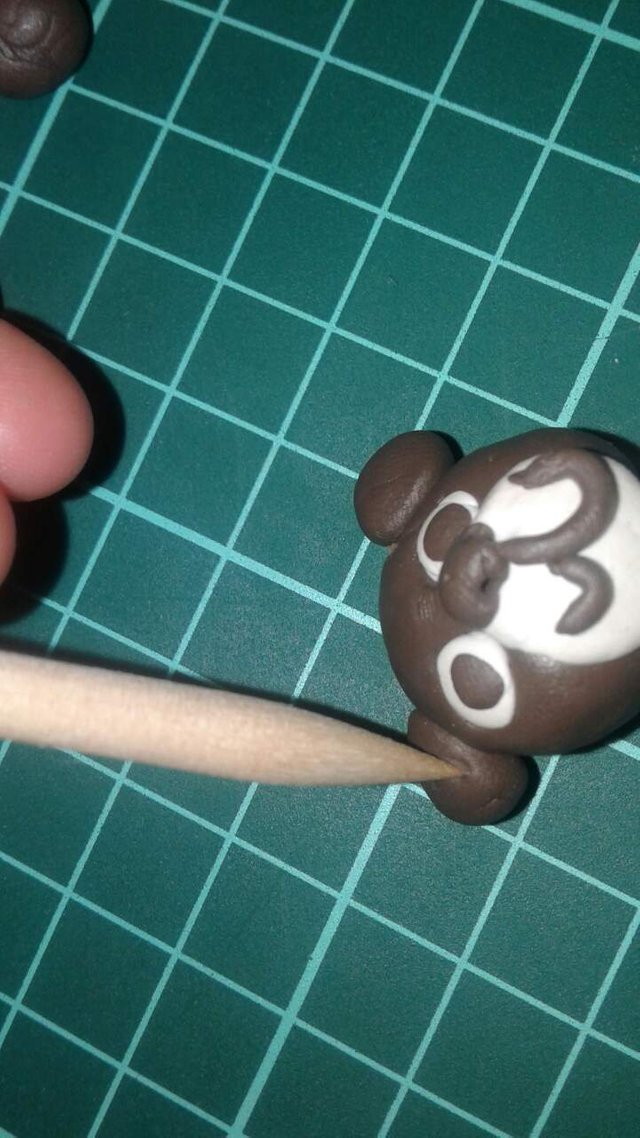
and just add a bit of tiny specks of white clay over the eyes....
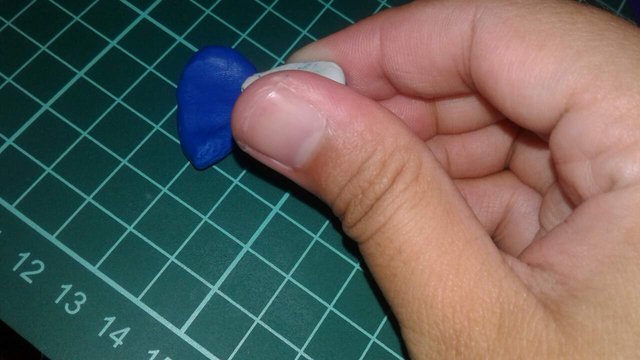
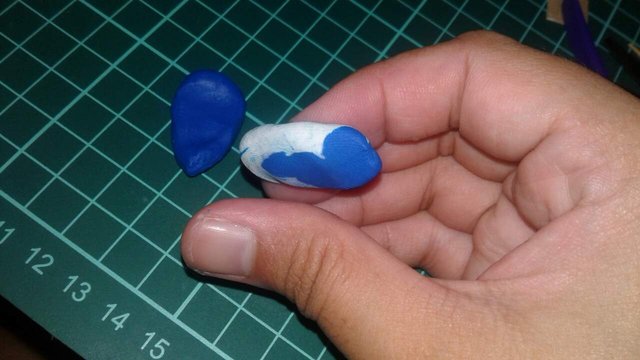
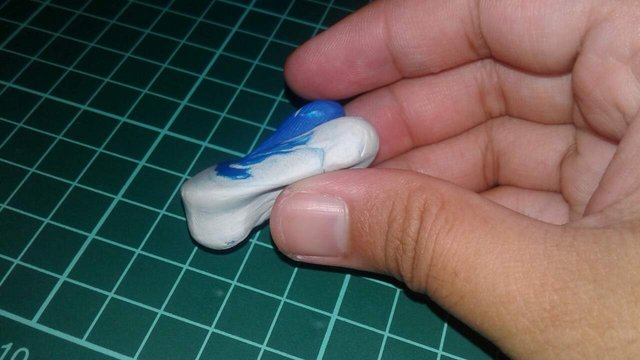
Since I hate the blue shade that I got, I wanted to make it lighter..Here I am moxing blue with white clay....

knead......
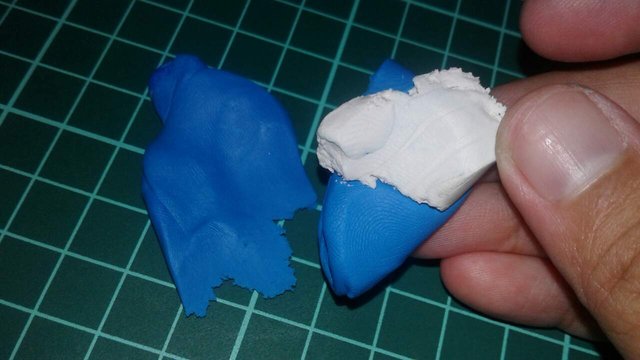
knead more!
don't stop!
knead more....

Add more white clay....
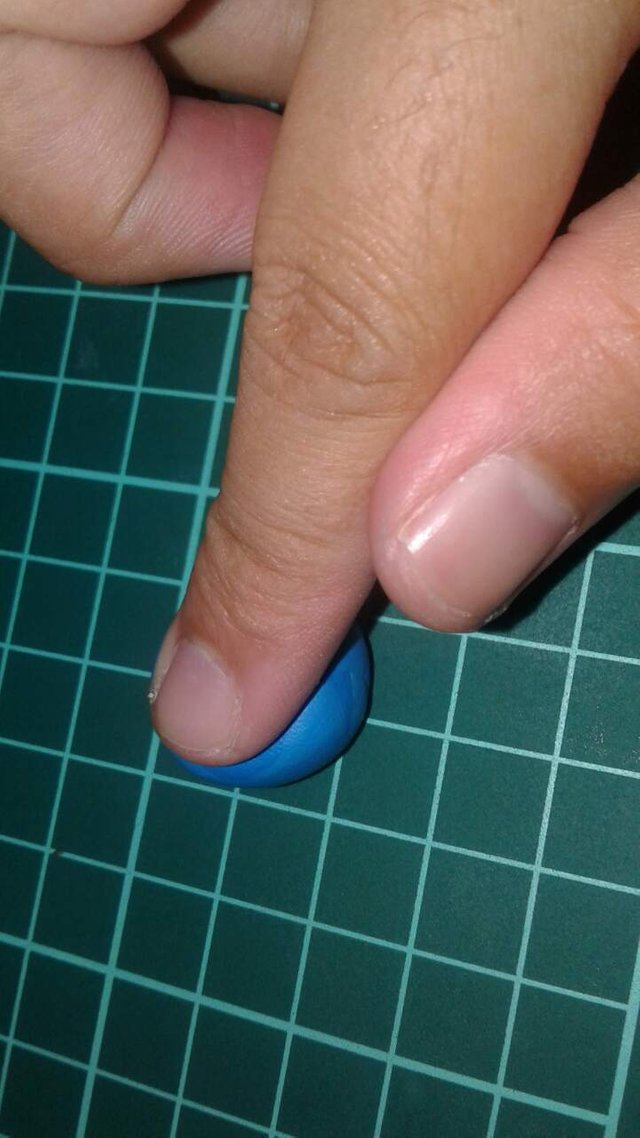
Finally!
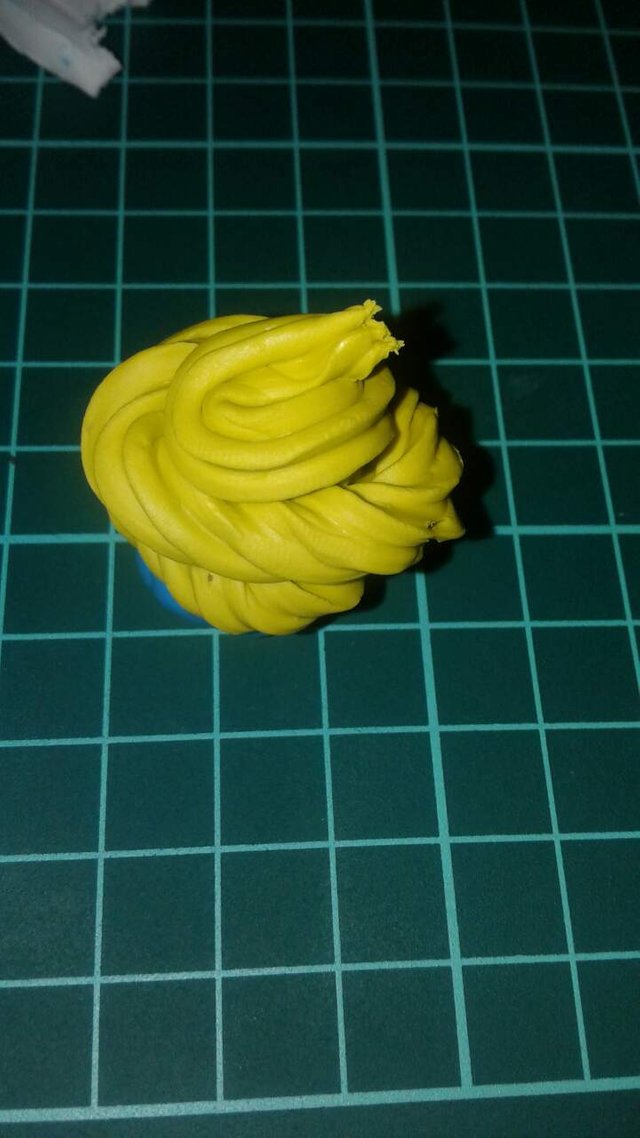
This is an actual icing piping tip.I use this exclusively for my clay.If you guys have clay extruders, that's fine too.....
Just don't go around takinf anybody else's piping tip or you'll get into trouble.......

push....
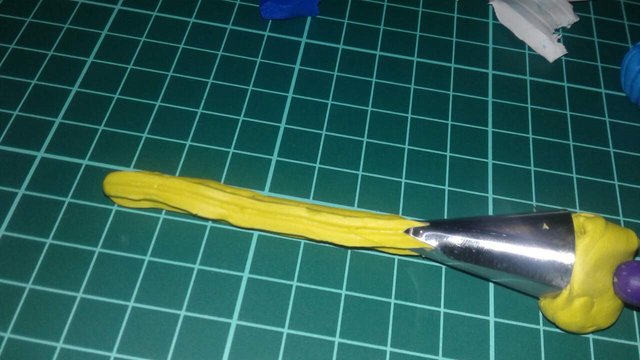
push more!

then twist
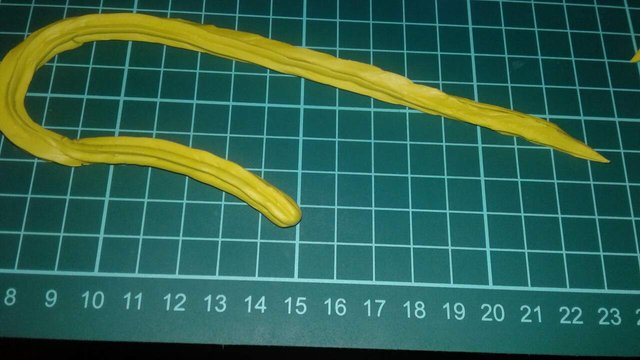
to make this
side view.....
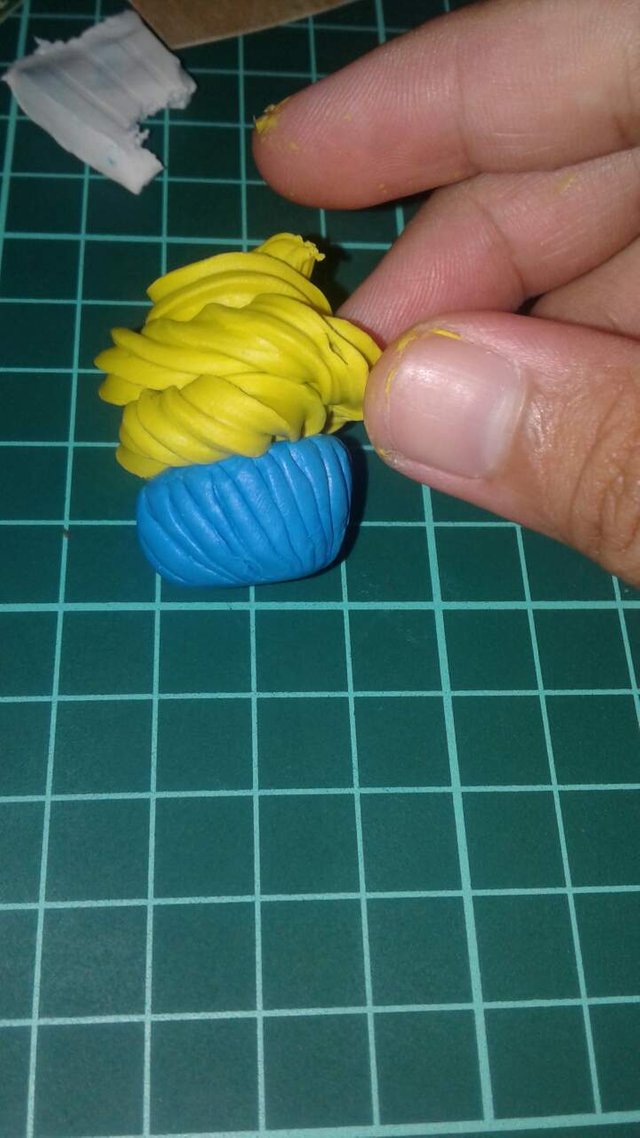
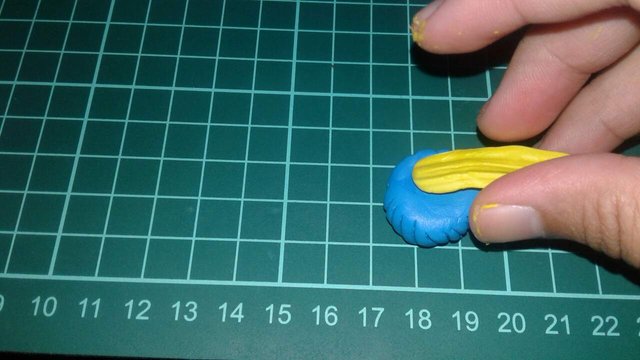
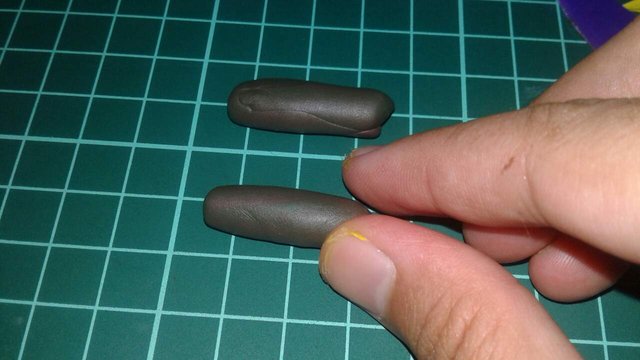
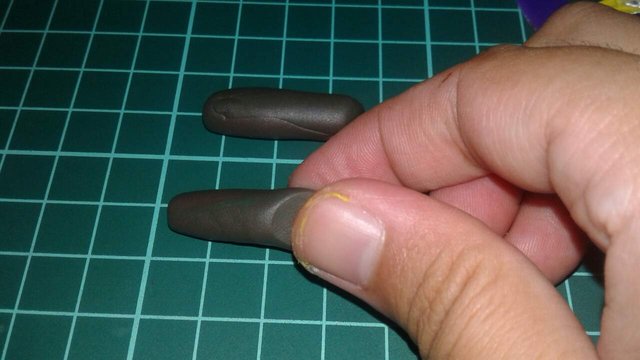
Then get one huge brown piece of clay.....

attach to the main body
then...

get the "cupcake"
pinch...
use the knife/cutter tool!
Attach the hands
red and green clay please....
(were you folks expecting brown or white one?)
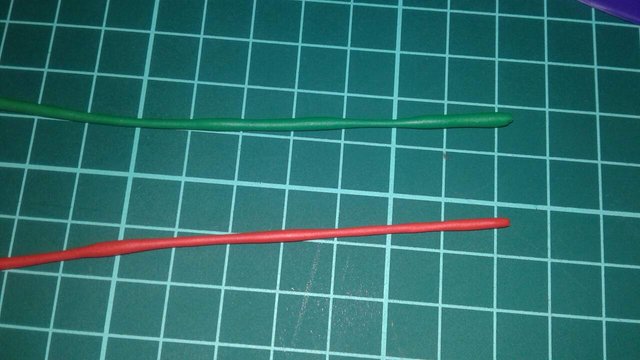
cut


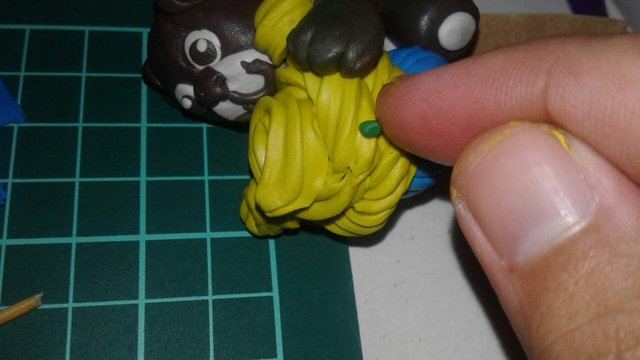
attach to the cupcake
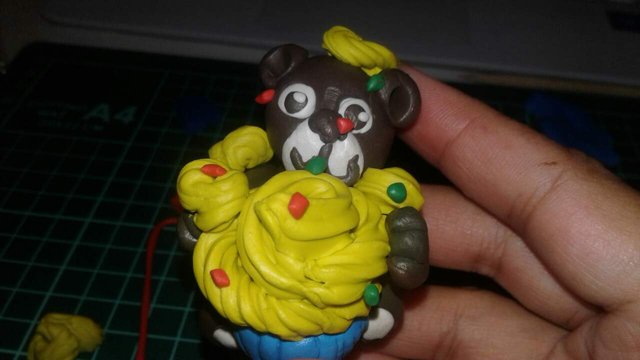
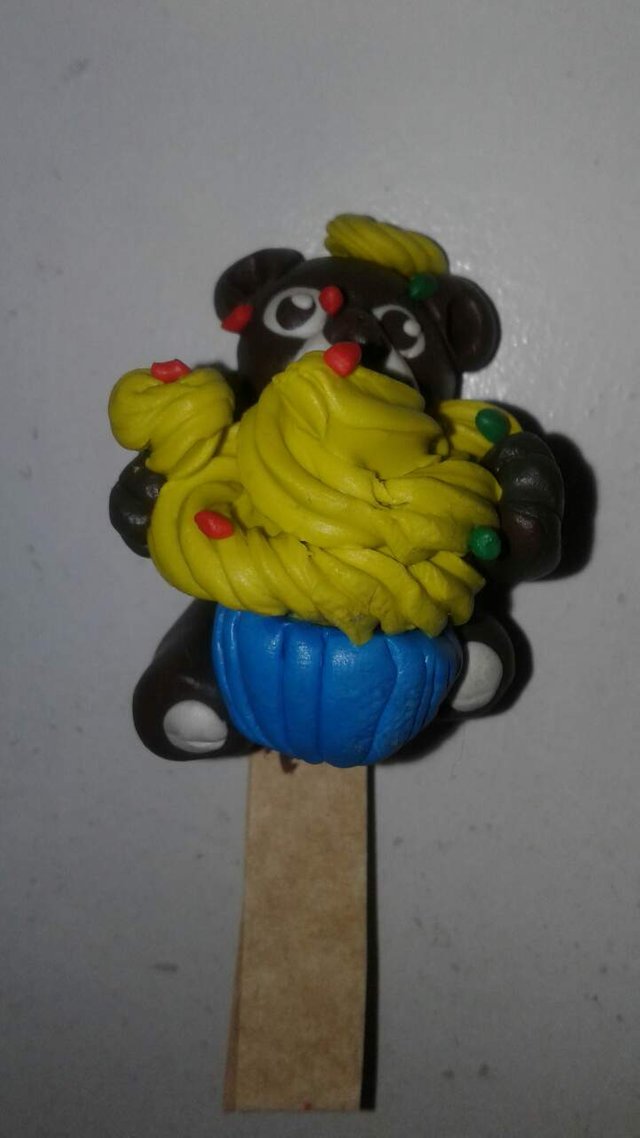
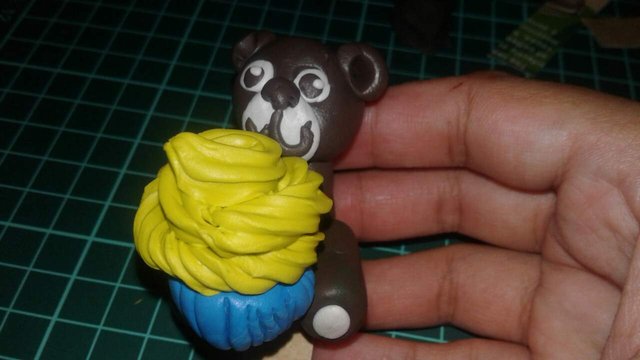
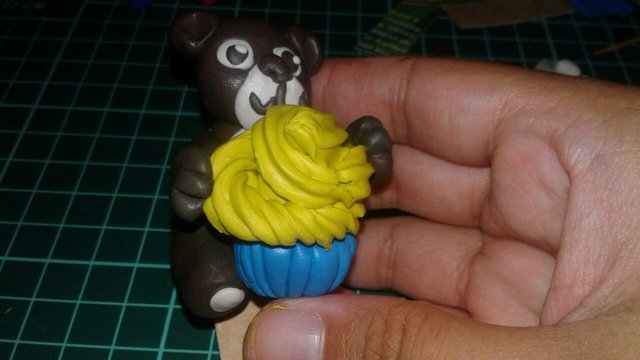
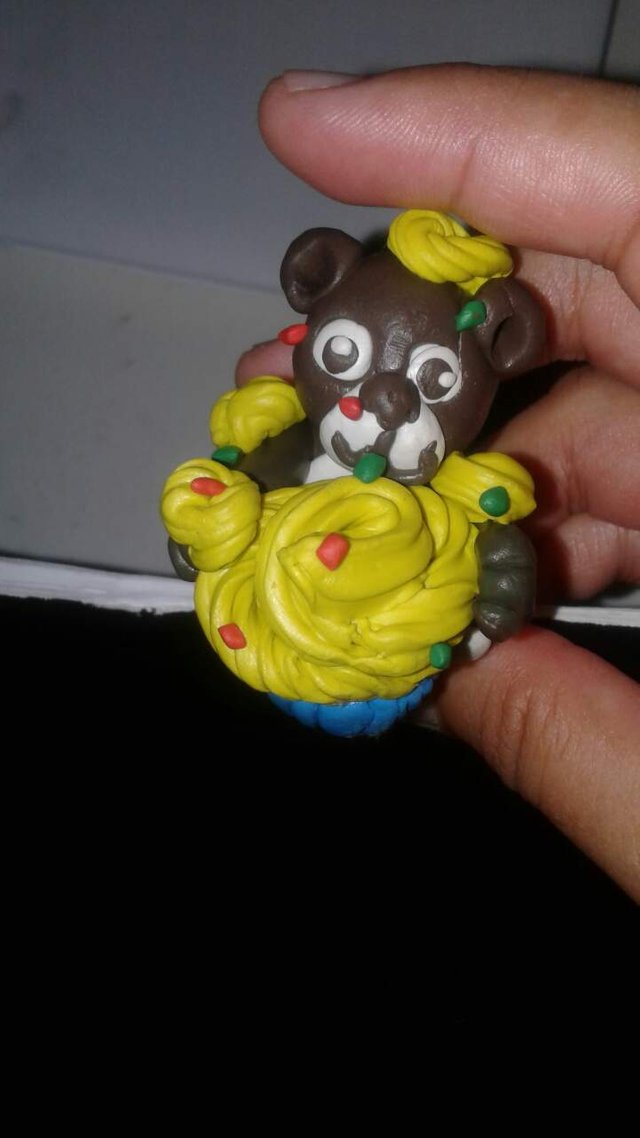
I am imagining my bear to have a ravenous appetite!Here he is with a lot of icing!
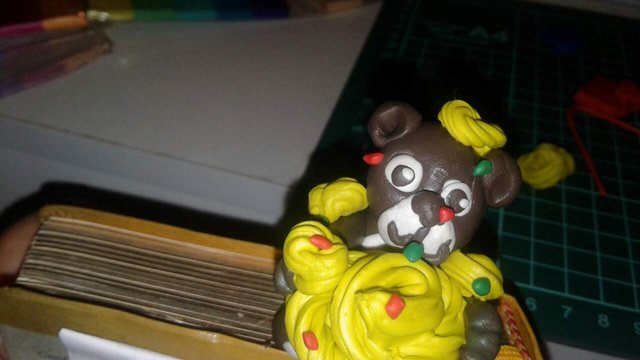
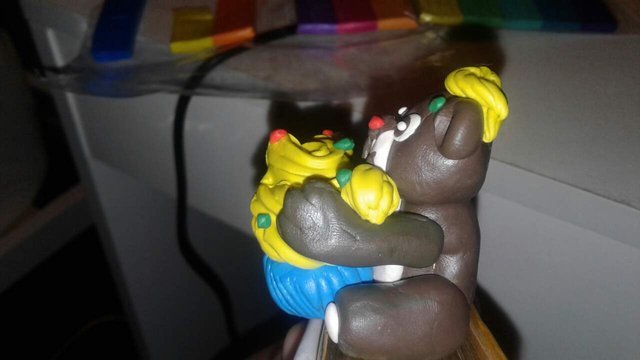
side view
complete view
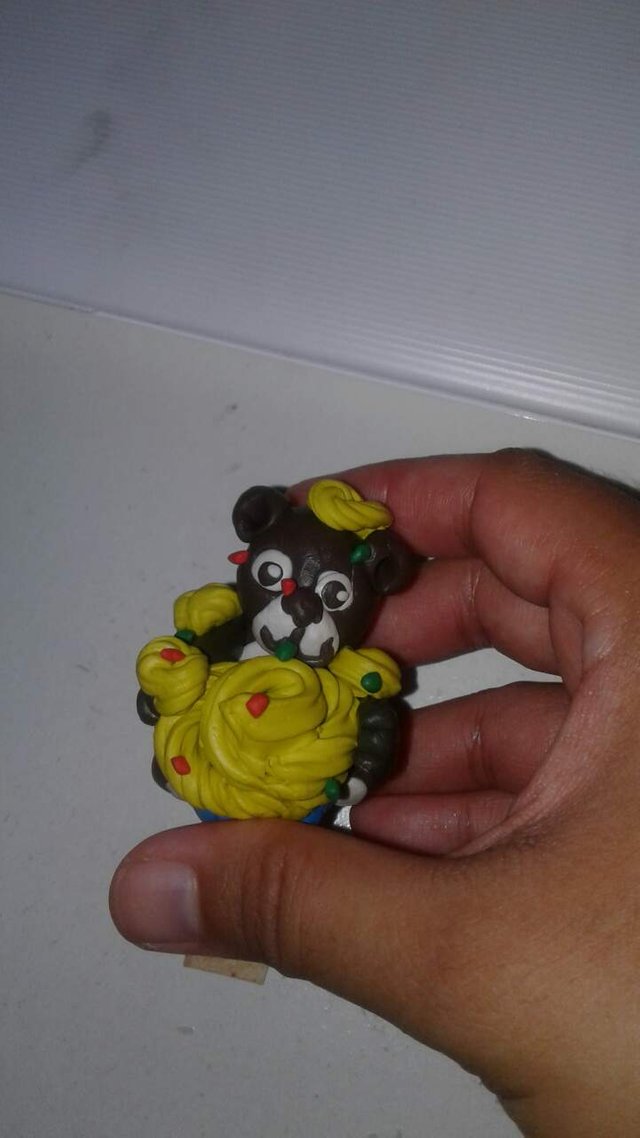
As a bookmark
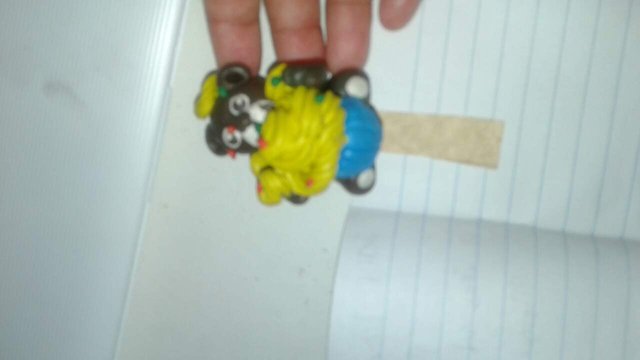
how it looks on my notebook top
Done! It roughly rook me 30 minutes to make this...mostly because I was busy searching for my tools and raking pictures.
As I have been saying before, if anyone wants to learn how to clay, there is no need to spend on expensive tutorials or tools.Ordinary tools will get you by until you can finally make your mind and invest into clay tools.
All you need is a little imagination...and a little push from me!😂😂😂😂😂
Posted using Partiko Android
Dear @mmmmkkkk311, I noticed that you and your friends downvoted my post. I am not begging you to like or share it.I just want to know which part of my post you do not approve of.
Thanks!
Hi, @nurseanne84!
You just got a 0.79% upvote from SteemPlus!
To get higher upvotes, earn more SteemPlus Points (SPP). On your Steemit wallet, check your SPP balance and click on "How to earn SPP?" to find out all the ways to earn.
If you're not using SteemPlus yet, please check our last posts in here to see the many ways in which SteemPlus can improve your Steem experience on Steemit and Busy.