How to use the Payger WooCommerce plugin
In this Payger WooCommerce Plugin tutorial, we are introducing the main functions of the Payger WooCommerce Plugin. You can generate new API keys separately for each store, configure the payout currencies and customize the cryptocurrencies you would like to accept for payments.
Getting the Plugin:
- Download from WordPress plugin repository
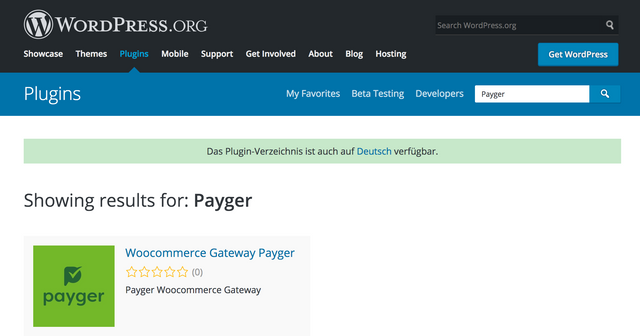
Go to https://wordpress.org/plugins/ and enter “Payger” into the search plugins field.
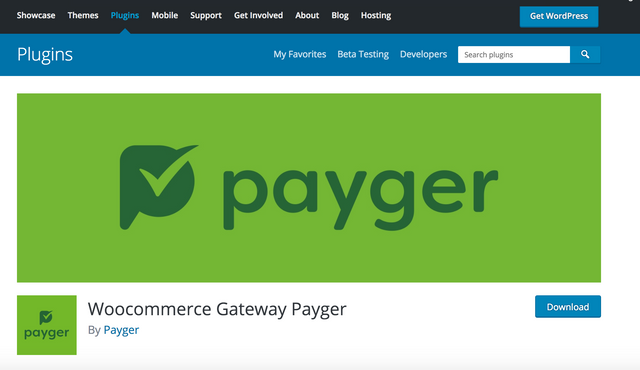
Click on the title, then click the blue download button.
2. Direct Install from plugin repository at WP-Backend
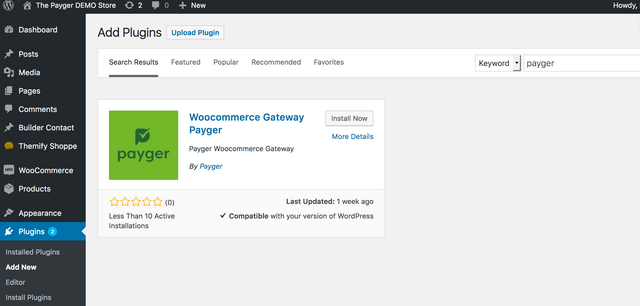
2.1 Login to the Backend of your WordPress / Woocomerce installation and go to the Plugins section.
2.2 At plugins section click the “Add New” button in the upper left and enter “Payger” into the search field.
2.3 Click the “Install Now” button to install the plugin and Activate the plugin to become effective at your site.
Get your API credentials at your Payger merchant account
Go to Payger.com and register as a Business completely if not yet done. It’s free.
In the “Payger Account” section you get your API KEY (username) and API SECRET (password).
Configure the Payger Woocommerce Gateway Plugin
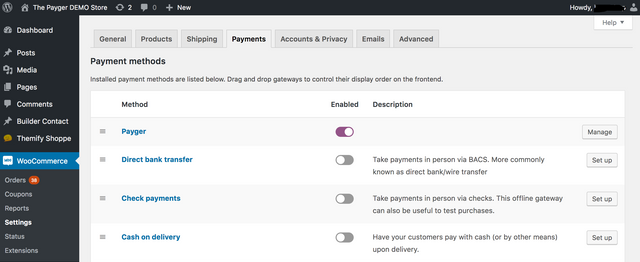
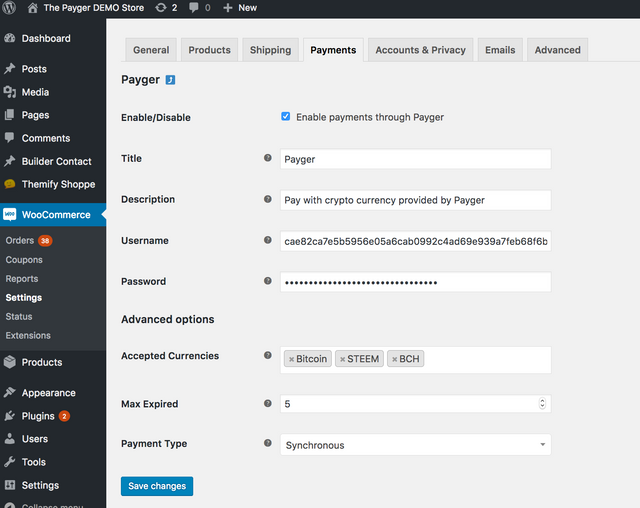
Go to WooCommerce settings section and click the “Payments” tab.
Set the line named “Payger” to enabled and click the “Manage” button.
Inside the Payger section check (activate) the “Enable payments through Payger” checkbox. This adds the payment method with Payger to your checkout payment methods.
Enter the Title and Description or leave them as suggested by default.
Enter the API credentials from your Payger merchant account:
a) Enter or paste your Username (API KEY)
b) Enter or paste your Password (API SECRET)
Select the cryptocurrencies you want to accept in your store. You can choose among a range of different cryptocurrencies.
Max Expired:
The synchronous payment will expire in a few minutes on the payger side, so we allow the store admin to issue another payment x times for that expired payment to make sure the user gets time to do the payment.
This option is for the merchant to decide how many times he will issue an update to an expired payment on payger
- Payment Type:
The asynchronous/asynchronous options we do have 2 checkout processes.
a) Synchronous
By default we are setting the synchronous method which gives the user 15 minutes to pay. The user receives a modal with the receiving address of the payment.
b) Asynchronous
Asynchronous does not have a time limit. The user is redirect to the thank you page and get the data to process the payment. it does not matter if he pays within 15 minutes.
- Click the Save Changes button. You are ready to go!
Paying with Payger
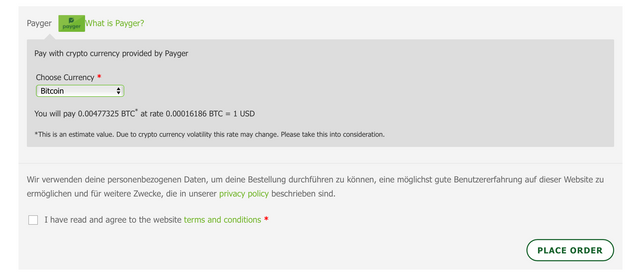
If you have selected some goods into your cart and are in the payments section at the checkout page, you have the option to pay with cryptocurrencies using the Payger payment method.
Select Payger
Select the type of cryptocurrency you want to pay with (In this example Bitcoin are used)
Read the terms and conditions and check the assigned checkbox to agree with the terms and conditions of the webstore.
Click the PLACE ORDER button to finish the purchase and to send the crypto currencies
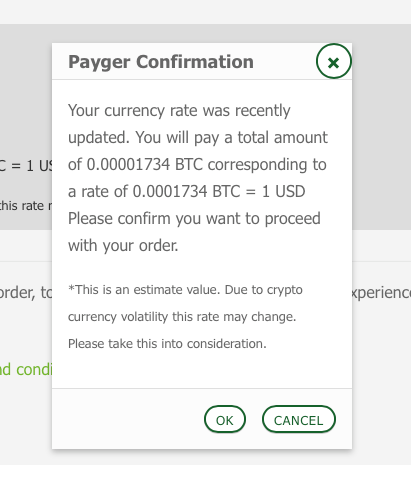
Sometimes you will receive an exchange rate update notification modal. You have the option to proceed with your checkout or cancel the complete checkout process.
Paying with smartphone wallet
At the Checkout Page, you are able to select Payger as a payment method to accept cryptocurrencies. If selected, the actual exchange rate is displayed and fixed for 15 min after clicking the PLACE ORDER button.
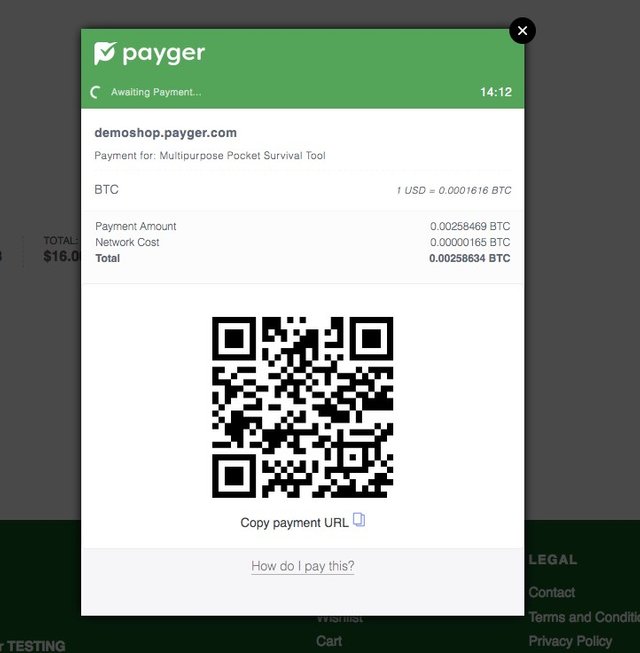
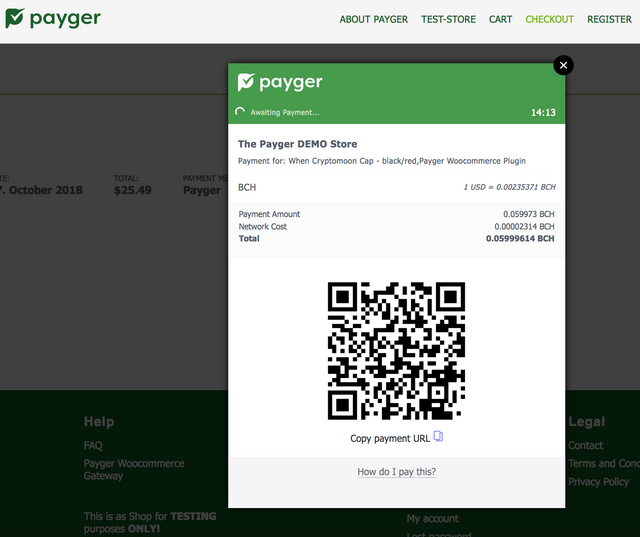
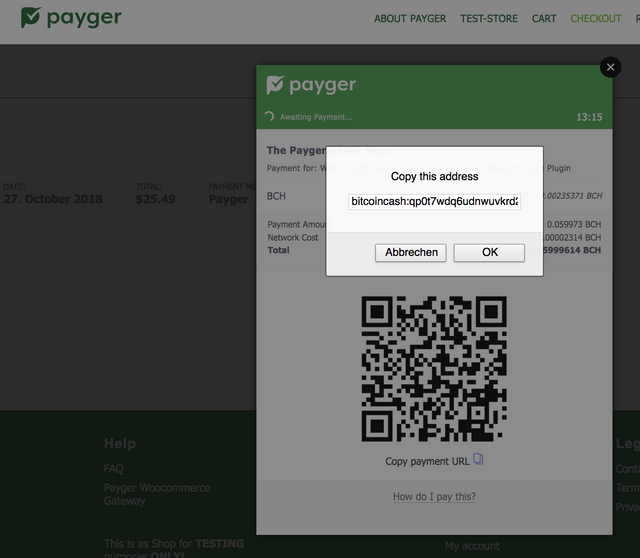
After you click the PLACE ORDER button, you will be shown a modal with the payment details and an address to send your payment as well:
- Scan this QR code with your wallet on your smartphone
- Enter the amount to be sent and press SEND on your wallet to finish the payment.
Info: You can use any standard Bitcoin, Bitcoin Cash or similar mobile phone wallet like JAXX, Mycelium, Circle, Blockchain.info or similar.
Paying with desktop wallet
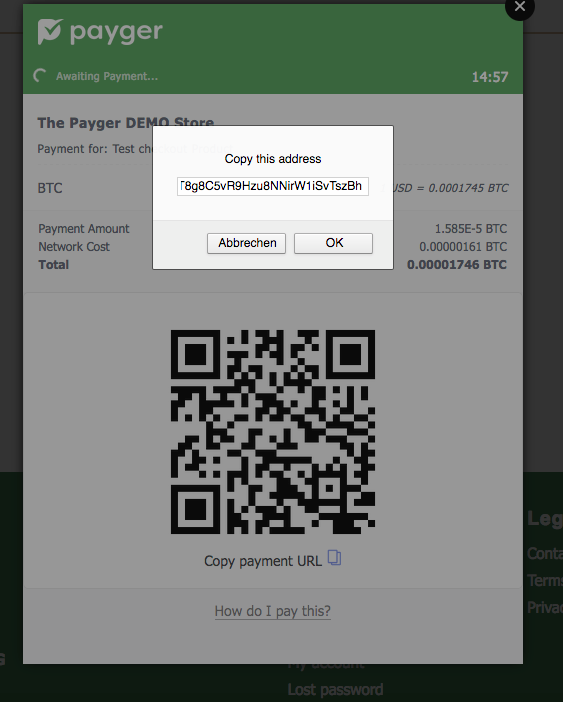
In case you want to pay using a desktop wallet, click the “Copy payment URL” link to open the modal showing the payment address.
Copy the complete string into the clipboard and paste it into the address field of your wallet.
Enter the amount to be sent and press SEND on your wallet to finish the payment.
Payment confirmation
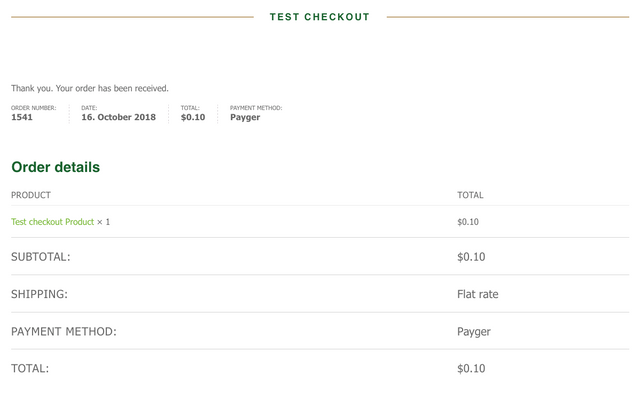
Payment confirmation page for products to be shipped.
Will be shown after some short time if successful payment has been recognized at the merchant account.
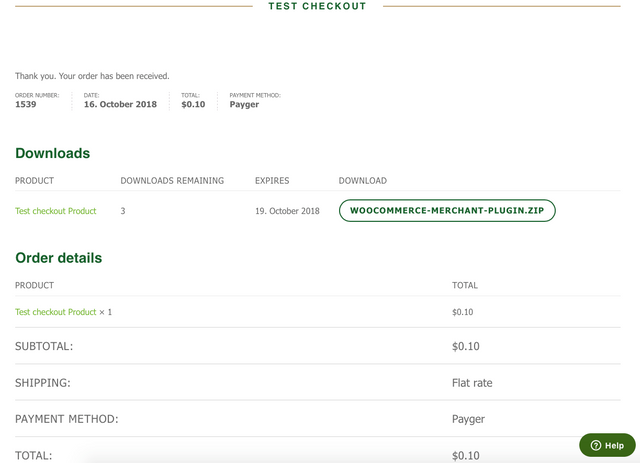
Payment confirmation page for products to be downloaded.
Will be shown after some short time if successful payment has been recognized at the merchant account.
Underpayment and Overpayment
Underpayment (intentionally or accidentally) is recognized by Payger and the difference amount is requested to be paid during the regular checkout process.
Overpayment (intentionally or accidentally) is not recognized or refunded automatically by Payger. You have to contact the merchant for a refund of the overpayment.
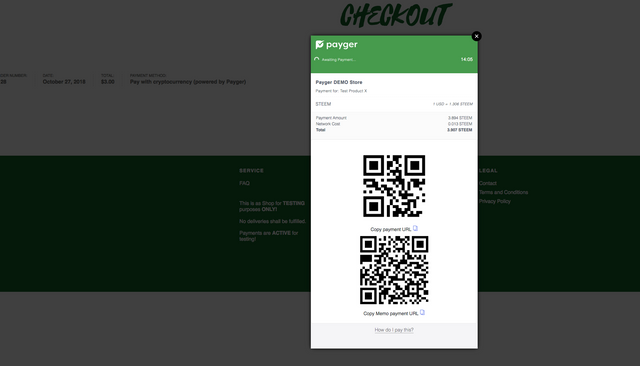
Paying with STEEM
In case you want to pay with STEEM the payment modal shows two QR codes representing two addresses to be cared for.
Steem is first sent to blocktrades.us (first QR code “Blocktrades”) where the STEEM are converted into the desired target currency and then sent to the merchant’s wallet (second QR code “target address”).
Paying with Bitcoin Cash
Bitcoin Cash address valid from November 15th, 2018
bitcoincash:qp0t7wdq6udnwuvkrd26lnyamefvxuux9gsh2mjcdy
November 15th, 2018 Planned Network Upgrade, above new address format becomes effective.
Legacy Bitcoin cash address, valid until November 15th, 2018.
19dybayB9PM5oZLyMKsW7E4udTS6apKHGR
Legacy and new Bitcoin cash address may be converted into each other at if Bitcoin Cash address is not recognized by your wallet:
https://cashaddr.bitcoincash.org/
