REPRESENTATION OF A GENTLEMAN'S COSTUME WITH THE ORIGAMI TECHNIQUE | DEVELOPING THE TOUCH OF AN INVIDENT PERSON
Hello friends of steemit, today I bring you a new presentation implementing the technique of origami, as is the design of a gentleman's suit, representing the shirt with his tie. It should be noted that when performing this technique I try to make figures that do not require equipment or sharp implements or liquids that are conventionally used, such as: scissors, cuter, liquid stick among others, since everything took place with the touch thus being able to develop and strengthen this skill or technique. Now I will proceed to describe the steps to carry out the design.
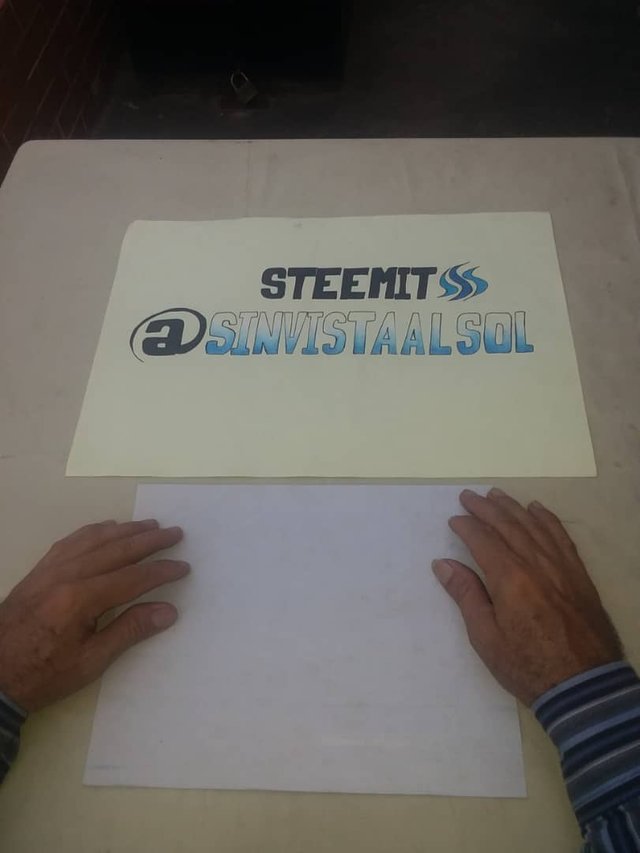
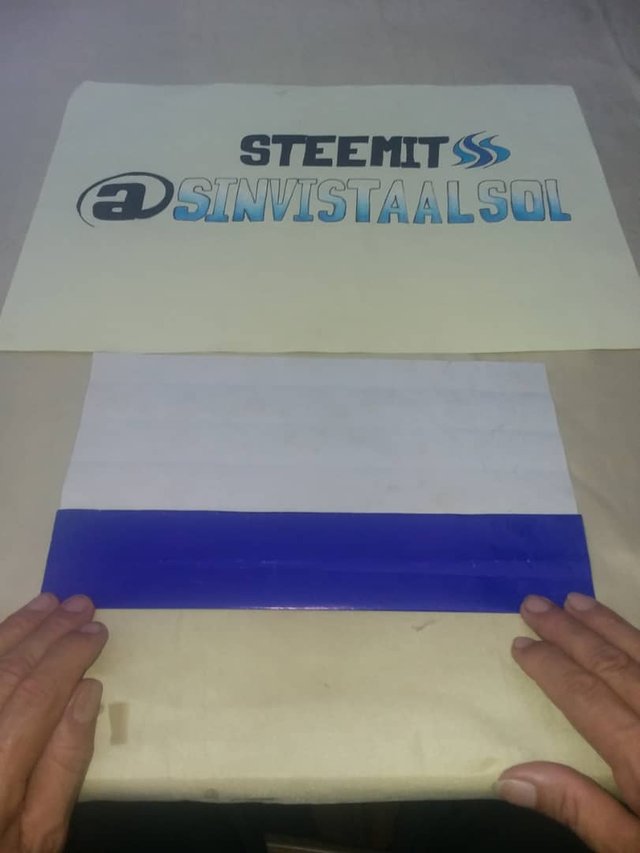
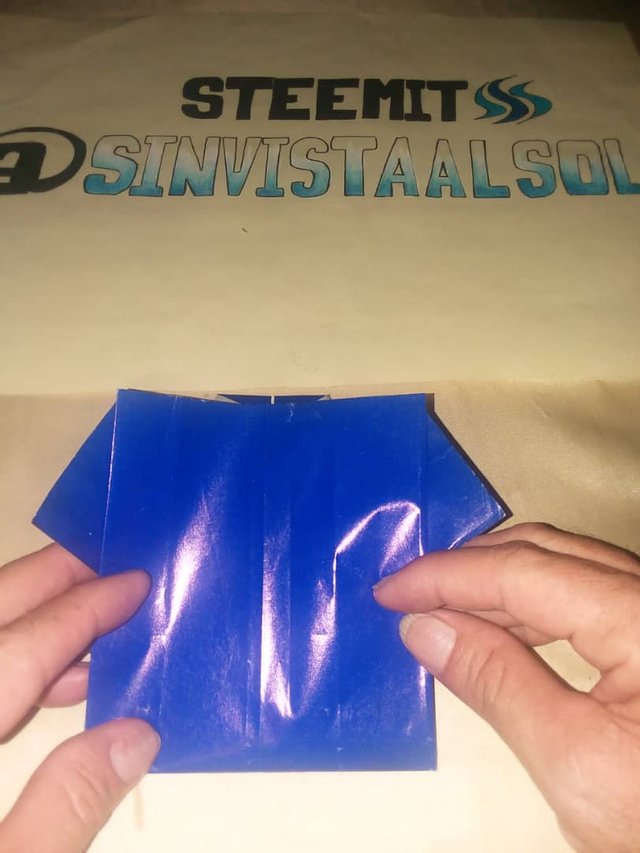
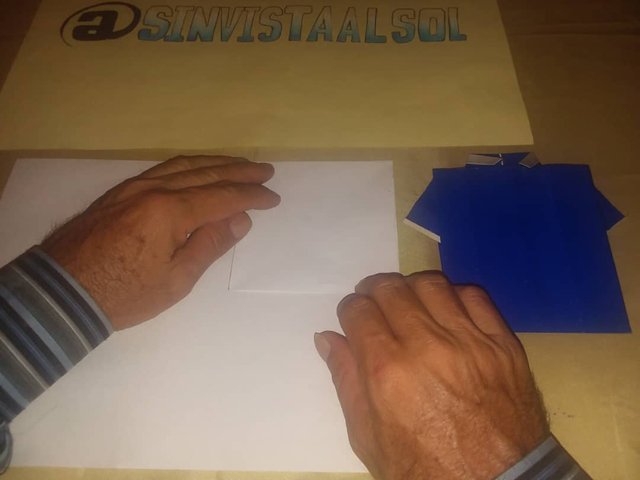
Enjoy it and Share it!- First of all we will need a sheet of paper of double color as I will use in this case (white and blue), white or of a specific color according to your preference, of rectangular shape of approximately 27,9x21,6 cm.
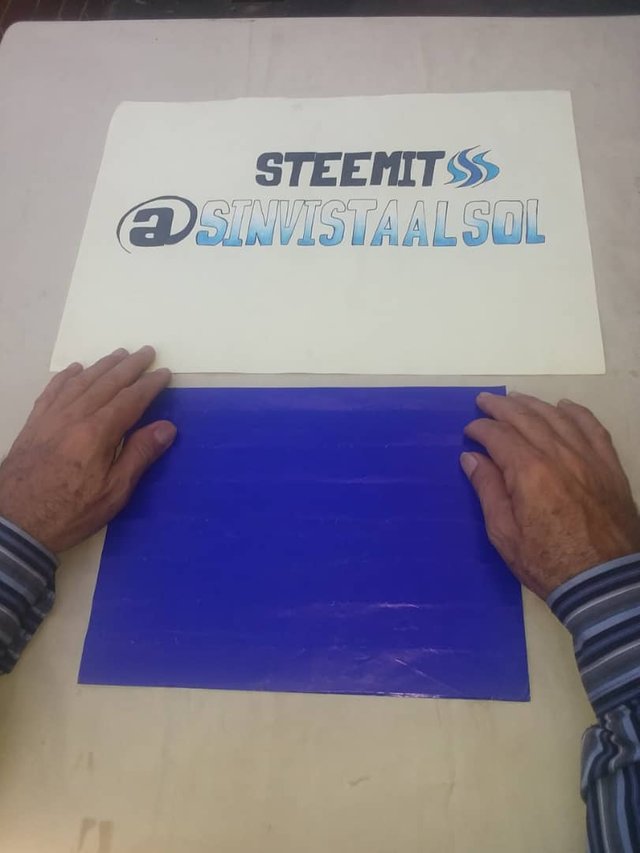
- Then, to start making the suit we must start to make the fold on the opposite side, the side that has the color we want for the suit that in this case, is blue, so we will start with the white side, All this is specifically for double-colored sheets, as is my situation, for all other types of sheets referred to you start by the side of your preference or taste.
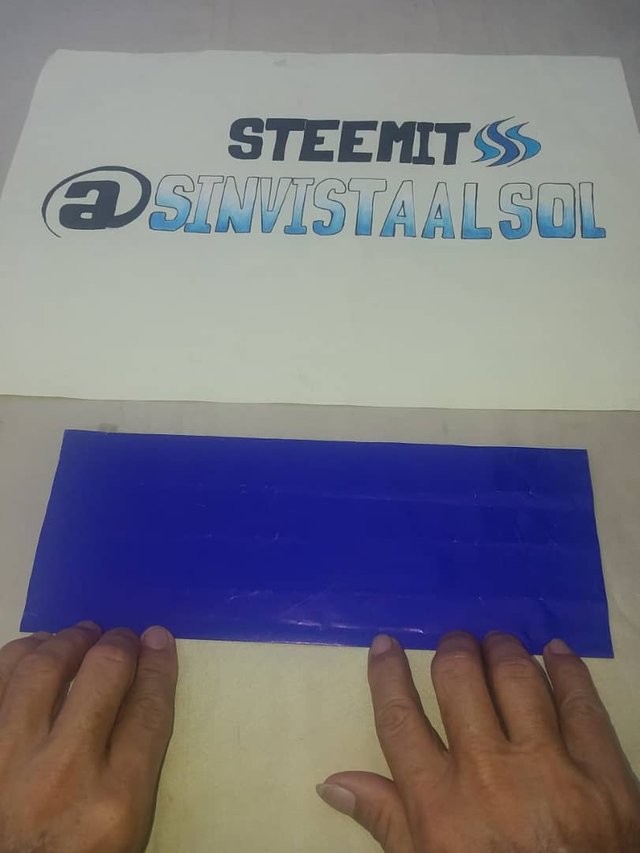
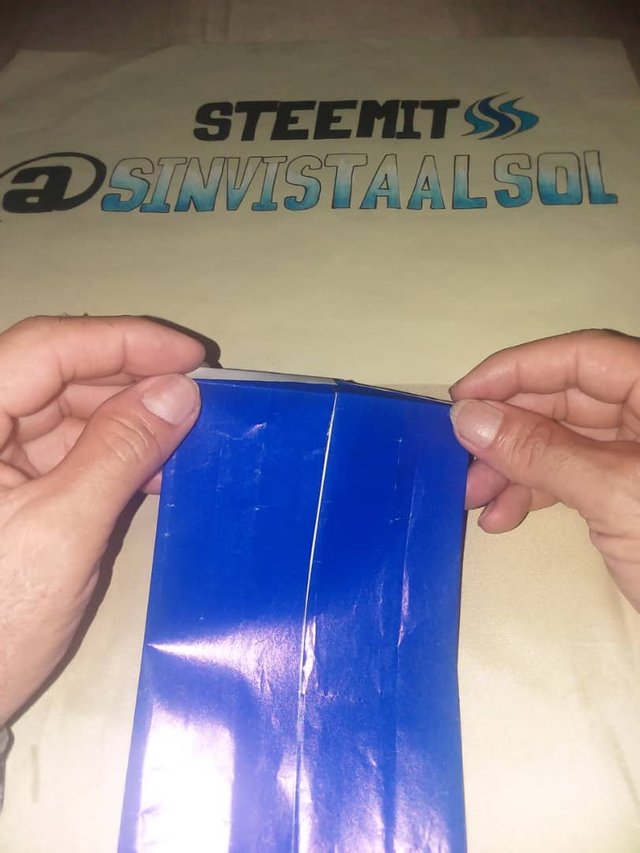
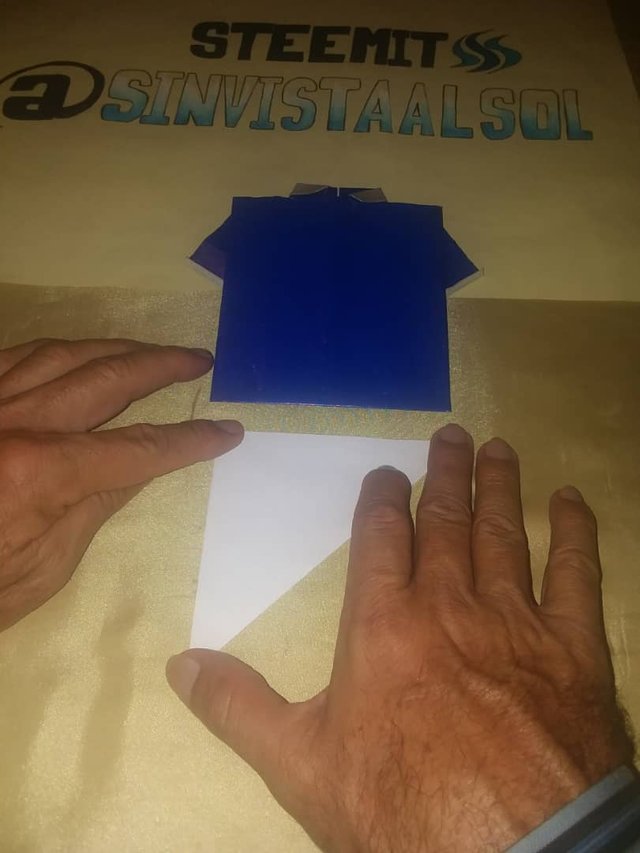
*Now we will fold the sheet in half but in the direction of the "long" of the sheet, taking care of the respective symmetry.
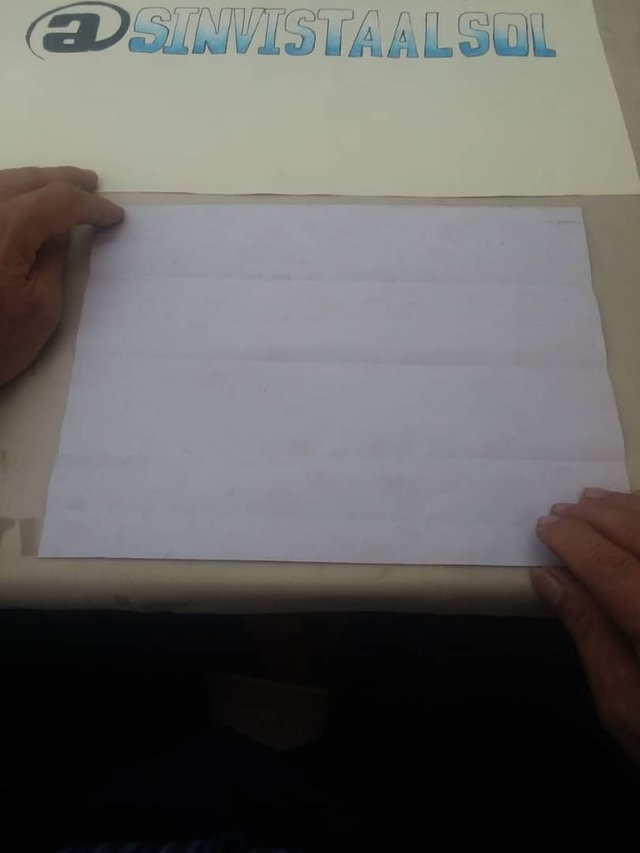
*We unfold what we have done and we observe a line in the middle of the sheet, which divides it into two equal parts, this line will serve as a reference.
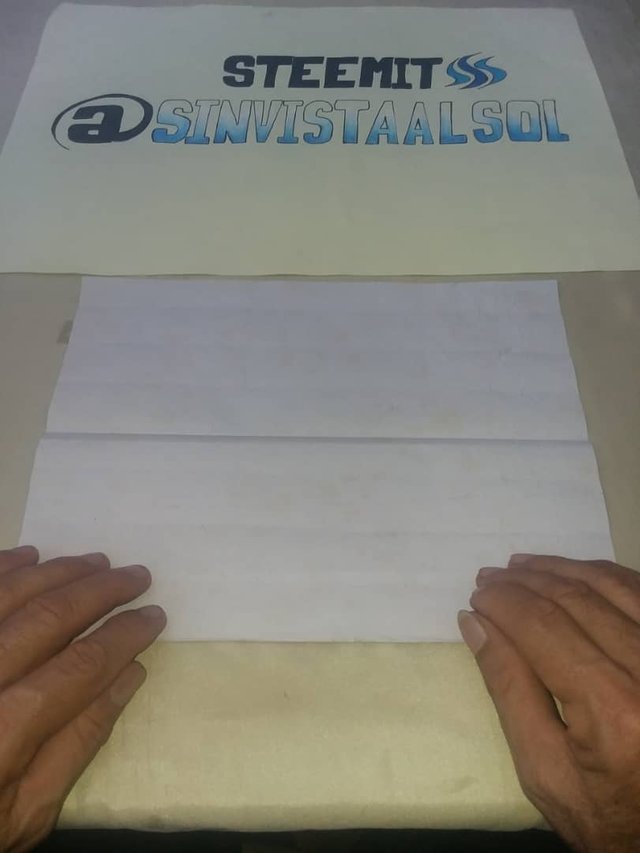
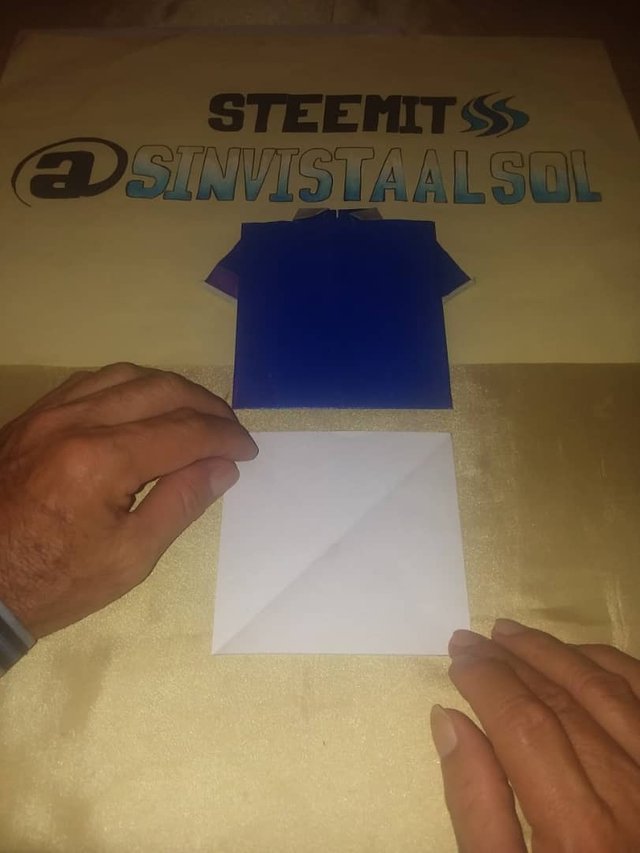
- Now we take the part or segment "inferior", to the line of reference in the middle and we take it to the height of it, taking care of the alignment between them.
- Then we proceed to perform the previously made, but with the part or segment "superior" to the reference line of the medium respectively, remaining as the form or appearance of a "letter".
- Consecutively we unfolded the work done with both segments and observed that we will now have "three central lines" that will help to form the structure of the suit or shirt.
- Then as a next action we will turn or turn our sheet and one of the "lateral sides" of the sheet, we will make a small fold back, of a thickness of approximately 0.8 to 1 cm, remaining as the visualization of a tape that runs along said side, which will represent "the neck" of said suit or shirt.

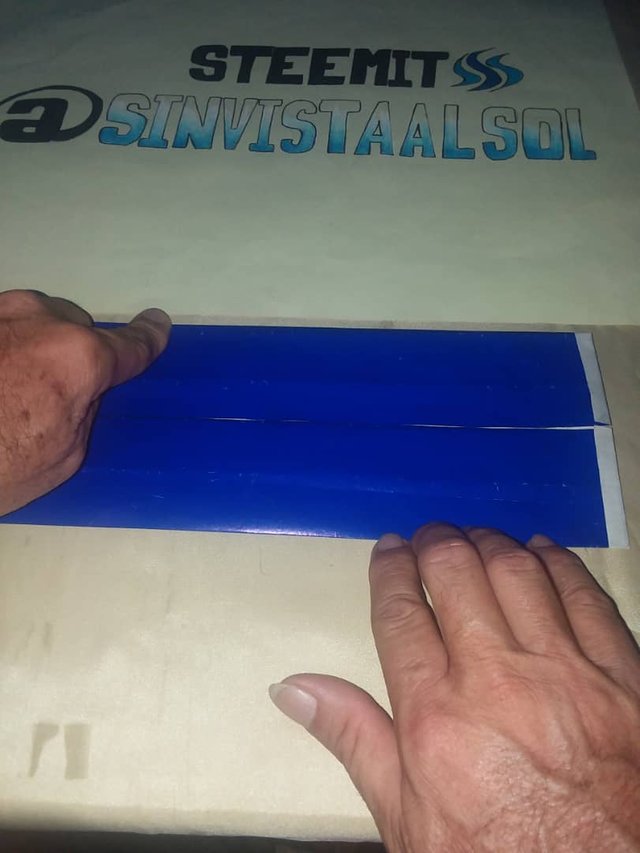
- Then we turn the sheet back to the previous side and we also bring back the two segments, which we had previously unfolded towards the middle line, but now we will see that we will have one of the lateral sides of each segment, "the ribbon" that we had formed before to give the formation of the neck of the suit.
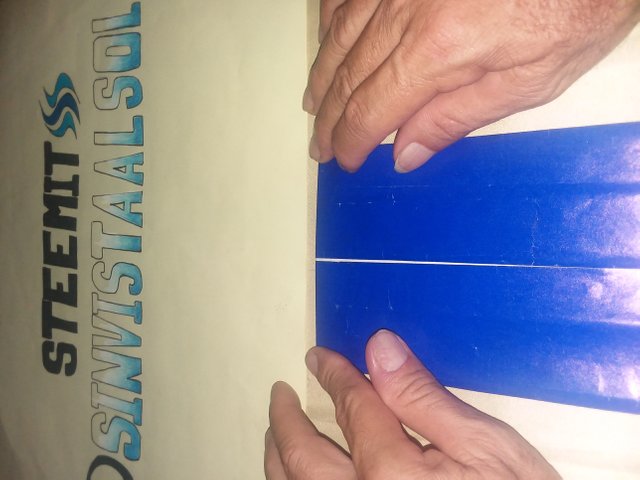
- We will proceed to change the position of the paper, from a lying position, that is, from the length as we previously had it to a straight position, that is, to the width.
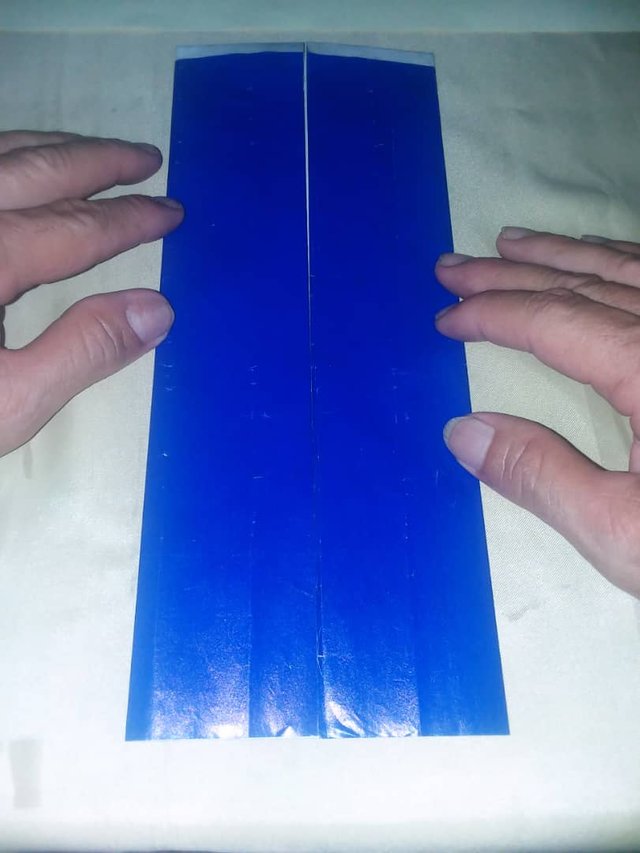
- Now, said "tape" mentioned above, which is between each segment, we will recline or bend to the opposite side, having as guide for said fold the thickness of it.
- This gives the allusion or observation of the concealment of it, leaving again a smooth side without detail, as can be seen.
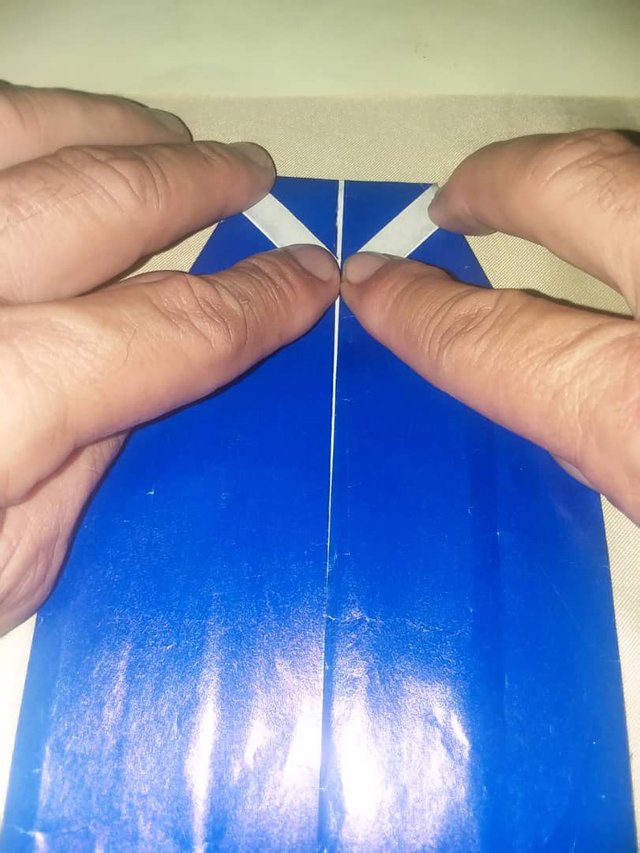
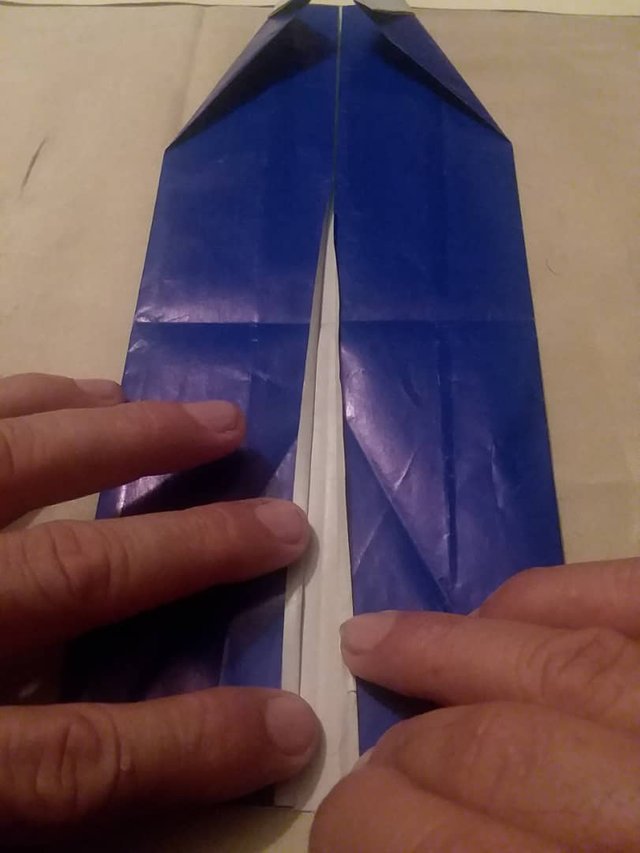
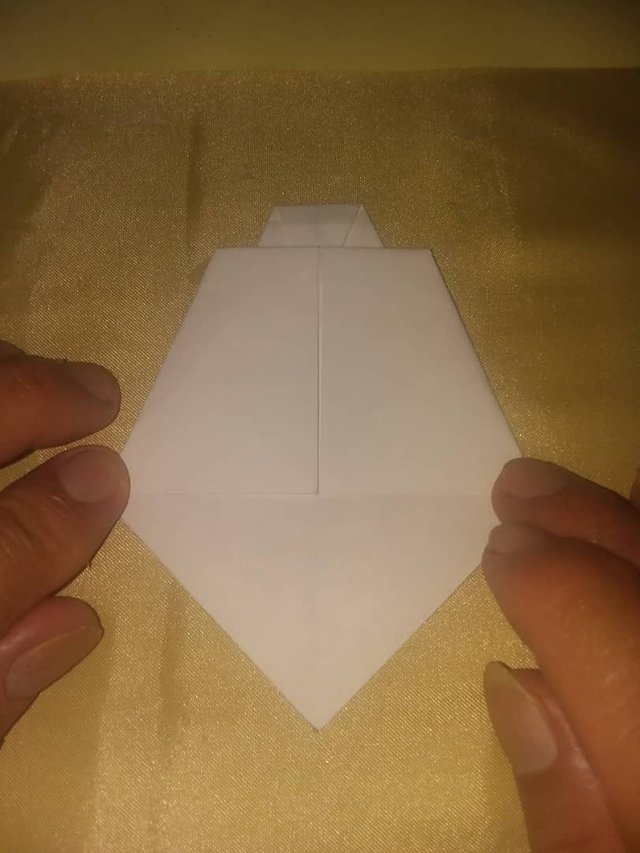
- Progressively, we take the free corner of each "segment" and project it towards the "middle line" that we will observe that now by the change of position will be across, to a point where both are connected or align properly and we will notice that again the "tape" that we had hidden before, will return forward and we can also capture the shape of a triangle, thus giving the constitution of the neck.
- Successively in the lower part of the neck, we should locate approximately the middle of that space that we will observe, to then take the corner that is part of the middle line outwards but whose extension will be until that middle point that we located before, so it is good mark it or take it with your finger and this we do with each corner of each "segment" (right and left) already pointed out, thus observing the appearance of a large central triangle and two smaller lateral triangles that is in order to form the "sleeves of the suit".
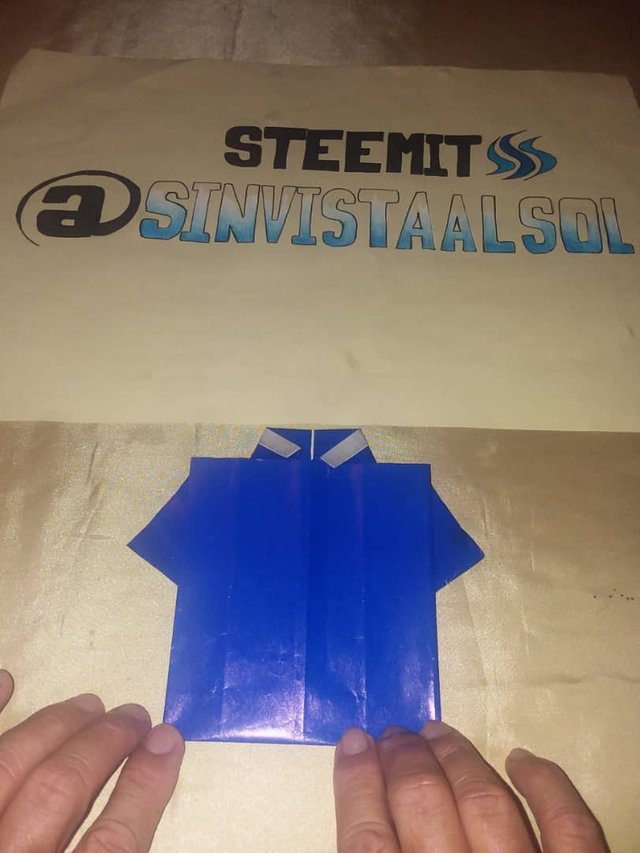
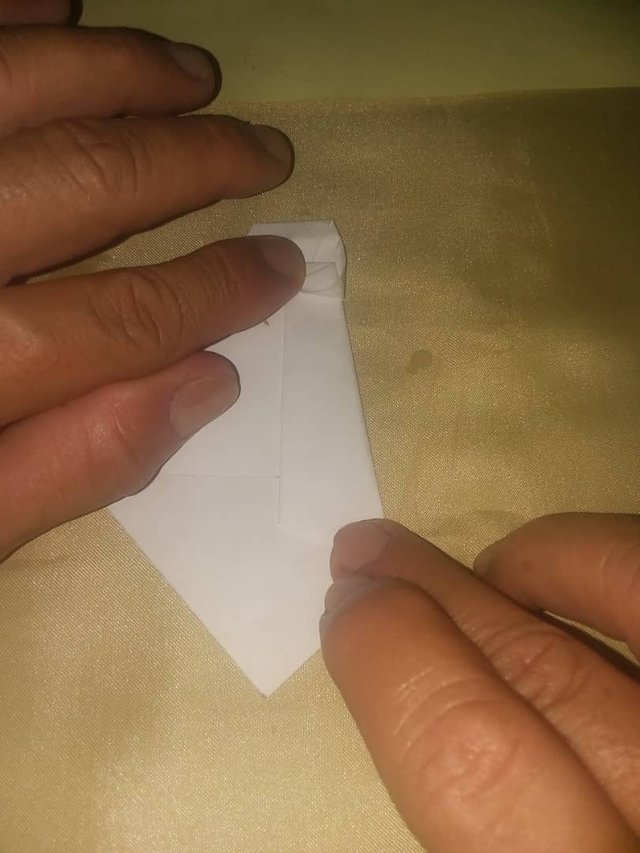
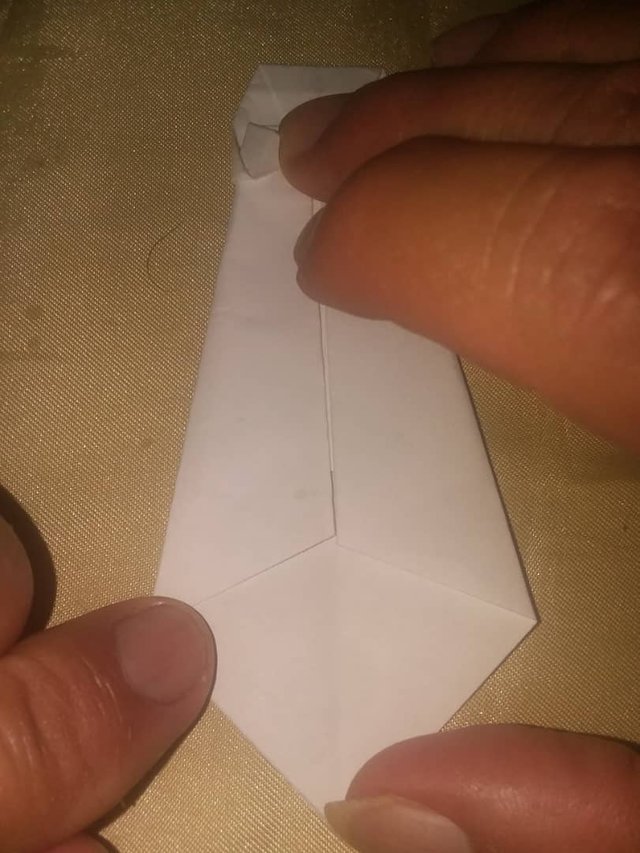
- Then proceed to bring all this lower part worked towards the level of the neck, bending slowly and taking as reference the middle point sought before.
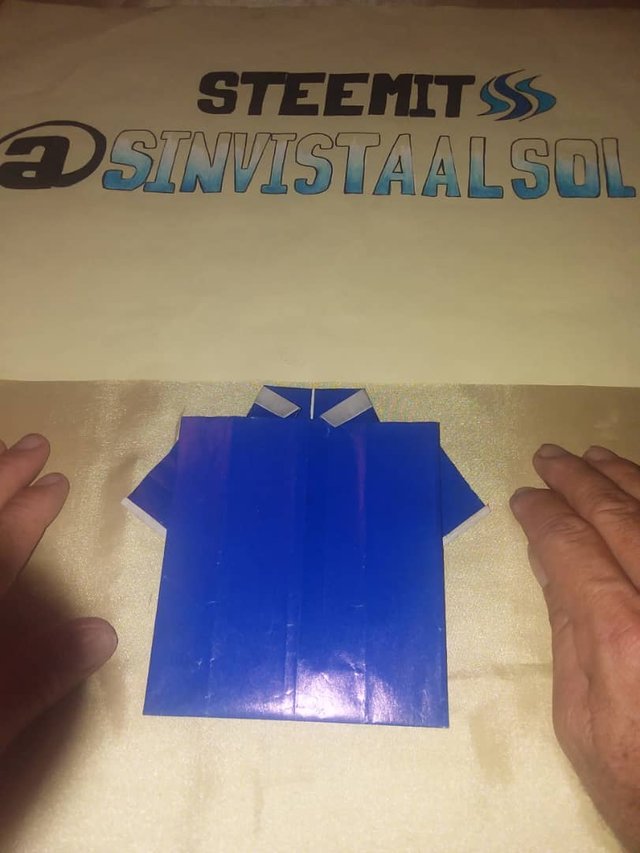
- And finally of having folded we will notice that this reclined part, can be adjusted or hooked, if it is introduced below the neck, working as a holder, and we make sure to mark the fold done well and we have made our respective shirt.
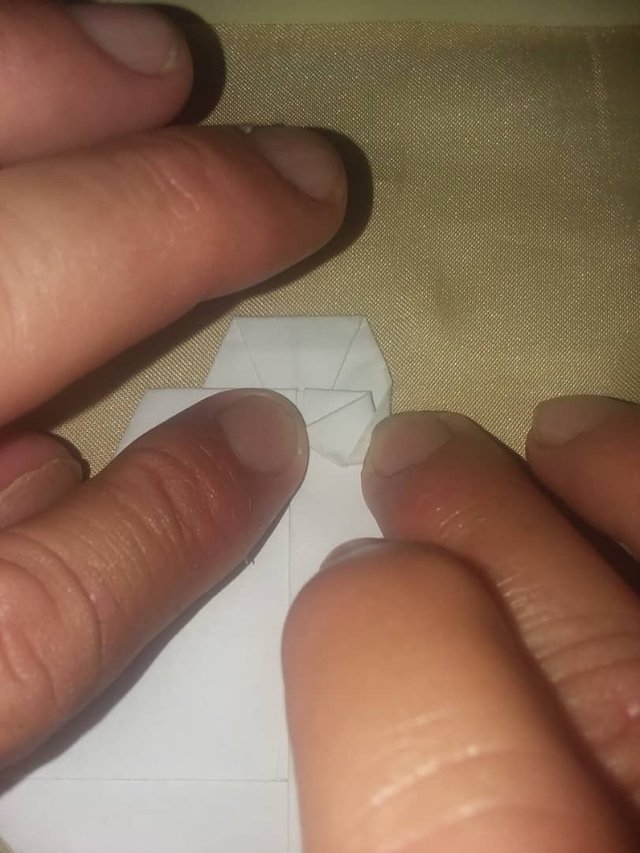
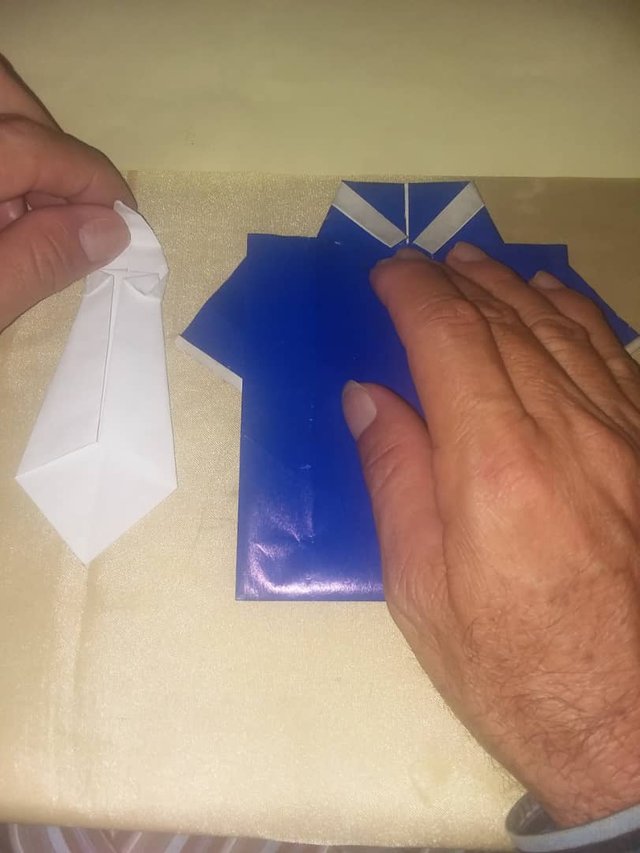
- And as an additional thing, if we want to add it we can add a decoration to the sleeves to give it more originality, where what we have to do is that before step 14, the corner that we will take to do the work referred to in that step, we must to make a small fold to it to form again as a kind of another "tape" referred to above but this will have a thickness of 0.4 to 0.5 cm approximately, and this work is done from both sides, that is, from each "segment" as we noticed in the image.
- And so we see how we now have a decoration on each sleeve on both sides that give a greater presence to the suit.
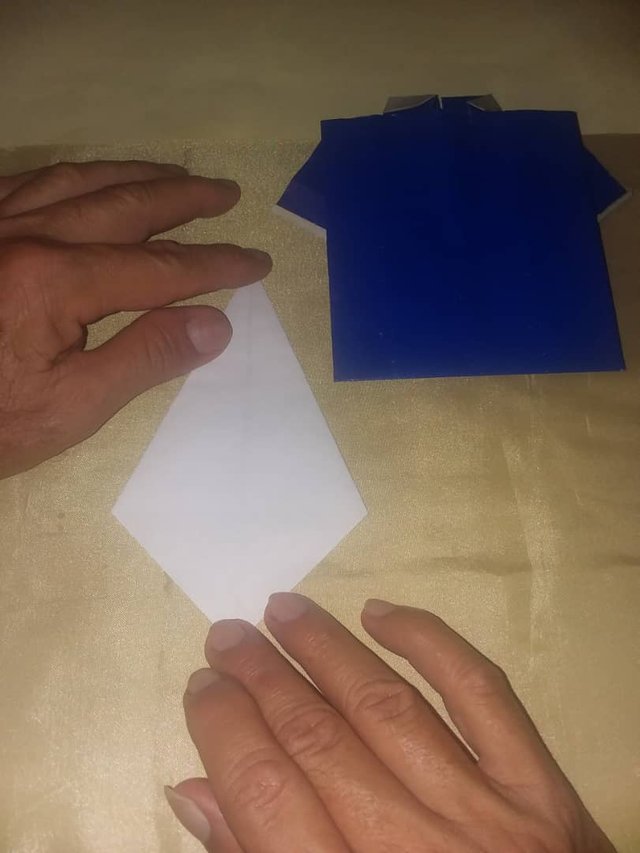
- Now to finish completing our figure, we will proceed to elaborate the "tie" of the suit, for which we will need a square sheet, whose side is half the small side of the rectangular sheet that we use to make the suit or the shirt, that is to say , this square has to cover one of the quadrants of this rectangular sheet previously used, for this, more accurately we can make a square that has the measures of 10.8x10.8 cm respectively and thus we will obtain the relevant square that we will need and in how much the color of the sheet for the square can be white or colors according to your preference since this color will be our tie, in my case implement white.
In addition, it is important to note that for the elaboration of the necessary square, I requested the support for it since sharp materials such as scissors or cuter are used, which pose a difficulty when using them as a reference at the beginning of the presentation.
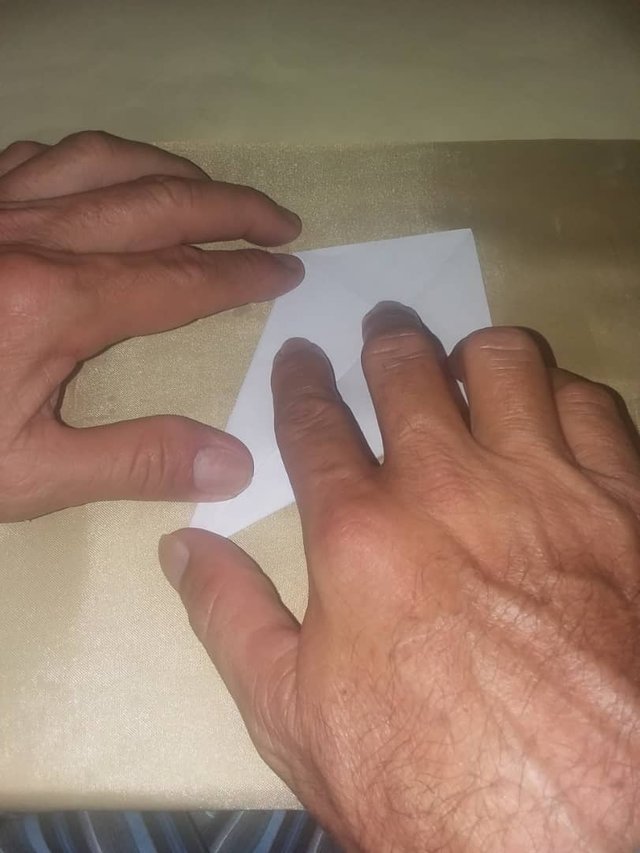
- Consecutively, we will proceed to draw a diagonal in said square, taking care of the symmetry of the fold.
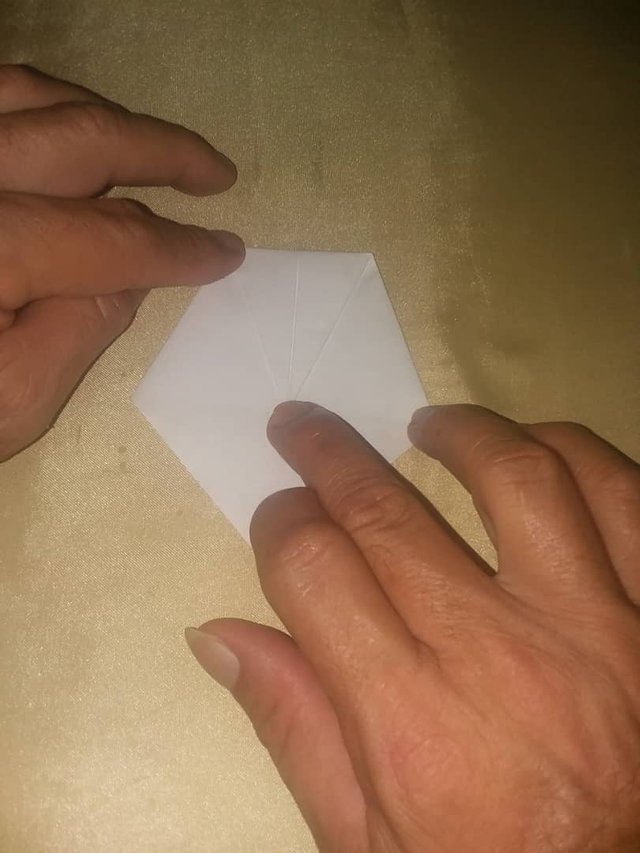
- Then, we unfold the diagonal drawn to its original form, and we observe a central line in diagonal form respectively that divides the sheet into two equal triangles (one superior and one inferior), this line will serve as a reference.
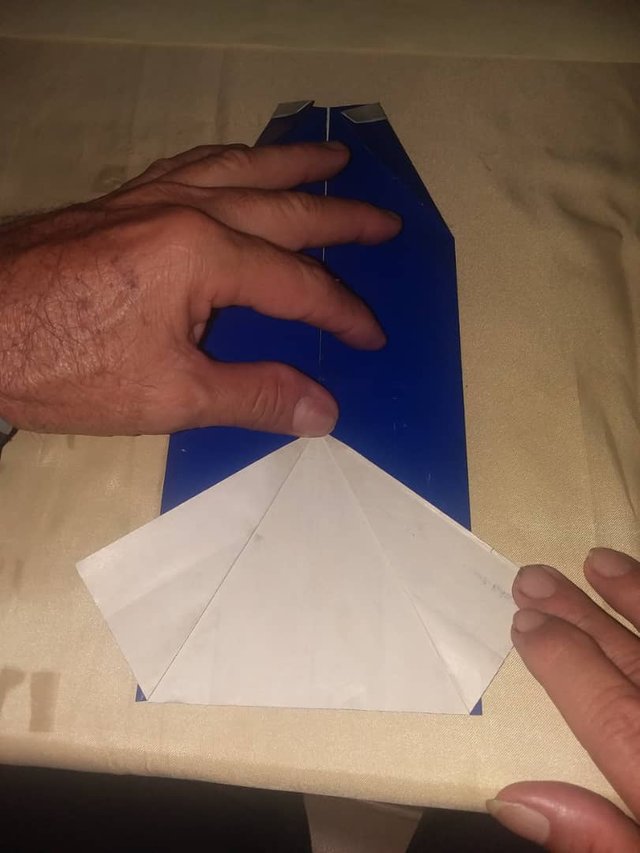
- Consecutively, we carry each of these "triangles" (upper and lower) towards this diagonal line of reference in the center and observe that we have the allusion or appearance of a "geometric cone".
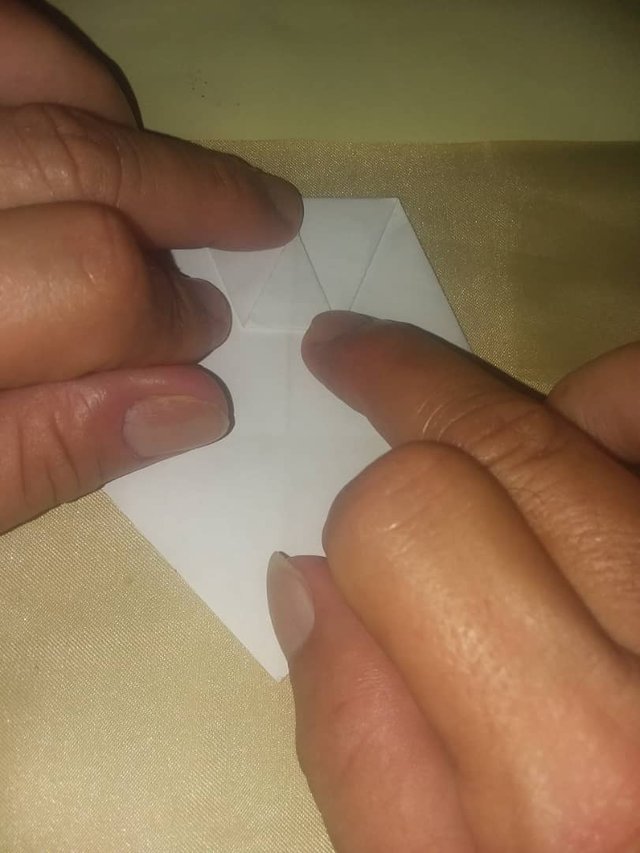
*Progressively we turn it over or turn that "cone" to the opposite side, and place it in a straight position, where we have a "tip on the top" another tip on the bottom, as we can see in the image.
- Now, said tip in the upper part we recline or bend towards the front until approximately, the level of height between the two "lateral tips" that we observe parallel to the two referred points, remaining as the design of a triangle that will have or possess a middle line that divides it.
- Then, the upper tip that we just folded, we are going to make another fold back, taking it approximately a little below half of said "triangle", taking as reference the center line or media that has the same and observe that again we have a triangle but smaller and inverted.
*Now, we will proceed to make a fold from the "lateral points" of said inverted triangle formed, and we take it to the level of the tip of this "triangle" that we had previously worked and we mark well at this point, and we observe that we have left the shape of a small "trapeze".
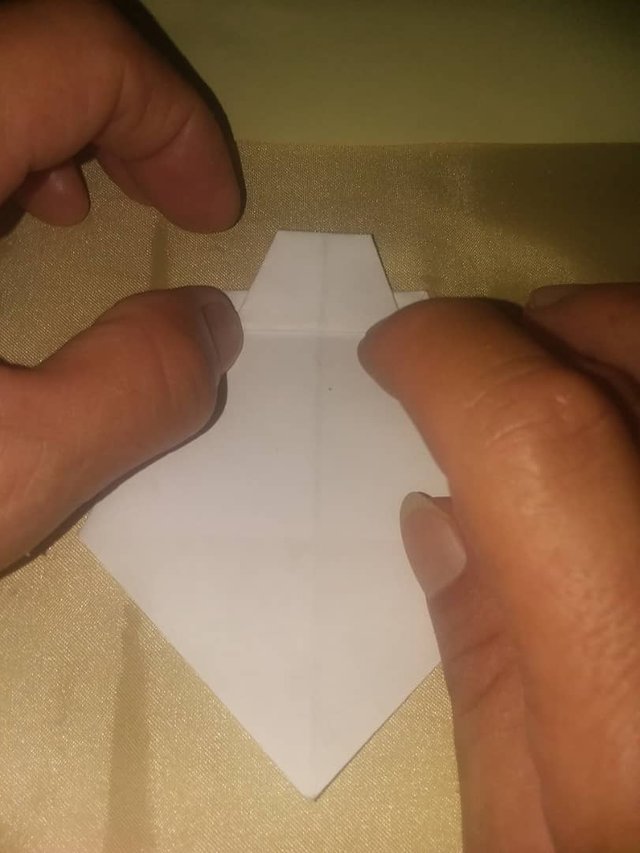
*Now, we proceed to turn the page in general, and we will visualize that we will have centrally the representations of a trapezoid that has a "middle line", on an inverted triangle respectively.
- Consecutively, we will proceed to take one of the lateral points of the "trapeze" in this case "the left", and we take it to the height of the "middle line" of it, taking it as a reference, and in doing it we observe that we are presented with a small bulging or lifting to the side, product of the fold done.
- Now, to solve this bulge that is presented to us we must "crush" with the east finger, to a measure that we consider opportune, and this with the object that we have an inclined angle respectively, and this will give better figure to the tie, in My reference to the part that is attached to the suit or shirt.
- In this step, we proceed to do the same done in step number 28 but this time on the "right side" of the trapeze.
- We will proceed to carry out what was done in step number 29 but with the connotation that now it will be on the right side as it was already mentioned.
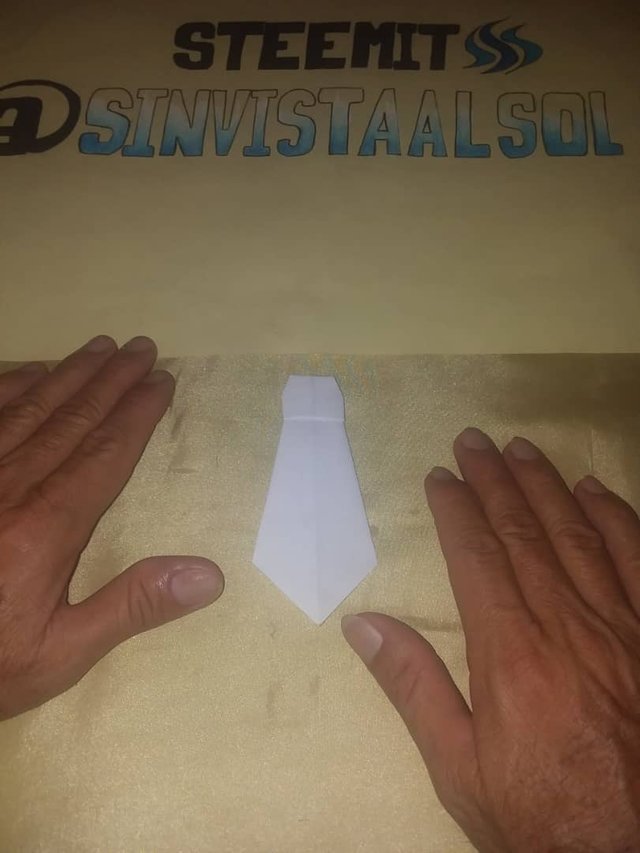
- We proceed to turn it around and so we finally have our tie formed, and the only thing left is to add it to the suit or shirt.
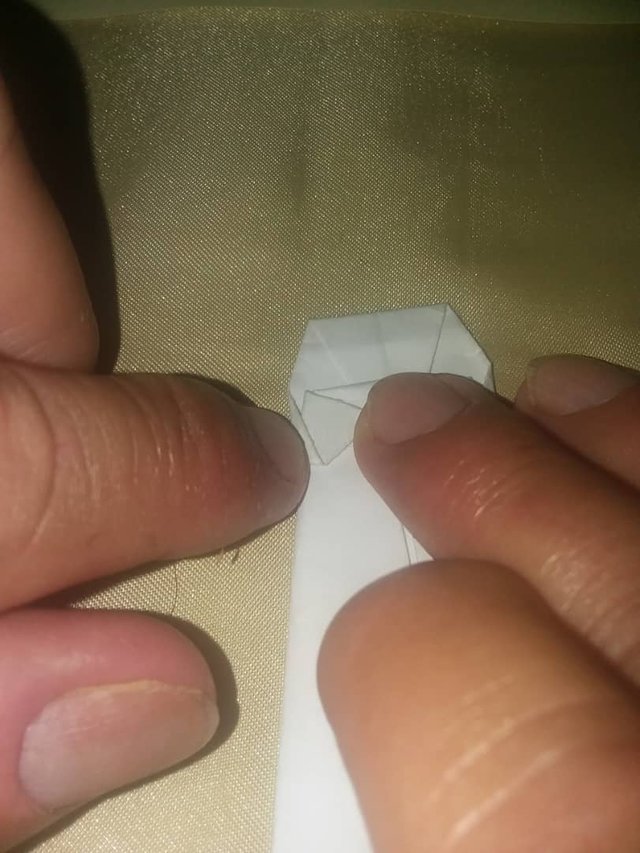
- To do this we must return to our tie and we have to discover a tip that will be hidden under the work done in the previous steps, which will serve as a "hook" to embed the same in the area of the "neck" of the shirt or suit.
- And once we embed and align well with the collar, we'll have our knight's suit finished!
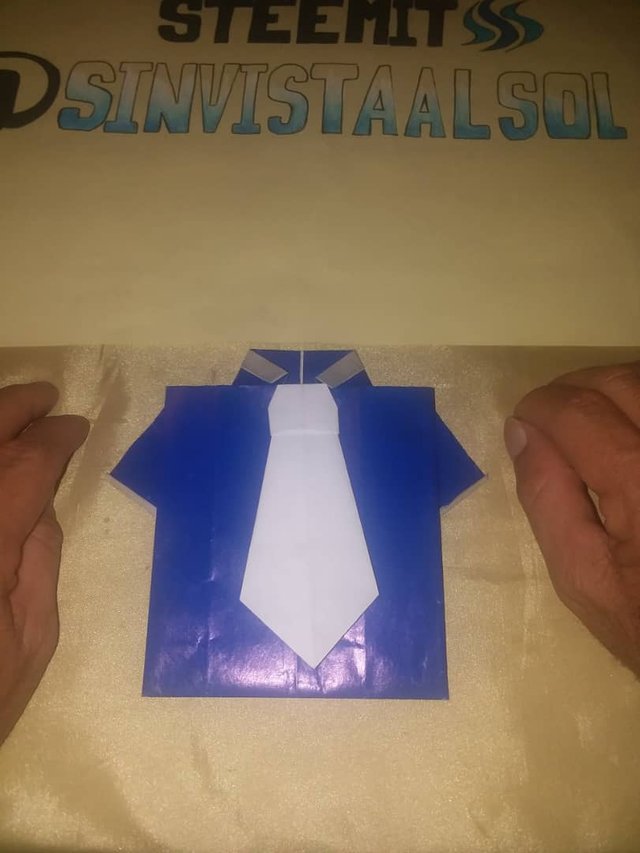
Enjoy it and Share it!

I upload innovative content 3 times a week!
Do not forget to vote and comment, that helps me keep uploading content!
I have internet connection problems in my home, a thousand apologies!
The Saluda @sinvistaalsol and will be until a next opportunity.
I think this is too advanced for me...