Origami rose

This is my favorite flower model, the kawasaki rose, designed by Toshikazu Kawasaki. It's not an especially difficult model but it is time consuming and some steps might be confusing. I've been making this model for a long time, practicing precision, trying to improve the final appearance and experimenting with different versions. Here I will show my steps in making it through two online instructions I learned from, both are good but both have room for improvement. instruction 1, instruction 2 I'll also add a simple leaf and stem instruction at the end.
If you're starting of with A4 or letter sized paper(i would suggest around 20cm by 20cm(7.9 inches) paper for the start) you fold a short side to the long side while pivoting around a corner:

- Both instructions try to skip steps while making the first square grid, I suggest folding layer at a time for better precision and making it easier later on.
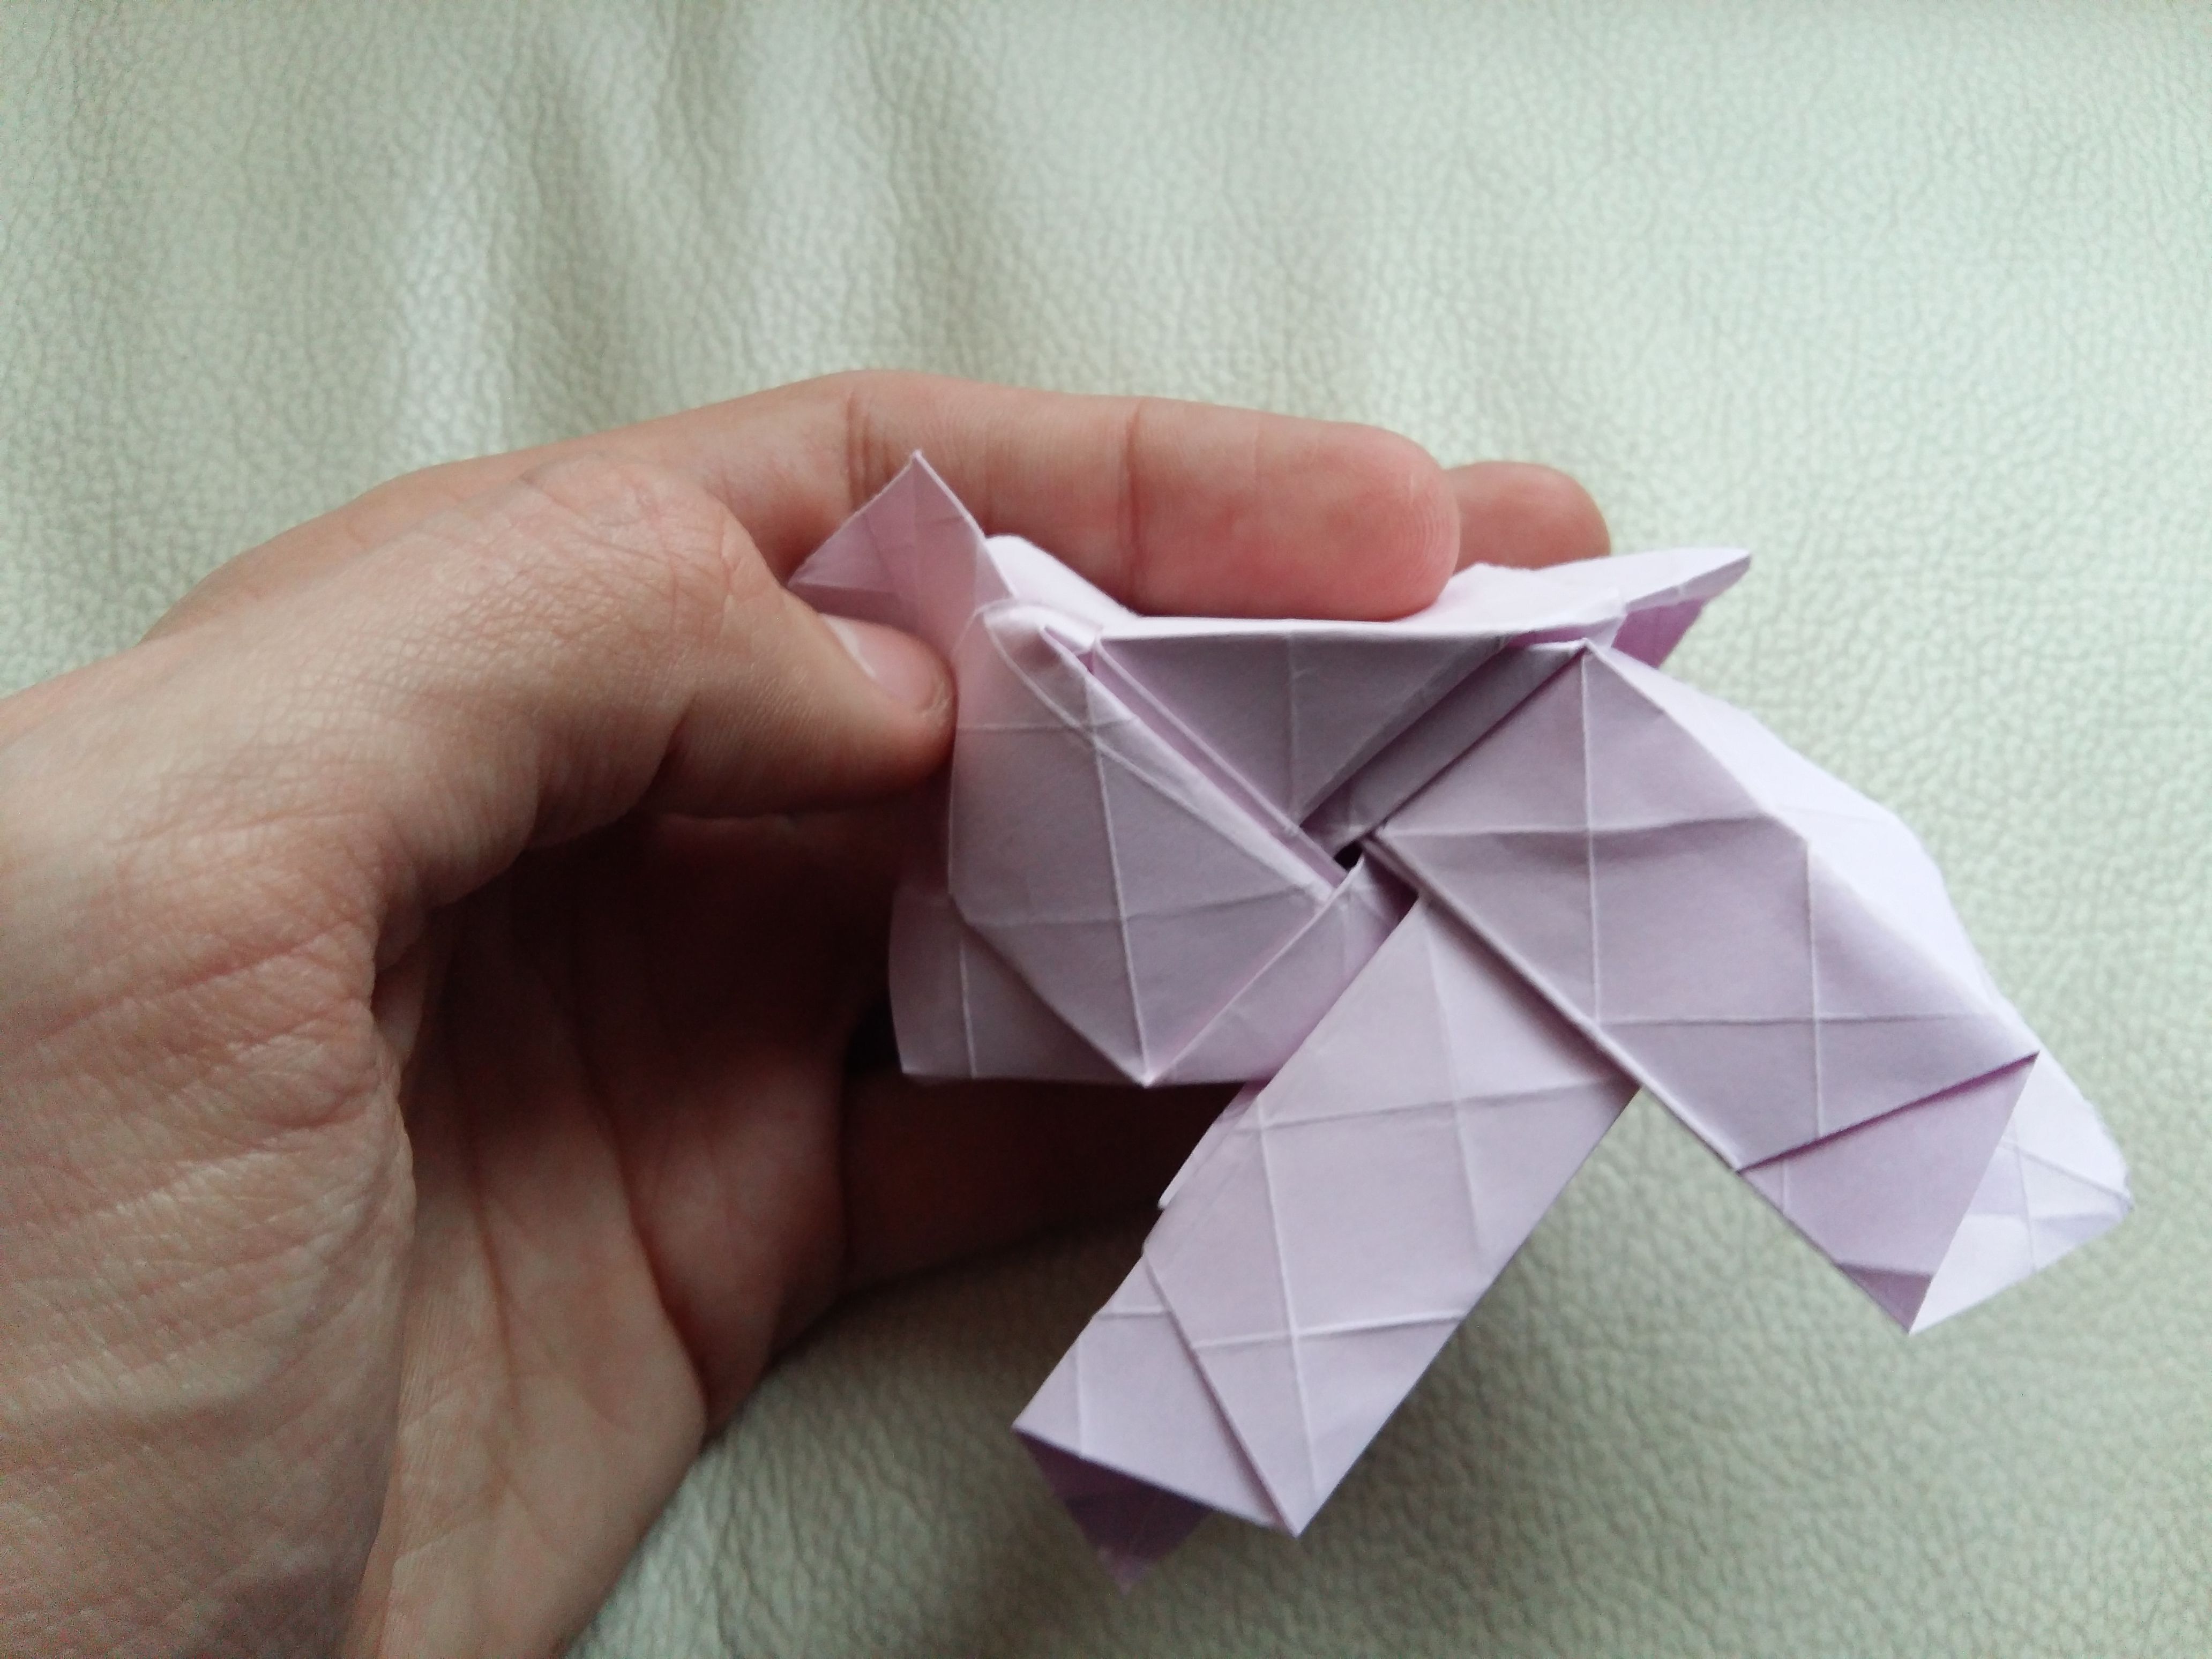
To do this follow steps 1- 4 in the first instruction, open everything, turn the model by 90 degrees and repeat the first four steps - Next start folding every sections in half except for the edges, open, turn again and repeat, here are some images for reference:

- Now start following instructions 2, I'll be adding some steps from the 1st diagram but will point them out.
go to page 10 and do steps 18-28, this is where I turn the paper 90 degrees and repeat the steps, it helps a lot with making straight lines on step 29 since this way you have lines on both sides that you just connect (when doing the steps again it will be easier because you'll have general guidelines)

- Continue the second instructions until step 65/66, this step looks complicated but I think it just isn't explained that well, what it's saying is starting from an edge of the petal count 3 squares left, connect that point with a corner that's 2 squares down and one square right, then connect the starting point with a corner that's 2 squares up and 3 squares right, there's a line passing through that corner, that's the red line you see in 65, just pinch somewhere in between the 2 lines you made and straighten out the whole petal. following along the instructions and comparing will definitely help.
- Continue until step 83, to make the next steps easier it's useful to press along the red dotted line in step 83 like this on all 4 corners
 :
: - Continue till step 83, this is how I shape the model in the end (be very gentle not to rip the paper) first I shape the outer petals, the the middle par outward and finally I simply squish the inner triangle, where step 65 was done.
Stem
For the stem i use the leftover paper from the A4 (at least sizewise). fold in half a few times till it's almost round, insert it into the rose by twisting and then twist the whole stem, remove extra length

Leaf
For the leaf you need a square of around 9cm in length for a rose made from A4 size paper
first you do the leaf "branch" part and then you make the leaf part by making a fan of a sort, more repetitions=more details but it makes it harder to fold and close, to insert it into the stem you just open up a part, insert and twist back:
(Step 5, fold the bottom part to the middle and turn the model around, step 6 fold the bottom in half again and open everything)
(Step 11 if you want a leaf which looks like step 12 then fold the model in half and redo the first 6 steps, if not the fold everything in half again like step 13 to get a leaf that looks like step 14)


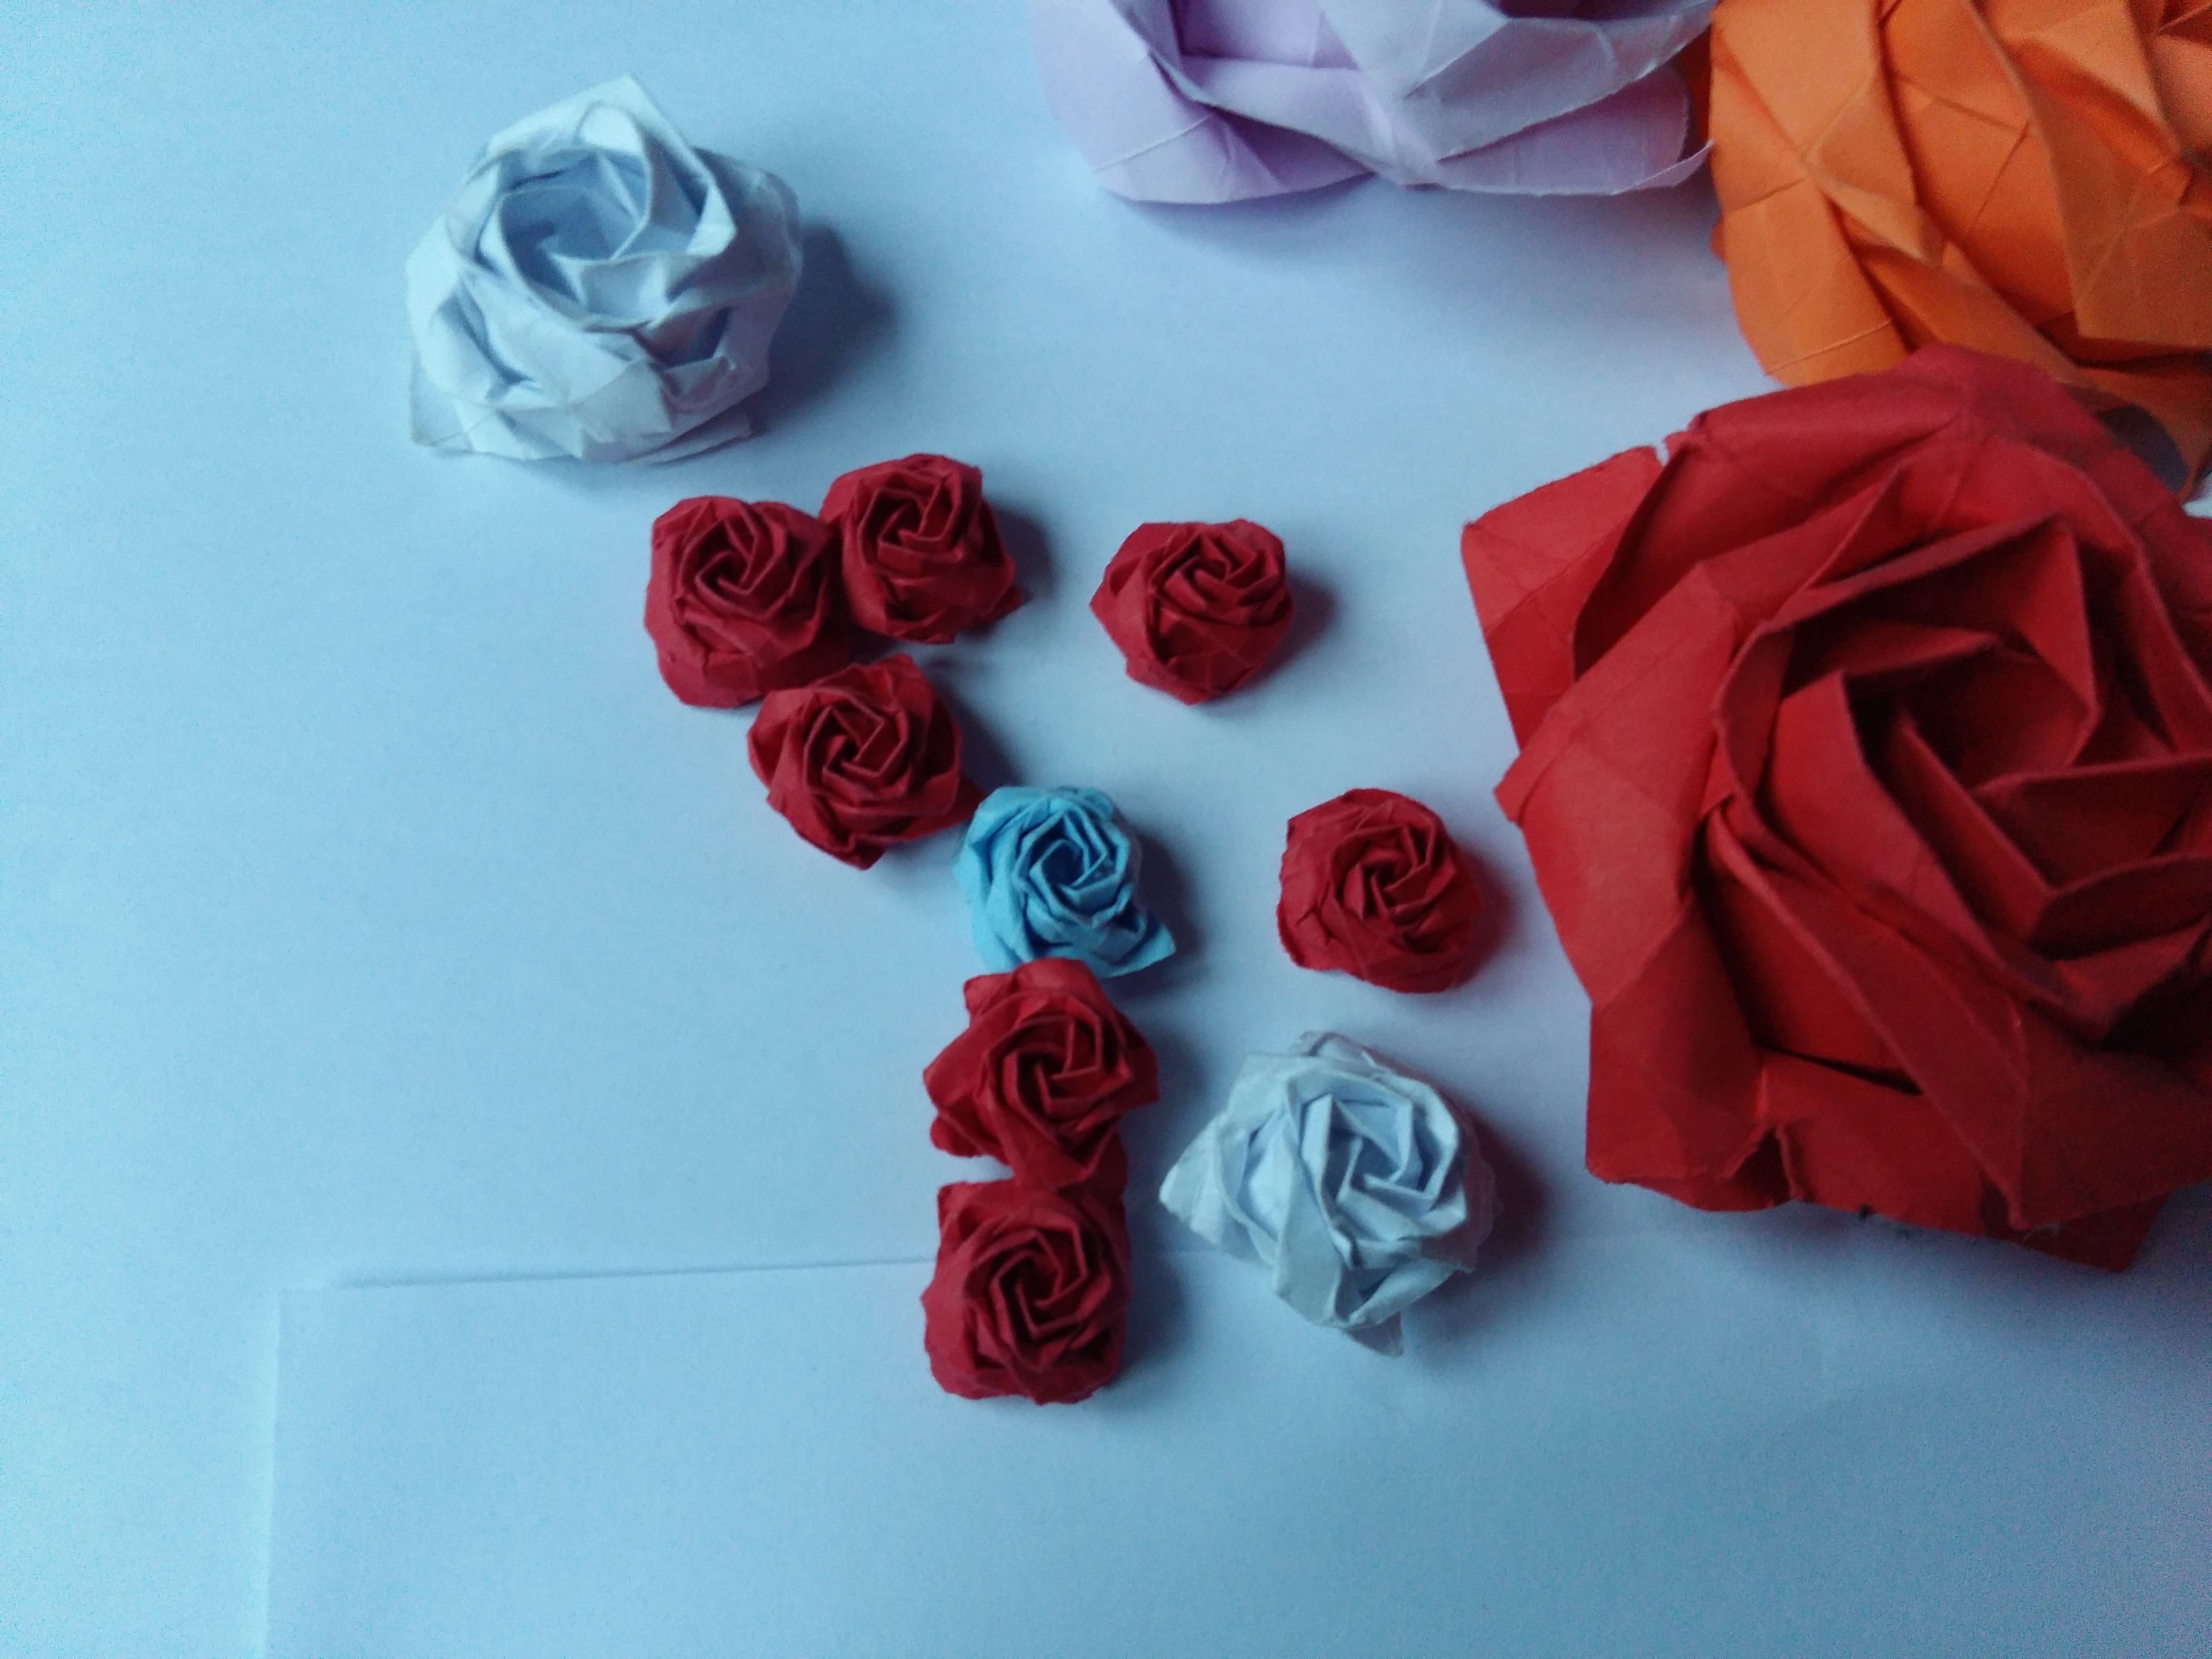
Here's a pic of the smallest models I can make, all the steps are the same but I had to use a heaphone jack to shape them in the end.

I've found my origami sensei! So glad you dropped by to look at my goats. I've got a long journey ahead! ☺
I'll join in on your origami journey and fold along ^^ always fun to learn some new models
Hey @ivan-g. I am a curator from the Whaleshares Curation Team. I have selected your post to be presented in a live curation discussion on Monday, March 5th. Your post will be awarded with a 100 Whaleshares vote on the night. I do hope you can come along and spectate. The event will be held in The Curation Lounge on the Whaleshares server. Here's a link which explains things: https://steemit.com/steemit/@nikflossus/the-whaleshares-curation-show-episode-16-23-59gmt-or-6-59est-tonight
Thank you, great show, I'll be sure to join on your future ones :)
Awesome :D
Wow! These are incredible!
Thanks :D
Ha ha. This post will save me from valentines panic if I do the same thing next year that happened this year and forget until the last minute. Now I can just come back to this post and have a bunch of roses for the angry long suffering woman in my life. Cheers for sharing your knowledge @ivan-g :-)
I'd suggest starting a bit earlier xD got your back :)
Beautiful! :)
Thank you ^^
Congratulations! This post has been upvoted from the communal account, @minnowsupport, by kristyglas from the Minnow Support Project. It's a witness project run by aggroed, ausbitbank, teamsteem, theprophet0, someguy123, neoxian, followbtcnews, and netuoso. The goal is to help Steemit grow by supporting Minnows. Please find us at the Peace, Abundance, and Liberty Network (PALnet) Discord Channel. It's a completely public and open space to all members of the Steemit community who voluntarily choose to be there.
If you would like to delegate to the Minnow Support Project you can do so by clicking on the following links: 50SP, 100SP, 250SP, 500SP, 1000SP, 5000SP.
Be sure to leave at least 50SP undelegated on your account.