How to build a Wind Turbine part 1b (resin casts work Magnet Rotor)
This is a 3.6m or 1.3Kw wind turbine build. The first stage here is the making of the alternator parts which consist of the Magnet Rotor parts at this point.
Steel discs are required which have holes to match the Hub which is being used to mount it.
Once the steel plate are made, the magnets need to be positioned and thus a jig is needed to ensure this is consistent.

The above part ensures the steel discs remain located consistent to each other

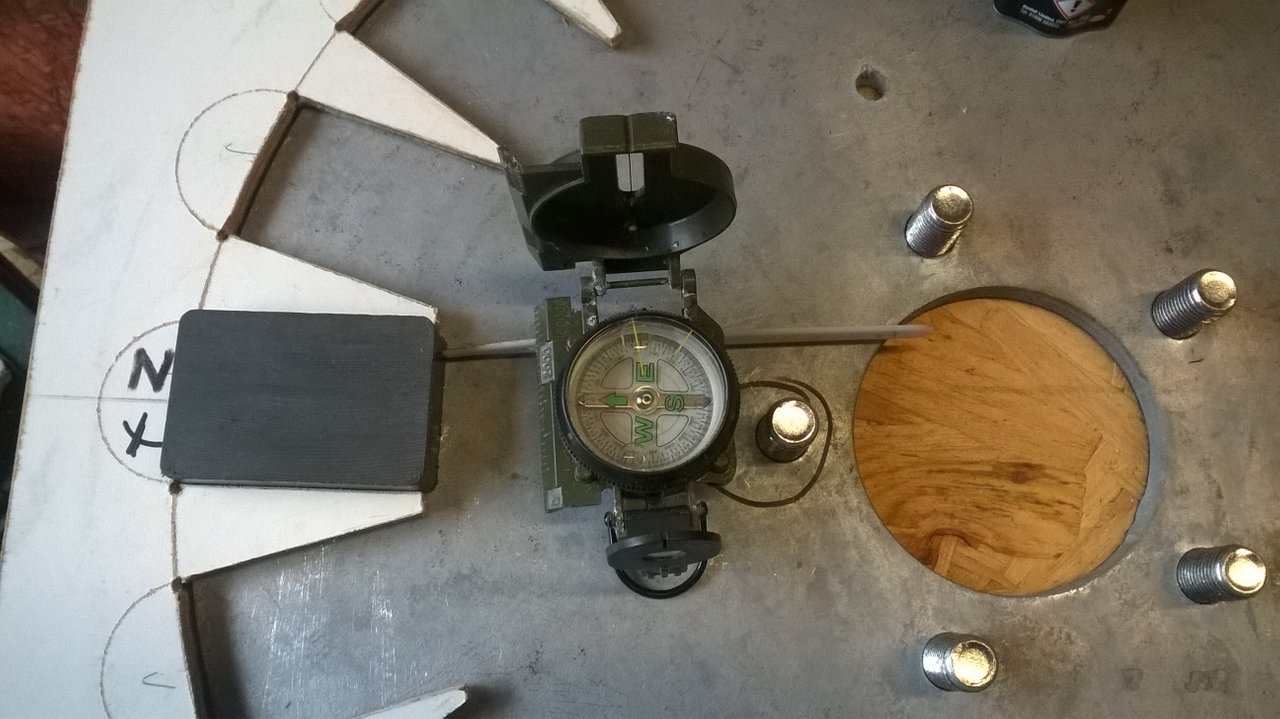
The magnet location jig positions the magnets on the disc, starting with the marked set point on the left, as this is the main reference magnet, in this case North set.
A drop of superglue is enough to hold the magnets at this stage, but each magnet needs to change polarity from the one next to it all the way around.

Once this is done, replace the disc and repeat but start with a S polarity magnet at the start point and stick them down as before.
Next a resin cast mould needs to be constructed to set the magnets permanently in position, the fibreglass weave is to provide strength to hold the magnets in place

Before pouring the resin level the mould as this will also help with balance later on.
Pour in and allow to set as required.
 )
)
When finished it should look something like this

Simply repeat the process to make the two magnet discs
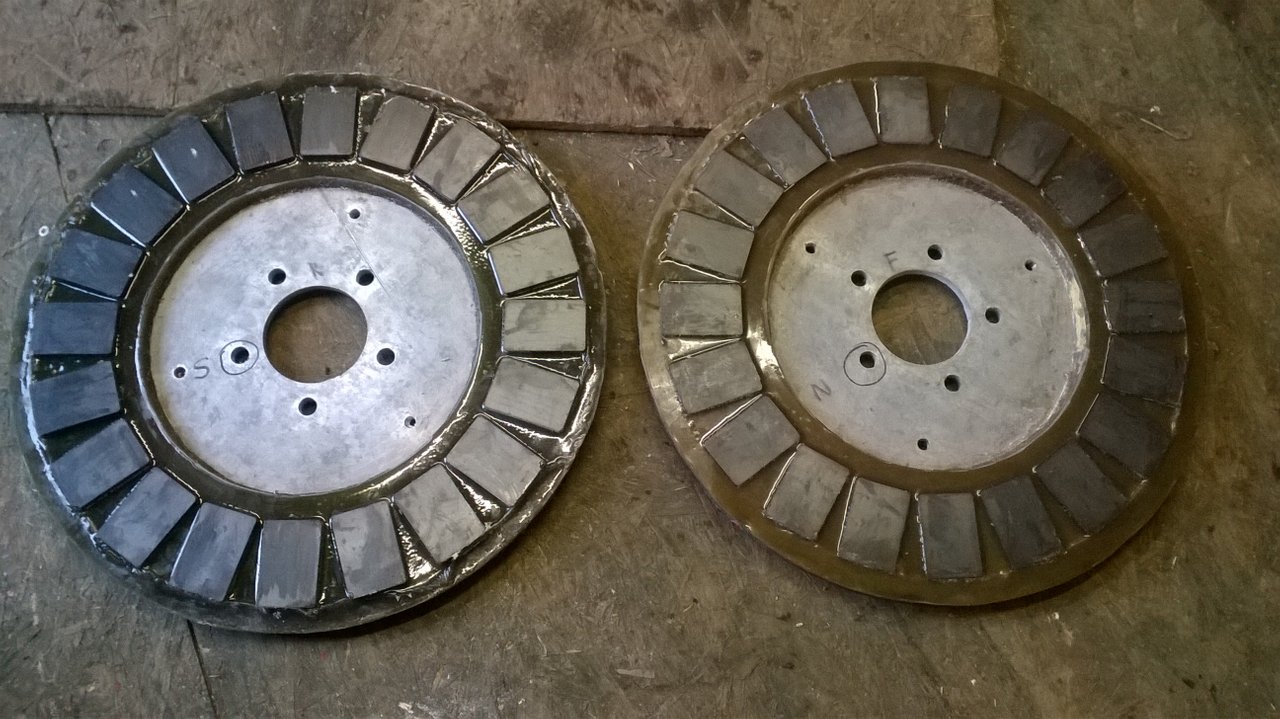
The colour difference was due to using less filler on the second disc as it seemed to help with the fibreglass.