How to build a Wind Turbine part 2 (Steel Work Frame)
Depending on the size of the wind turbine a hub of suitable size is required . This can be a bolt on or weld type, the hub mounting part is just made to suit which ever type you have. In this case the stator mount is welded first to the hub using 2" or 50mm angle iron cut long enough to reach past the edges of the stator previously made.
![WP_20190409_002.jpg] (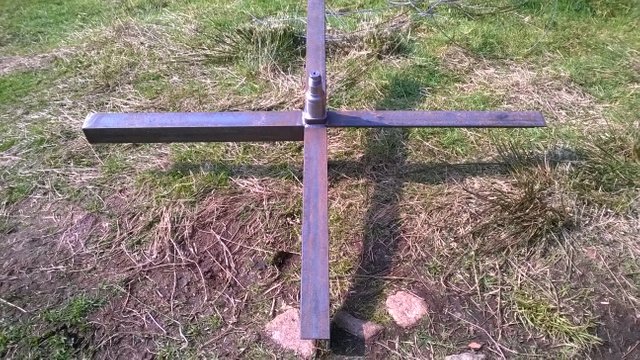 )
)
Next is the main bearing and top plate. The bearing size depends on your own setup, in this case is 99mm and 10mm top plate. This has a 90 deg angle set at 45deg as seen below.
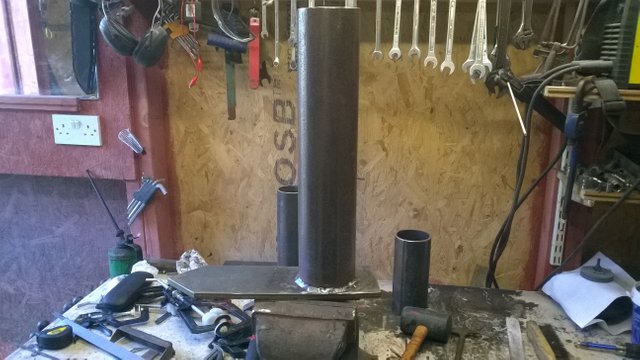
Side supports and a front water guard are added to join the two together. The water guard also helps support the stator mount the rear of which is also plated. ![WP_20190413_001.jpg]
(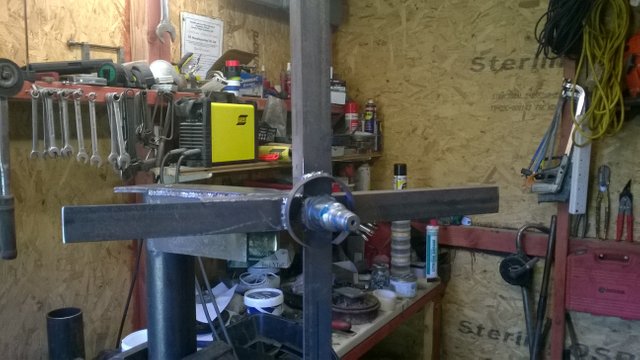 )
)
The whole steel frame is mounted upside down and set to 55 deg. The side it leans to depends on the furling direction decided on.
WP_20190414
Set the angle before setting the tail hinge
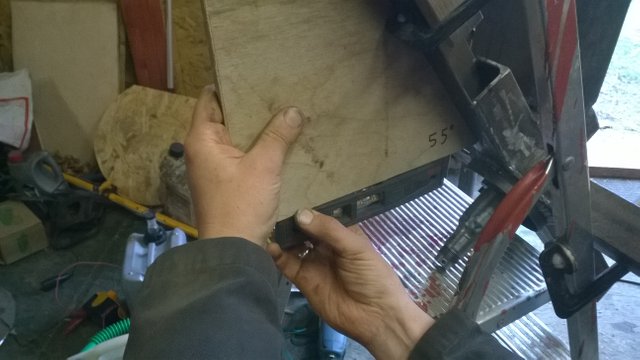
The tail angle in this case is 15deg but also varies with the size of the turbine
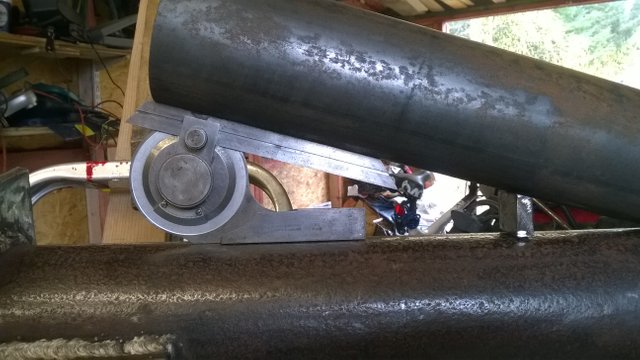
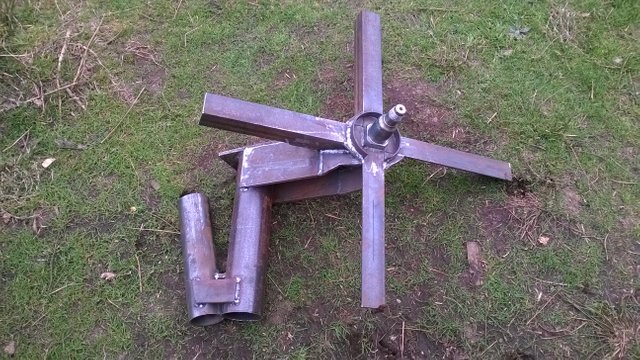
When finished the main body will look like this below..
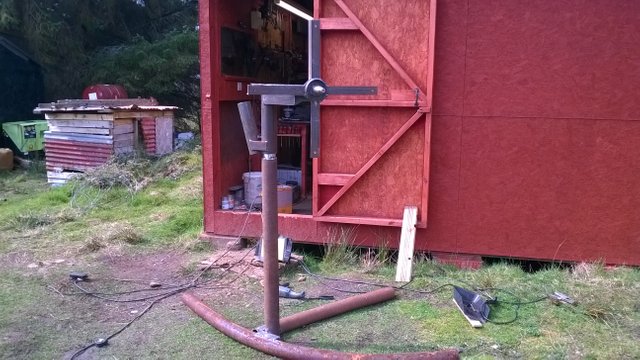
Building a ground level mount makes constructing the tail far easier and accurately but ensure the main part is vertical.
Also note the stator mount holes and holes to match have been drilled.
The tail needs stops welded to ensure it rests at the correct position and stops it full movement before swinging into the blades.
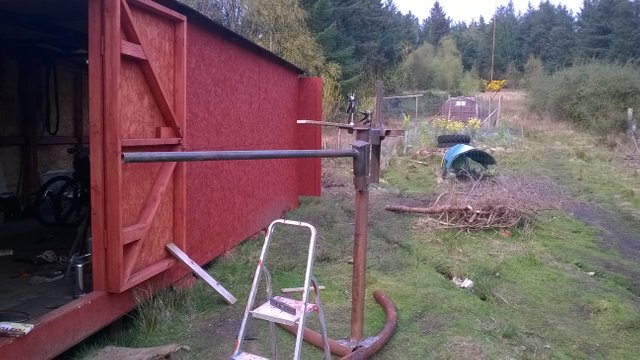
Next the rear of the tail is welded ensuring the parts are vertical while in the lower position.
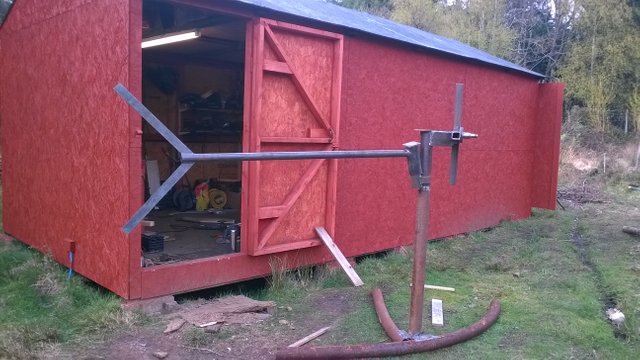
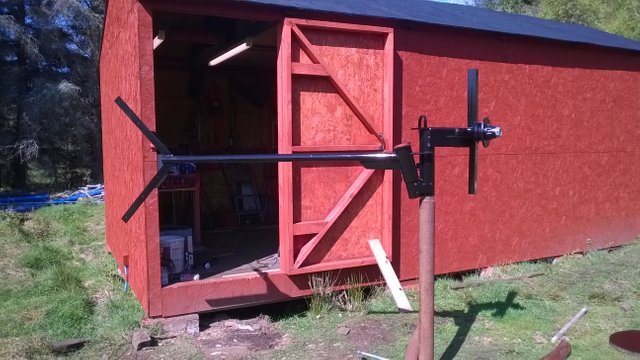
A quick coat of paint and replace the front of the hub.
Congratulations @ltcddata! You have completed the following achievement on the Steem blockchain and have been rewarded with new badge(s) :
You can view your badges on your Steem Board and compare to others on the Steem Ranking
If you no longer want to receive notifications, reply to this comment with the word
STOPVote for @Steemitboard as a witness to get one more award and increased upvotes!