NodeMCU + 0.92inch I2C OLED display : bouncing ball
Download and Install Library
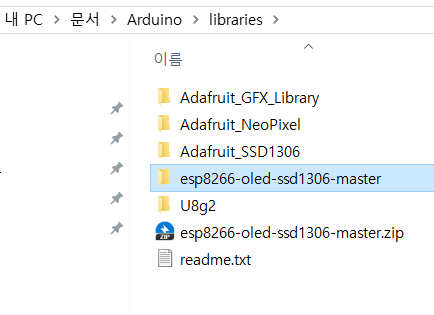
아래 사이트에서 라이브러리를 다운로드 해서 아두이노 라이브러리 폴더에 복사하자.
https://github.com/squix78/esp8266-oled-ssd1306
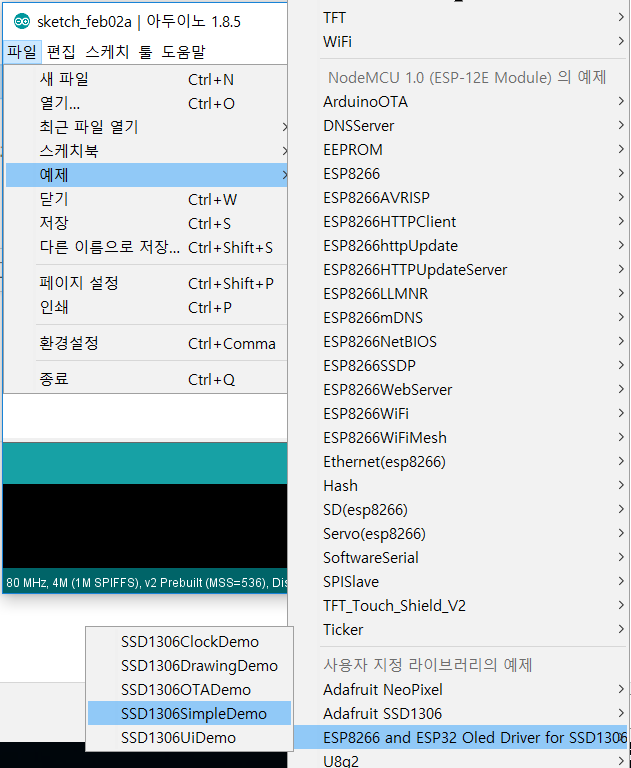
예제 파일을 열어 보자.
연결된 자신의 핀번호로 수정한다.
(SSD1306 - NodeMCU)
GND - GND
Vcc - 3V
SCL - D1
SCA - D2
예제들을 각각 실행해 보자.
그리고 사용하지 않는 것들을 모두 삭제한다. 이제 간단하게 서클을 하나 그리고 바운싱 되도록 해보자.
#include <Wire.h> // Only needed for Arduino 1.6.5 and earlier
#include "SSD1306.h" // alias for #include "SSD1306Wire.h"
// Include custom images
//#include "images.h"
// Initialize the OLED display using Wire library
SSD1306 display(0x3c, D2, D1);//D1는 SCK(SCL), D2는 SCA과 연결한다.
int w = 128;
int h = 64;
int rad = 10;
float xpos, ypos;
float xspeed = random(1,3.0);
float yspeed = random(1,2.0);
int xdirection = 1;
int ydirection = 1;
void setup() {
Serial.begin(115200);
Serial.println();
Serial.println();
xpos = w/2;
ypos = h/2;
// Initialising the UI will init the display too.
display.init();
display.flipScreenVertically();
display.setFont(ArialMT_Plain_10);
display.clear();
}
void loop() {
// clear the display
display.clear();
//update the position of circle
xpos = xpos + (xspeed * xdirection);
ypos = ypos + (yspeed * ydirection);
Serial.println(rad);
//revers its direction
if (xpos > w -rad){
xpos = w-rad;
xdirection *= -1;
xspeed = random(1,3.0);
}
if (xpos < rad){
xpos = rad;
xdirection *= -1;
xspeed = random(1,3.0);
}
if (ypos > h - rad ) {
ypos = h-rad;
ydirection *= -1;
xspeed = random(1,2.0);
}
if(ypos < rad){
ypos = rad;
ydirection *= -1;
xspeed = random(1,2.0);
}
//draw circle
display.drawString(w/2-5, h/2-5, "Hello");
display.fillCircle(xpos, ypos, rad);
display.display();
delay(10);
}
업로드 하고 실행시켜 해보자.


