0.1 Parts of a guitar (remastered) 2018 Blog addon entry (Part 1)
Hey fellow travelers,
This is JVHteach in 2018 . As you may or may not know, I recently uploaded a remastered video from my JVHteach video archive about the parts of a guitar. This is my first add-on to that video.
Because of the quality of the main video (although remastered and upscaled) I wanted to ad a couple of things to the main video from this post. This might therefore be a better readable and understandable story, as my english in the video at the time wasn't the best.
You could say this blogpost is the free DLC. (And no lootboxes either, yeeeh!)
So here we go, let's begin!
A guitar is compiled from different parts, these are:
- The headstock (universal) (Part 1)
- The nut (universal) (Part 1)
- The neck (universal) (Part 1)
- The frets (universal) (Part 1)
- The body (universal) (Part 2)
- The bridge (universal) (Part 2)
- The sound-hole (acoustic, semi-acoustic) (Part 2)
- The equalizer (mostly acoustic, semi acoustic, some electric) (Part 2)
- The whammy bar (electric) (Part 2)
- The Floyd-rose (electric) (Part 2)
- The pick-ups (electric, semi acoustic) (Part 3)
- The tone regulator (electric) (Part 3)
- The volume regulator (electric) (Part 3)
- The input jack (electric, semi acoustic) (Part 3)
- The pick-up switch (electric) (Part 3)
I've also added in which guitar the parts are mainly used, although there are some exceptions in these.
First we start with the headstock.
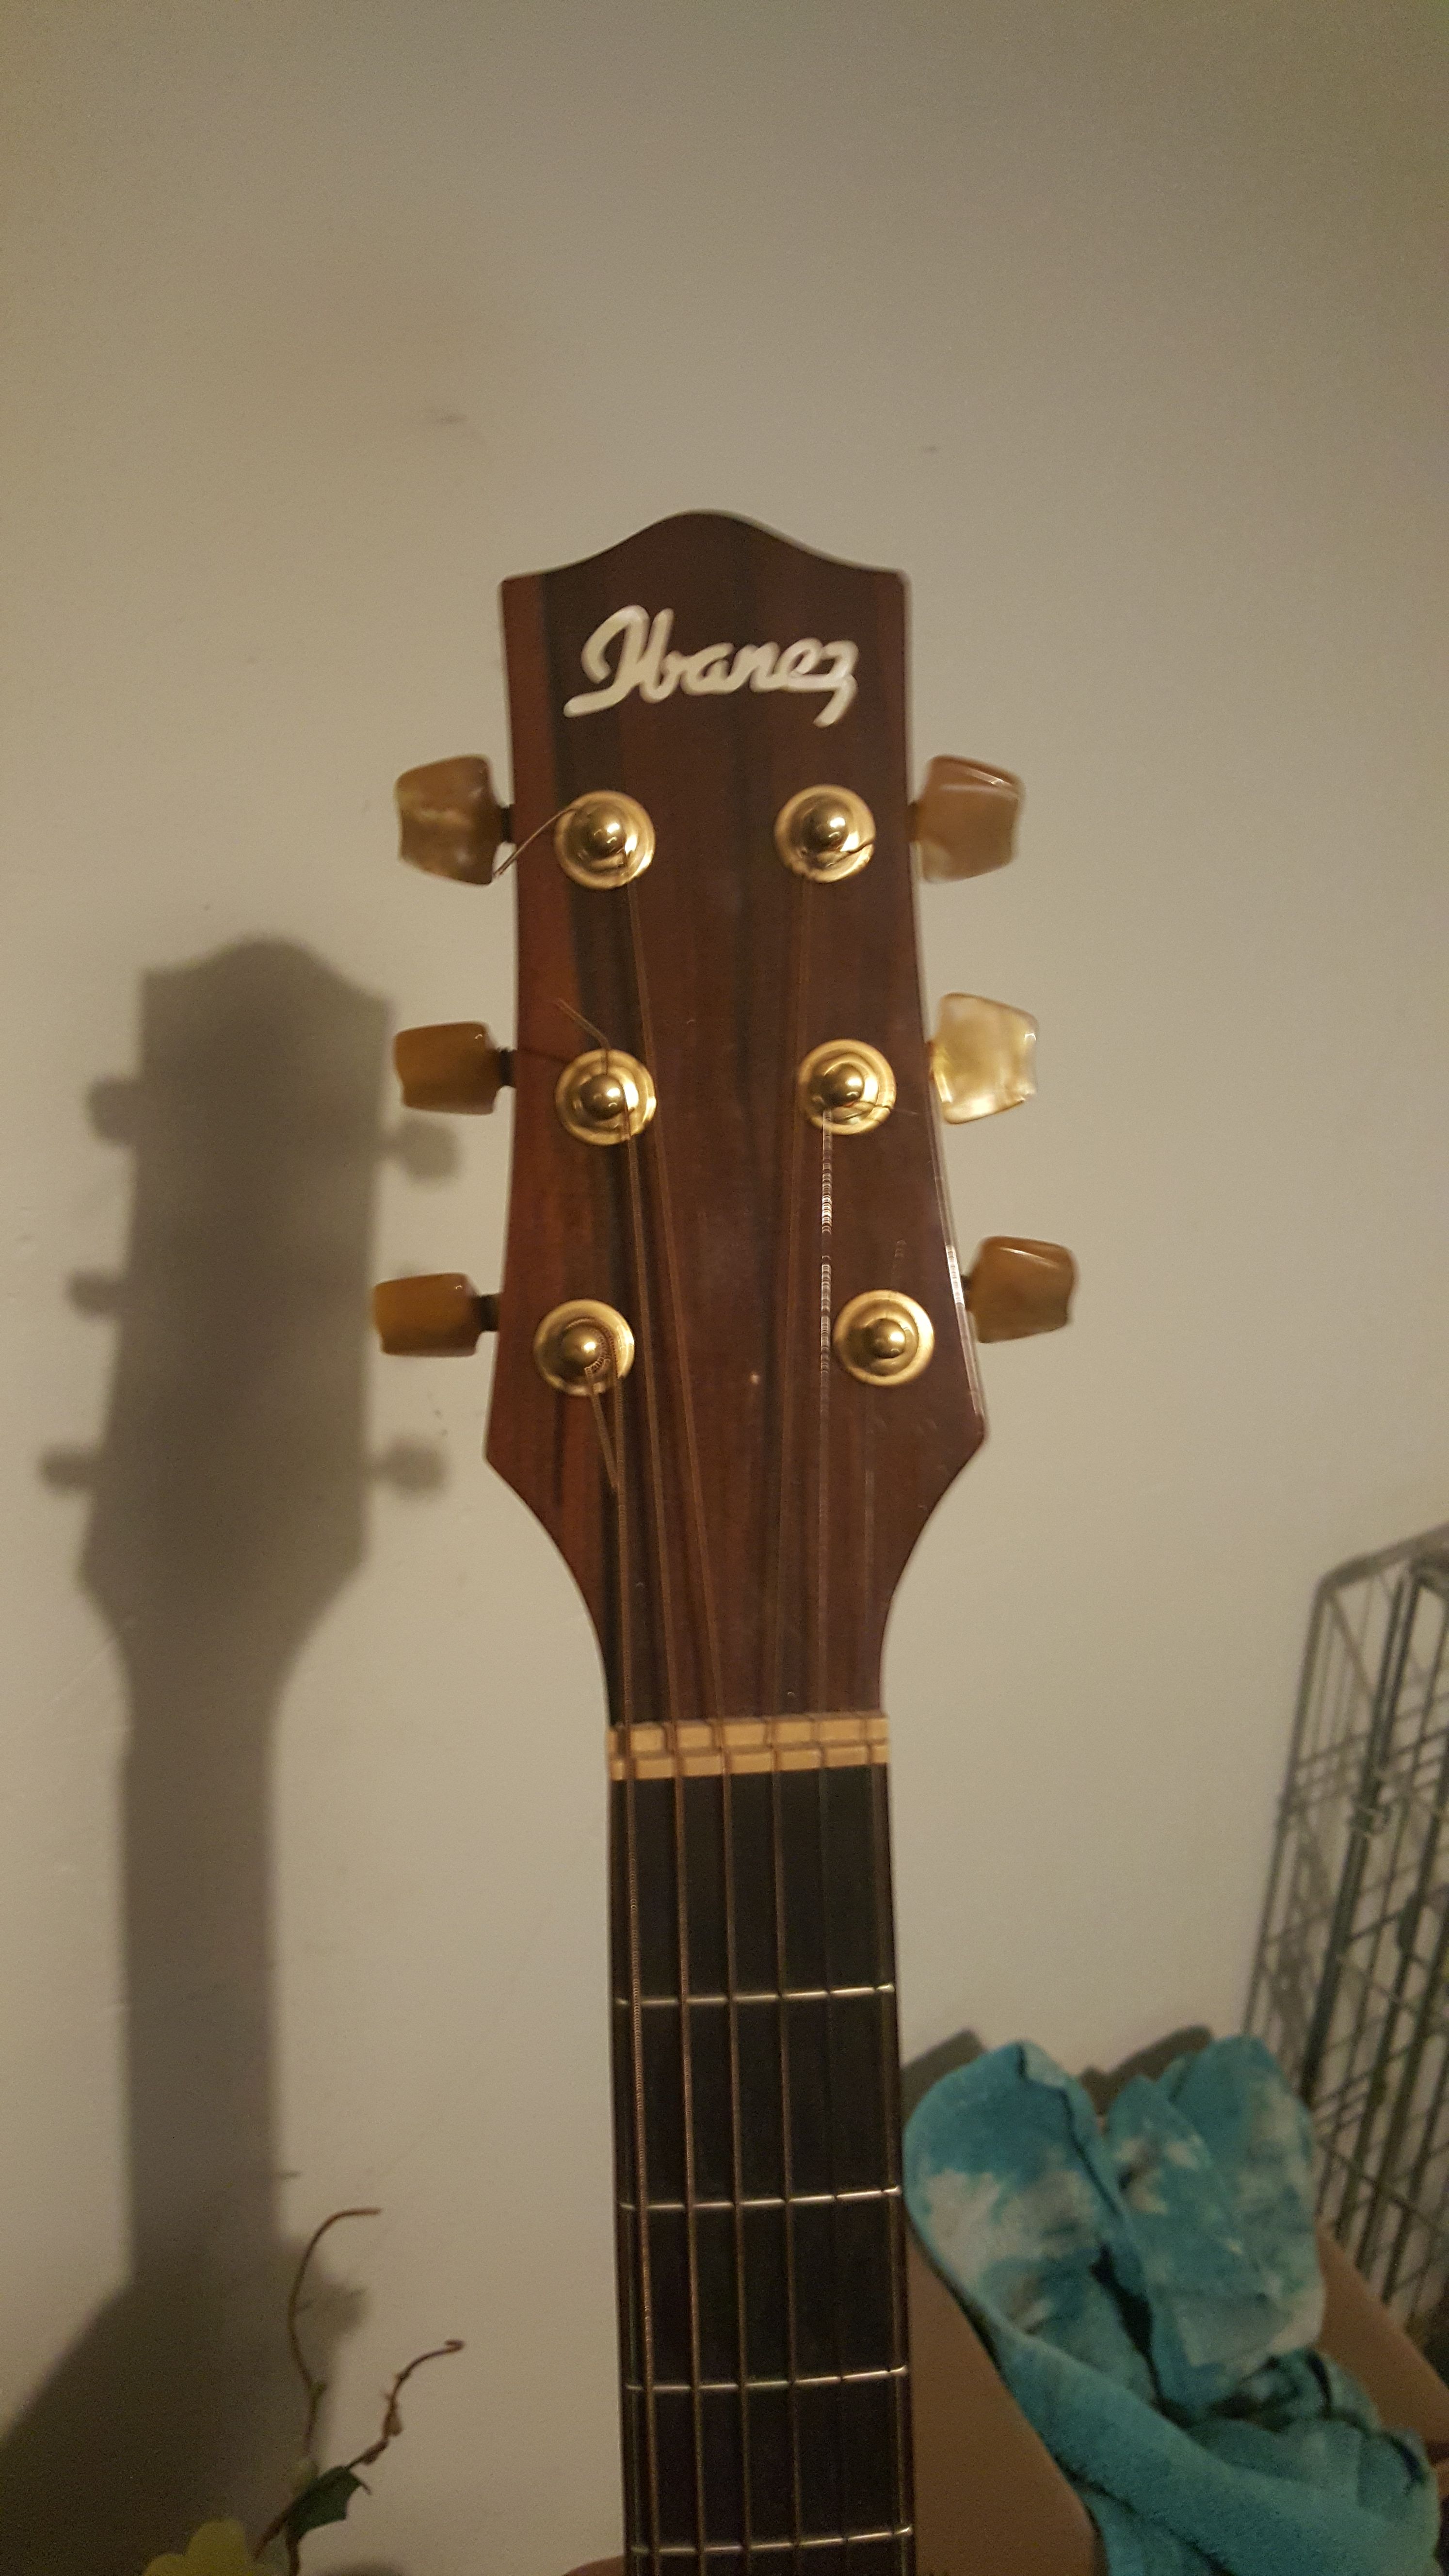
The headstock is the top part of a guitar and you will find these on almost all guitars. It's the part that hold the strings through the tuners located on the back or side of the headstock.
See fancy picture one:

As you can see on the picture above, on the headstock are the tuners which will help you change the tuning of the note on every string. This way you can sharpen or flatten the tuning of your strings.
Also on the picture, the nut which keeps the strings in place and in tune.
Let's go on with the neck, shall we?
When we look at the neck we see all kinds of blocks and sometimes some dots or fancy drawing layed out. These blocks are called frets and change a note with an half step, each next or previous block.
More on half steps in a later blog, but for now. Small side note.
You've got about 12 notes.
A (01)
(A#/Bb) (02)
B (03)
C (04)
(C#/Db) (05)
D (06)
(D#/Eb) (07)
E (08)
F (09)
(F#/Gb) (10)
G (11)
(G#/Ab) (12)
All the notes between the brackets are one and the same note (on guitar anyway), wich stands for higher then the previous/lower then the next note. Rule of thumb is that you check if your next note in your melodie is higher or lower, wich helps you choosing wich formulation you write down.

Anyway sidenote ended.
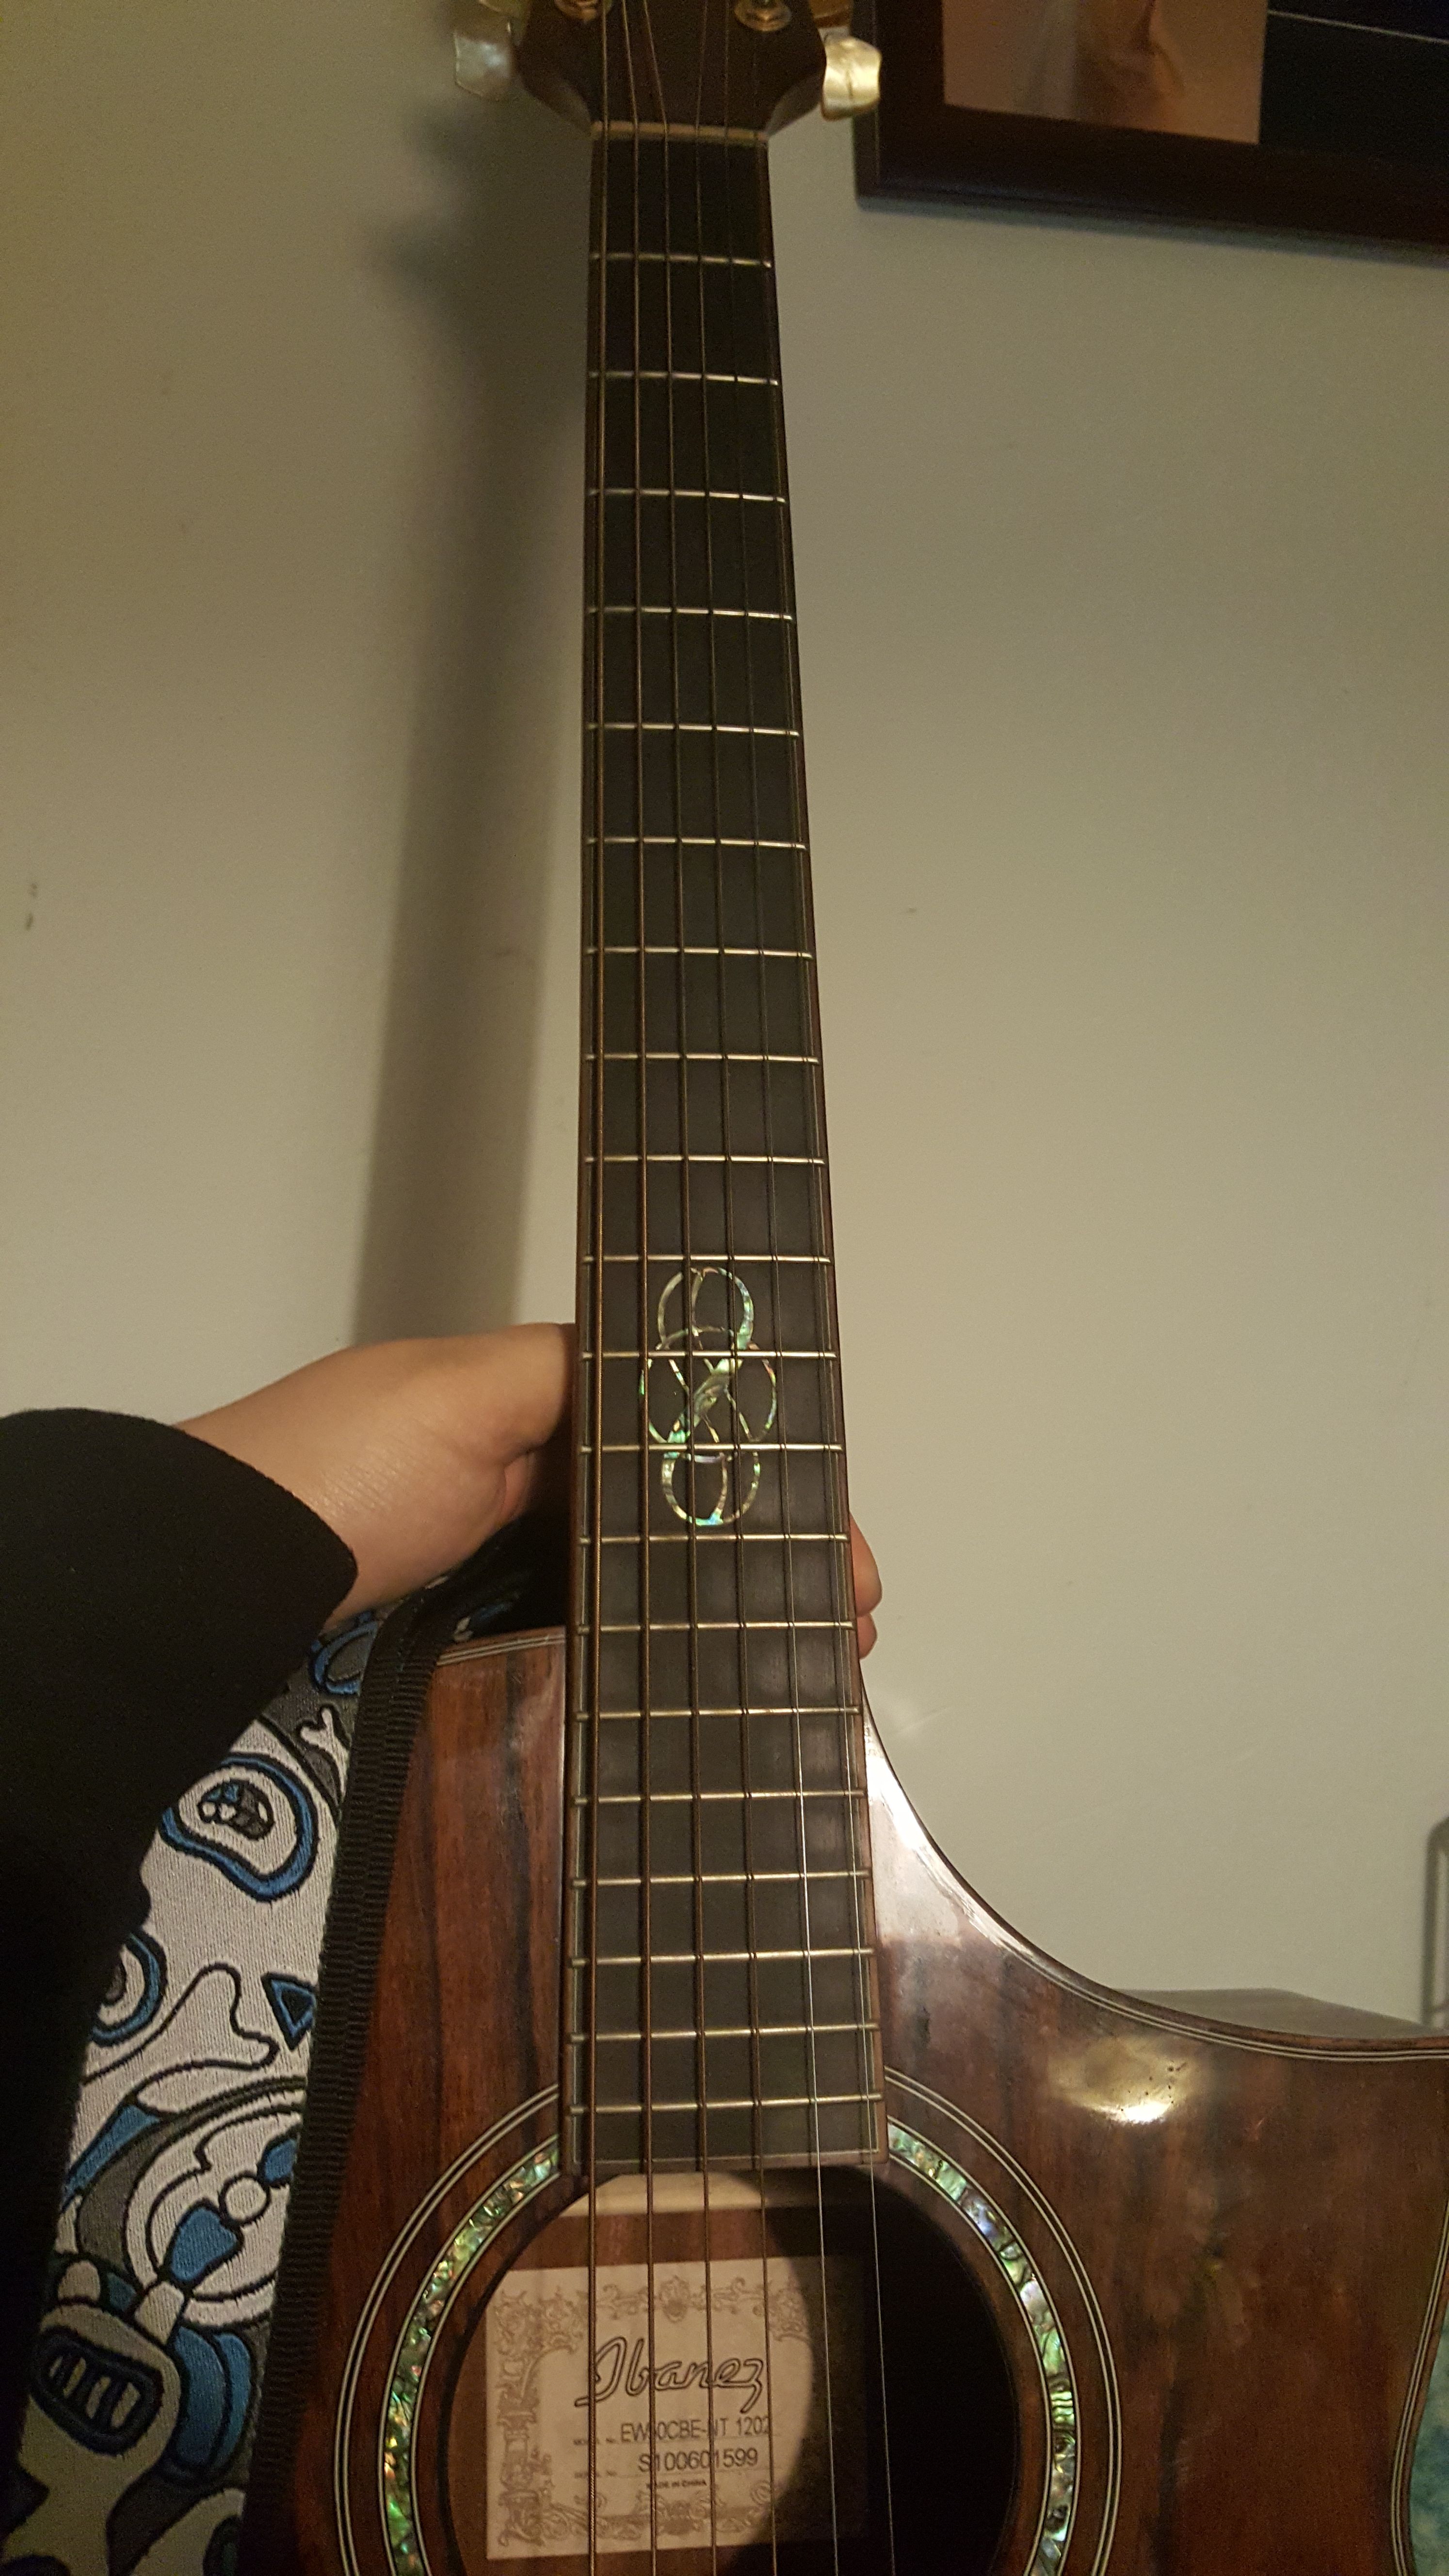
When you got a guitar with dot inlays, they are normally positioned on the 3th, 5th, 7th, 9th and 12th fret (double dotted because of the note octave) these help you find certain notes faster on the neck.
(more on octaves in a later blog, so keep following)
Another fancy picture:

On the guitar above you can see the center of the symbol positioned on the 12th fret. The dotted inlays are positioned on the side of the neck. (Not in picture)
This is the end of part 1, see the next blog entry for part 2
https://steemit.com/music/@jvhteach/0-1-parts-of-a-guitar-remastered-2018-blog-addon-entry-part-2