Musical Production Tutorial by @julio lunar. Cubase 5 (Recording) Vol 2
Good dear Steemians!
As promised, every week I will publish this tutorial about the recording with Cubase 5.
To follow the sequence of what we have been working on, I leave here the link of our previous volume.
- Volume 01 - View Tutorial
Let's start!
As already in the previous volume we set up our Cubase to start our recording, now I'm going to take a short tour of the program so that you know a little more about its interface. First of all I will show you the panel that we have on the left side of our track.
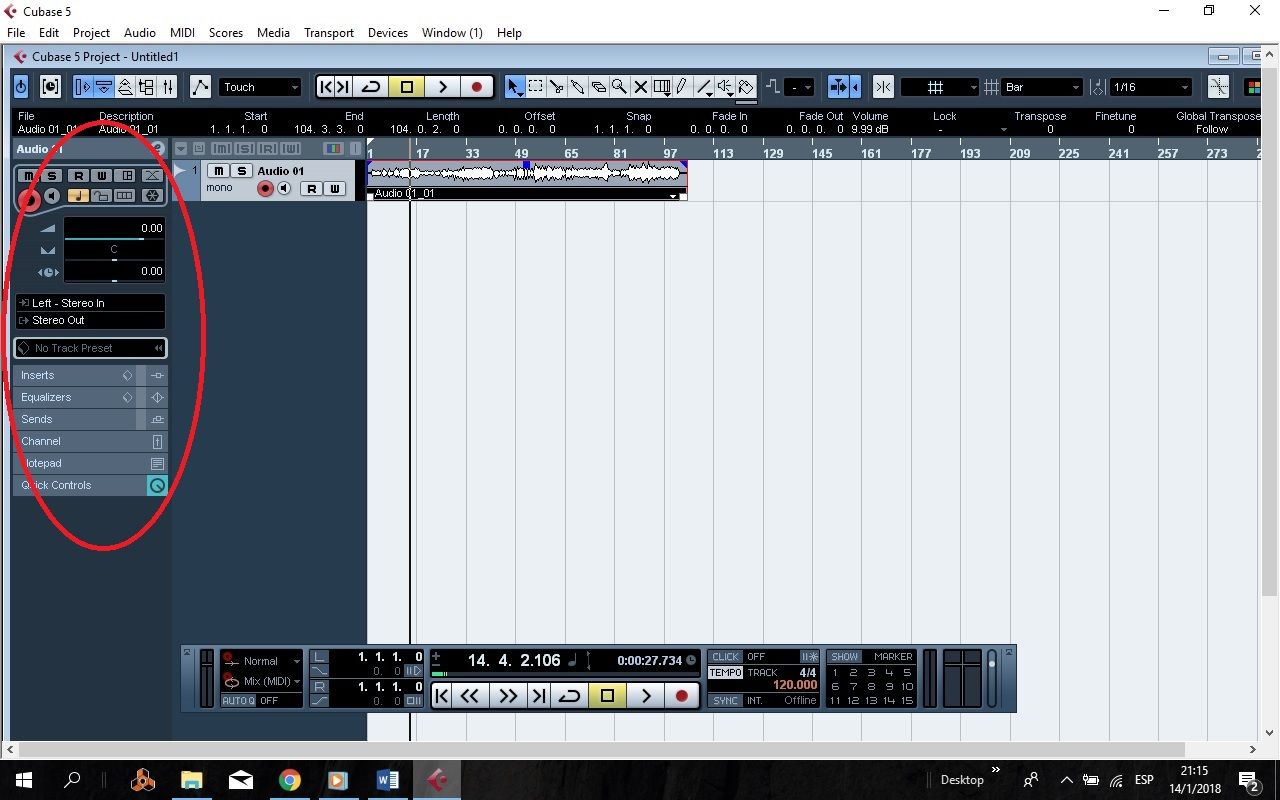
At the moment we add our track (as I explained in the previous volume), we will see the option to name our track. We can also do it in this panel by double clicking on the part where the name is (where it says Audio 01), in this case I will change it to Track 1 . We can put whatever we want.
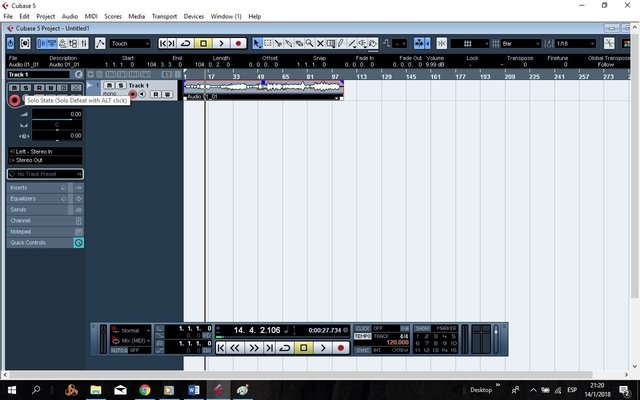
Next to our name we have a button with the letter (e), if we click on that button it will open a new window.
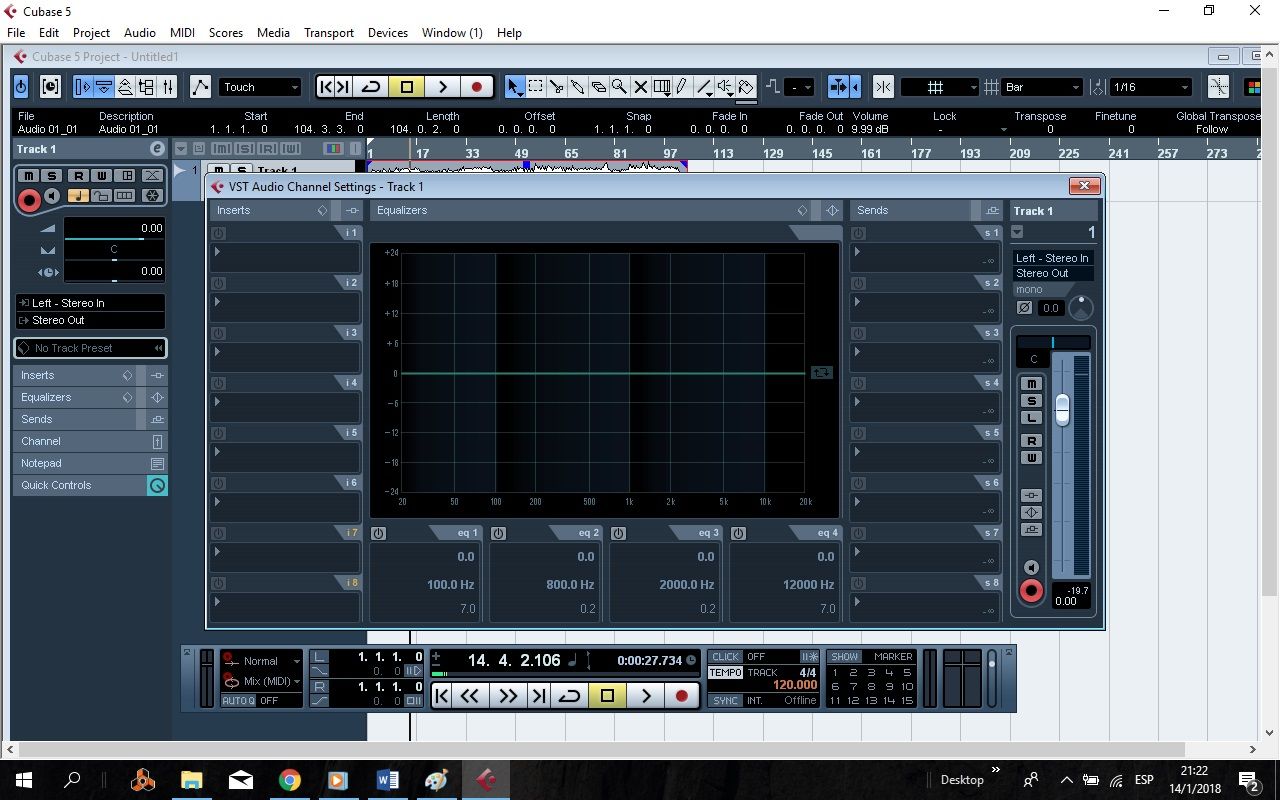
This window that opens up to us would be the same options that we have below in individual boxes, but in this window it teaches us together and a little easier when it comes to working. For now we will close that window to continue showing the options that we have in this panel.

In order to use these options, we must always click on the channel that we want to apply any of these options.
Let's continue with our explanation.
- M button (mute): gives us the option to mute the channel that we have selected.
- S button (only): is the opposite of M, it puts us to sound only the channel that we apply that option.
- R button: This button tells our Cubase to record or apply all the actions that previously the W button memorized.
- W Button: This button is super useful, it manages to memorize actions in our Cubase.
- The next button is to open a configuration panel of our track.
- X-shaped button: serves to give you Fade-in (fade-in) and Fade-out (fade-out). This makes our track do not have that shock when entering. They enter increasing volume and culminate going down, but in a subtle way or as we configure that effect.
- Red button: tells us that this channel is selected to record. If that button is not lit, we will not record anything on our track.
- Button with cornet: is a monitor that provides us with the Cubase, in the case that we do not have an interface, this button is very necessary when recording to be able to listen in real time to what we are recording.
- Button with musical note: helps us to alternate our melodic line with that of time.
- Button with padlock: as already indicated by himself, is to block said channel.
- Button with a rectangle: Pressing it changes the view of our track. Here is without pressing, which is our classic view.

Here we see the button already pressed. It would be a more advanced view, personally I always leave the classic, so I see how my wave is forming.

What follows after these buttons are the following options.

- Volume: We already know what it is to increase the intensity of our track.
- Pan: for stereo effect, if we want it to sound more for one side than the other (L / R), or just leave it in the center.
- Delay in milliseconds: This is like a very minimal delay class that helps in times of delay or advancement of our track, but it must be very minimal.
After these options come 2 quite important that are the input and output audio.
If we click on "Stereo In" (audio input), it will give us the option of selecting where our recording device will enter: Guitar, Piano, Microphone, etc.
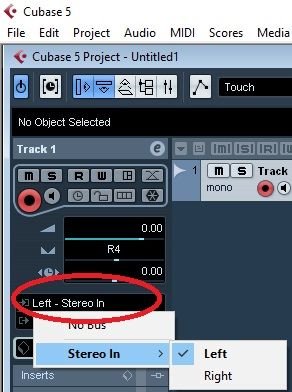
And we click on the following box "Stereo out" (audio output), it would be where our track would sound.
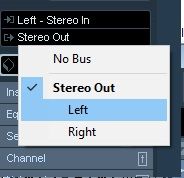
The next box is to make life easier, but I never use it, I always put my effects and settings manually and to my liking.

Here he puts us some Presets so that our track grabs effects. We only give you a click and you will have many options to choose from. The good thing is that they can configure these presets anyway.
The following is the part of Inserts , here we can add in each of the boxes the effects, or plugins that we want.
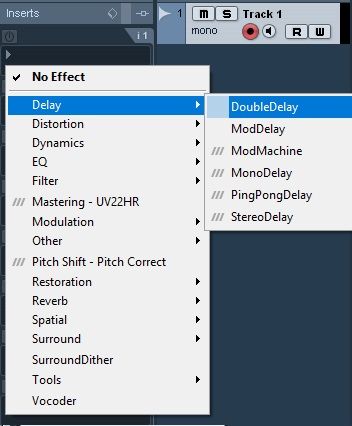
Here we can put to our track what we want, but individually, without affecting our track at all. It is as if we put effects to our guitar with pedals when we are playing it.
The signal arrives in a way, and only passes through those effects, if we want to turn them off we only give the power button that each box brings and he turns off the effect.
And if we do not want it, we just put No Effect.
Then the equalizer follows.
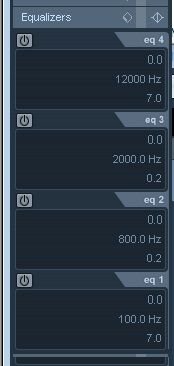
Here giving the power button will activate the part of the frequency that we want to modify.
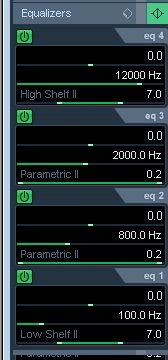
Moving the bars we can notice how our track is modified.
- Eq 4: They are the tall ones.
- Eq 3: High media.
- Eq 2: Low media.
- Eq 1: Low.
The next box is the Sends (submissions).
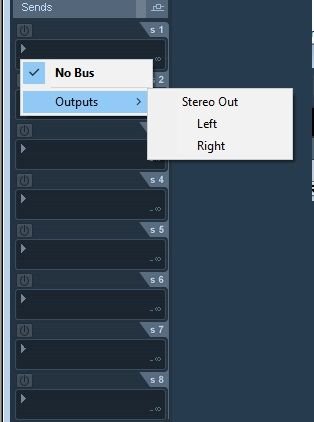
Here we can decide where to send the output of our track.
It's the same option that I explained earlier (Stereo In / Stereo Out).
Channel.
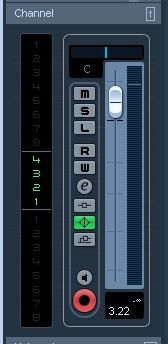
With this option we can better fit the volume of our track.
Notepad.
This is a small page that opens up to write down some detail that we want to remember in our track.
Finally we have the Quick Controls (quick controls).
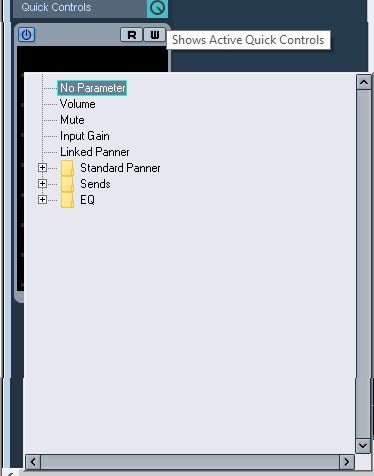
When activated, it helps us see what effects and modifications our track has.
We already have the knowledge of our buttons, now to record!
Until next week!

You can also get me through my social networks: |
| |
|
|
|
| | | https://soundcloud.com/julio-lunarve | juliolunar#6431 |