Tutorial How to Record Covers on Guitar (General) Part 1
1) What is a USB Audio Interface?
2) DAW Software.
3) Emulator or Virtual Amplifier Software.
4) Software for Video Editing.
Well to begin with I must emphasize that there are several ways to record, if you have only one Guitar, Amplifier, Connection Cables, Camera or Smartphone (Android or Iphone) can be simply recording video without any editing in a place where there is no noise with good lighting with your guitar and amplifier.
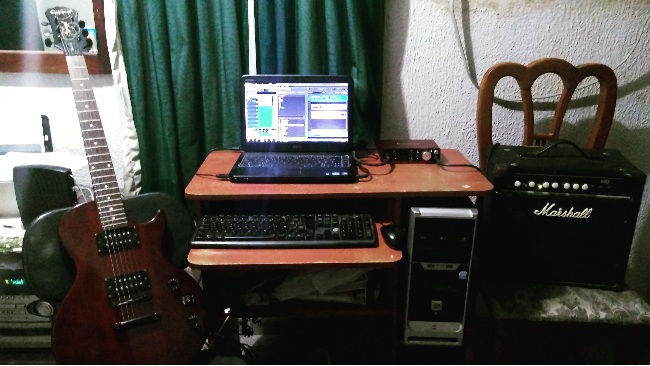
But the ideal thing to do a quality cover with a good audio and video as most musicians do nowadays is using a USB Audio Interface connected to a computer as if it were a home recording studio (Home Studio).
You will ask yourselves? ¡Wow! Is not that very expensive? Well, I'm telling you today there are a lot of interfaces that are accessible to acquire and are not so expensive that they provide a very good recording quality.
1) What is a USB Audio Interface?
To start I recommend you to evaluate different options, buy an interface that is good in relation Quality-Price that meets your expectations.
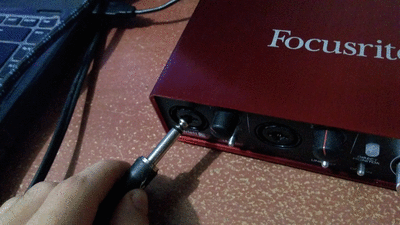
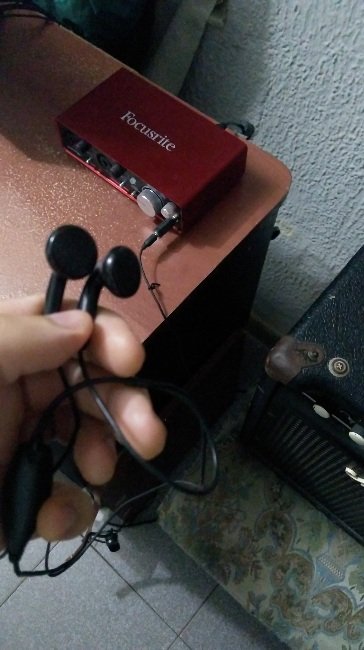
The interface that I personally use and that I consider is a good option in terms of quality-price is the Focusrite Scarlett 2i2.
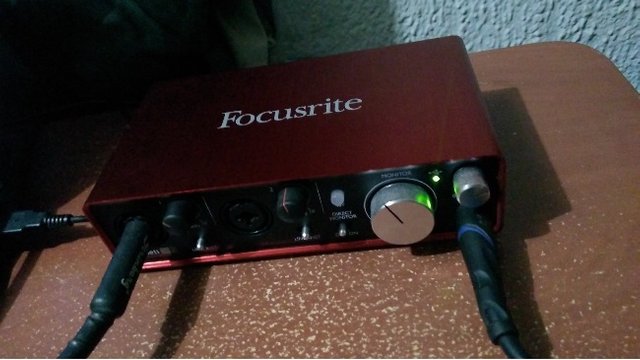
Among the specifications or features of the Focusrite Scarlett 2i2 Audio Interface we have the following:
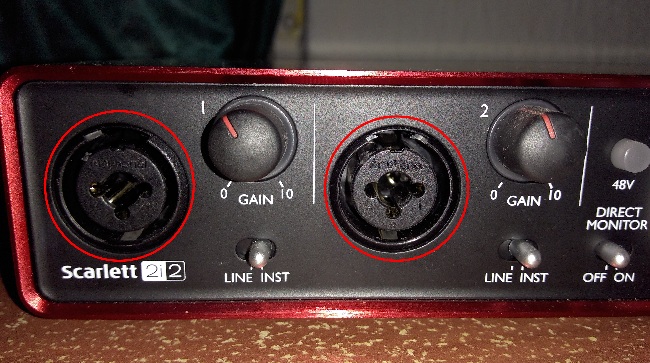
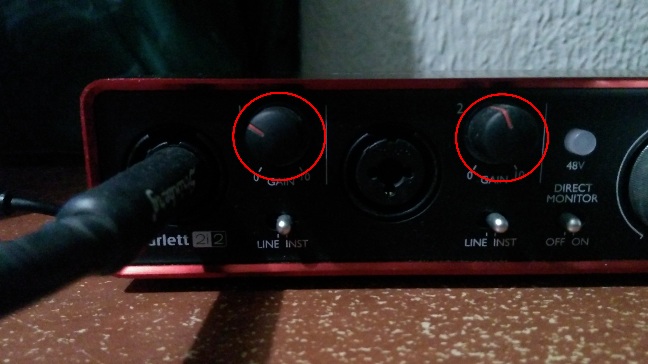
- 2 Mic/ Line/Combined Instrument inputs: These inputs are adapted to connect condenser, guitar, bass and keyboard microphones.
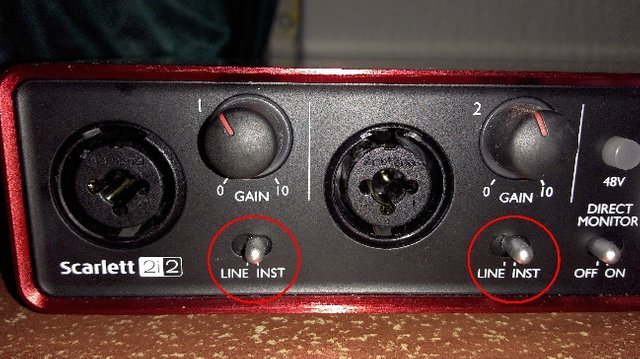
- 2 Line/Instrument Switches for each Input.
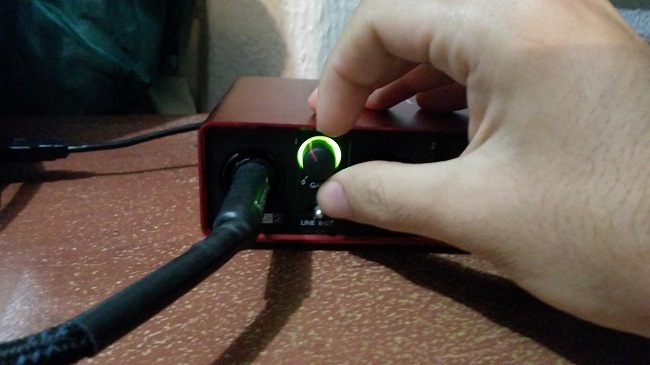
- 2 Knobs with Gain.
.jpg)
According to the level of gain of the entrance the Led's light:

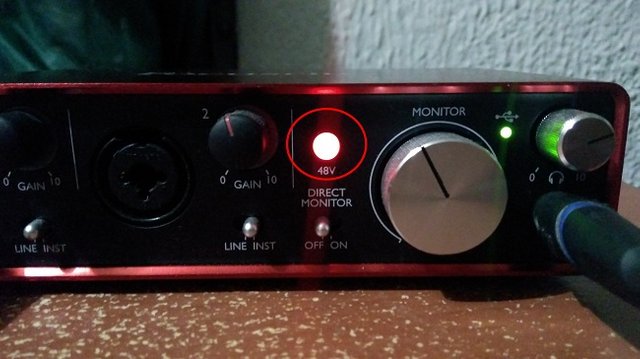
- 48V Phantom Power Switch: This switch is used to power condenser microphones.
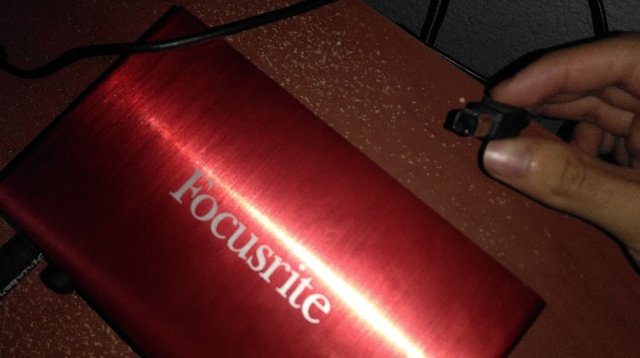
USB connection LED indicator: It is responsible for indicating by means of the lighting of an LED when the interface is connected to the computer (PC).
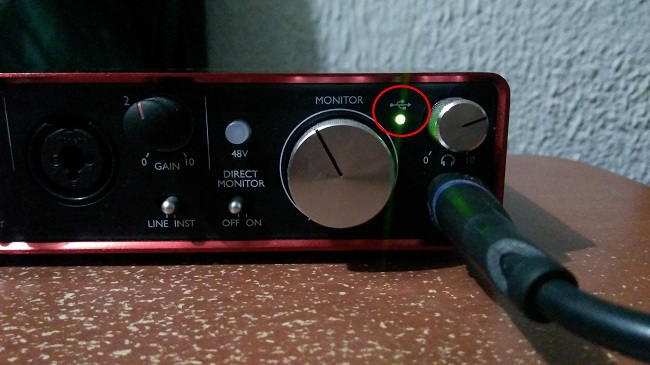
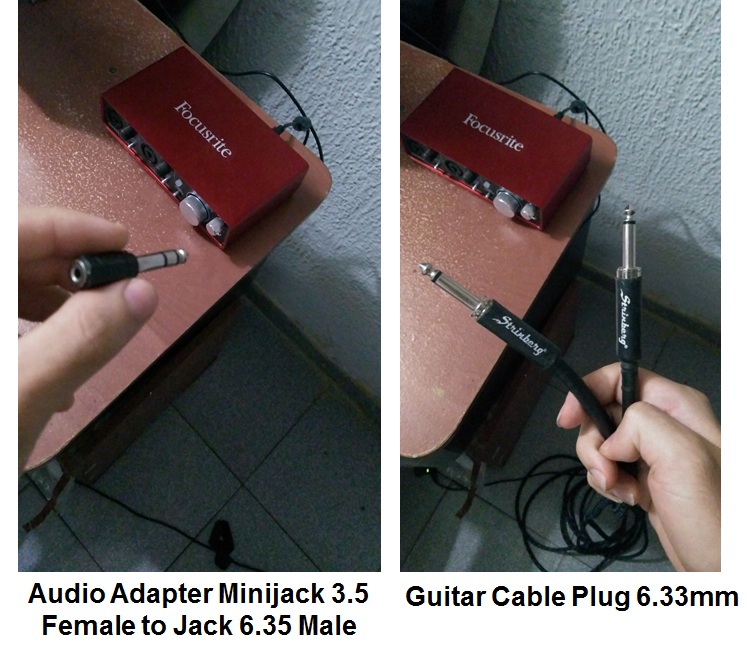
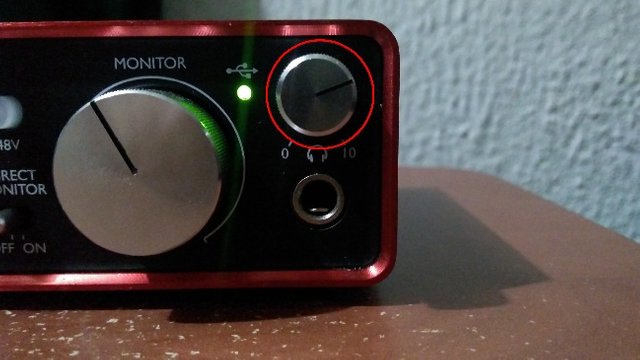
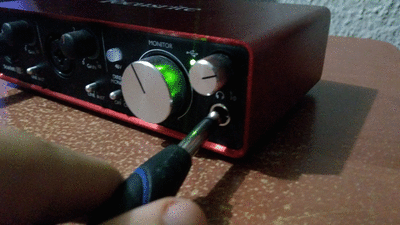
Jack Headphone Output: In this output the amplifier is connected with a Plug 6.3mm guitar cable or the headphones with an Audio Adapter Minijack 3.5 Female to Jack 6.35 Male.

- Headset Volume Knob: using this knob we can regulate the volume of output through the headphones or amplifier.
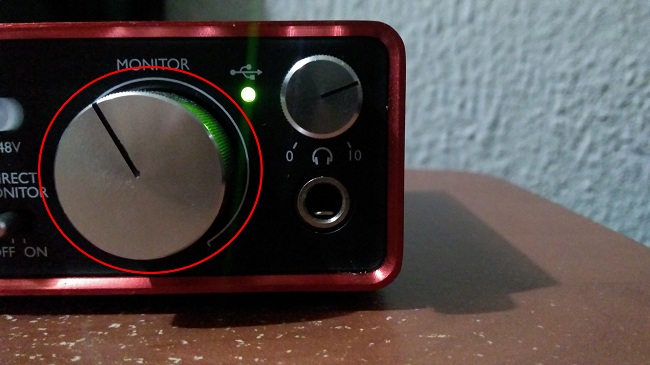
- Monitor volume knob: using this knob we can regulate the output volume by means of the monitors.
Other features:
- Does not need external power: simply connecting the interface on the computer having the driver already installed will turn on and start operating for its use.
- Includes package of plugins.
- Small size and extreme portability.
- Connection Interface Process.
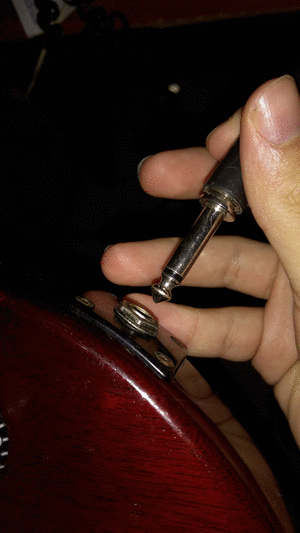
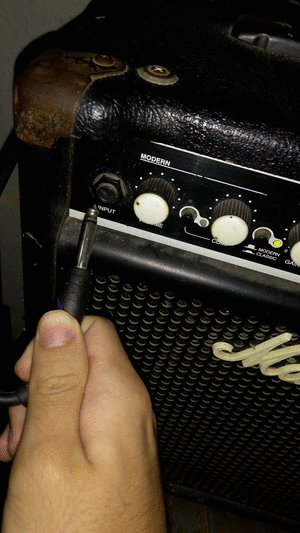
Note: It is necessary to have 2 cables of Plug 6.3mm guitar since we must connect the guitar to the input of the interface and connect the amplifier in the output, in the case that headphones are used it would be used the Audio Adapter Minijack 3.5 Female to Jack 6.35 Male as explained above.
- Connecting interface to the computer (PC).
.jpg)
.jpg)
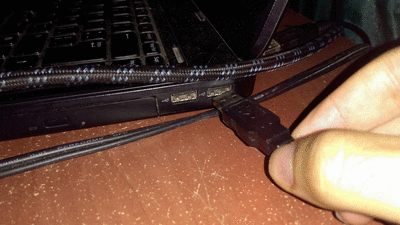.gif)
- Connecting guitar to interface input.
- Connecting Amplifier to interface output.
- Computer (PC):

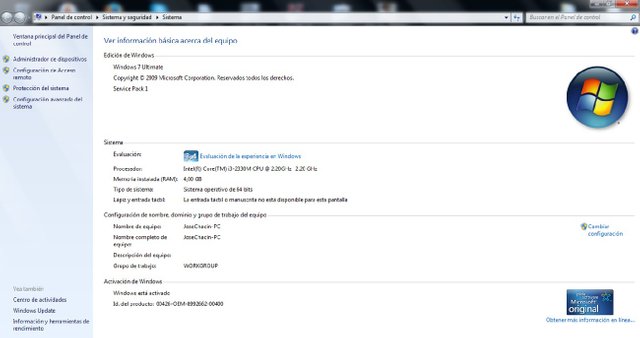
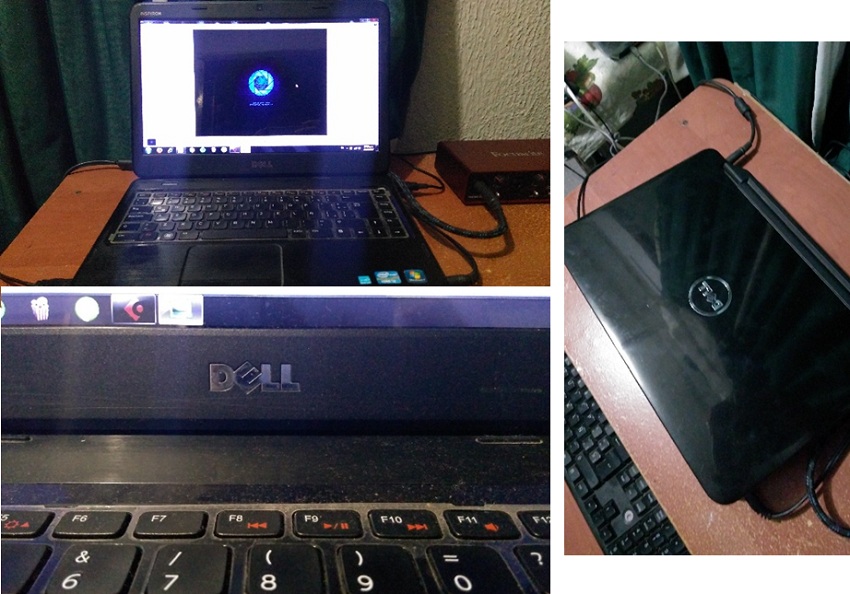
In my case I use a laptop brand Dell model Inspiron N4050 with the following specifications:
- Processor: Intel Core i3; CPU @ 2.20 GHz
- Hard Disk with 500 GB capacity.
- 4 GB of Ram Memory.
- Operating System: Windows 7 Ultimate 64-bit (Microsoft).
- Monitors/Hearing Aids:
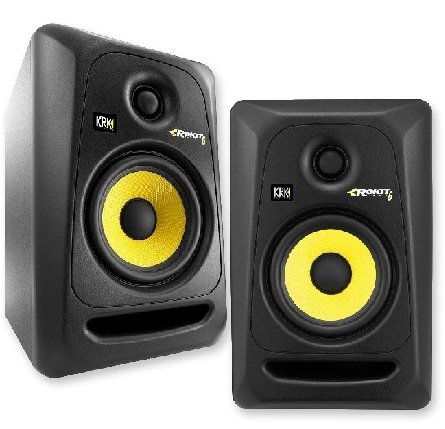
That's why I recommend using headphones that do not come out that expensive and likewise they fulfill the same function, with good headphones enough and enough.

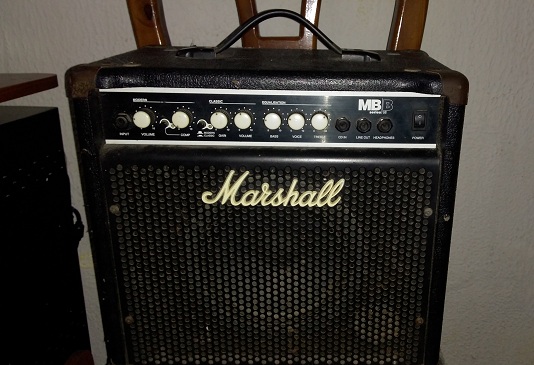
I use a model amplifier Marshall MB Series 15 to hear what I'm playing at the moment I'm recording although I do not recommend it because with an amplifier you can not appreciate the bass and treble of the recording you need a flat answer that's why after I use some headphones that are not of such good quality but at least they help me to monitor the recording and to equalize correctly.
I know that headphones are not of very good quality xD but they are worth their function very soon as soon as I can buy some of good quality.
2) Softwares DAW.
A DAW (Digital Audio Workstation) is an electronic system dedicated to recording and editing digital audio through editing software and hardware consisting of a computer and a digital audio interface.
This software is what we will use to record the audio of our guitar or other instrument. Among some softwares of this type we have: Ableton Live, Pro Tools, FL Studio, Samplitude, Audacity, Logic Pro, among others.
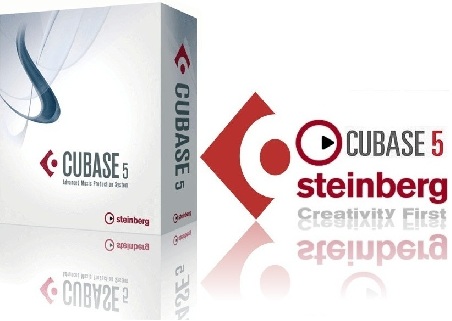
The one I use is called Cubase from the Steinberg company I specifically use the Cubase 5 .
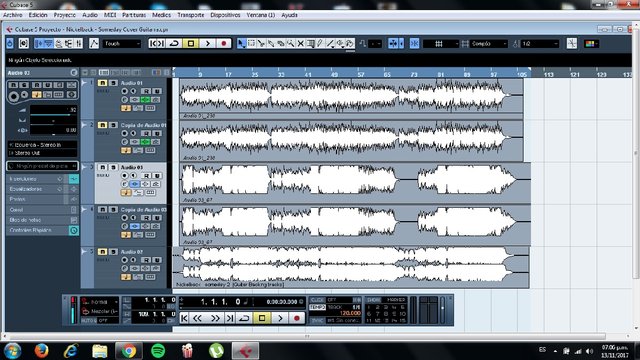
In my case it is the Cubase and to not extend talking about this software so I leave it for the next part of this tutorial where I will explain how to work with this software as well as what follows.
3) Emulator software or virtual amplifier.
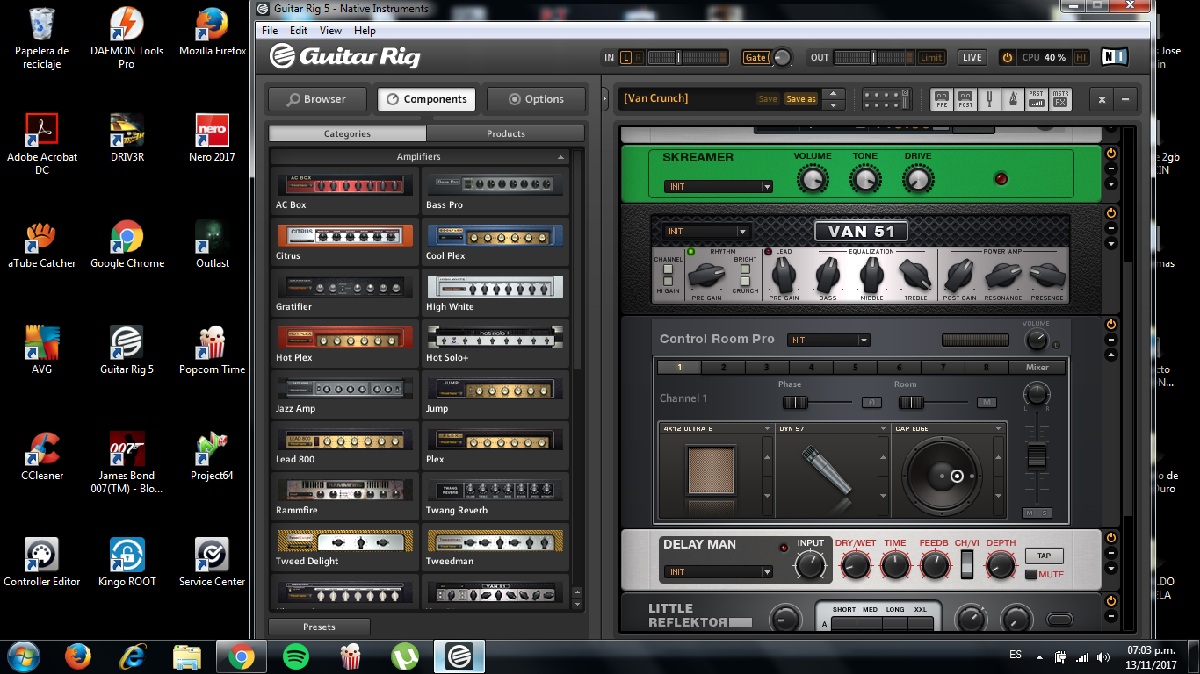
Among these softwares we have the following: Amplitube (IK Multimedia), Pod Farm (Line 6), Guitar Rig (Native Instruments) and one that in my opinion is the best Bias FX (Positive Grid).
I use the Guitar Rig 5 is a good software very practical and relatively easy to use has 17 amplifiers, 27 cabins and 54 effects.
This software is used as a plugin in the DAW software at the time of recording ie the 2 programs are used at the same time.
Important!
4) Software for video editing.
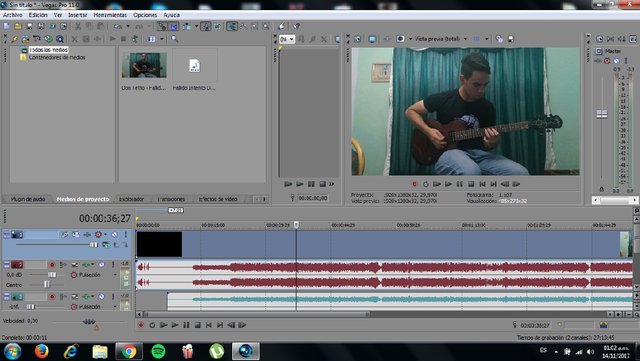
Among some softwares for video editing we have the following: Adobe Premiere Pro, Camtasia Studio, Pinnacle Studio, Sony Vegas Pro, among others.
The one that I use is the Sony Vegas Pro 11 I recommend it is very good, it's quite simple to use, it's all a matter of practice. At the beginning it took me a little to learn to use it but watching some tutorial videos on YouTube I learned quickly.
Here I leave some of my videos covers as a demonstration:
In the next part of this post tutorial I will explain how to work with Cubase 5 and Guitar Rig 5 softwares. Well, I said goodbye, that was all I hope this information has helped you until next time!


Congratulations @joecha! You have completed some achievement on Steemit and have been rewarded with new badge(s) :
Click on any badge to view your own Board of Honor on SteemitBoard.
For more information about SteemitBoard, click here
If you no longer want to receive notifications, reply to this comment with the word
STOP