Making Homemade Cassette Tapes
As a 20 y.o kid I fantasize about the time when analog music flooded stores and houses back in the 70´s and 80´s.
I speak of the cassettes, 8 tracks, records, etc. I love music as a mechanical experience, either a needle in contact with the grooves of a rotating piece of PVC or a magnetic band sliding on top of a tape head.
That's why, after fantasizing about the subject, I decided to take action and try to create my own mixtapes.
After researching, I noticed that the cheaper and most available options are the Type I ferric tape (The price increases depending on the type of tape going from 2-3 $ for the Type 1 to $ 15 for the Type IV) so after looking for sellers I encountered TapeLine A British store that is dedicated to sell virgin cassettes. They have a variety of colors, tape lengths and accessories.
Without going any further I decided to take the test and I ordered a few ferric tape cassettes.
The Process
Materials needed
- Cassette tape
- A decent cassette player and recorder
- An audio source
- Patience
In my case I use a turntable that will play the music directly from a record, this will be my audio source.
Audio Conections
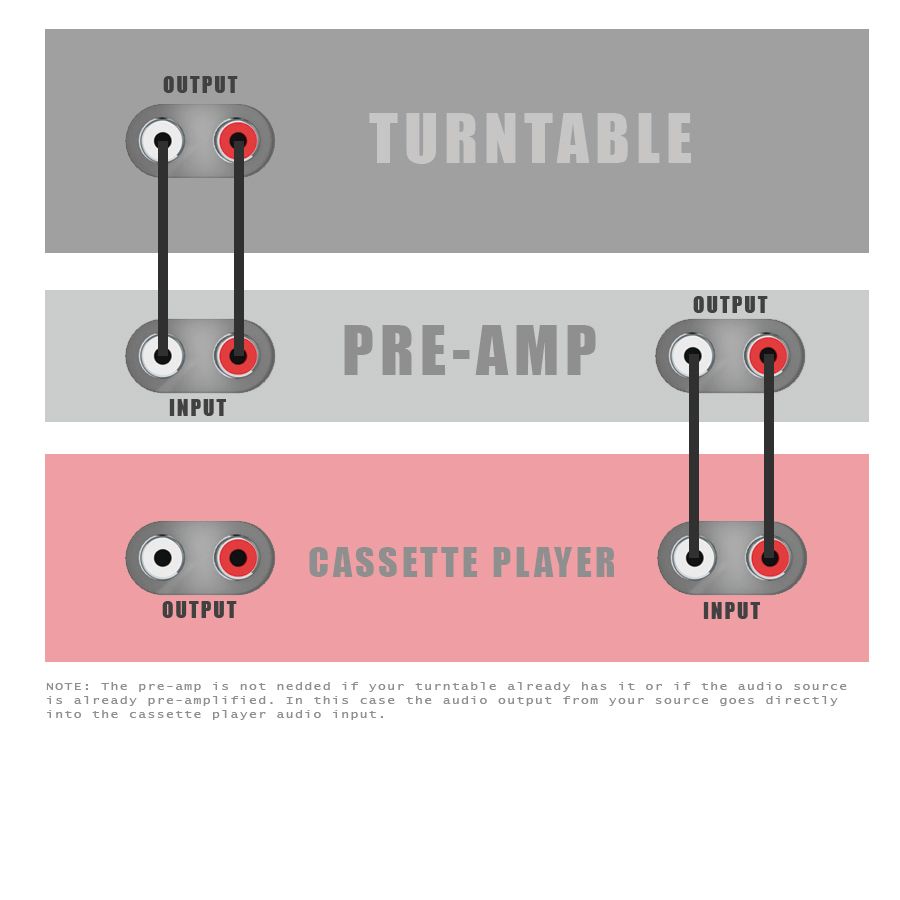
In this case the audio output from the turntable into the pre-amp and then into the cassette player input using a RCA cable. If you are using a pc, or any other device the pre-amp is not needed, so the only conection is the output from the audio source to the input of the cassette player.
Recording Parameters
In order to record the audio into the tape it is important to notice certain parameters that any cassette player offers such as:
Input Volume
Adjusting this is key to make sure that the levels never peak, this may cause noise, distortion and an overall bad audio recording.BIAS
This is quite a dificult parameter to understand so here's the theory behind it extracted from Wikipedia:
When recording, magnetic tape has a nonlinear response as determined by its coercivity. Without bias, this response results in poor performance especially at low signal levels. A recording signal which generates a magnetic field strength less than tape's coercivity is unable to magnetise the tape and produces little playback signal. Bias increases the signal quality of most audio recordings significantly by pushing the signal into more linear zones of the tape's magnetic transfer function.
Noise Reduction / Filters
Several NR can be applied, in this case the tape has a good quality so does the audio source so no NR nor MPX Filter will be used.Audio balance
In Stereo sound, adjusting the audio balance is key so both right and left chanel have equal levels.
Recording
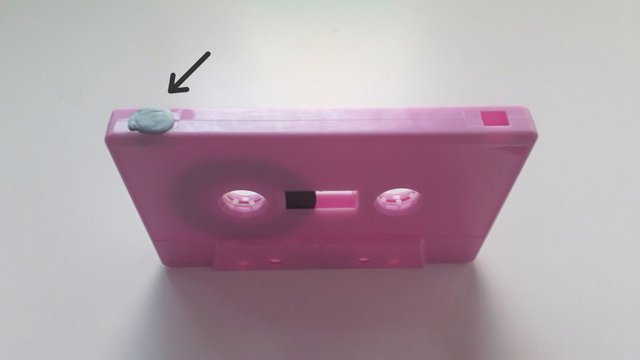
Finally! after quite some time preparing everyting it is time to start recording. First of all we introduce the tape into the player making sure both protection tabs are filled (In my case, I used Blue-Tack). This is necessary so the mechanism that let the player record is enabled. See the image below
Then we can start recording, drop the needle or hit play on your audio source and wait a couple of seconds, then hit record and play on your cassette player and wait until the song ends. After each song has ended, hit pause and repeat the first step making sure that there is enough space to fit the next song.
To avoid any issue I always create a list with every song I want to record and it's duration so I can decide witch tape lenght to use and also to organize the tracks so they fit in both sides of the cassette tape.
After recording comes the magic of listening to the tape. Try to notice any issue, in order to correct them you will need to re-record the whole thing. That's why it is important to spend time adjusting the parameters mentioned above!
Graphic Design
As the music nerd I am, I need my stuff to have an artwork, title, songlist, coments, etc. So in order to create all graphic design related stuff I use these templates from Duplication that I open and edit in Photoshop. They offer a great variety of J-Card templates as well as cassette labels
After finishing the design, I export it as a .PDF and print it using 150g to 200g matte paper so I can fold it without breaking it. I also print transparent stickers to put in the cassette itself, this way I can distinguish both sides and it also looks great!
End Results
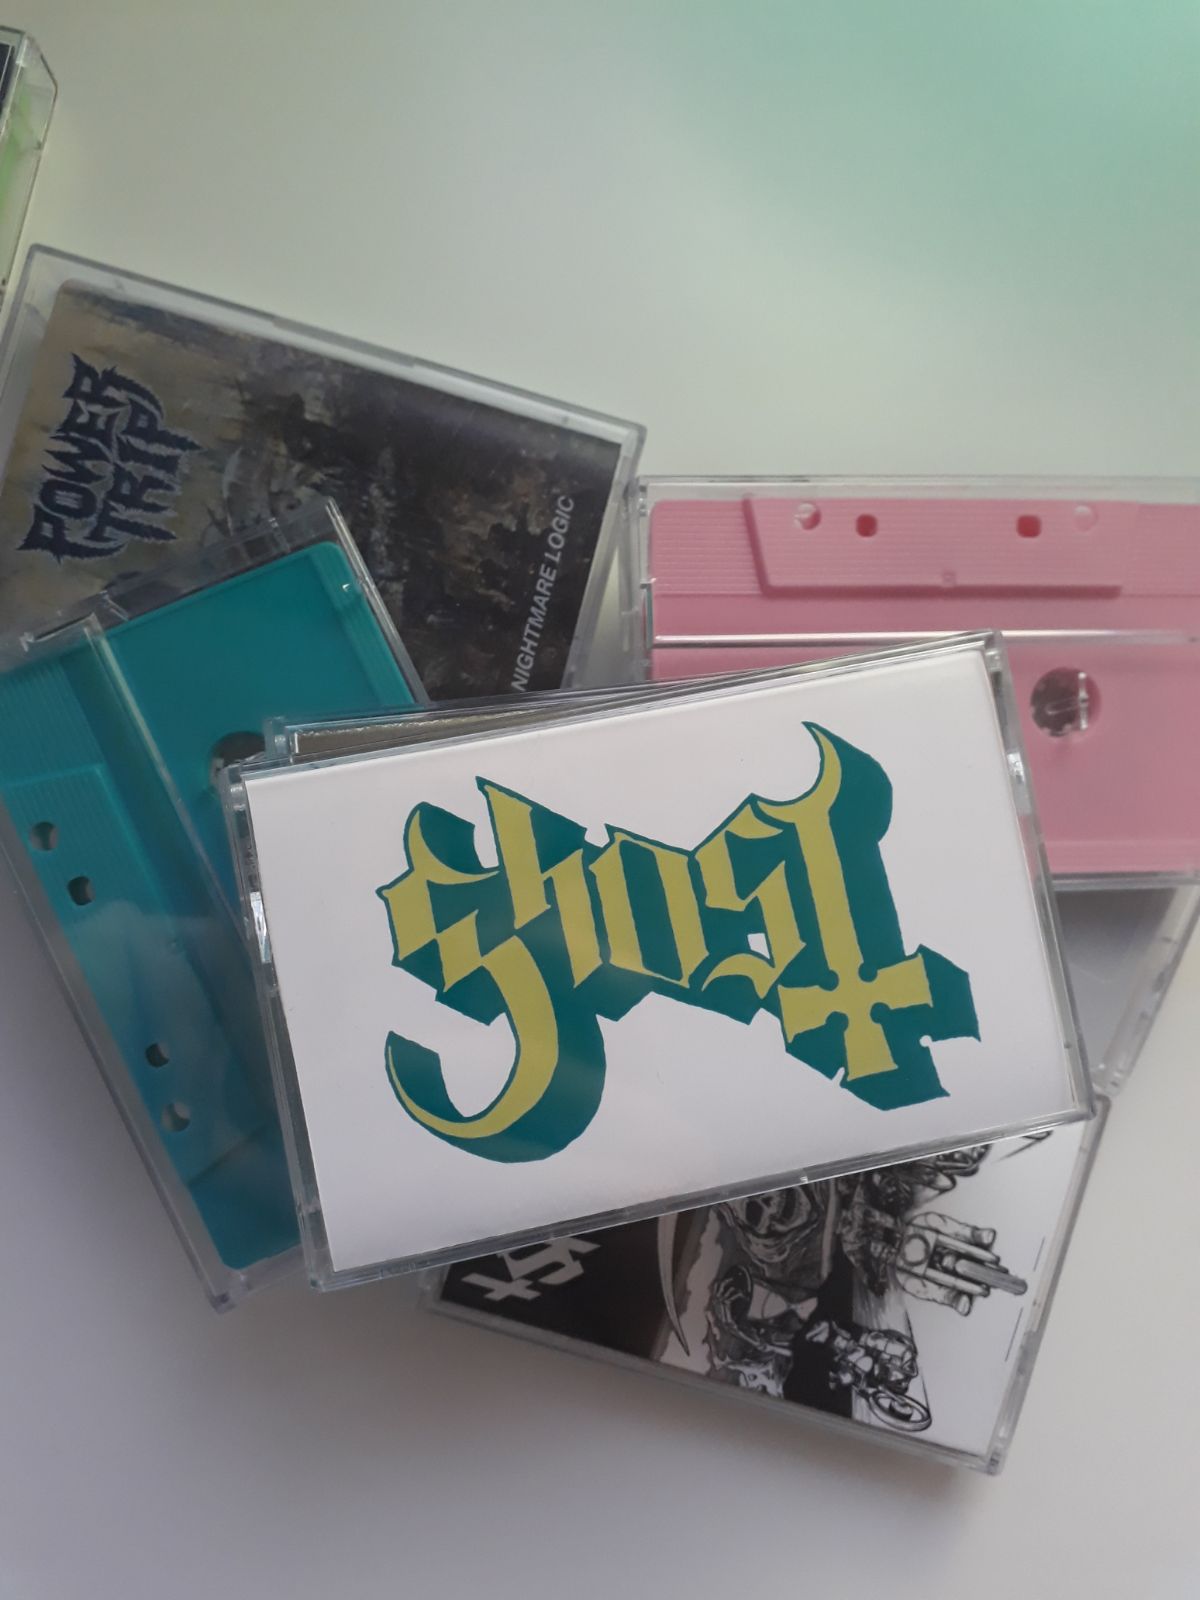
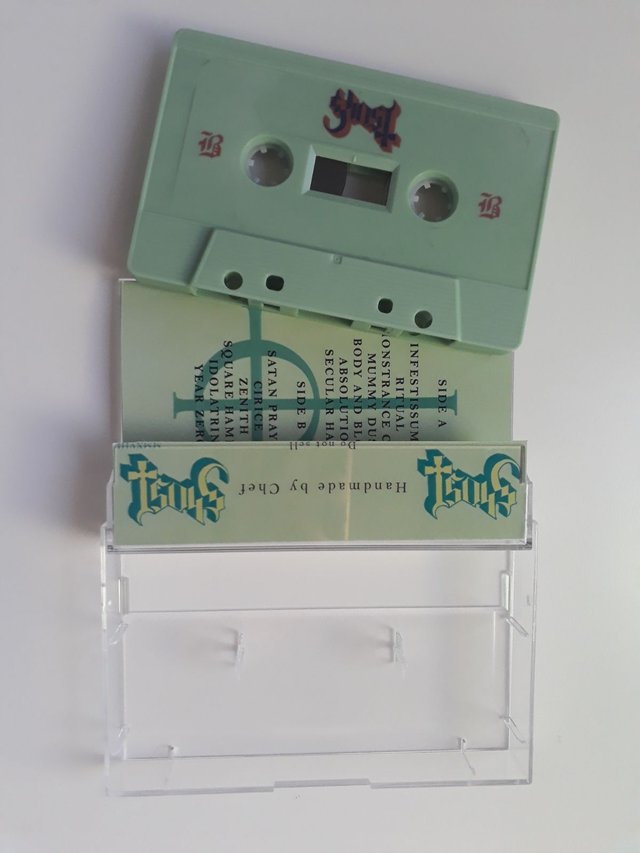
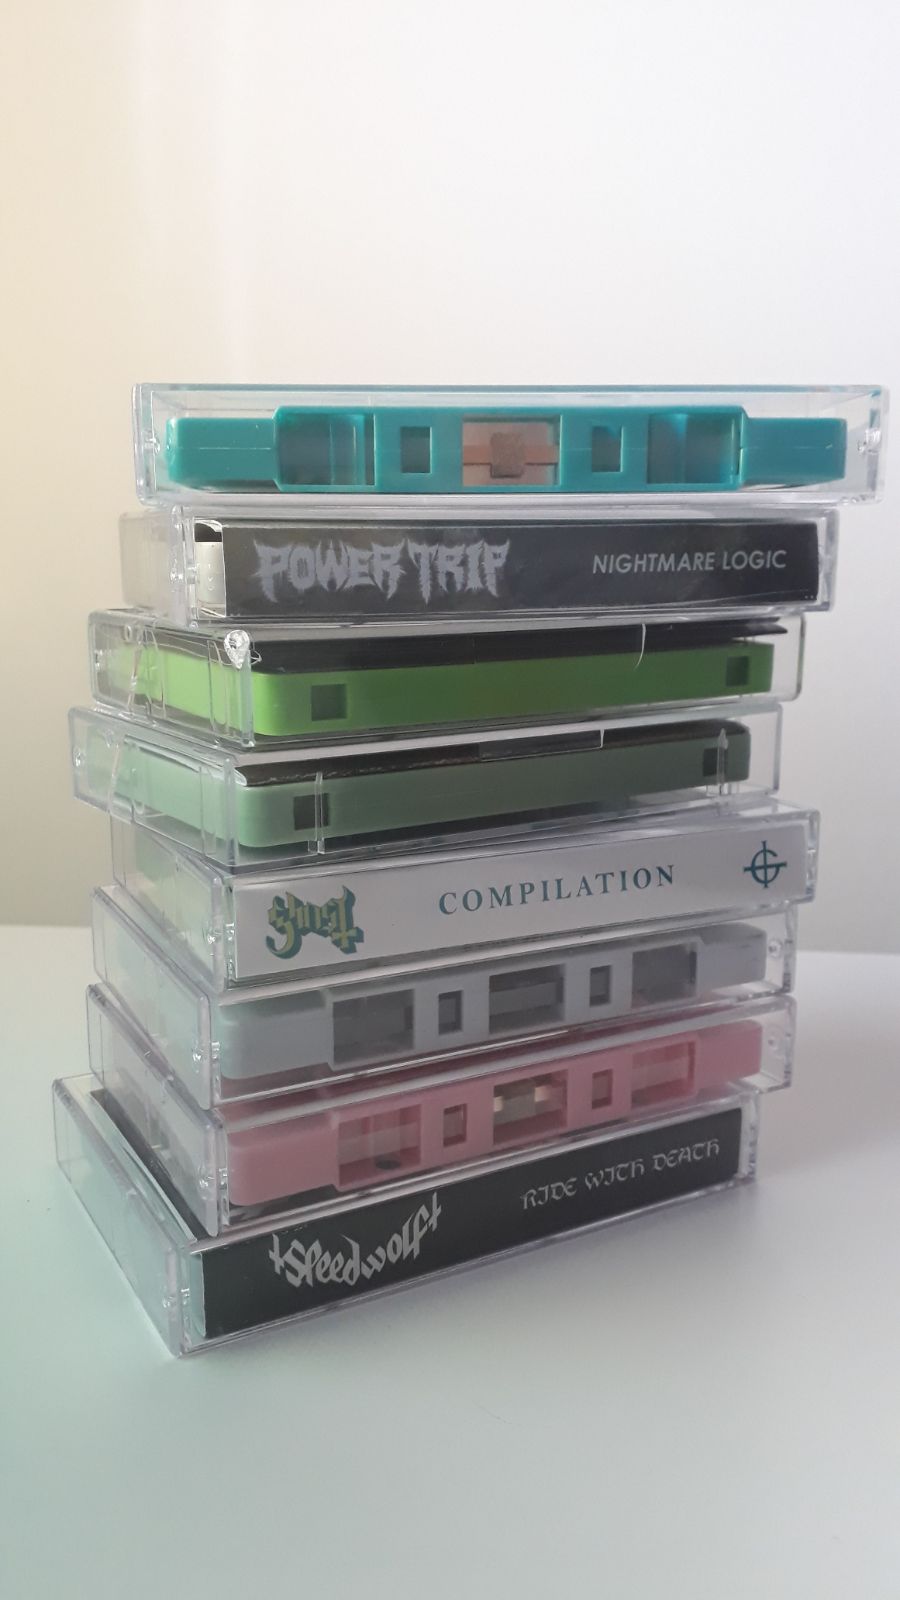
I must say that the end result is awesome and the audio quality is top notch!
Comments
- I do not encourage music piracy, in my case I record the tapes using music already purchased such as records or CD's so I can listen to the tapes at home.
- You cannot sell this products as you do not own the music or copyright.
- Always support bands and artists by buying their music.
Gear
- Audio Technica LP-120.
- Technics RS-B465.
- x2 RCA Cables.
- Tapeline Ferric virgin tapes.
- Blue-Tack.
Check my music colection here: Discogs Profile
✅ @hippiecycling, congratulations on making your first post! I gave you a $.05 vote!
Will you give me a follow? I'll follow you back in return!