Ableton Live 9 Course - Lesson #01 "Interface"
Hi steemians! Today, I will show you the interface from this program. Ableton Live is a really interesting DAW and it is so easy to use it, I dare say it is the DAW with the most dynamic and easiest interface; it is very simple to understand it
"THE INTERFACE"
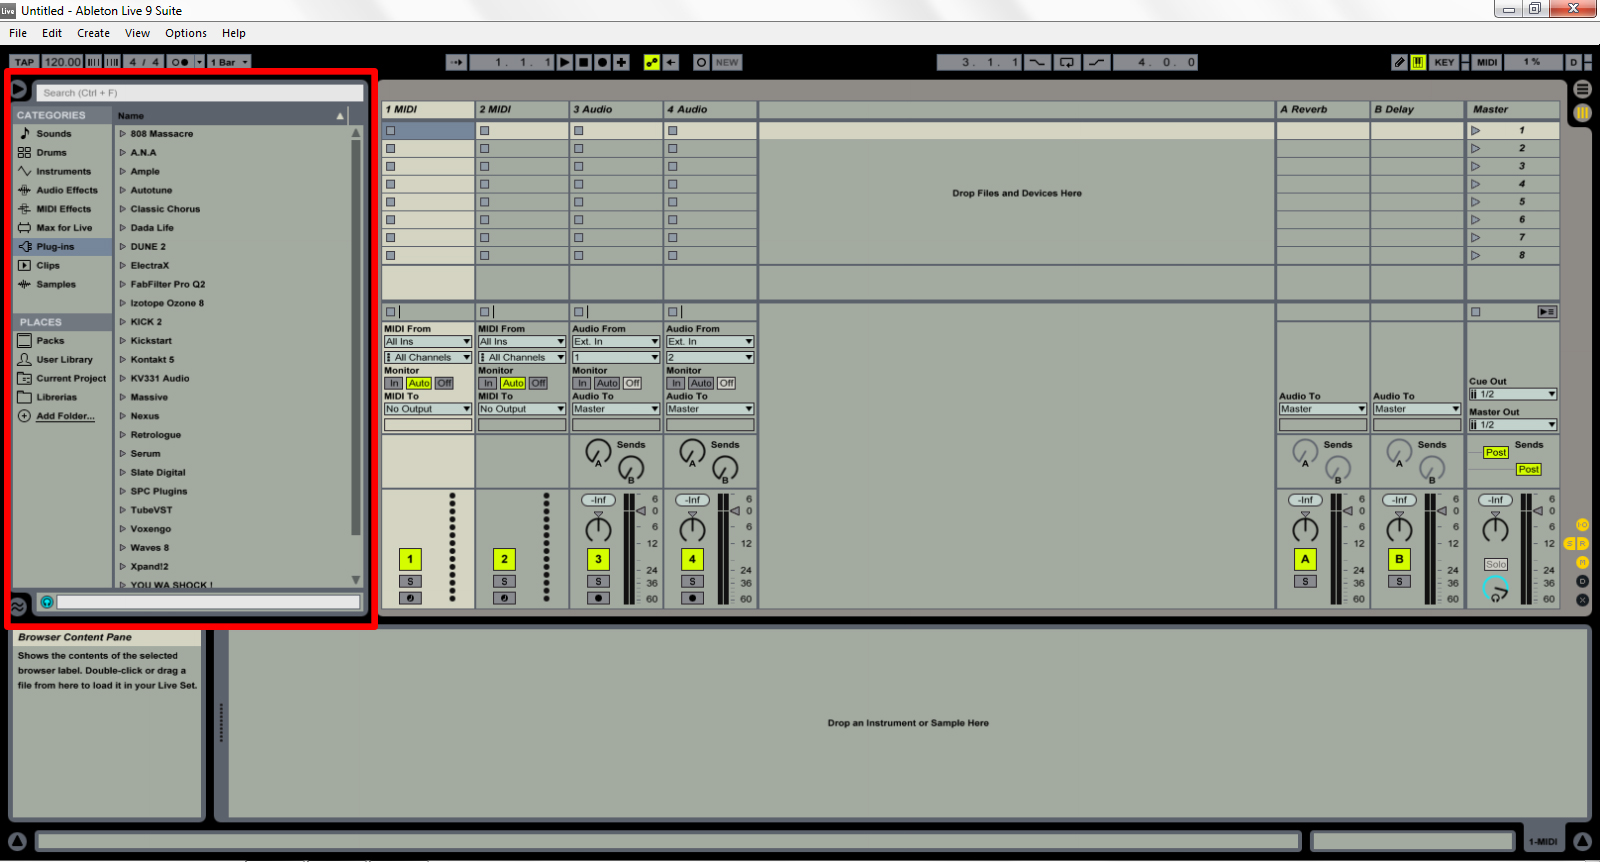
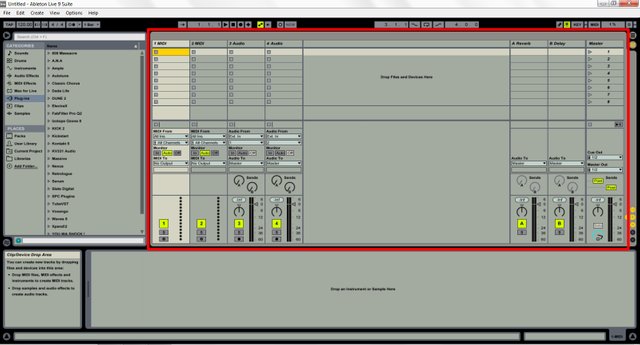
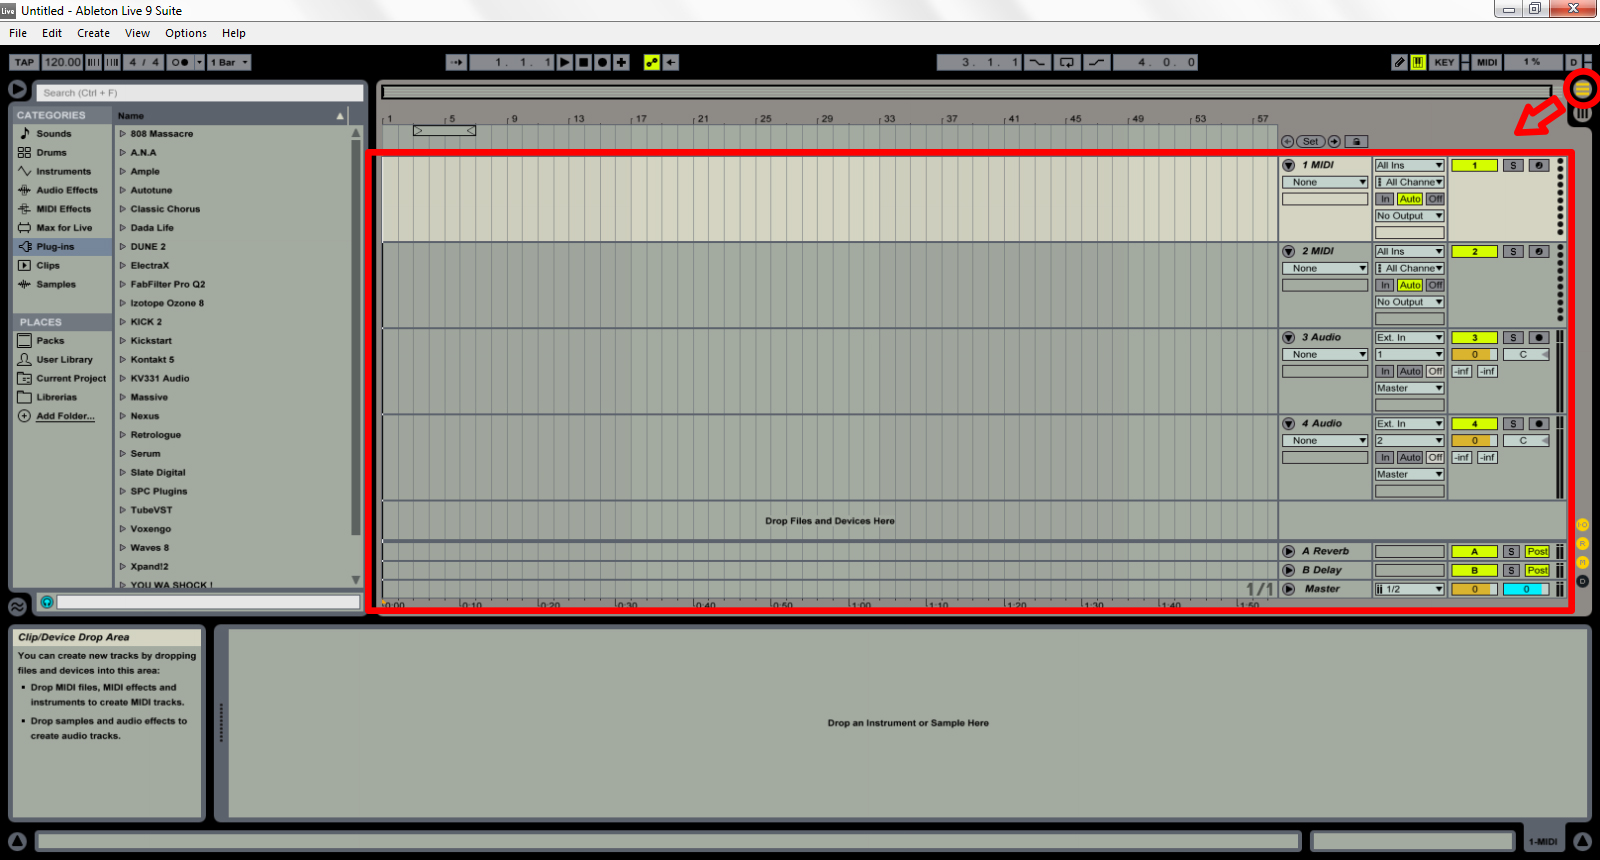
When we start Ableton Live on the laptop or PC, the first thing we will see is the "Main Live Screen", and on this screen we will see three different categories:
Browser
Session View
Arrangement View
(The key to change from the session view to Arrangement View is TAB or you can use the shortcut on the right top of the screen)
Preferences
Ableton Live’s preferences window is where you can find the configurations to determinate how it behaves and interacts with the outside world. To access the preferences, we have to go towards options and then touch the preferences box (We can use Ctrl + ,).
The preferences of Ableton Live are distributed in 7 tabs:
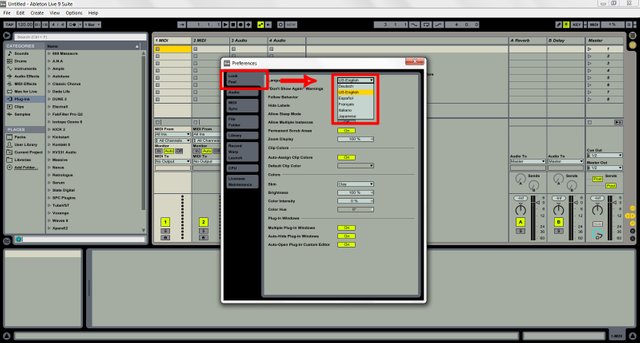
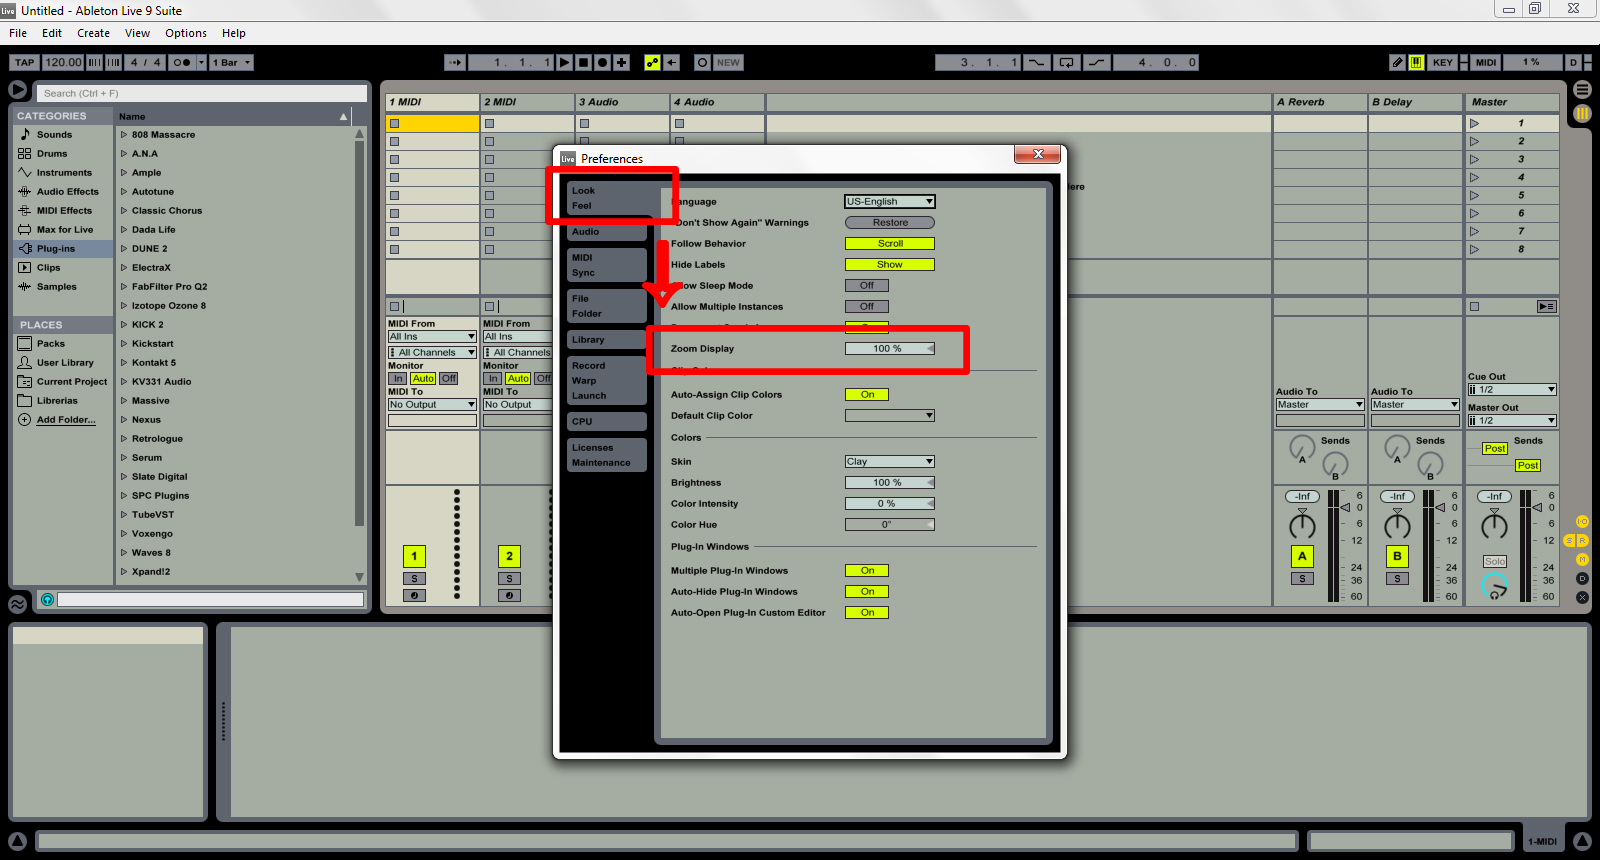
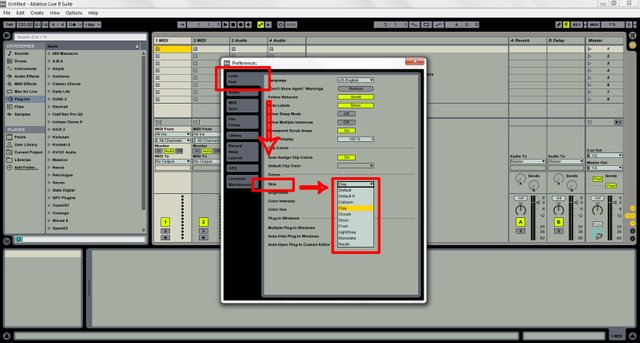
1. Look and Feel: on this tab you can modify the language, the skin of Ableton, the zoom and among other things.
The default language is English but you can change it to Spanish, French, Italian or Japanese. Once you select your preferred language, you will have to restart the software to visualize the change.
The zoom display's box is for those who want to set the zoom which they see the screen of Ableton Live, if you want more zoom you have to move the box to the right and if you want less zoom you have to move it to the left. The default zoom is always 100%.
The skin can be changed to 10 different designs (Default, Default 8, Calcium, Clouds, Disco, Frost, LightGray, Monolake and Nautic).
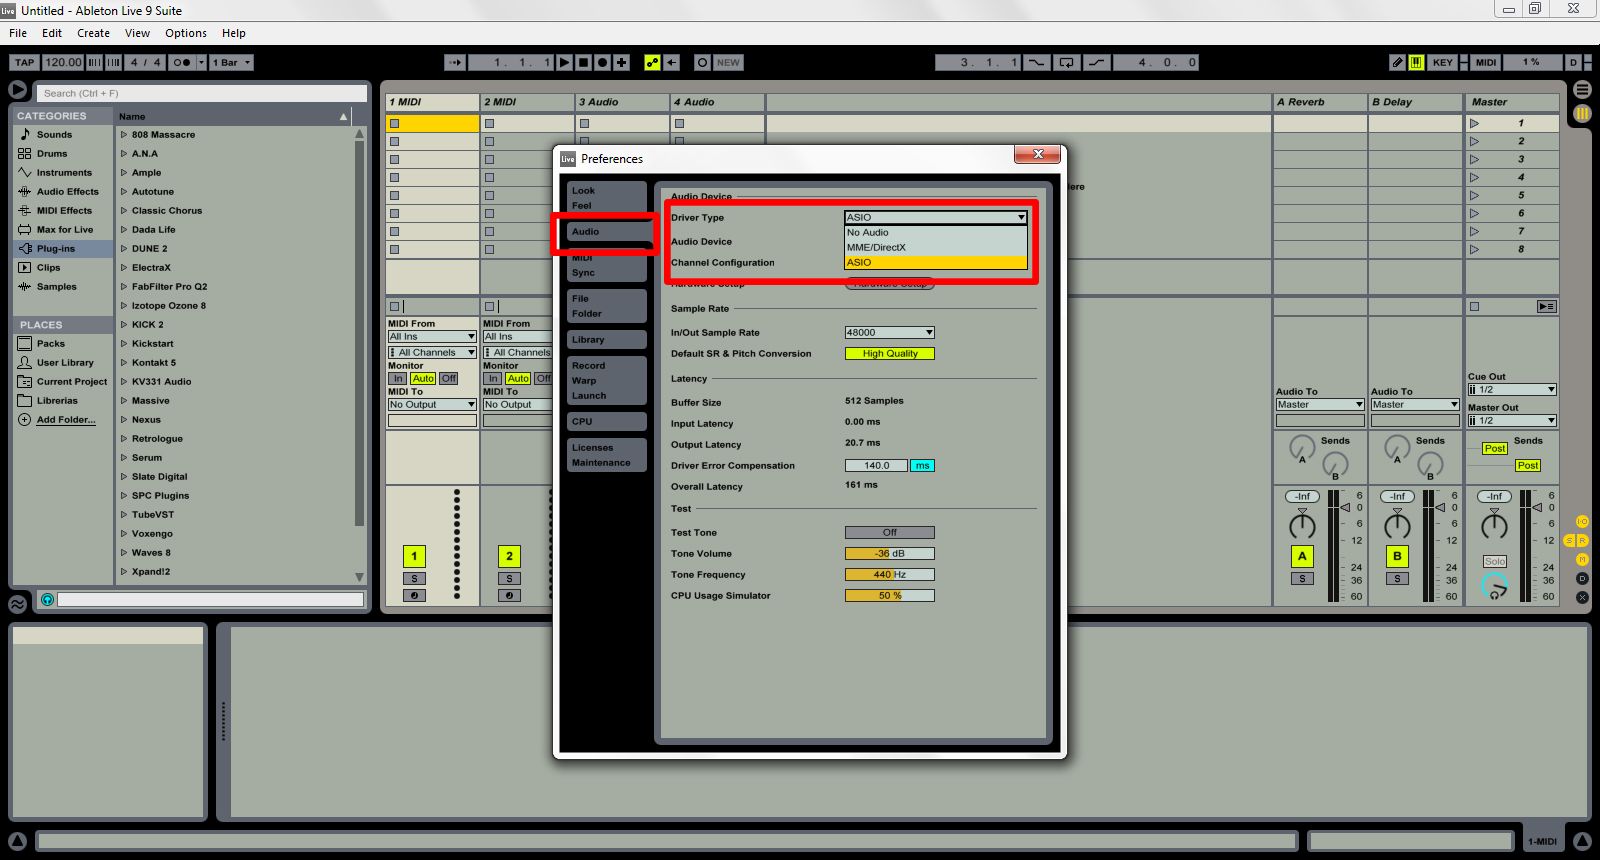
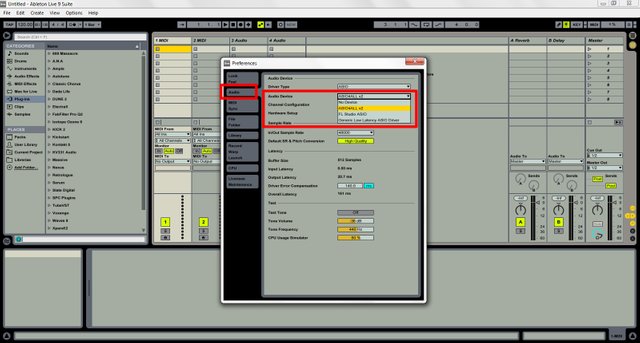
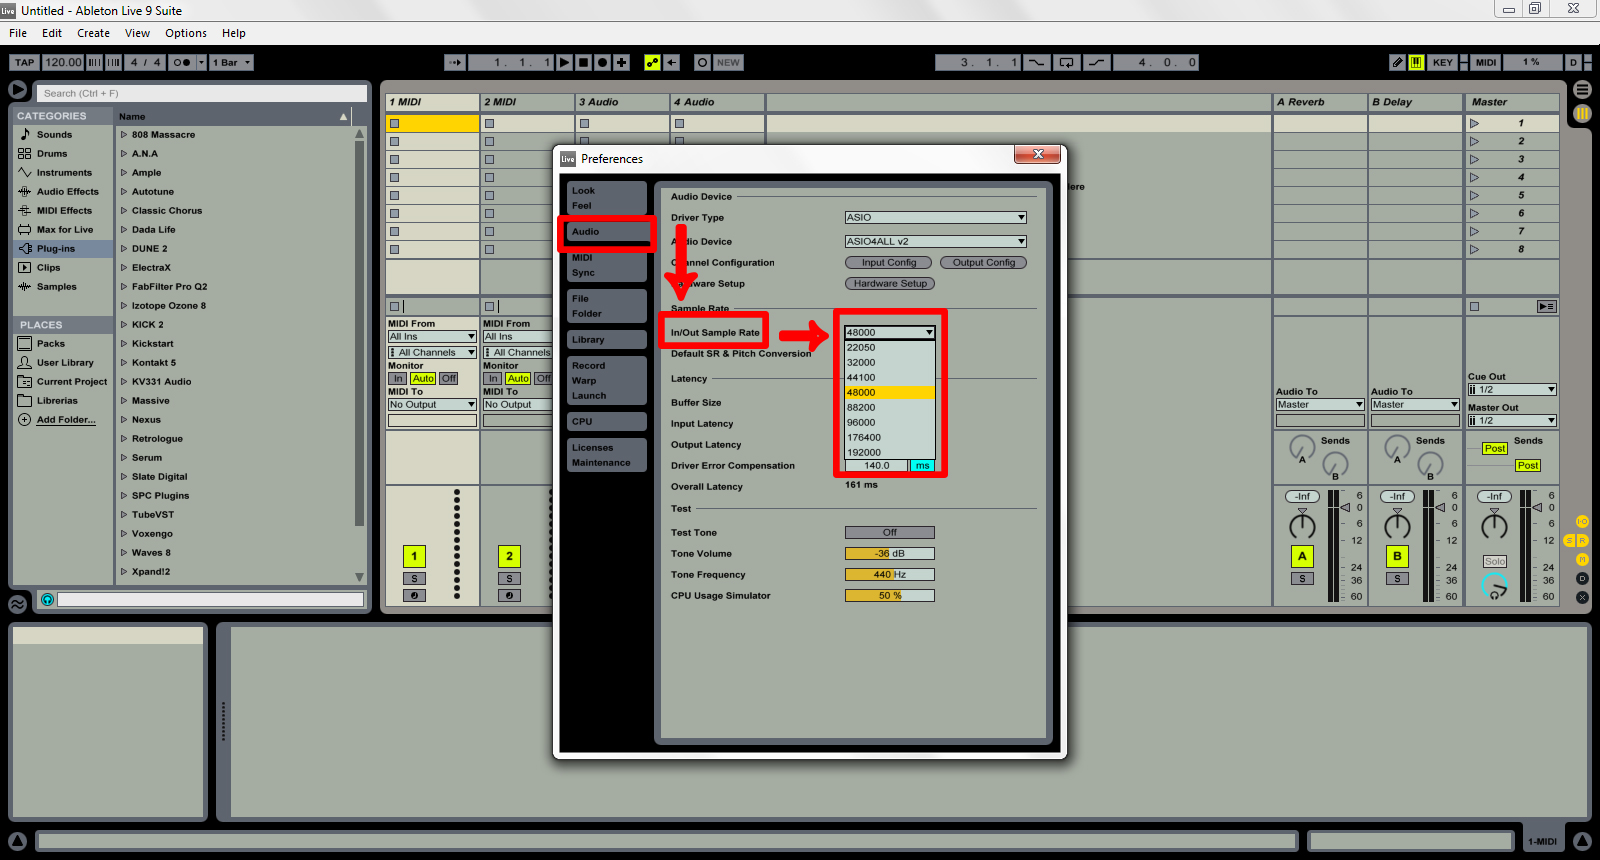
2. Audio: This box is used to configure how Ableton Live will interact with the outside world, since it allows us to select the audio devices, sample rate, the driver and much more.
In the driver type I recommend that you select “ASIO” because I think it's a better choice to have better audio quality and less latency in sound, but you have some other options of sound drivers as MME/Direct.
In the Audio Device I recommend to use ASIO4ALL V2 because in my opinion, if you select Asio you will have a better sound quality and a better performance of the resources of your pc.
In / Out Sample Rate has to be at 48000 Hz because this is the standard used in the music industry.
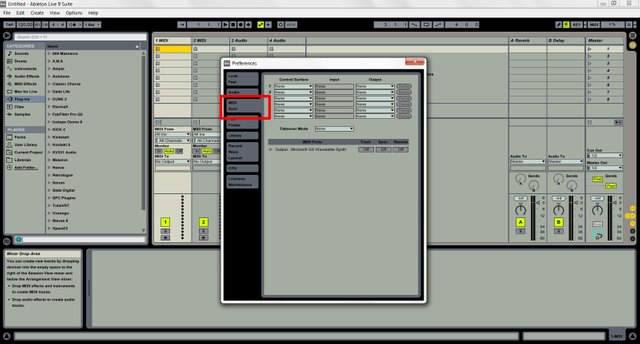
3. MIDI Sync
This tab serves for three different things:
To play midi notes.
To control parts of the interface remotely.
Synchronize live with an external sequencer or a drum machine.
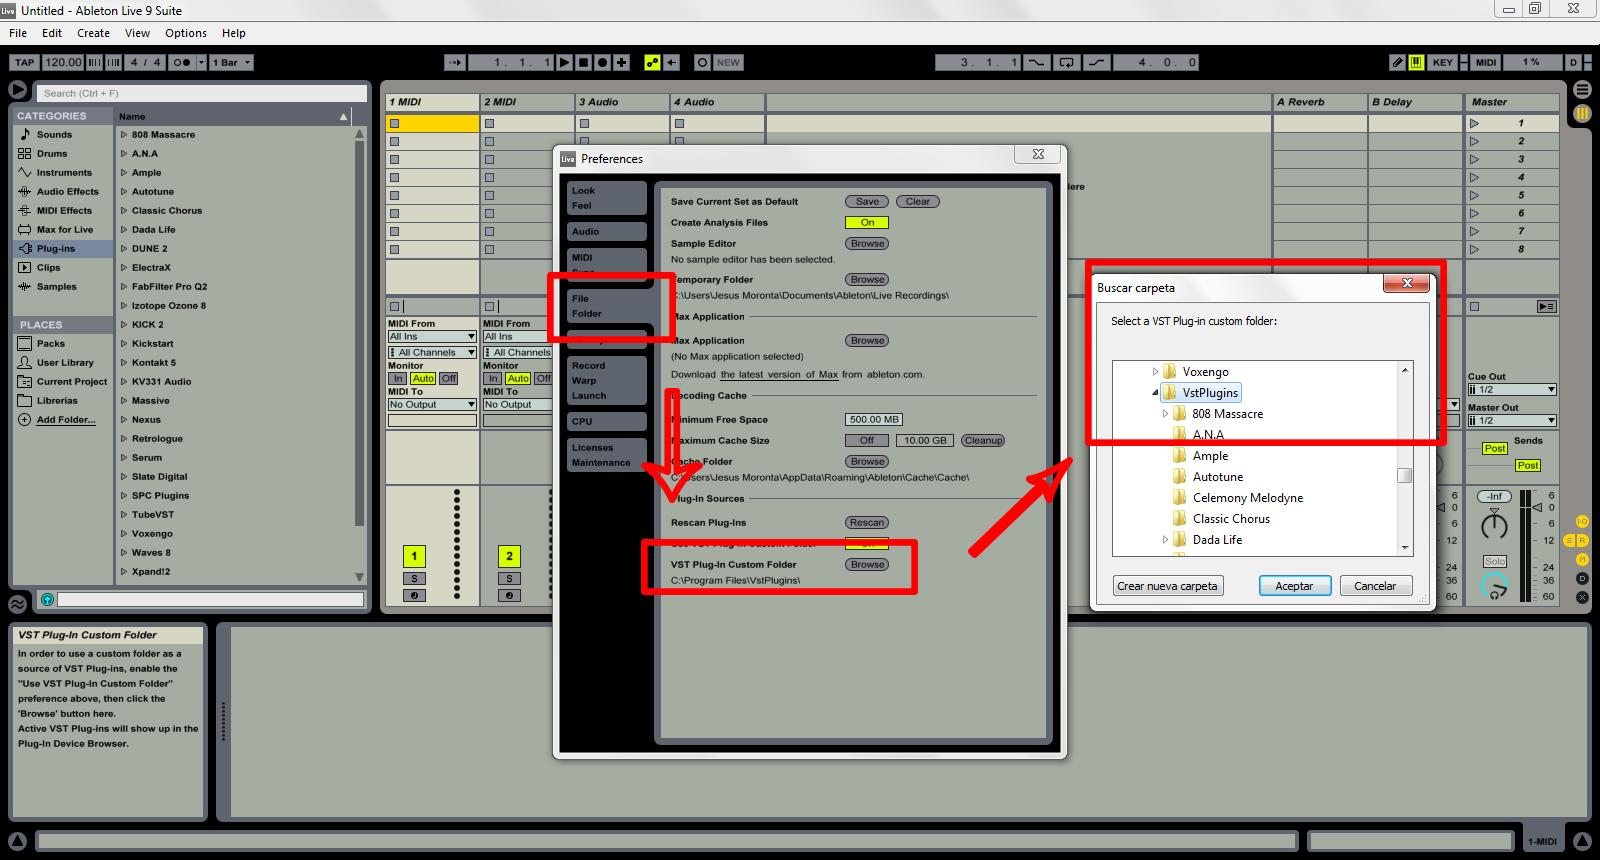
4. File Folder
The file folder is very simple, this allows us to manage our files and add the directory of our VST Plugins. If you want to add the folder where our VST plugins are located, you have to go down and it will say VST Folders, we will click on Browse and then you will only have to choose the directory of your VST's.
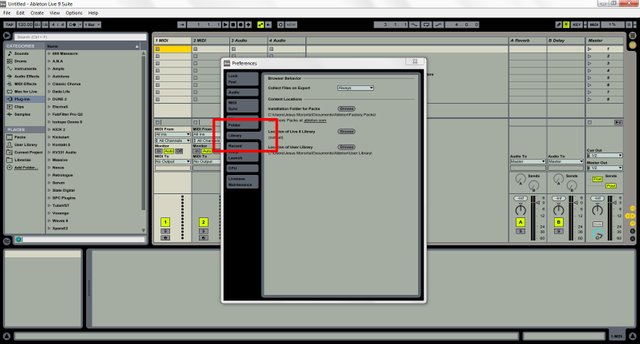
5. Library
The library preferences allow us to specify a default location for several installed files, including packs and your user library.
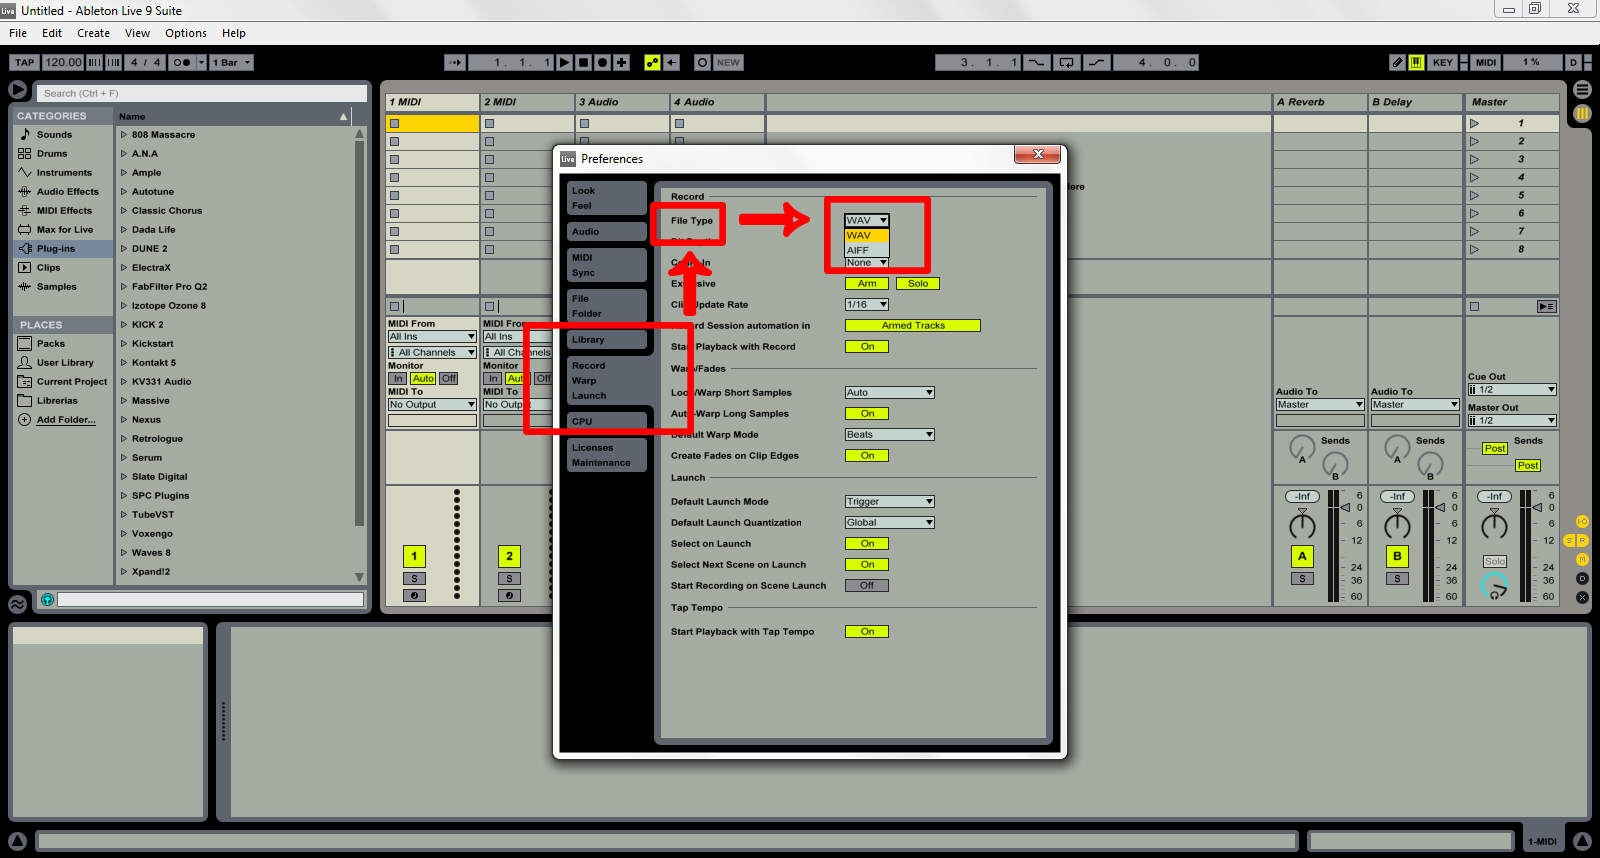
6. Record Warp Launch
Allows you to modify the default state of the new Ableton Live sets and their components, as well as select recording options .
You can choose the type of file in which the set will be exported (WAV or AIFF).
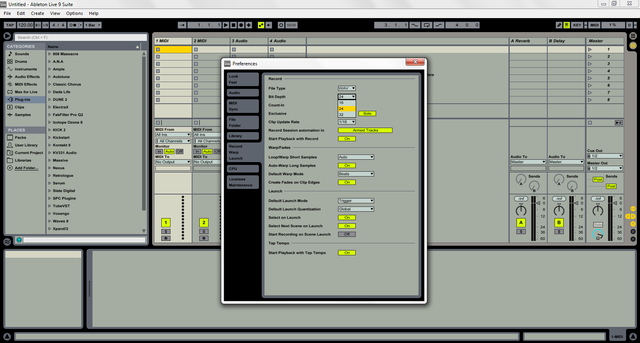
The Bit Depth is the resolution of capture of an audio signal in relation to the amplitude (volume). The Depth of Bits determines the dynamic range of an audio signal, that is, it determines the maximum and minimum decibels that a signal can have when it is recorded. In Ableton Live you can choose three bit depth options, 16, 24 and 32. The recommended standard value is 24 bits.
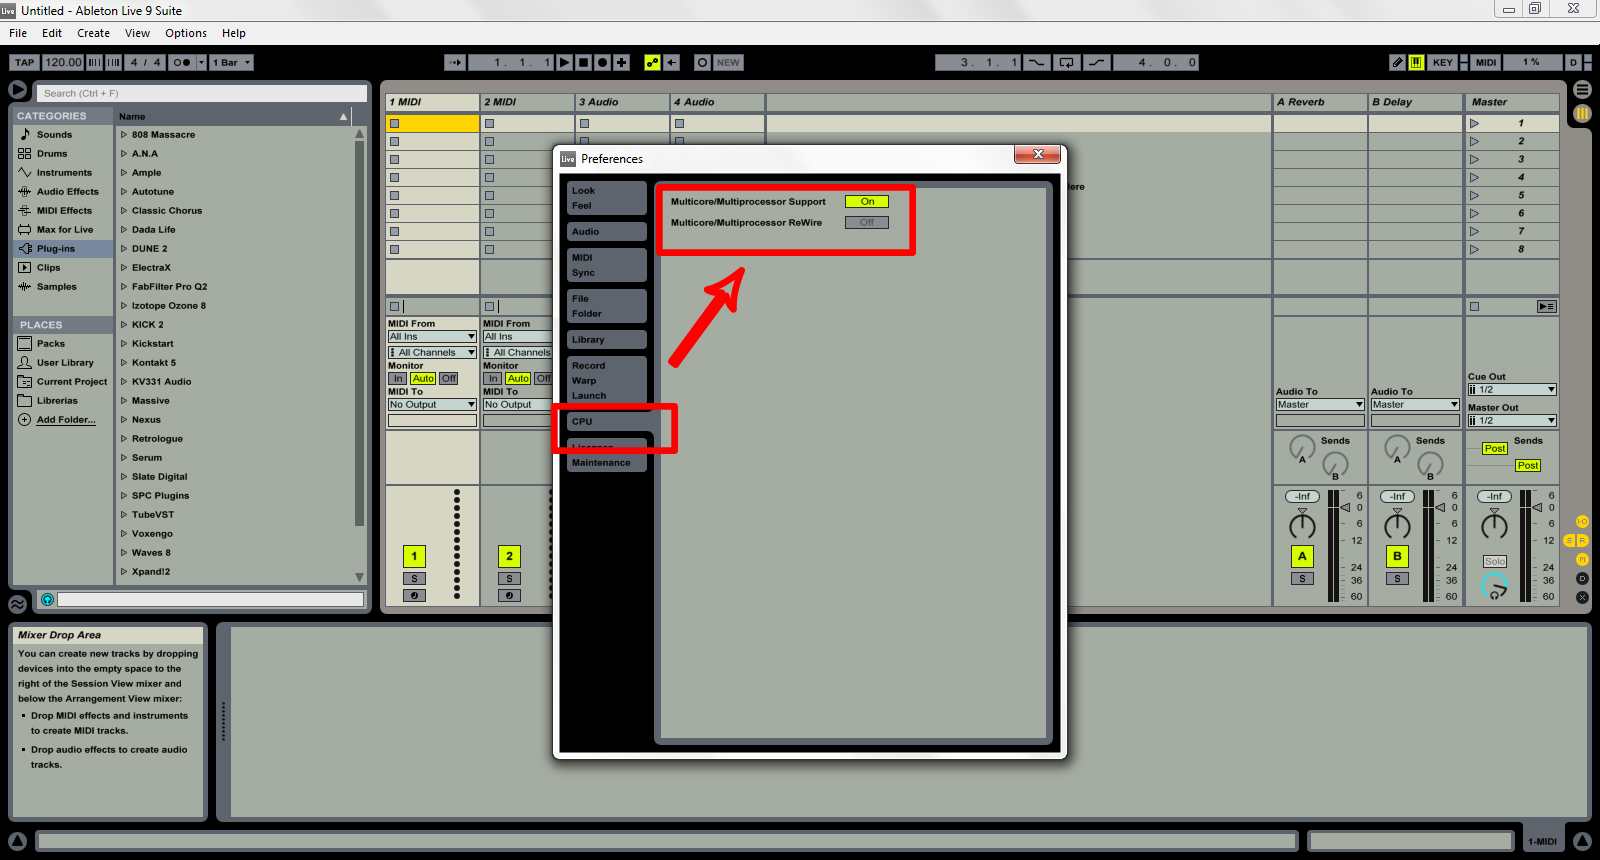
7. CPU
Basically it allows us to manage the CPU load, including multicore support and multiprocessor support. By default we have Multicore / Multiprocessor Support; we have to leave it "ON", because if we have a 4-core processor, for example, Ableton Live will make an intelligent management of the resources in order to have greater performance within Ableton Live.
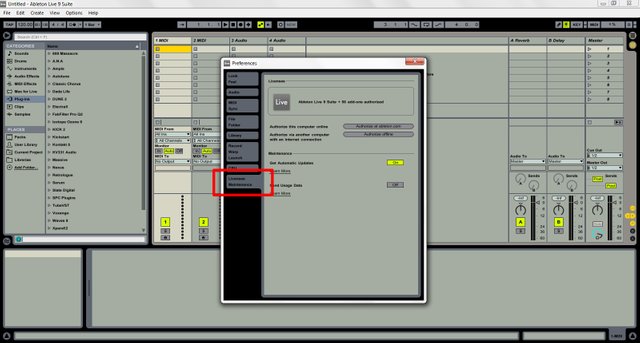
8. License Maintenance
Finally we have License Maintenance; it allows us to manage the licenses and installation of the Ableton Live platform.
This is a very general explanation of how preferences are in Ableton Live, there are many more options in the interface of this program, but we will see them as the course progresses, since one tutorial is connected to another and so on. In the following tutorials we will see the session view, arrangement view, the browser, etc. I hope you liked this very general tutorial, I hope it will be useful for you and that you will continue to be aware of each one of the tutorials that are coming, I can only thank you for viewing my content. If you liked it, you can give it Upvote and Reesteem, do not forget to comment what you thought and what you would like to see in future tutorials, a strong hug for everyone!

great content! and thanks again for following!
Thanks to you for reading my content bro, greetings from Venezuela! :D
Of course! I used to use Ableton back when I was a musician. Best software for electronic by far. In fact, I used Ableton to make this: https://steemit.com/dsound/@five34a4b/mapstheydontloveyoulikeiloveyou
Interesante. Saludos