Replacing The Pickup In My Electric Ukulele
Hello, steemians and music lovers!
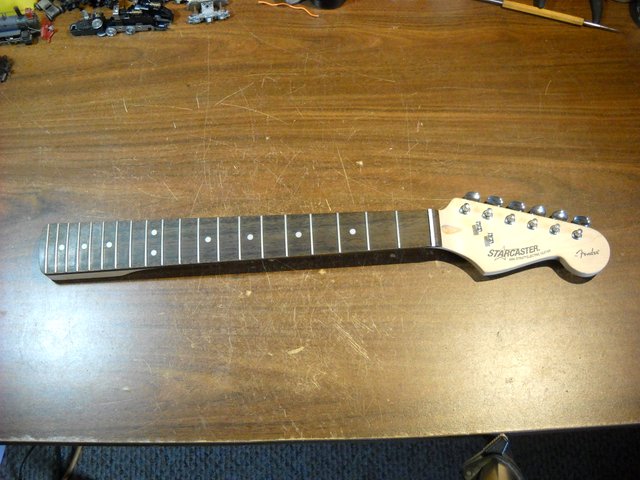
For today's post, I'd like to tell you about replacing the pickup in my electric baritone ukulele. This is an instrument that I built a couple of years ago using a short scale guitar neck that I bought second hand on ebay, and a home made solid maple body. This is the neck I used. It was from a Fender Starcaster short scale guitar. It has a 23 inch scale from the bridge to the nut.
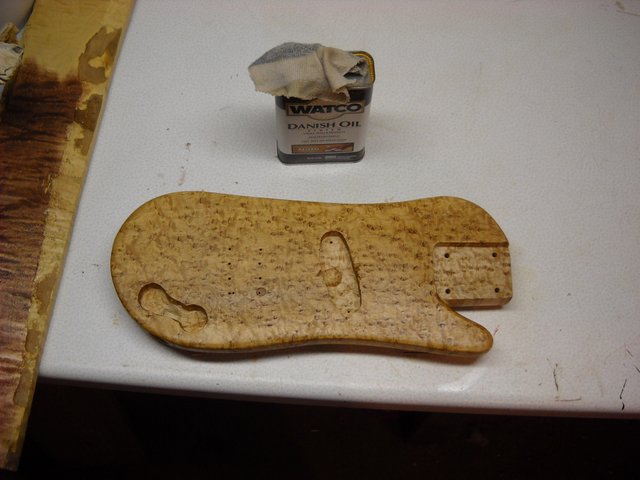
I built the body from a solid piece of bird's eye maple.
This is what the instrument looked like when I was finished building it.
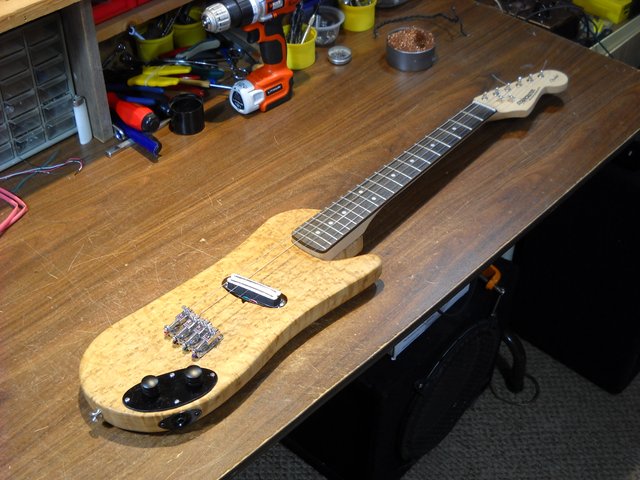
As you can see in the previous picture, there's no cover plate for the pickup. The bari uke stayed that way for a while, and then I had to replace the volume and tone controls in it because I had installed used ones when I built the uke and they were giving me trouble. I replaced the knobs at the same time with a pair of red "chicken head" knobs.
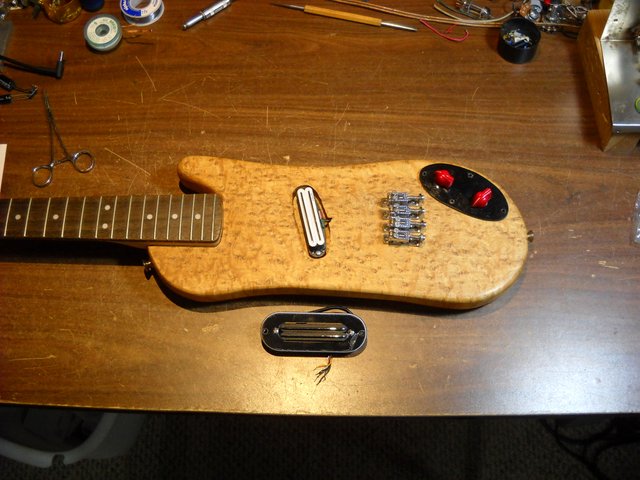
I recently decided to replace the pickup in this instrument with a different bar magnet pickup that came with a cover plate for the hole in the body.
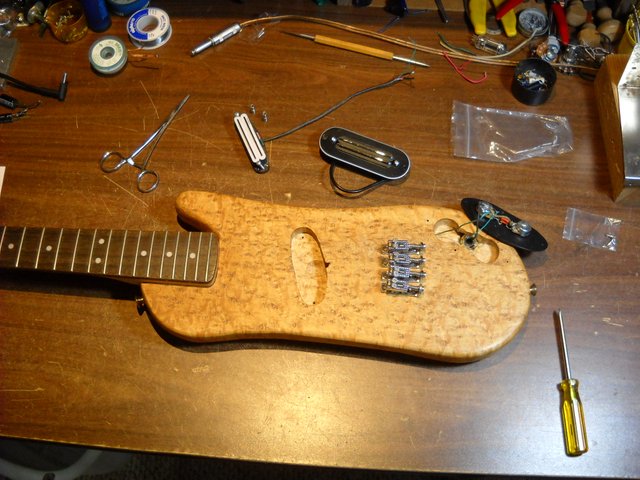
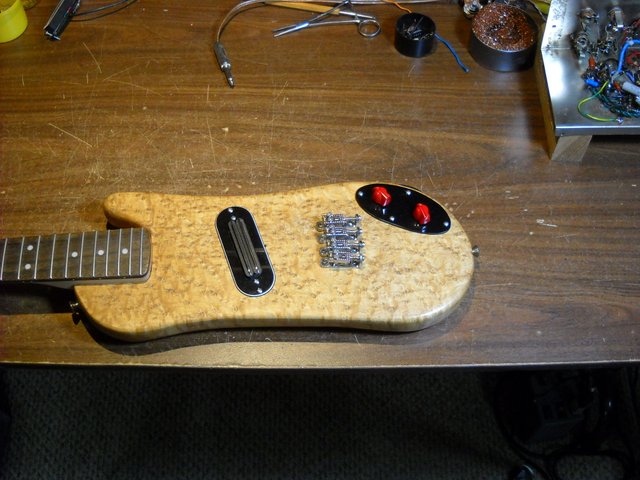
This is the instrument with the new pickup sitting next to the body. I already had the strings removed when I took this picture.
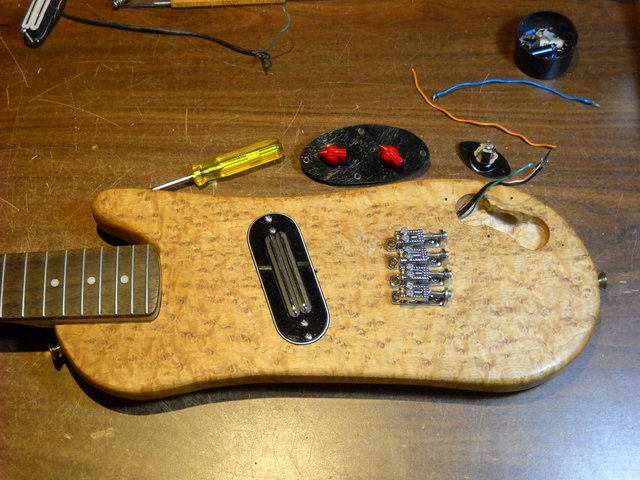
The first step in the process was to remove the cover plate with the controls. The wires for the pickup are soldered onto the controls, so I had to desolder them to remove the pickup.
After removing the old pickup, the new pickup was fitted to the body. I had to get the pickup centered in the pickup cavity so that I could mark the places to drill the screw holes for the pickup cover plate. This pickup is mounted to the body by the cover plate screws.
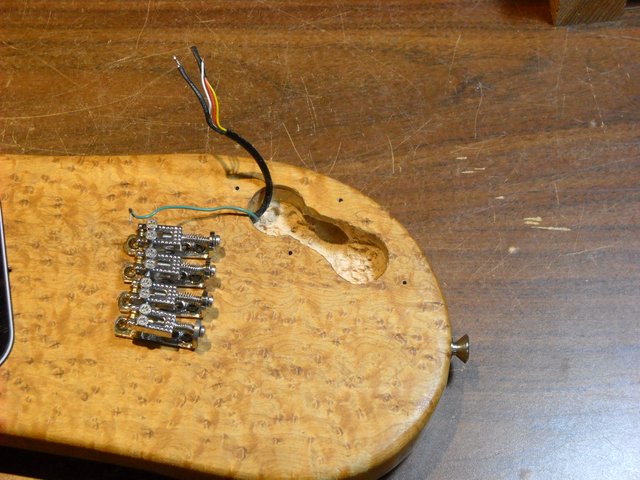
When I tried to fit the wires into the controls cavity, I discovered that it was too shallow to fit everything without problems. I decided to make the cavity deeper, something I probably should have done when I built the ukulele. I drilled a bunch of shallow holes close together in the bottom of the cavity, probably about 1/4 inch, or 6mm deep. Drilling the holes close together makes it easier to remove the rest of the wood from the bottom of the cavity. I didn't want to go any deeper because I didn't want to accidentally go through the bottom of the body.
After drilling out as much of the wood as I could, I used one of my carving chisels to cut out the rest of what I needed to remove. After test fitting to make sure everything fit, I soldered the new pickup wires onto the controls.
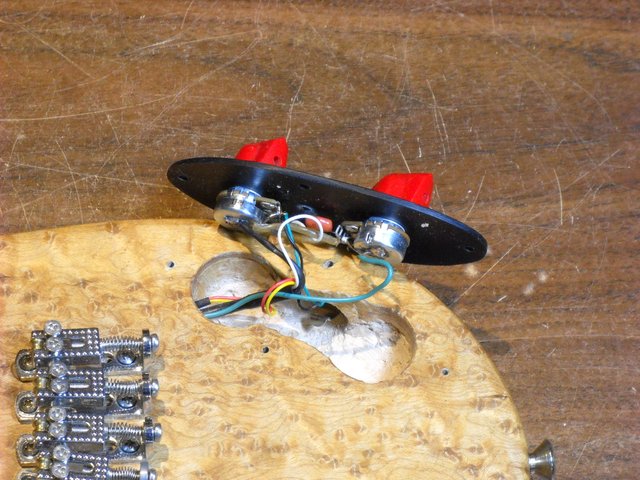
After making sure that the cavity was deep enough for the controls and all the wires to fit into it, I mounted the controls assembly back in place with it's cover plate.
After putting it back together, all that was left to do was to put a set of new strings on it. This baritone ukulele uses the same strings as an electric guitar, without using the A string or the low E string. The strings are tuned to the same notes as a guitar, E, B, G, and D.
When you think about it, the baritone ukulele is just a short scale 4 string guitar. Most acoustic baritone ukuleles have a 20 inch scale from the bridge to the nut, but I didn't have access to a neck with a scale that short, so I worked with what I could get. It plays just like a regular guitar with the E and A strings removed.
That's all I have for this post, I hope you found it interesting!