Factory Steemit Sponsored bike graphics #2 MY SET! and how to fit them :)
So i couldnn't let brad have ALL the fun :) i Spent hours doing these designs for his bike and all the kit etc so i figured i deserve something? :)
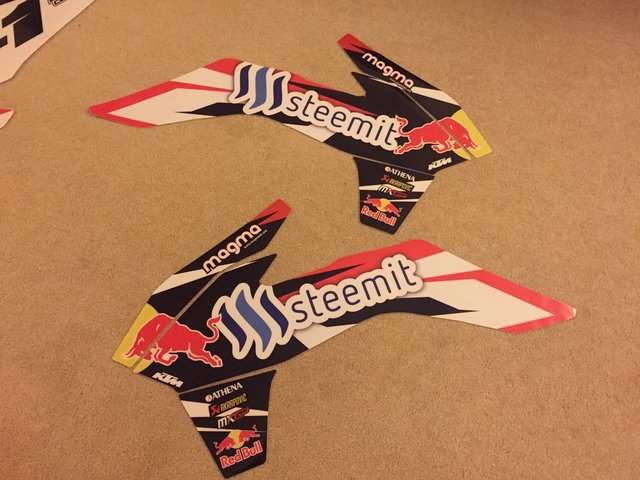
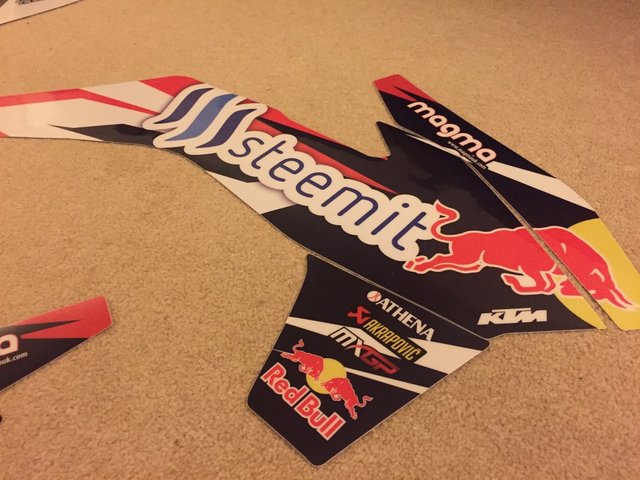
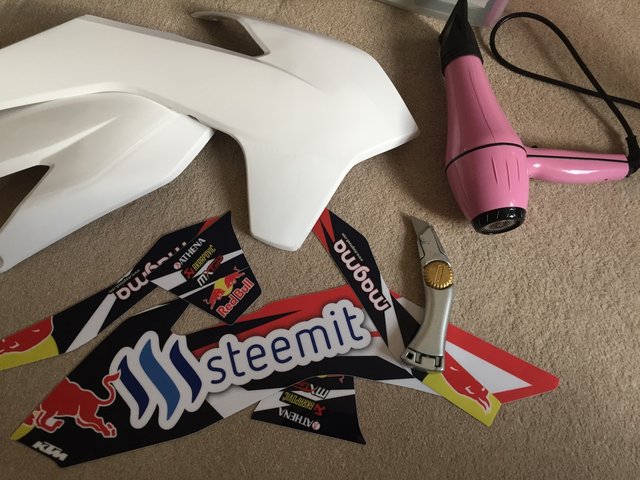
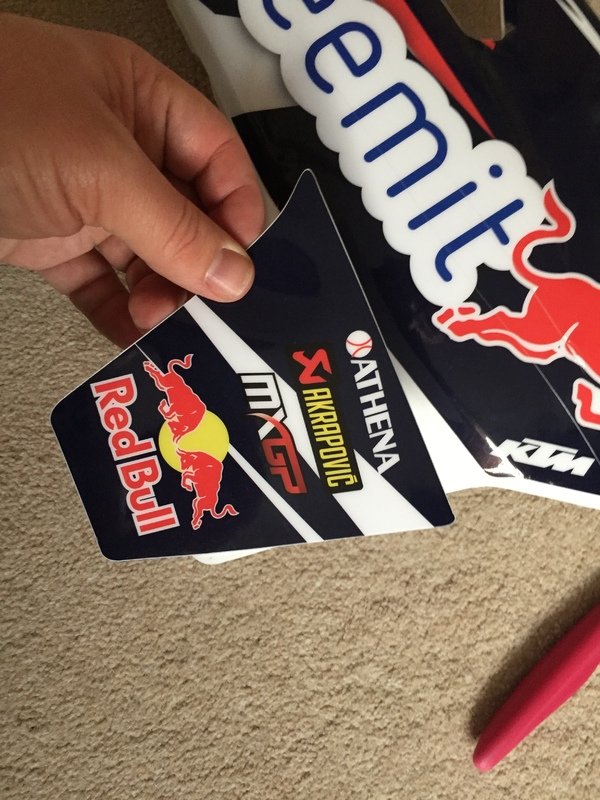
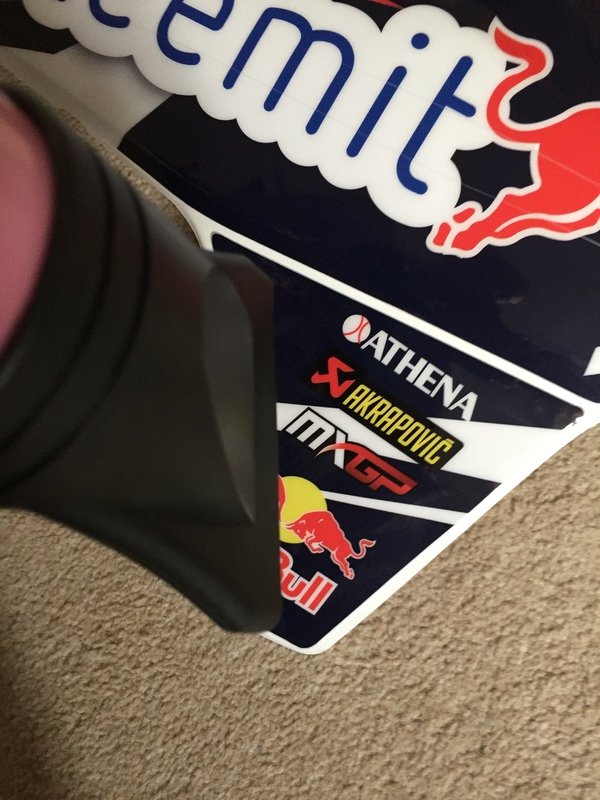
So i got myself some side scoop pannels printed up.
I also got myself some new white plastics so things would look factory fresh for the first outing.
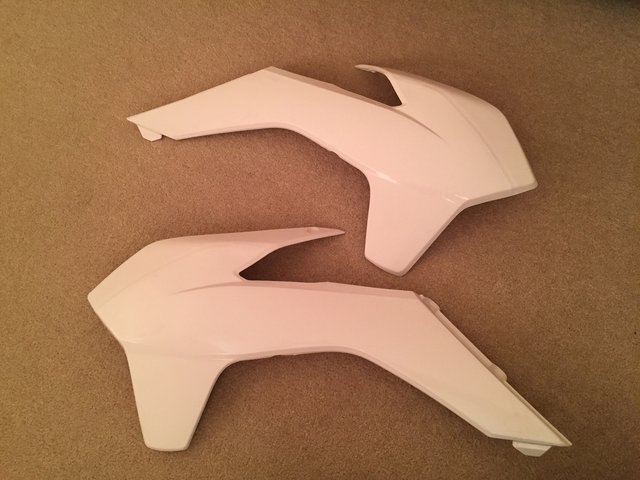
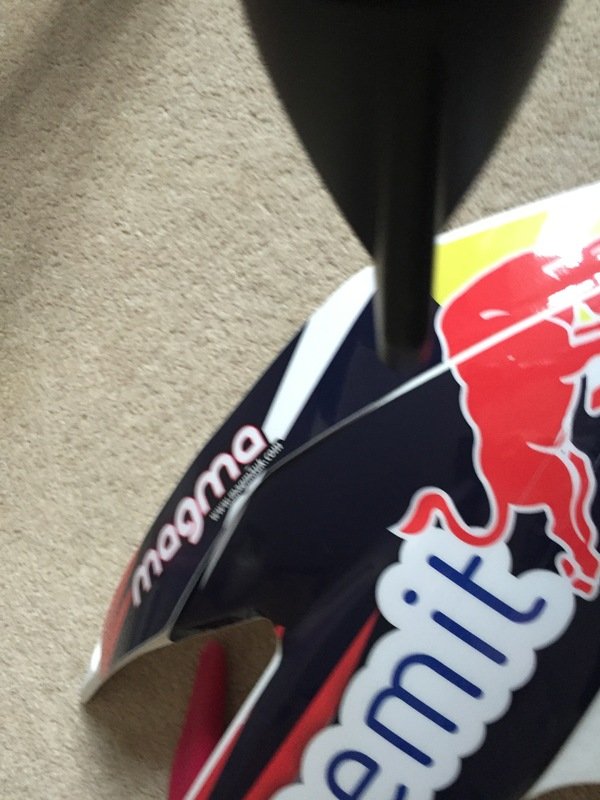
As you can see putting graphics on these curvy surfaces isnt easy... graphics are flat and look at these curves...

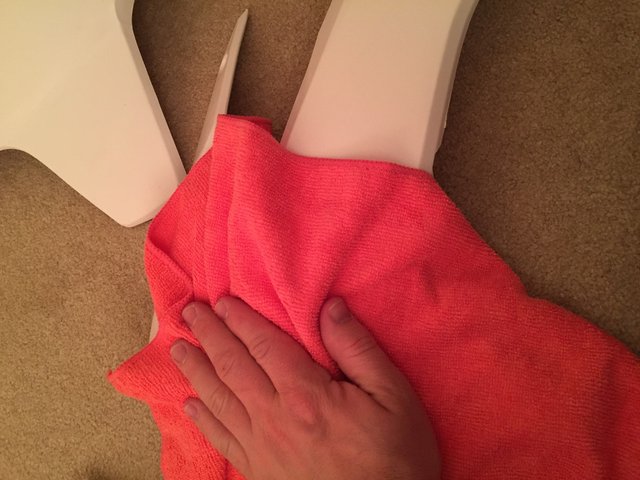
SO first things forst you need to clean them to make sure no dirt or oils are there to stop the adhesives.
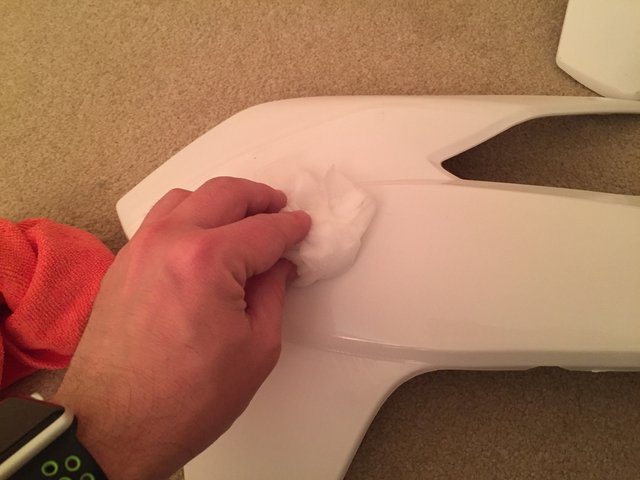
Then give them a wipe to dry them off.
Ok so now we are almost ready :) So line up the graphics to get an idea of placement.
Things will change a bit with the curves but you need to check first as there is no going back once you start!
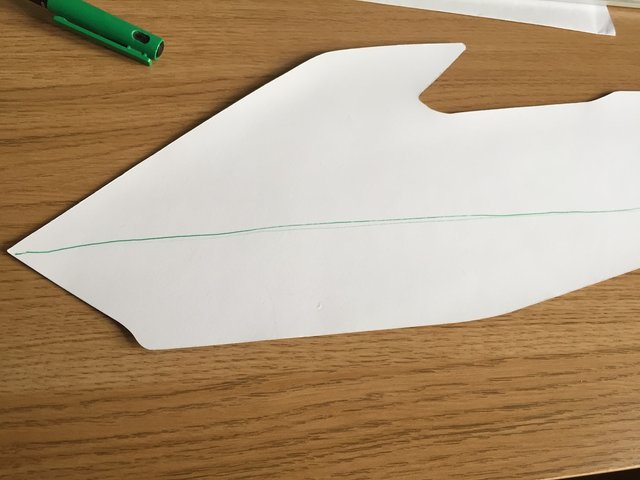
First things first, draw a line on the back on the graphic to find a good center point. This will be your guide.
Quick check on things you need!! Hairdryer :) trust me... and a knife.
Ok so now cut a thin strip along the back of the graphic using your drawn line as a guide.
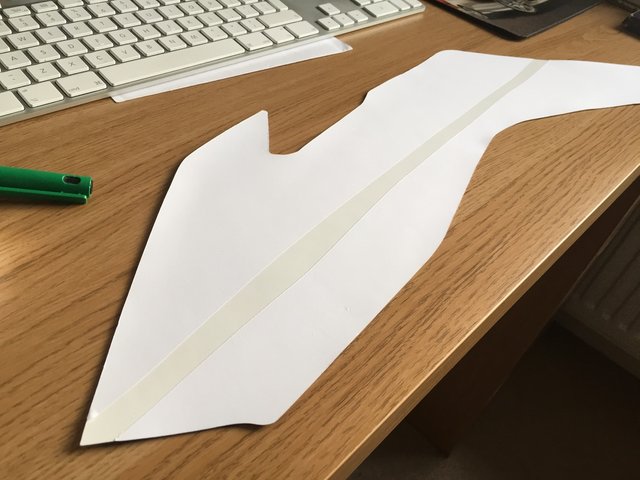
This alows you to place the graphic on the pastic without getting into too much trouble as the adhesive strip is only small.
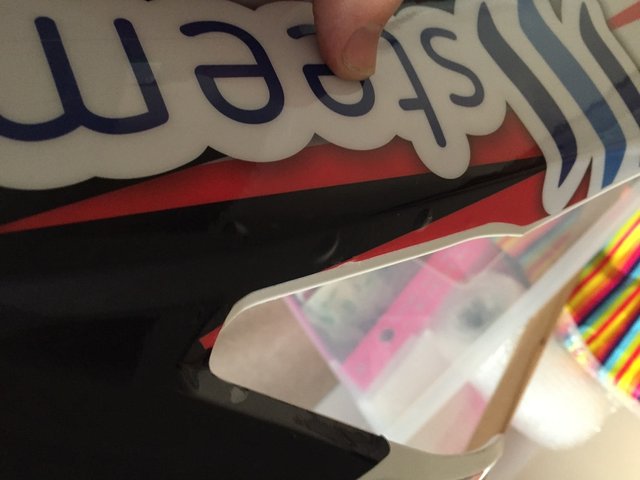
Once you have placed the graphic take one last look before you go any further, last chance before its no turning back!
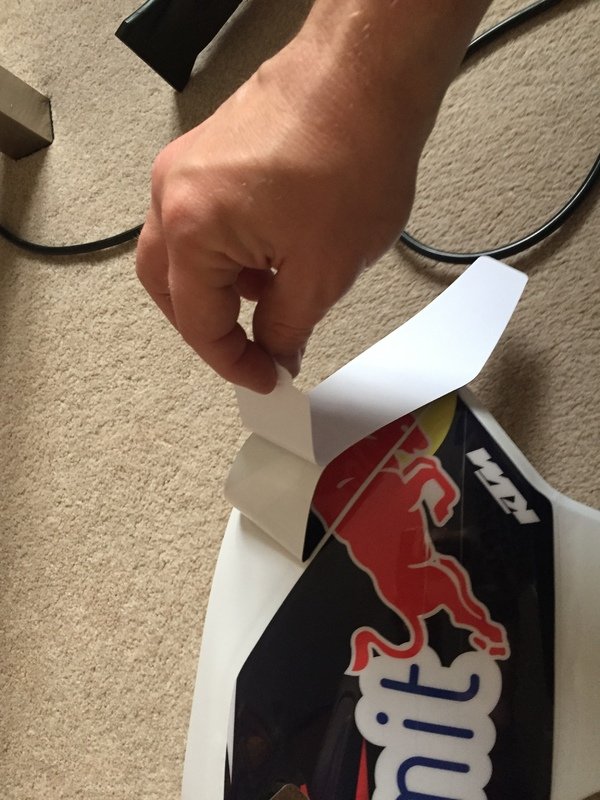
Now time for the hairdryer :) heat up the top part of the graphic untill it starts to feel softer to ther touch.
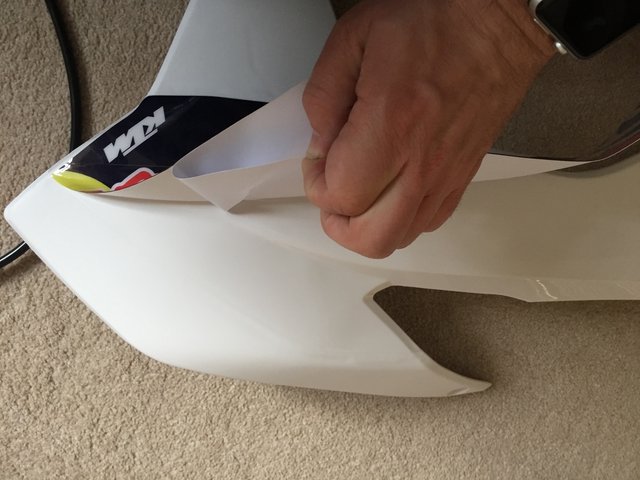
Peel back the corners making sure to keep the adhesive away from the plastic!
Once you have the backing off the top part start to press it to the plastic working from the center to the edges. Couldnt take pics of this as i would've messed up! The heated graphic makes it much easier to manipulate and bend over the curves.
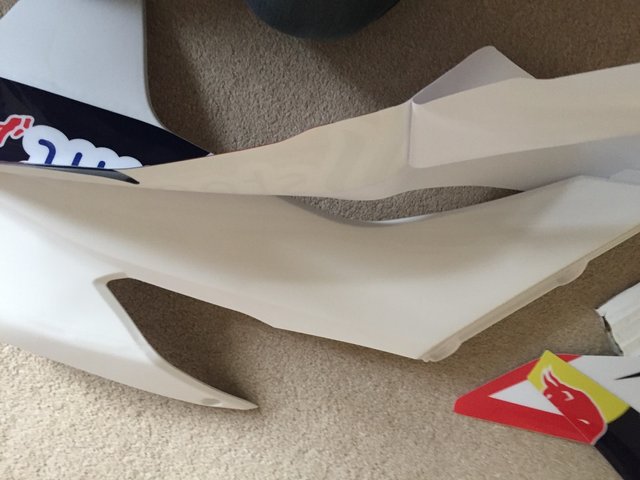
Same again now for the bottom half of the graphic.

This part you can do half at a time, makes it alot easier.

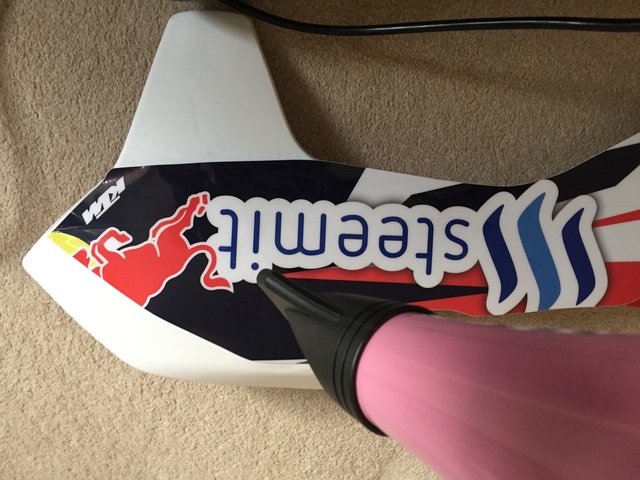
The end bit is really tricky as it curves over, apply more heat to help.
Now for the top part of the graphic as this was split into three.
heat really helps with this but dont overheat it! Just enough to make it soft.
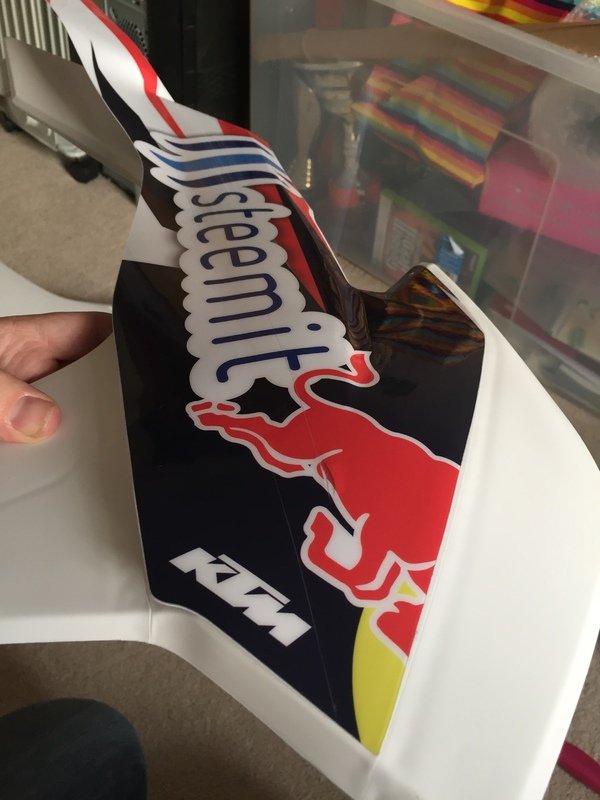
Lined up nice :) phew!
Ok so now for the bottom section of the graphic.
Again heat up the top part and leave half the backing on while you line it up.

Once in place heat up the bottom and then remove the backing and smooth down.
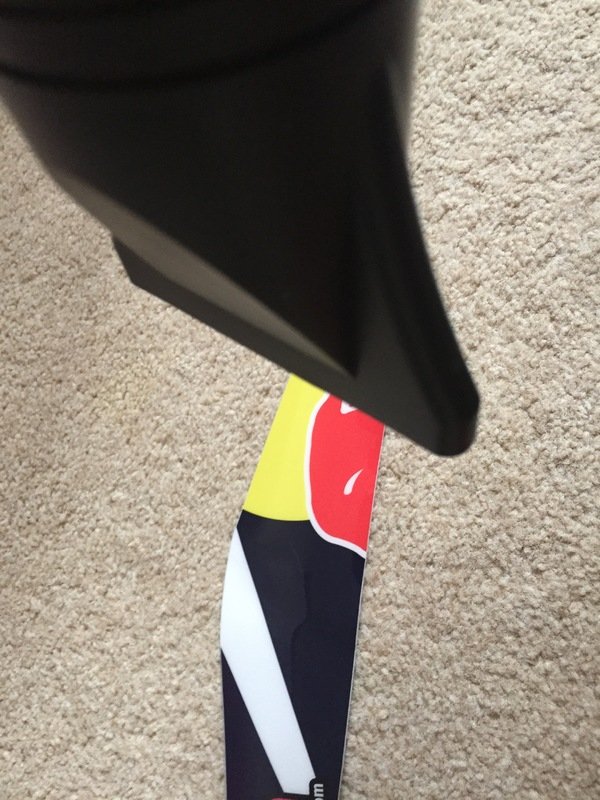
Now for the bad bits... There will no doubt be air bubbles :(
ones near the sides you can pull back the adhesive and smooth out but the others further in will need pricking with a pin and smoothing. Or just live with them :)
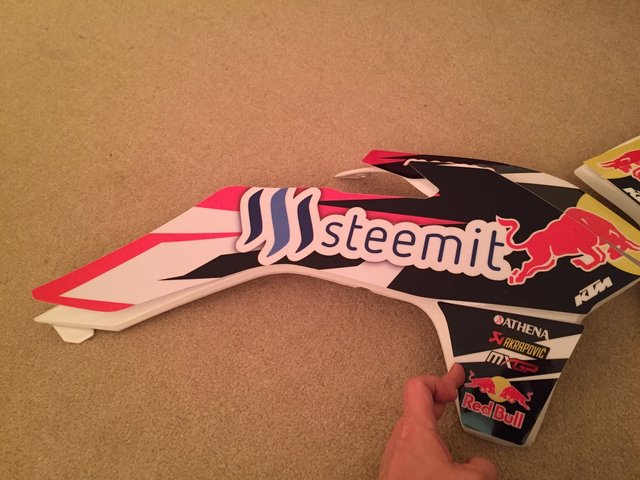
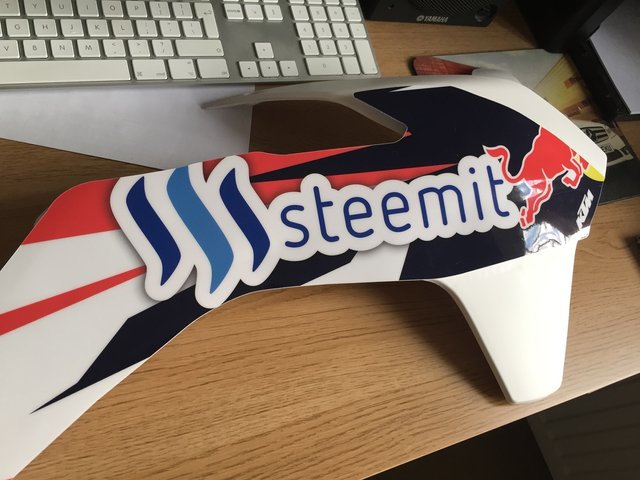
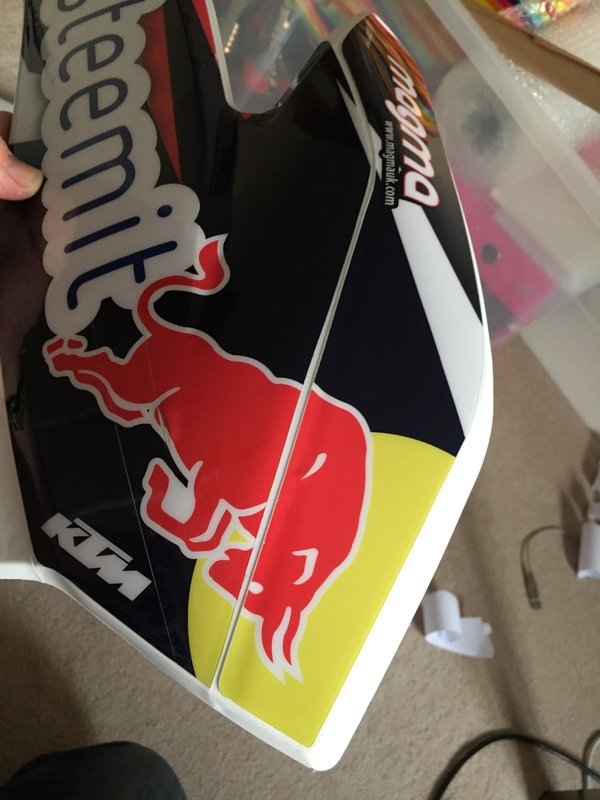
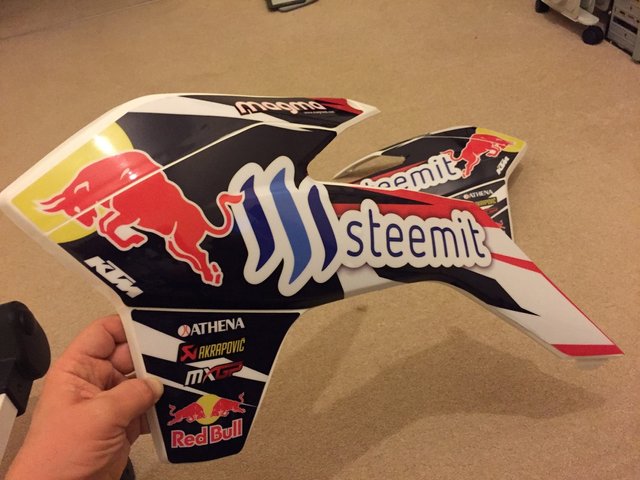
So one side completed!
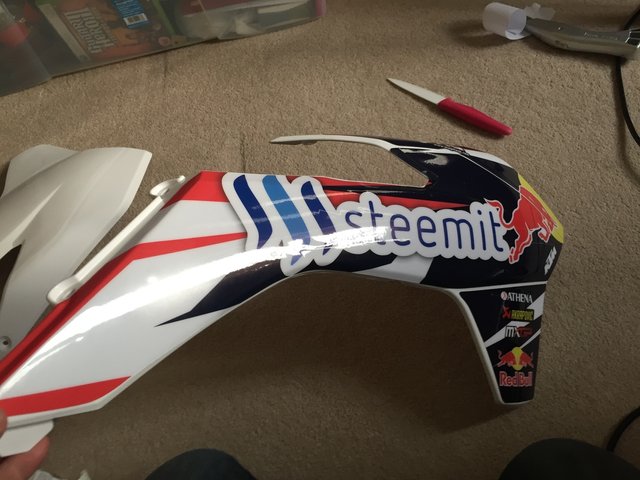
not a bad job if i do say so myself! The curves on the plastic make it quite tricky.
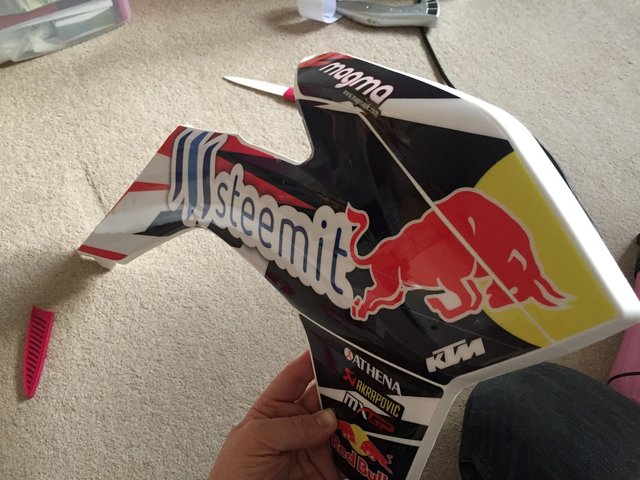
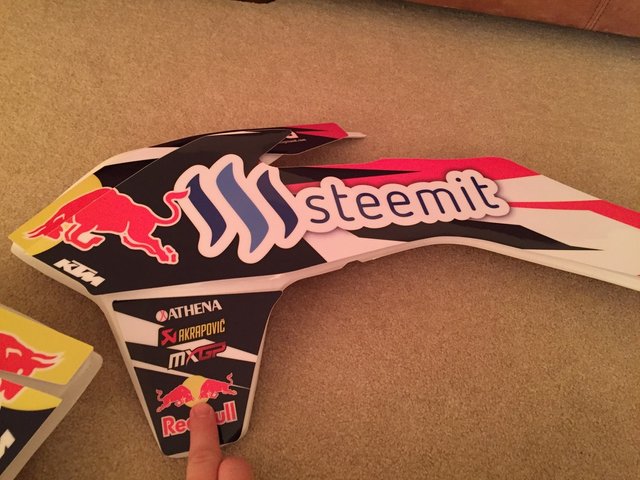
After repeating the process her we go! All done!
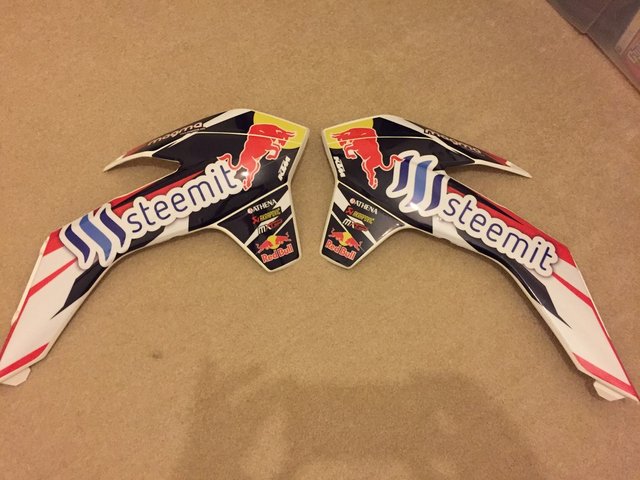
Can't wait to put these on my bike for Sunday!
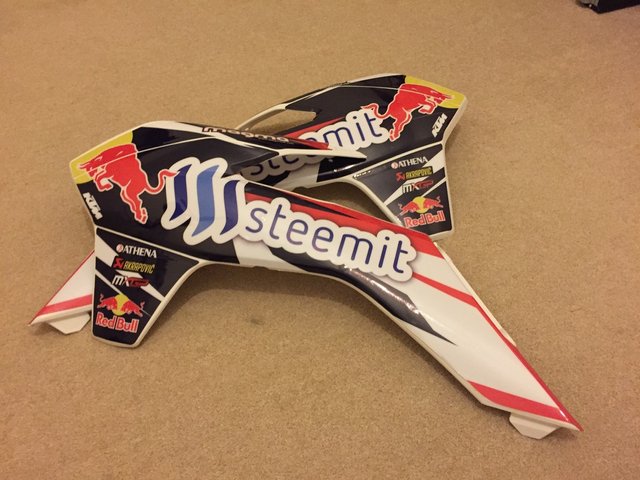
So not one bike but two will be representing #steemit this weekend!
What do you think guys? You like? :)
Badass... nice work! Those curves do look tricky.
you have no idea haha try taking pics at the same time lol!!! :)
Looks pretty darn epic dude, nicely done! I like it.
Thanks duder :)
Will post some pics on the bike later :)
Right on man, I bet it looks really smooth too!
@abit doesnt seem to think so lol, thanks for the down vote...
@smooth also... Thanks guys for down voting my efforts to promote #steemit
Congratulations!
Thanks @ssekulji!
maybe we can get some funding for me to supply you with some graphics :)
believe me i'm looking for sponsorships everywhere... today got four new D-Mack slicks (90% from my own pocket) ;)
ouch! lol
Need some new shoes for my bike soon also... :/