How to Design a Kid’s Toy Using SelfCAD
How to Design a Kid’s Toy Using SelfCAD
Designing toys for children is a unique blend of creativity, functionality, and safety. The process requires not only an understanding of what engages and excites young minds but also a grasp of the technical skills needed to bring those ideas to life. In today's digital age, 3D modeling has become an invaluable tool in the toy design industry, allowing for intricate and precise creations that were once impossible to achieve. One of the leading platforms facilitating this creative revolution is SelfCAD, an intuitive, user-friendly 3D modeling software. This tutorial explores how SelfCAD can be utilized to design a kid's toy, detailing the steps from initial concept to final product, and highlighting the features that make SelfCAD particularly suitable for this task. By the end of this guide, you will have a clear understanding of the process involved in toy design and how to leverage SelfCAD’s tools to create engaging, safe, and innovative toys that can captivate children’s imaginations.
To access the interactive tutorial to this article, visit https://www.selfcad.com/tutorials/44194768e5w472u1a4n6c5g6h5u251091g5l
Once you've launched the editor;
From the 3D Shapes category on the toolbar choose sphere; Set radius to 100, horizontal segments to 67, vertical segments to 47

Click to finalize sphere
From the 3D Shapes category on the toolbar choose sphere; Set radius to 40, position z to 90

Click to finalize sphere
Click scale on the toolbar; Set y to 40 using highlighted gizmo

Set z to 119 using highlighted gizmo
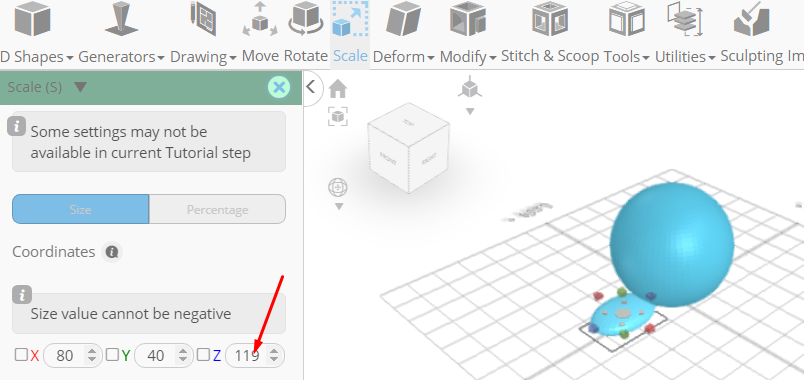
Click ‘x’ to close transformation panel
From the tools category on the toolbar choose copy offsets; Set operation to pivot, Set amount of copies to 5, Click copy button to create copies

Click ‘x’ to close copy offsets panel
From the 3d shapes category on the toolbar choose sphere; Set radius to 8, position x to 20, position y to 120, position z to 90

Click to finalize sphere
Click move on the toolbar; Set x to -16 using highlighted gizmo

Click ‘x’ to close transformation panel
Click on all meshes to select them
Click stitch & scoop on the toolbar; From the tool panel choose union
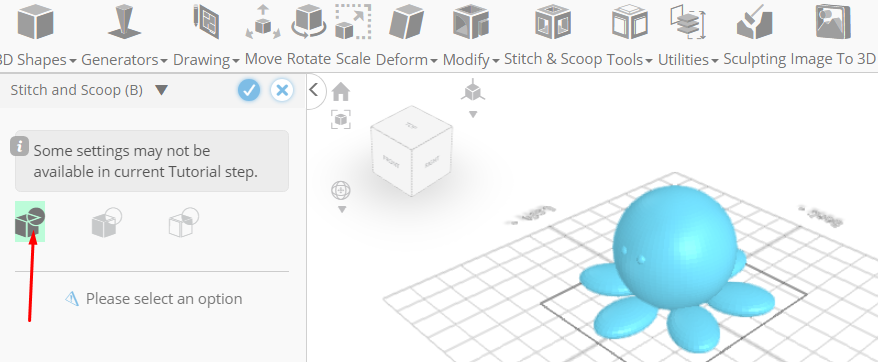
Click to finalize union
As you continue honing your design skills, remember that SelfCAD offers a wealth of resources to support your learning journey. To deepen your understanding and explore more advanced features, consider checking out the interactive tutorials (https://www.selfcad.com/tutorials) available on the SelfCAD website. The tutorials page provides a treasure trove of guides, tips, and tricks that cater to designers of all levels.
More structured learning experience can also be accessed at the SelfCAD Academy (https://www.selfcad.com/academy/curriculum/), https://www.youtube.com/@3dmodeling101, and 3D Modeling 101 series (https://www.youtube.com/playlist?list=PL74nFNT8yS9DcE1UlUUdiR1wFGv9DDfTB). This comprehensive resource offers in-depth courses taught by industry experts, allowing you to master the intricacies of SelfCAD at your own pace.
You've got a free upvote from witness fuli.
Peace & Love!