Travel Trailer Server
The goal of the Travel Trailer Server was to build a media server for our travel trailer (Little Guy Max) that would be efficient yet powerful enough to be able to be fully utilized as a regular computer, all while being fairly modular and compact. The heart of the server is an Intel NUC with a 7th Gen i3, 8gb of RAM and a 128 M.2 SSD. Storage on the NUC itself wasn't really a concern since the media will be stored on an external source. The items listed below can be found here (minus the NUC):
- ADATA 128gb M.2 SSD (https://amzn.to/2wmbMyi)
- DotSTone HDMI 2 Ports Bi-Drection Manual Switch (https://amzn.to/2jFkKxp)
- Patriot Memory Viper DDR4 8gb RAM (https://amzn.to/2FWoQKk)
- Logitech K830 (https://amzn.to/2wlXJsf)
.jpg)
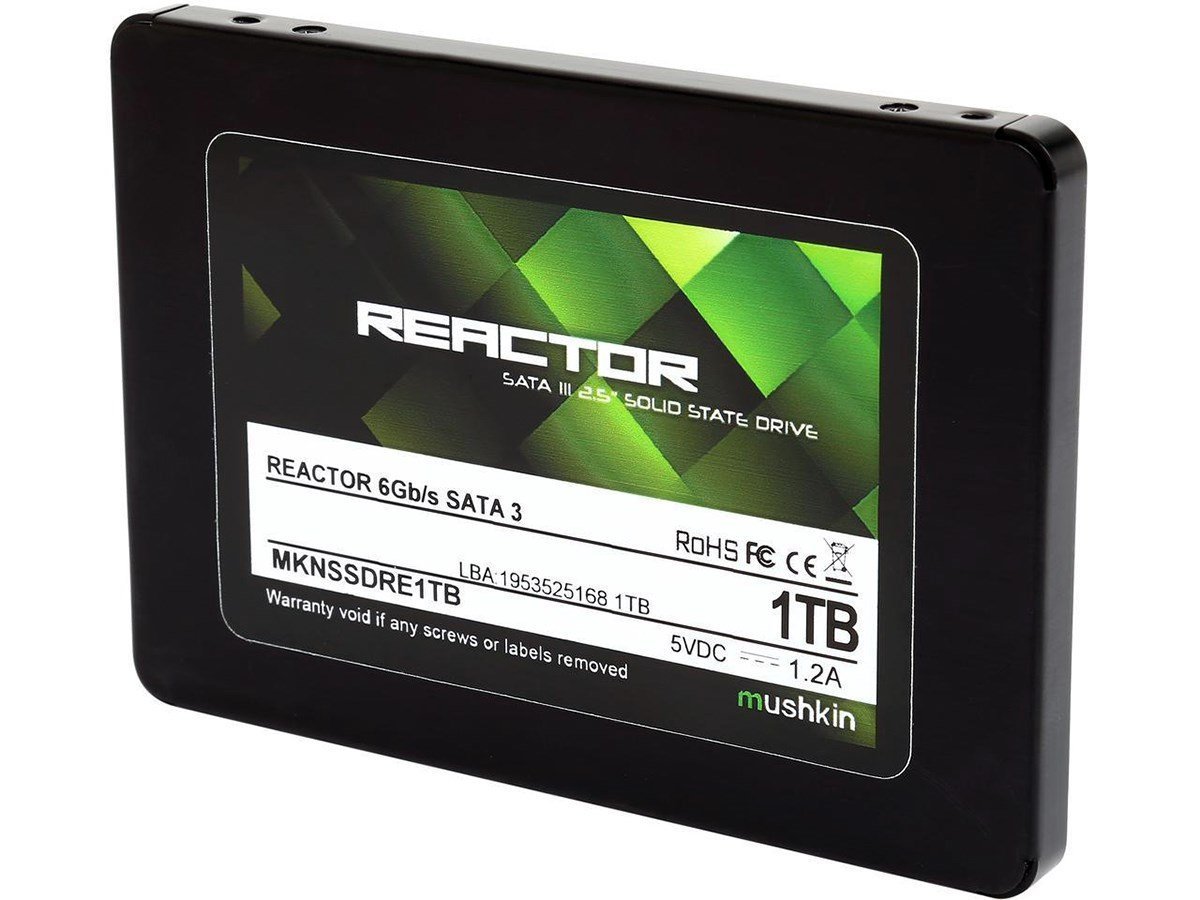
I chose to use a Mushkin REACTOR 1TB SSD for my media drive since it will be in a vehicle bouncing down the road. Since SSD's have no moving parts, it will outlast a standard HDD easily, and it also has much higher transfer speeds than an HDD.
Mushkin REACTOR 1TB SSD (https://amzn.to/2HYA8Do)
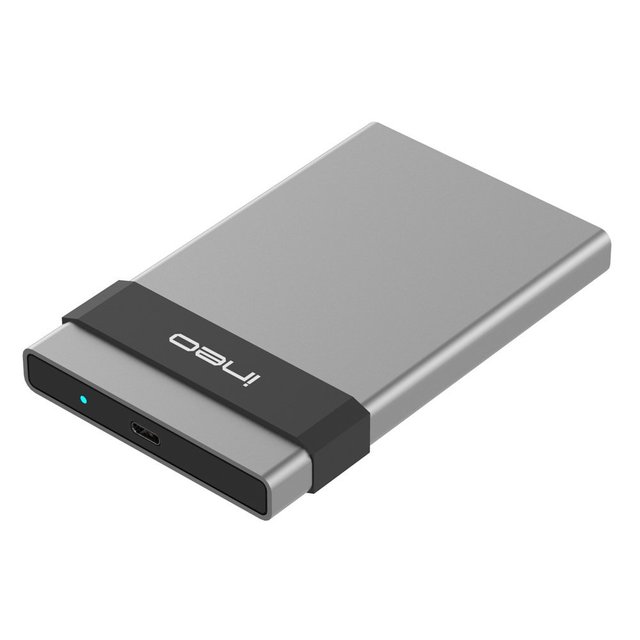
For the enclosure of the SSD, I wanted to utilize USB-C or "USB 3.1" because of it's much faster transfer speeds over standard USB 3.0 down. The Intel NUC also has an integrated USB-C port on the back of it, and since type C is the future...it just made sense.
Ineo USB 3.1 Gen 2 Type C (https://amzn.to/2wlKGHD)
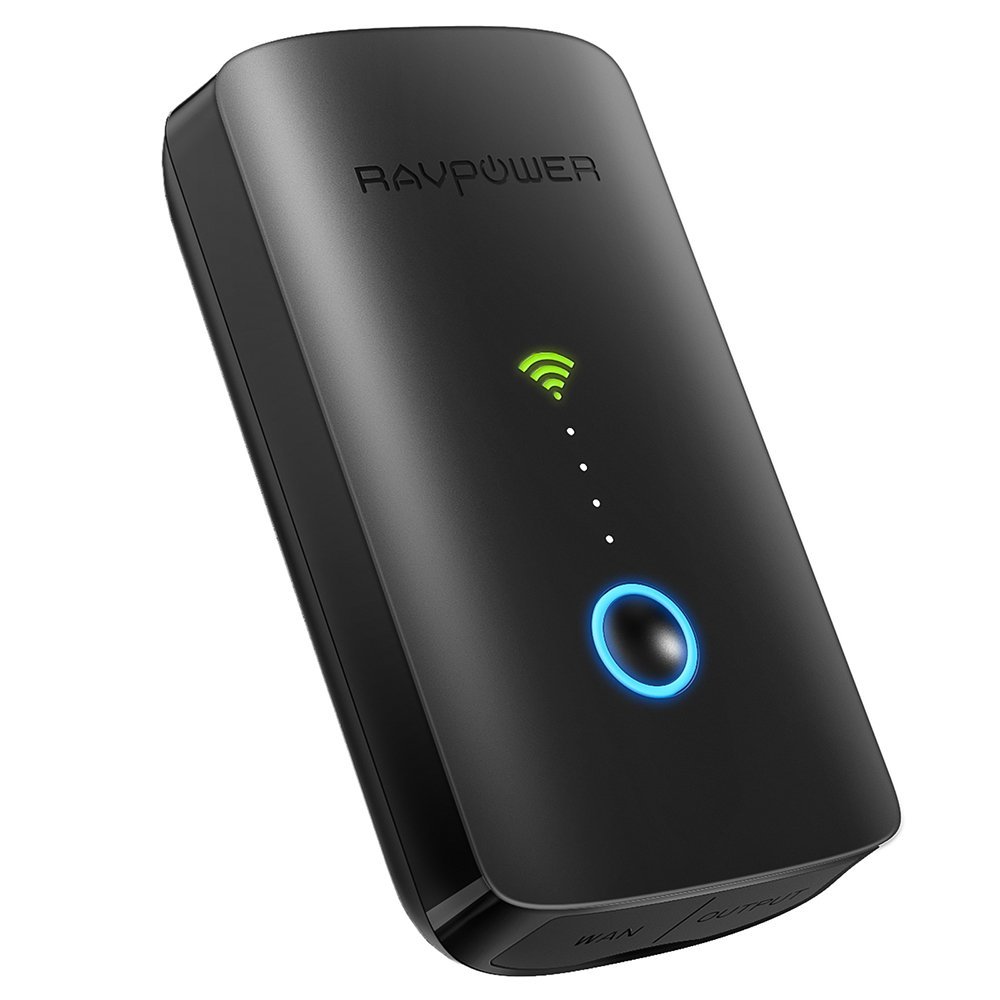
The final little piece of kit to the server build is something that isn't quite necessary, but in my case it is. I wanted to be able to use the NUC as a server, but also run the Emby Theatre application. Now, in order to stream things to other devices or the TV at the front of the trailer, I would need to be able to broadcast a network from the NUC. I was going to set up a standard router (and I still might later on) but I found that having a small, portable and easy to use micro-router would do the trick just fine since the network will never experience heavy congestion. This device can act as a router, an access point and a bridge with minimal knowledge of networking. It has a nice graphical user interface that is easy to navigate, and there are plenty of YouTube tutorials out there to help as well.
The RAVPower FileHub Plus is what I opted for. I tried the HooToo Wireless Travel Router, and although it runs the same software as the RAVPower, the throughput on it was much less than I expected. This is the router I chose to go with:
RAVPower FileHub Plus (https://amzn.to/2I4v2l2)
Now for the mounting of everything in the Little Guy Max. You'll more than likely need to drill a few holes unless you mount everything directly behind the TV. I chose to mount it in the lower right hand cubby, right below where one of your Nintendo Switch's will go. I put a small power-strip behind the TV to allow for just a couple more plugs, and ran the main HDMI cable and NUC power cable through a 1 inch hole I had drilled in the wall of the cubby. I mounted the HDMI switch with 3M Dual Lock Velcro and used cable routing clips to route the cable to help hide them and keep things tidy. The HDMI switch allows both the NUC and the Switch to be plugged into 1 HDMI port on the TV and be able to switch between the two with a push of the button.
PRO TIP: Avoid sharp bends with HDMI cables as it can degrade video quality or ruin the cable all together. Always try to "round" the corners.
.jpg)
The next thing I did was use the same cable routing clips to route the HDMI cable to the outside of the cubby. I used 3M Dual Lock again to mount the RAVPower FileHub Plus to the wall, and some more of it to mount the SSD to the top of the cubby to keep from stacking electronics and help with any heat that may build up. All the cables are routed to the back (Power, HDM, FileHub Plus Power cable and USB- C cable) and zip-tied individually as much as possible. Cable routing is a must if you want things to look clean and remain clean. This could have been done a little better, but it was difficult with the size and length of HDMI cable I was using. I'll probably upgrade to a shorter, 90 degree angle HDMI cable later on.
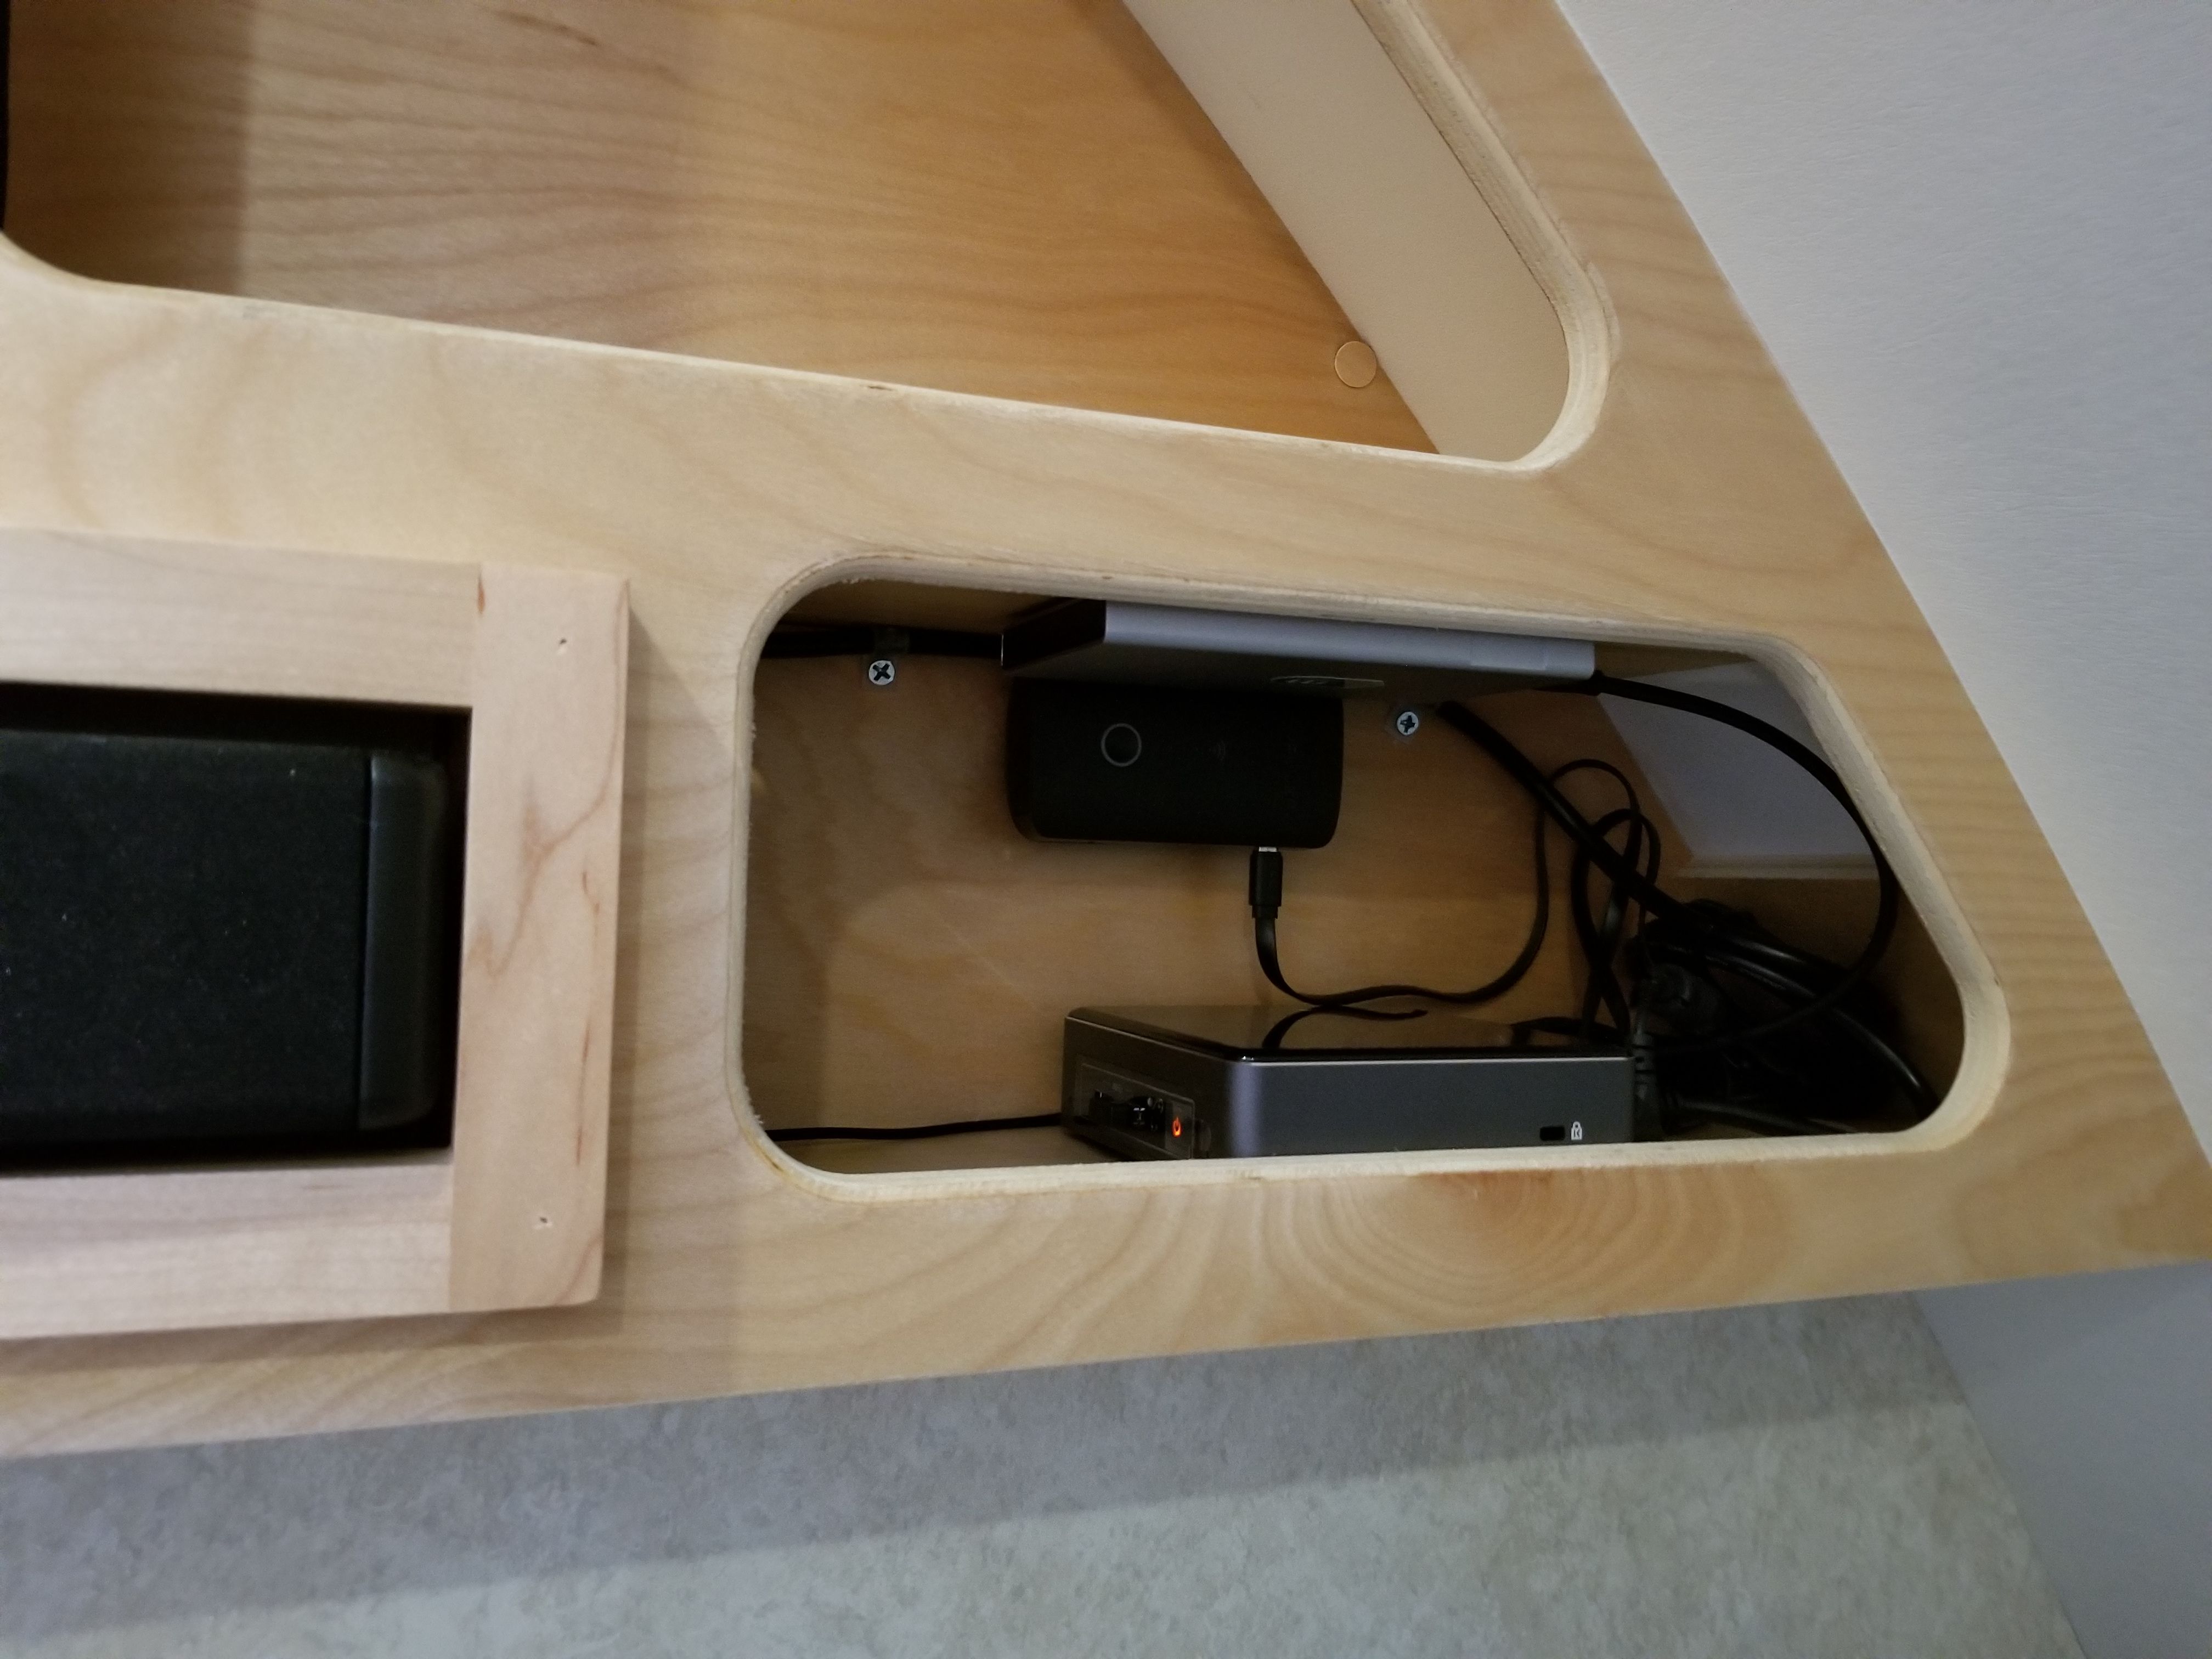
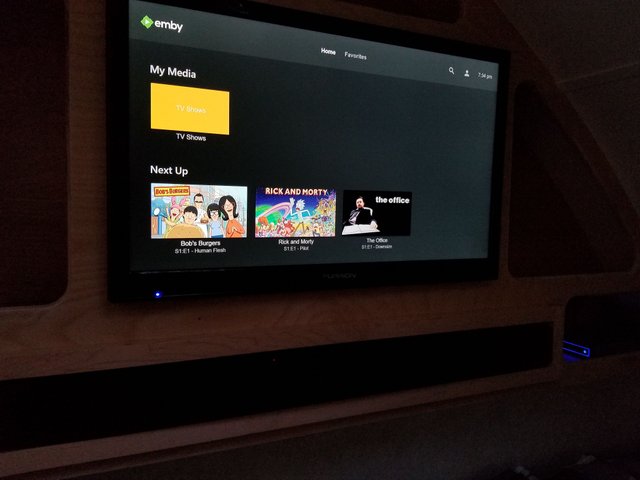
Things will change as I work out any kinks, but this is the basic setup for now. Keep in mind that with the router, I can now use a Chomecast or even a Roku on the front TV and still stream from Emby to them. Without a router it would be a bit more difficult, but still possible. The other main reason I got the router was so that I can hotspot my phone to the router and share an internet connection with all the devices in the trailer. Here's the end result!
Congratulations @loganhommel! You received a personal award!
Click here to view your Board
Congratulations @loganhommel! You received a personal award!
You can view your badges on your Steem Board and compare to others on the Steem Ranking
Vote for @Steemitboard as a witness to get one more award and increased upvotes!