Construction - Triangles - Lesson 5
Construction of triangles:
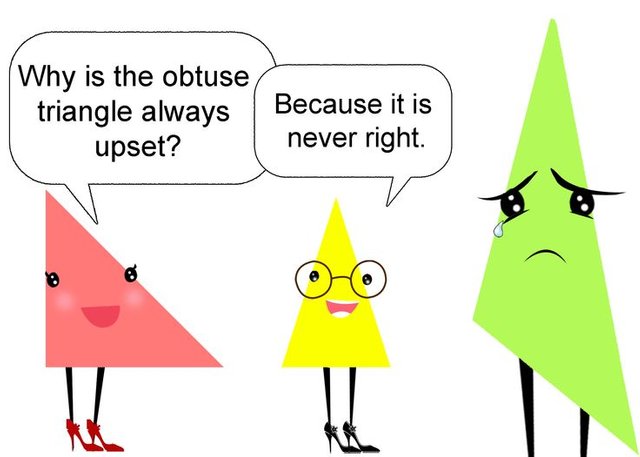
Getting to my last lesson of construction. We are going to have a look at constructing triangles.
As a teacher you can start with prior knowledge learners should have:
- Drawing arcs
- Knowing their different types of triangles:
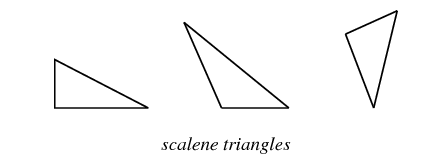
1. Scalene triangle
A scalene triangle is a triangle that have no equal angles and no equal sides
2. Isosceles triangles
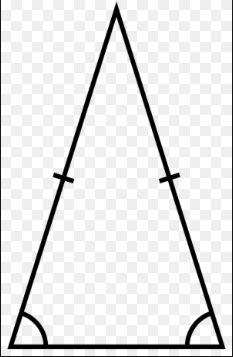
An isosceles triangle is a triangle that have two equal sides and two equal angles (Shown above)
3. Equilateral triangle:
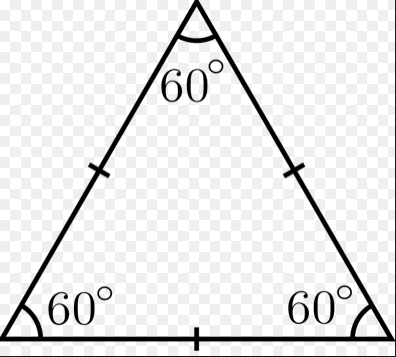
An equilateral triangle have all its sides and all its angles equal. You can tell your learners that the angles of this triangle gets it from its name. Equal - means the same. Therefor all angles will be equal.
- (We will get more into the sizes of triangles angles in another lesson)
4. Acute-angled triangle:
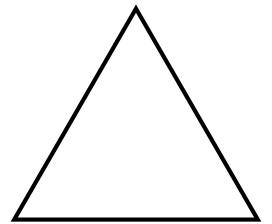
All the angles of an acute-angled triangle are acute (smaller than 90 degrees)
5. Obtuse-angled triangle:
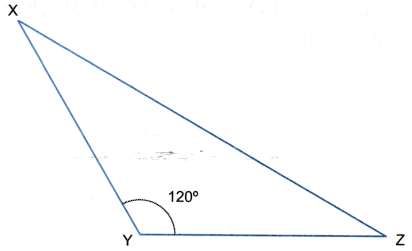
One of the angles of an obtuse-angled triangle is obtuse (Bigger than 90 degrees but smaller than 180 degrees)
6. Right-angled triangle:
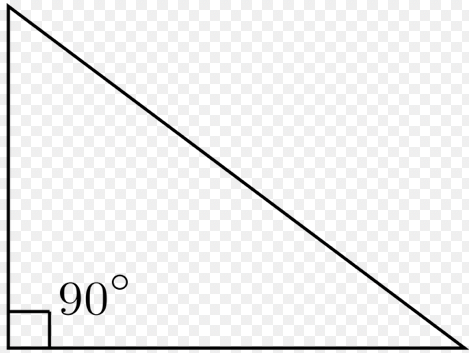
In a right-angled triangle, only one of the angles are equal to 90 degrees.
Now that learners have revised on prior knowledge, we are going to construct an equilateral triangle.
Constructing an equilateral triangle:
Let your learners take out their ruler, pair of compasses and a sharp pencil.
Construct an equilateral triangle of 8cm.
Step 1:
- Draw a line of 8cm long

Step 2:
- Set your pair of compasses to 8cm.
- Place the point of the compass at one end of the line and draw an arc above the centre of the line.
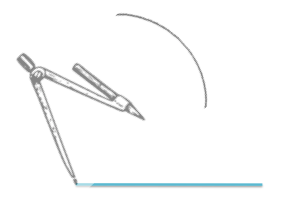
Step 3:
- With your compass still set to 8cm, place the point of your compass at the other end of the line and draw another arc so that it intersects with the first arc you drew.
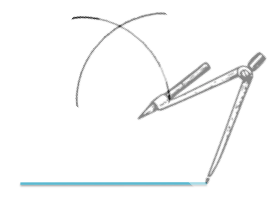
Step 4:
- Use a ruler to joint the of of the line to the point where to two arcs intersect.
- When learners measure the sides of the triangle now, they will see that all three sides will be equal to 8cm.
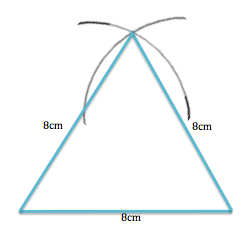
- Instead of writing 8cm by each side, learners can indicate the sides like shown below:
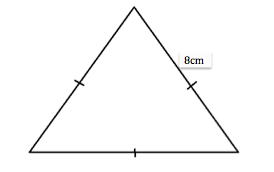
Learners can indicate the same length using small lines on the triangle .
Constructing an isosceles triangle:
When constructing an isosceles triangle, we are going to follow the same steps as shown above.
This time, we know that an isosceles triangle have two of its lengths equal.
Let's draw an isosceles triangle with lengths 4cm, 7cm and 7cm
Teachers can tell their learners that the first number given, will be the base of the triangle.
Step 1:
- Draw a line of 4 cm.

Step 2:
- Now that we've used the first number for a base line, learners can use the 2nd number given, to use on the left-hand side of the base line.
- Measure 7cm on the compass and place the sharp point of the compass on the left hand side of the base line.
- Draw an arc above the centre of the line
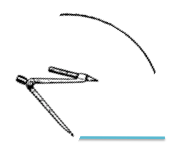
Step 3:
- Because we are constructing an isosceles triangle, the 3rd length of the triangle will also be equal to 7cm.
- Leave the compass set to 7cm, place the sharp point of the compass on the right-hand side of the base line and draw another arc so that it intersects with the first arc your drew.
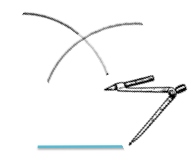
Step 4:
- Use your ruler to join the end of the base line where the arcs intersect.
- Learners can now measure the sides of the triangle.
- They will see the base of the triangle is equal to 4cm and that the other 2 sides will both be equal to 7cm.
- To indicate an isosceles triangle, they have to put 2 small lines on the sides that are equal.
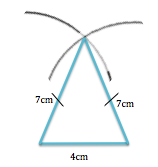
Constructing a scalene triangle:
Immediately learners must be able to tell you that a scalene triangle have no sides that are equal.
Again, when given the measurements, let your learners use the first number as the base of the triangle, the 2nd number on the left-hand side and the 3rd number on the right-hand side of the base line.
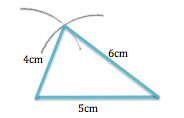
Use the measurements: 5cm, 4cm and 6 cm
Step 1:
- Draw a line using the first number as the base of the triangle
- Draw a line of 5cm

Step 2:
- Use the 2nd number given to use on the left-hand side of the base line.
- Measure 4cm on the compass and draw an arc above the centre of the line.
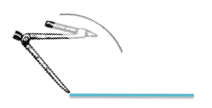
Step 3:
- Use the 3rd number given to use on the right-hand side of the base line.
- Measure 6cm on the compass, place it at the right-end of the base and draw an arc so that it intersects with the first arc you drew.
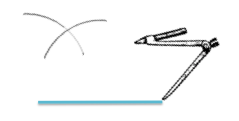
Step 4:
- Use your ruler to join the end of the line to the point where the arcs intersect.
- Learners can measure the sides of the triangle now.
- They will be able to see that the first number given is the base which is 5cm, the left side of the triangle will be 4cm and the right side of the triangle will be 6cm.
- Because all of the sides are different lengths, they will not indicate it using the small lines on the sides
- They will only write the measurements of each side.
Conclusion:
- Emphasize that constructions must be done with a sharp pencil
- Constructions must be done neatly
Teachers can give the following activity to their learners
Activity 1
Use a pair of compasses and a ruler to construct triangles with these side lengths, if possible. Write 'not possible' for any set of lengths that do not make a triangle.
- 5cm,7cm,7cm
- 6cm,2cm,3cm
- 3cm,4cm,5cm
- 6cm,8cm,10cm
- 5cm,6cm,10cm
Learners can also classify each of these triangles.

Aww, its been very long since I heard of the terms of these triangles!
wow, it is informative. :)