#makeitmonday Crochet rugs out of old sheets/fabric
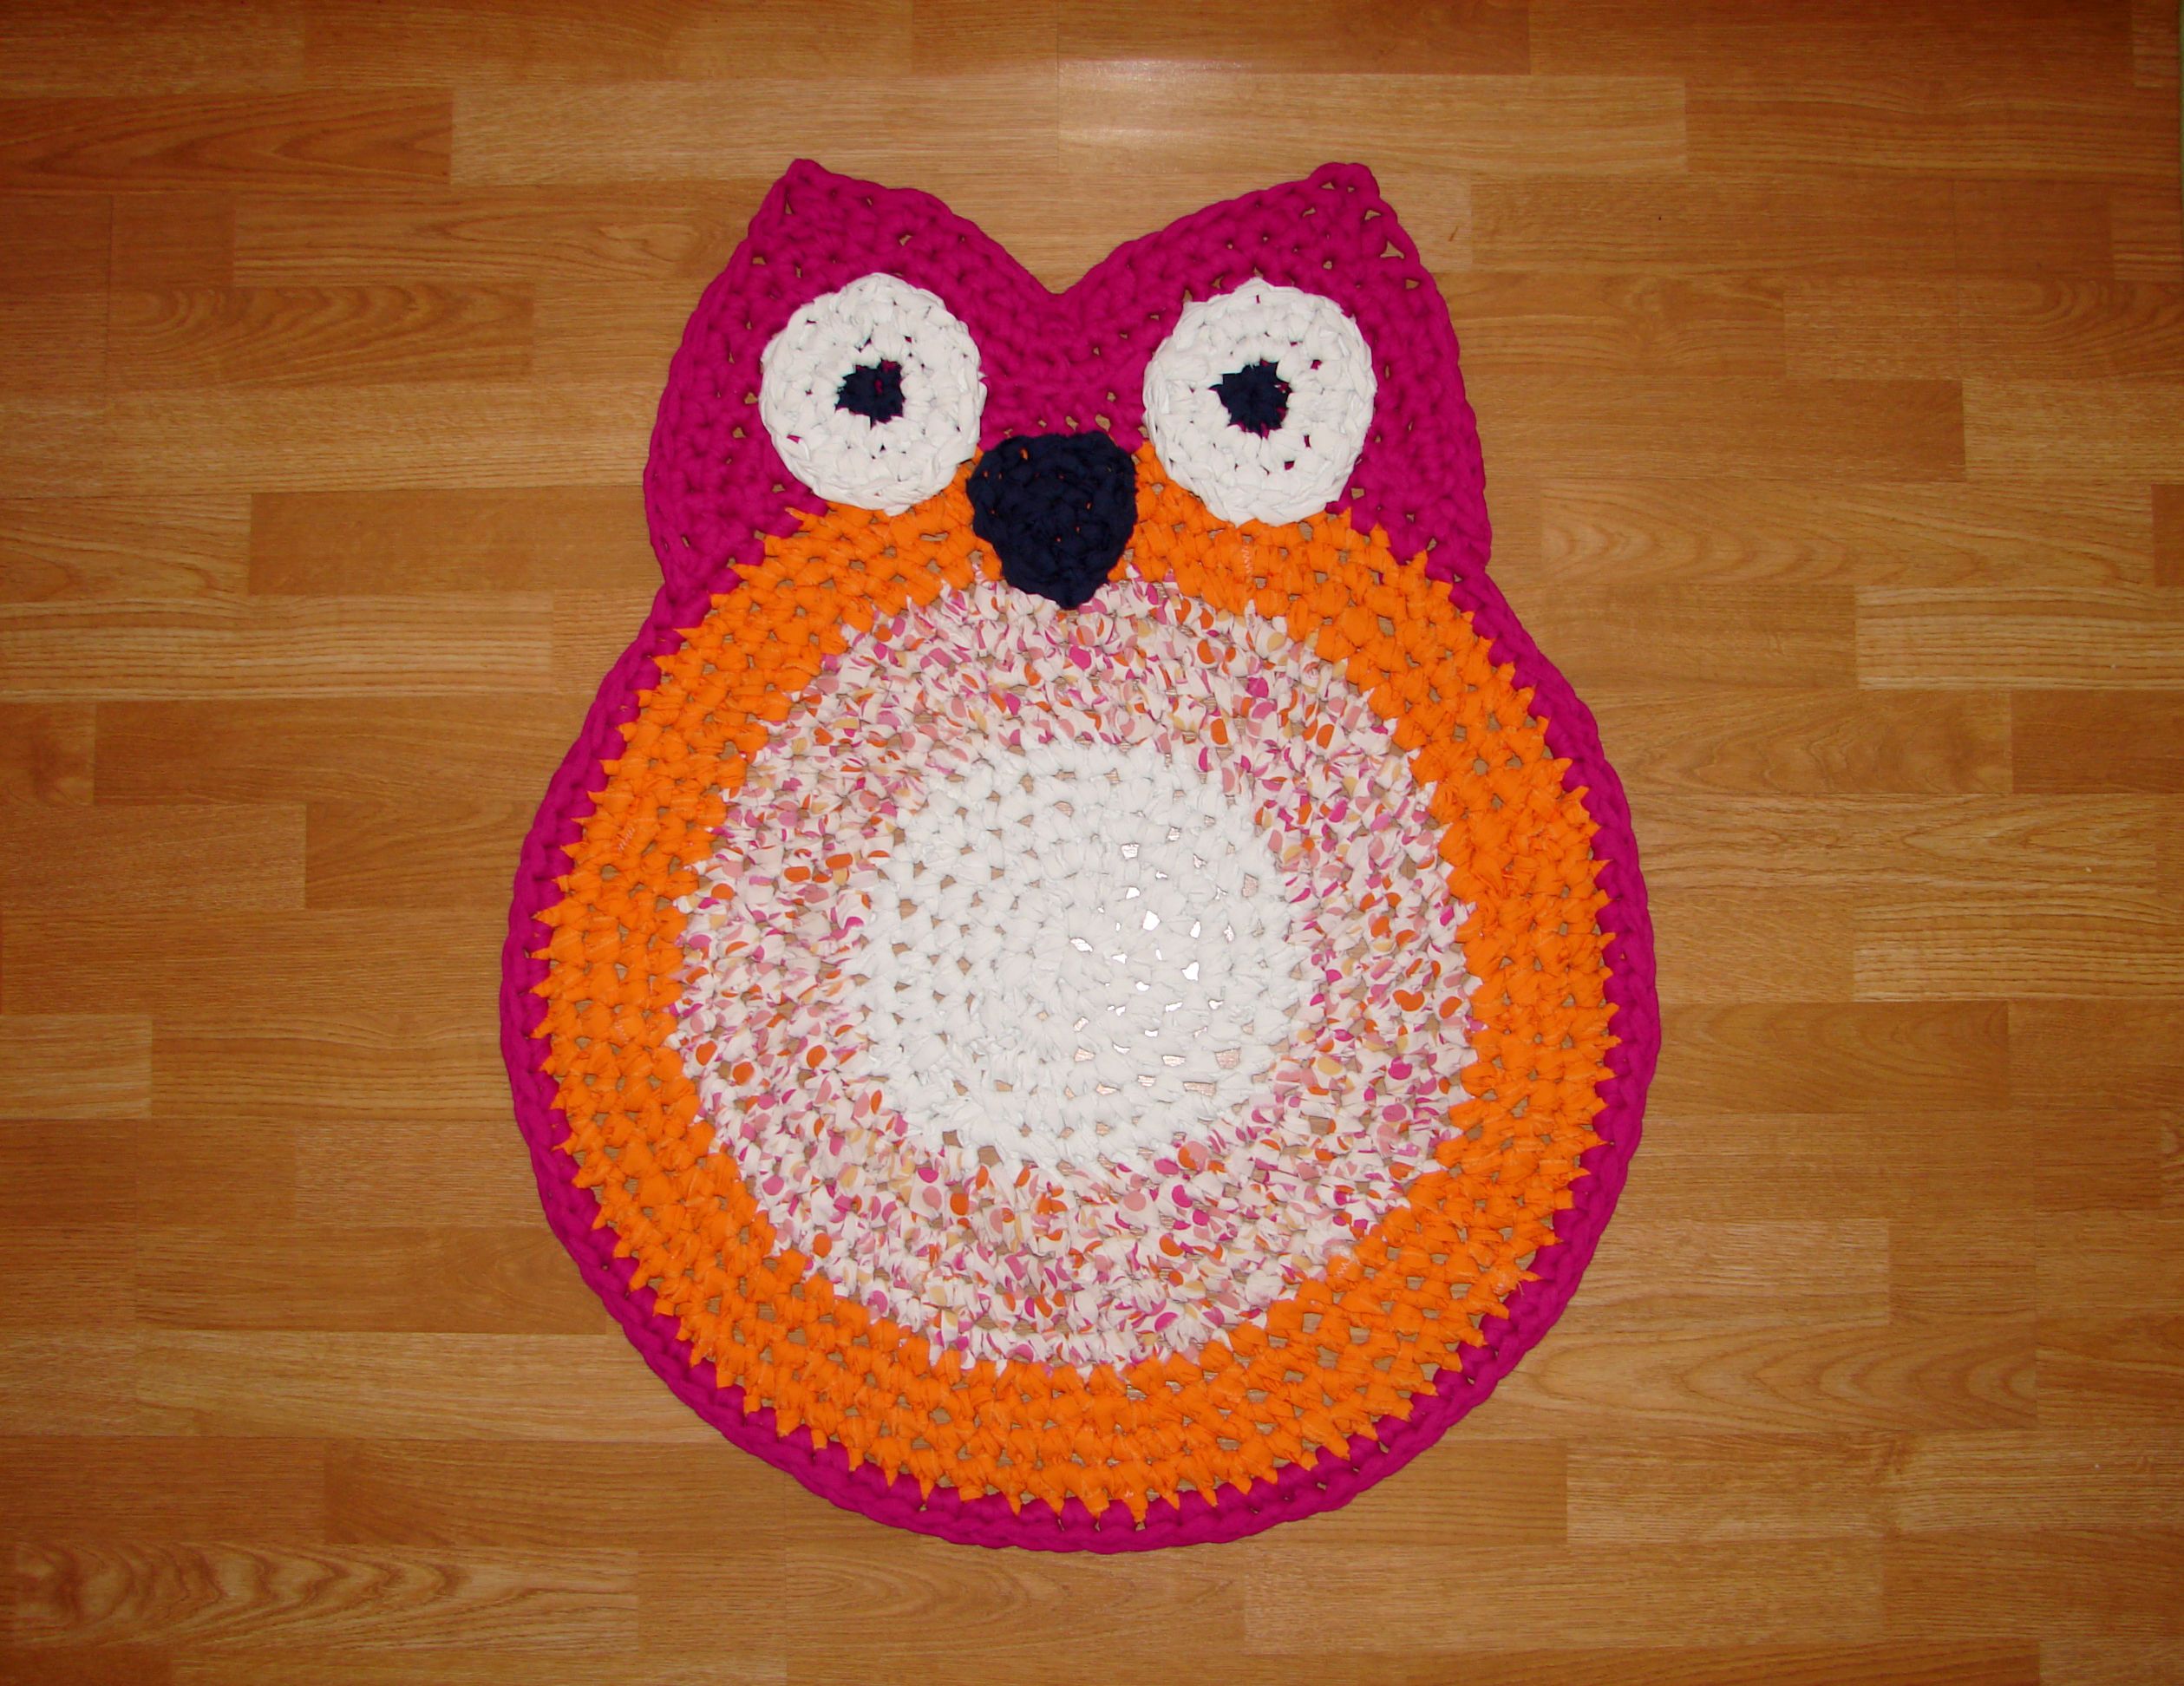
click image for larger view
I taught myself to crochet (thanks YouTube!) and have made all sorts of fun things. Fingerless gloves, amigurumi figures, skirts, ornaments, and rugs. I will not be discussing how to crochet, that is a whole other post. Today, I wanted to explain how I prep to make my rugs - I do go a little overboard with the strips, fair warning.
I inherited a number of sheets and tablecloths from my grandmother when she passed away, as well as a number of sheets that have just gotten old or torn for one reason or another. kids... /sigh... I felt bad throwing away yards of decent fabric, just because there was a stain or a rip in them - or because they weren't very soft anymore. I had a co-worker who was making a kitchen rug out of her old sheets and I was inspired to make some of my own.
You can use a lot of different fabric like:
- sheets
- tablecloths
- old fabric
- pillow cases
Here are the tools I use constantly.
- scissors
- seam ripper
- giant crochet hook, size Q
- sewing machine (not pictured)

First, I washed and dried all the sheets using super hot water and dried them on high heat. When they were dry, I folded them and put them into a tub so I could see all the colors/patterns.

click image for larger view
Next, I figure out which sheets will look good together and remove any elastic corners or remove the top edge seam (flat sheets have that top part that let's you know it's the top - take that seam out!) Taking all the seams out gives you maximum length from the fabric and gets the fabric ready to be cut into long strips.
Then I cut the fabric into approximate 2 inch strips. Really, you don't need to cut the entire strip, you can tear most of it. Start with cutting about 2 inches along the entire edge of the fabric.

click image for larger view
When tearing them, most fabrics will keep the same width you made with the initial cut.

click image for larger view
You should end up with a pile of strips like this:

click image for larger view
Note: If you rip the fabric you will have lots of little strands of string along the sides of each strip, this is from ripping the fabric. You can either remove them all by hand now, or if you choose to sew the strips together, you can pull them off when sewing. Or, you can leave them alone and they will get crocheted into the rug - it's up to you how much effort you put in. I removed them while sewing.

click image for larger view
Now that you have a giant pile of shredded fabric, it's time to crochet. Not so fast!
There are two methods for this step. Some people cut a small slit in the ends of the strips and just pull them ends through each other to make a long strip. Not my favorite - while faster, it adds more jagged edges to the rug and doesn't look as clean. So... what I do is, I pull my sewing machine out, and set it up with thread to match the fabric - as close as possible with my thread selection. Then I painstakingly sew each strip to one another.

click image for larger view
Now that I have created one giant, long strip - I roll it into a giant ball of fabric. Here I have a tub of left over fabric balls ready to be used, along with entire sheets that I prepped so I wouldn't have to sew again for a while.

click image for larger view
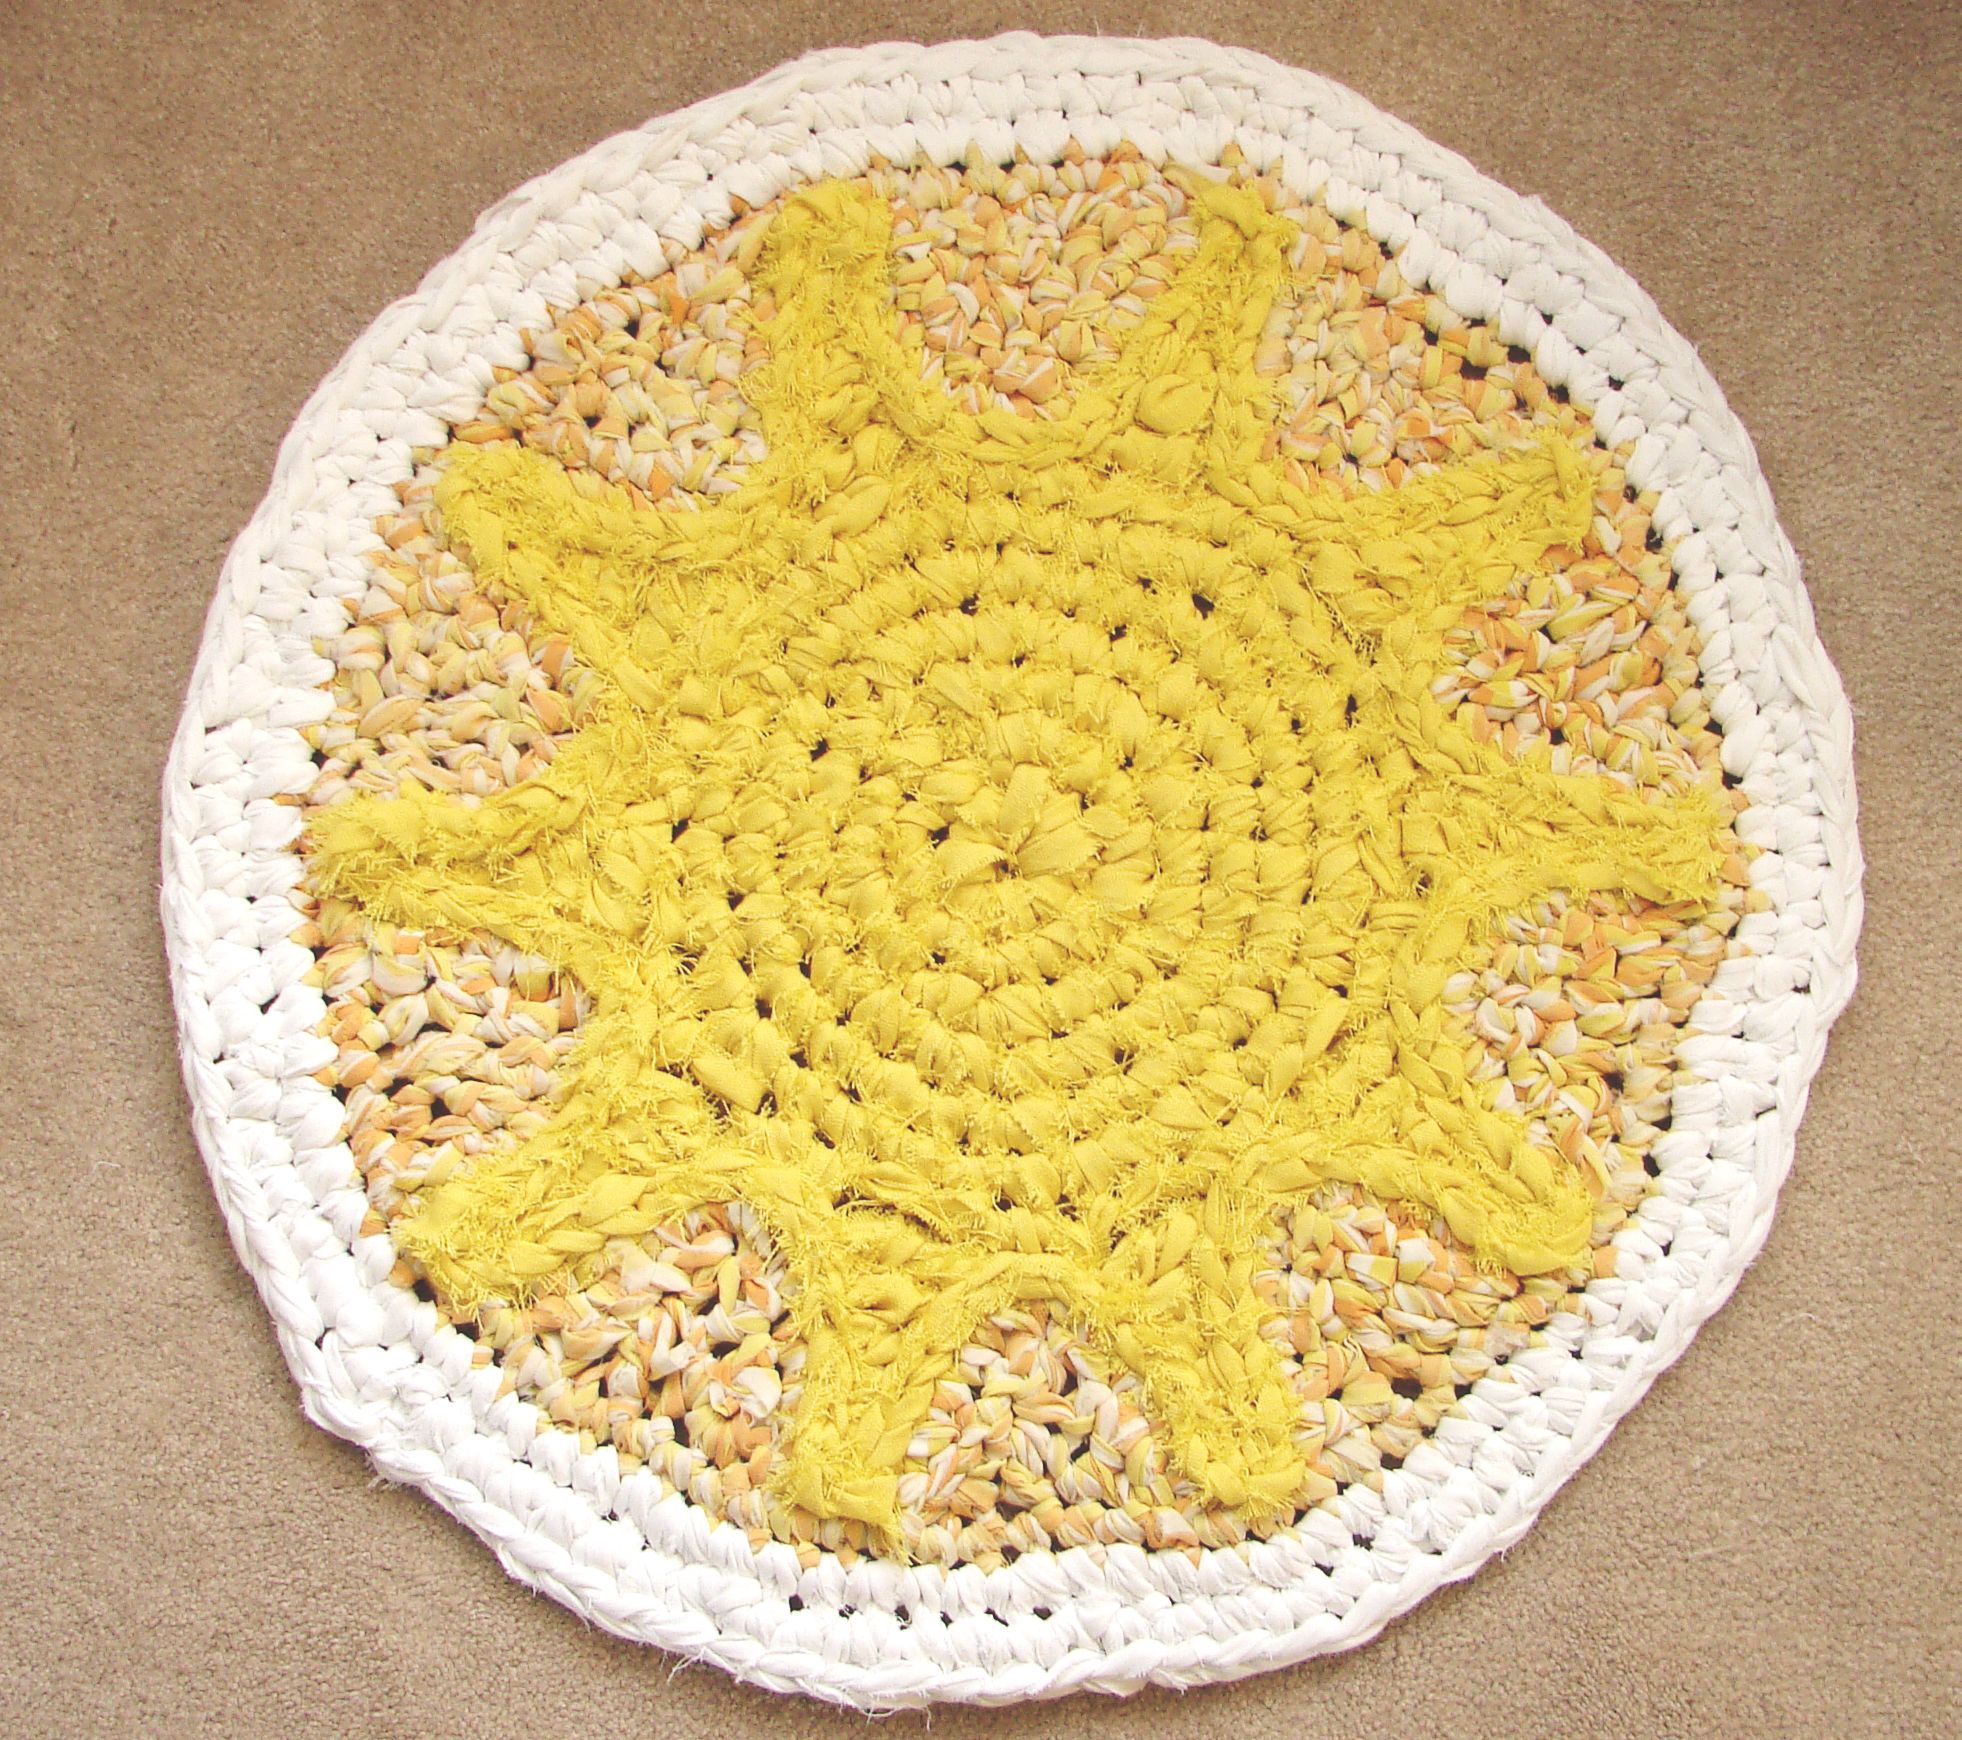
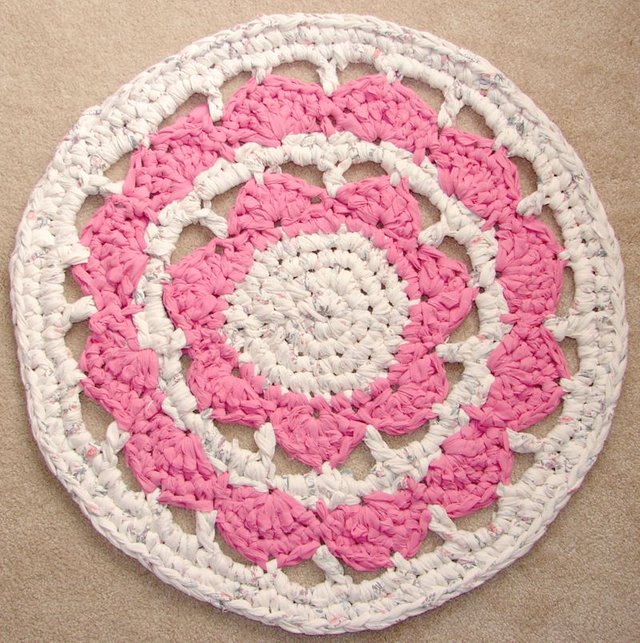
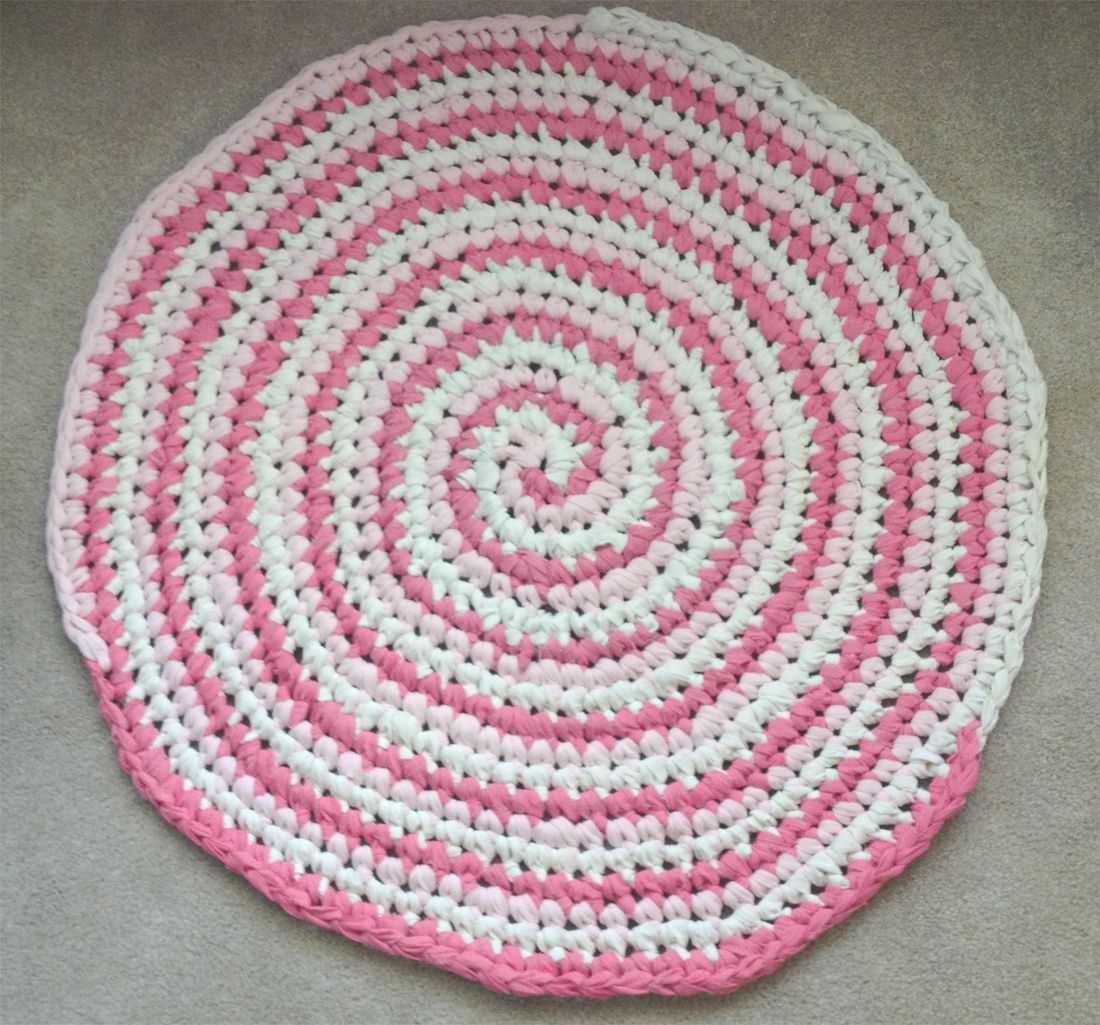
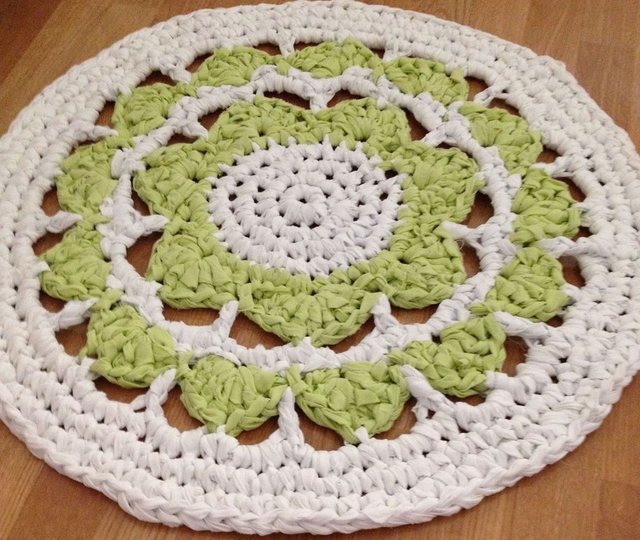
Then I crochet! Yay!! I created all my rugs below from scratch, and just used single crochet stitches in a round pattern. The rest is just playing around with different stitches to get the effect you want. The sun rug was particularly difficult to get all the points just right. Be prepared to undo your stitches if you are not doing a simple pattern. The eyes and beaks on the owls were added on top of the crochet and sewn down.
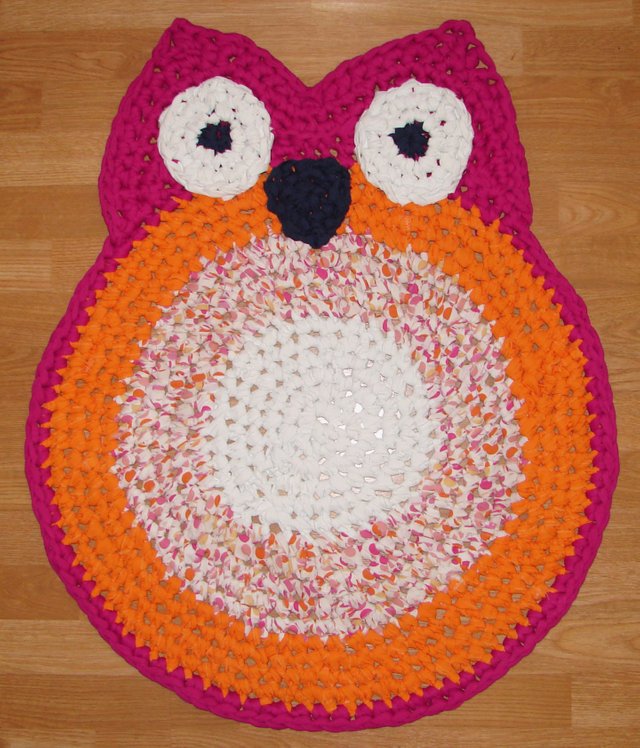
click image for larger view
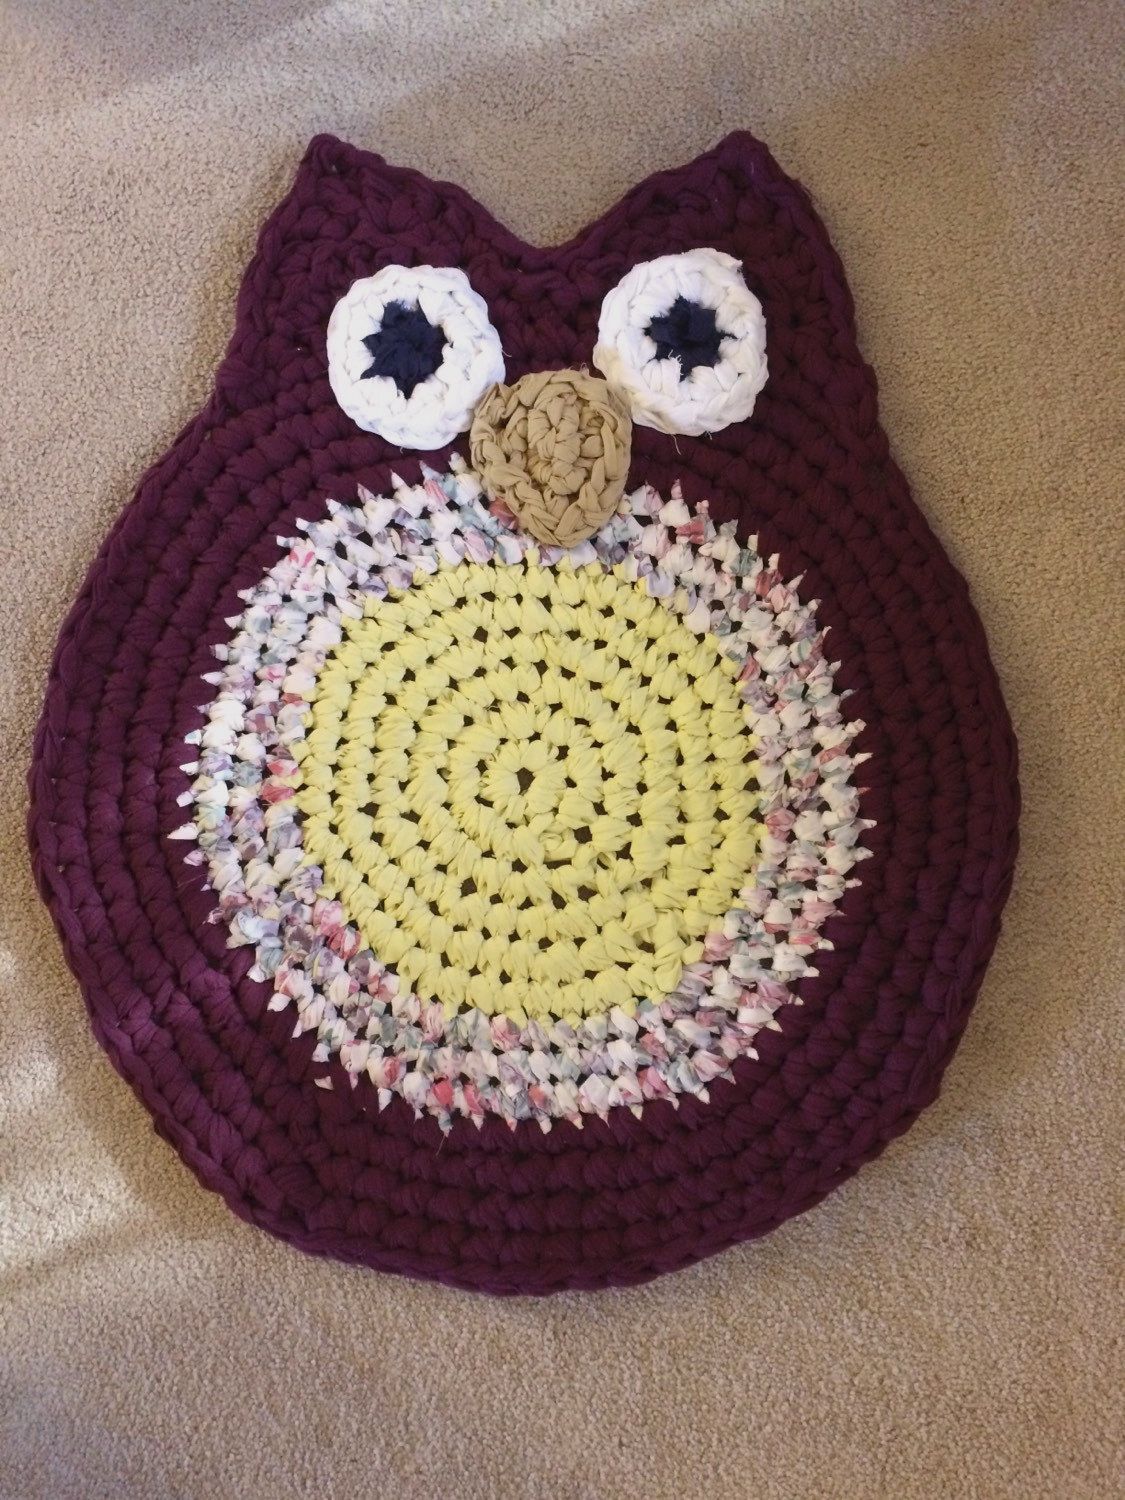
click image for larger view
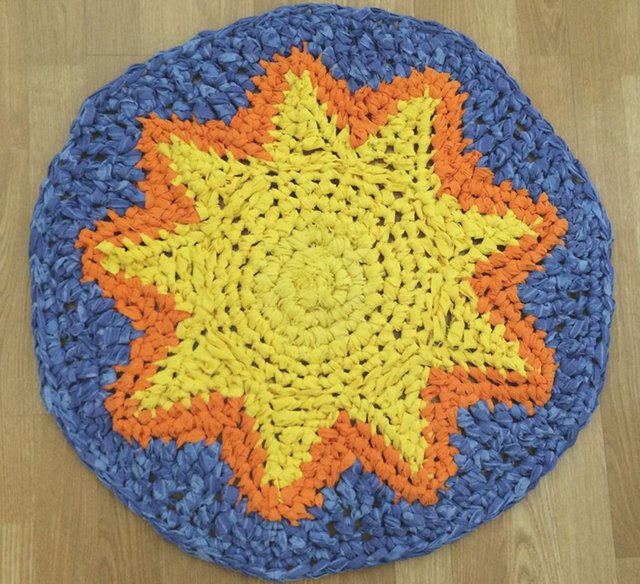
click image for larger view
click image for larger view
click image for larger view
click image for larger view
click image for larger view
I hope you enjoyed reading my #makeitmonday post - crochet on!!
Congratulations! This post has been upvoted by SteemMakers. We are a community based project that aims to support makers and DIYers on the blockchain in every way possible. Find out more about us on our website: www.steemmakers.com.
If you like our work, please consider upvoting this comment to support the growth of our community. Thank you.
Hi, I'm @creationofcare and I just posted a directory of leathercrafters featuring YOU here:
https://steemit.com/leatherguild/@creationofcare/leather-guild-of-steemit
Come on over to see the list of fellow leather guild artists, and let's support one another. #leatherguild
Awesome - thanks for the add @creationofcare! I will definitely check it out. Cheers!