Creating Logo With Adobe Illustrator
Creating Logo With Adobe Illustrator
on this occasion I had time-saempatin to make a special tutorial for all of you who need it.
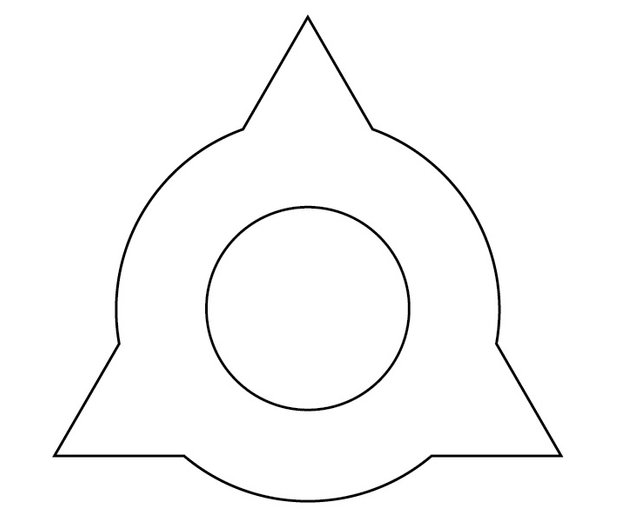
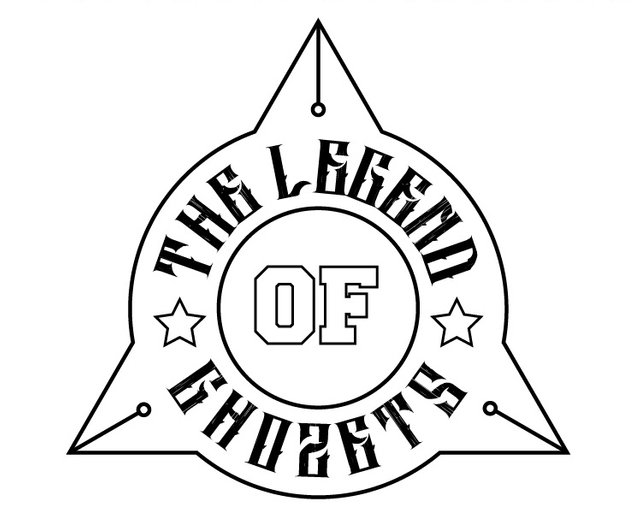
As always I will show the final result first.
![]()
STEP 1
As always, open your Adobe Illustrator application program.
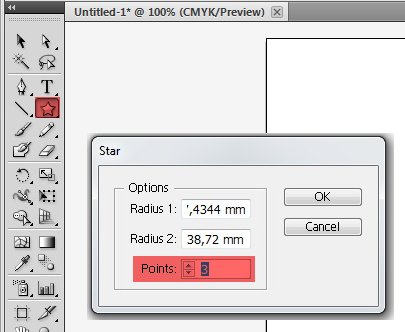
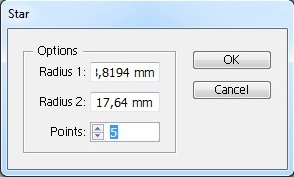
STEP 2
Create a triangular object using the "Star Tool". Click once disembarang place, PopUp settings will appear to set how many point points we will need. In the dialog box "Point" fill the point with 3. For more details can be seen picture below.
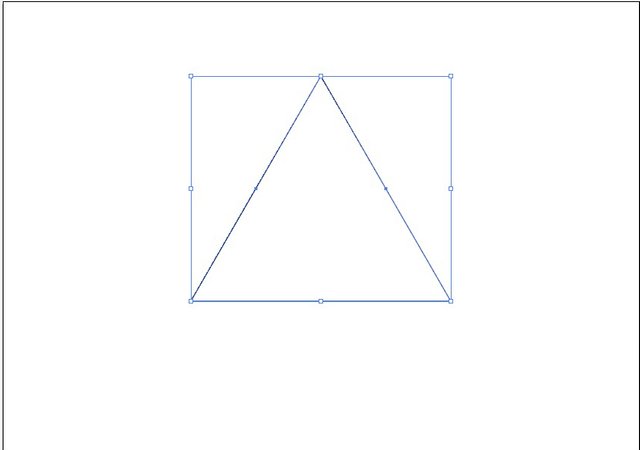
STEP 3
Now while holding down the "Shift" key on the keyboard, then click and drag it down. The function of the "Shift" key here is to make the length and width of the object to be the same, from one angle to another.
STEP 4
Using the "Ellipse Tool" create a circle object, do the same as step 3 while holding down the "Shift" key and drag from top to bottom. Then position the object of the circle right in the middle of the triangle object.
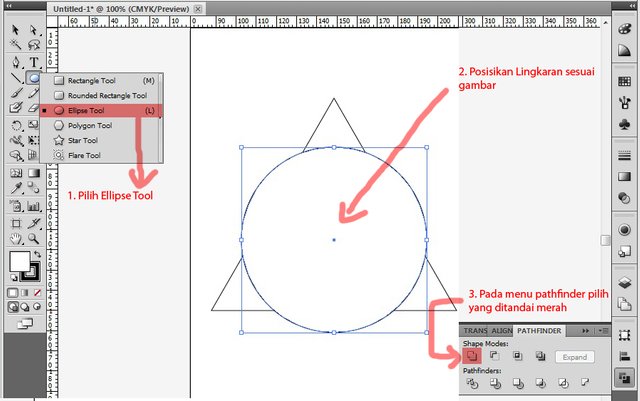
STEP 5
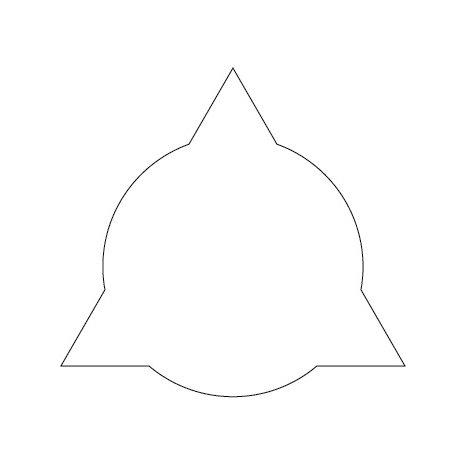
Selection of both objects between the triangle object and the object lingaran by pressing the "Shift" and click one by one object, or by another way that is by click and hold from top to bottom so that both objects are selected. After that combine the two objects with "Pathfinder" and select "Unite". If the pathfinder tool menu does not exist yet, you can display it on the Windows >> Pathfinder menu or with the shortcut Ctrl + Shift + F9.
STEP 6
Next create a circle object again with "Ellipse Tool".
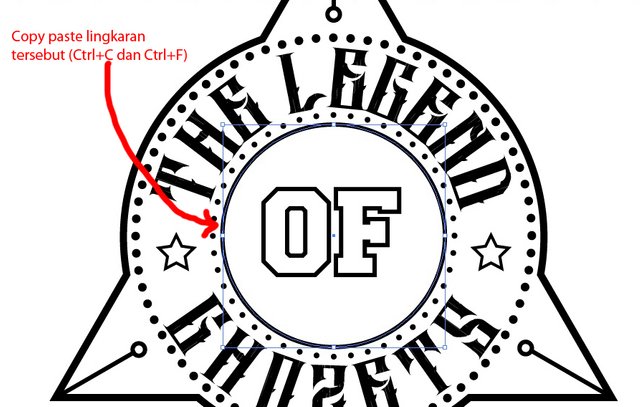
STEP 7
Copy and Paste the object of the circle, before you copy the object you need to know that how to copy paste there are some ways on adobe illustrator which I will discuss this time is copy paste through shortcut on keyboard. Ctrl + C and Ctrl + V Ctrl + C and Ctrl + F Both ways are essentially the same, duplicating objects. What distinguishes the placement, when we use the command Ctrl + C and Ctrl + V then the result of duplicate objects that we produce placement will be very messy, the bottom of the duplicate results are stored anywhere. Unlike the Ctrl + C and Ctrl + F commands, the resulting duplicate results will remain there as well as the positions we copy. Hopefully you understand what I am talking about. Go back to the tutorial, Copy and Paste the circle object by Ctrl + C and Ctrl + F.
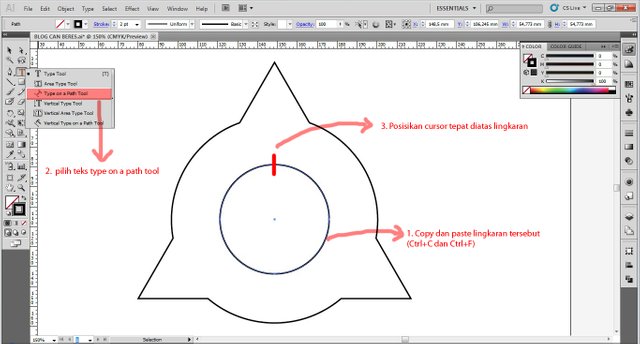
STEP 8
Now we will create a Text that circles the circle. Click "Type on a Path Toll" and save the Cursor on the circle object. And start typing a text you want.
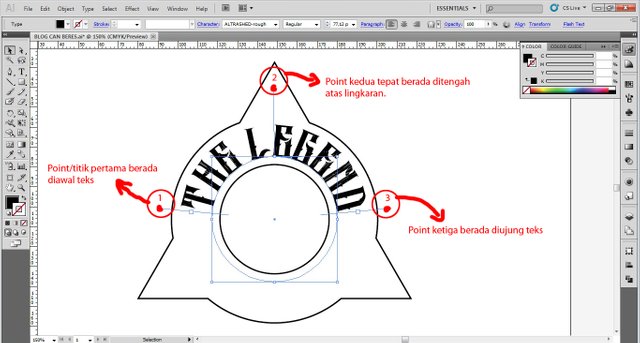
STEP 9
Customize the font style and font size you want. Arrange the three points towering up. And point / point of the second (middle) try right in the middle of the circle. See the picture below.
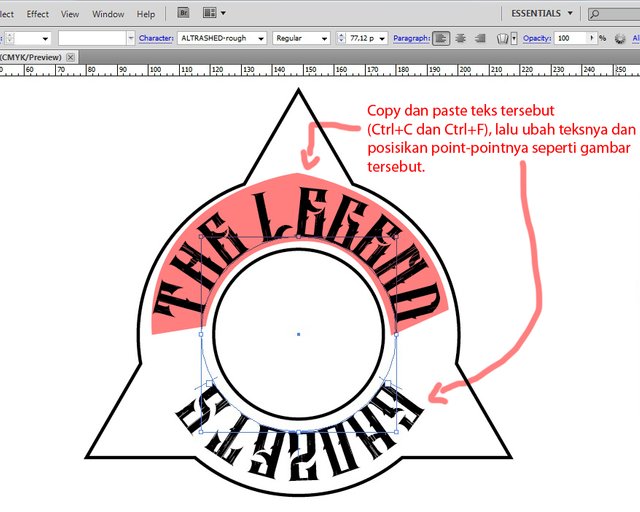
STEP 10
Copy and Paste the text we have created, by Ctrl + C and Ctrl + F. And adjust the position and point as shown below.
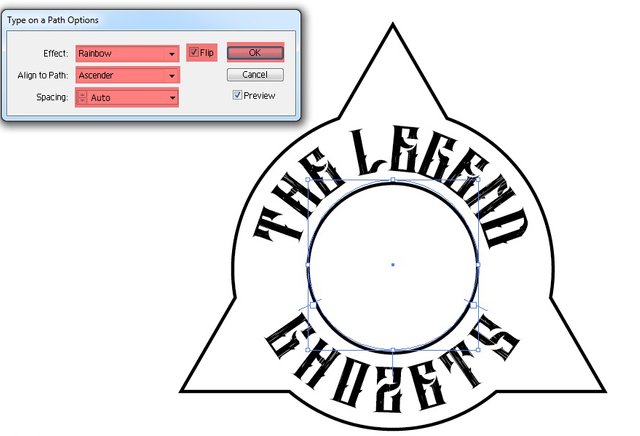
STEP 11
The next step we will fix the text is upside down, so the position of his text is not somersaults. By click menu Type >> Type on a Path >> then select Type on a Path Option

STEP 12
Adjust the settings as shown below. If you are less pleased you can set it yourself.
STEP 13
The next step is to create two star objects, using the "Star Tool" create two star objects, change the point to be 5. And put as shown below.
STEP 14
Next we create a line and a small circle object. And put in accordance with the picture below.
STEP 15
Copy and paste twice the two objects between the line object and the small circle object. And position the two objects as shown below.
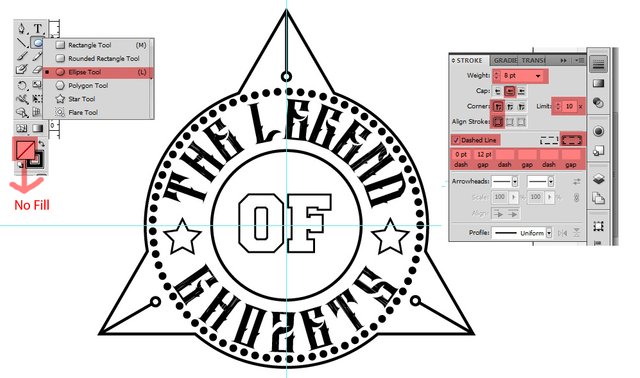
STEP 16
Now create a small circle object that will encircle the text. Use the "Ellipse Tool" and create a small circle. Next stay setting, give the circle stroke with size 8pt, and biarka the circle without using the color. After that set on the tool stroke tool as shown below.
STEP 17
Copy and paste the circular object circle by Ctrl + C and Ctrl + F. Change the border / stroke and position as shown below.
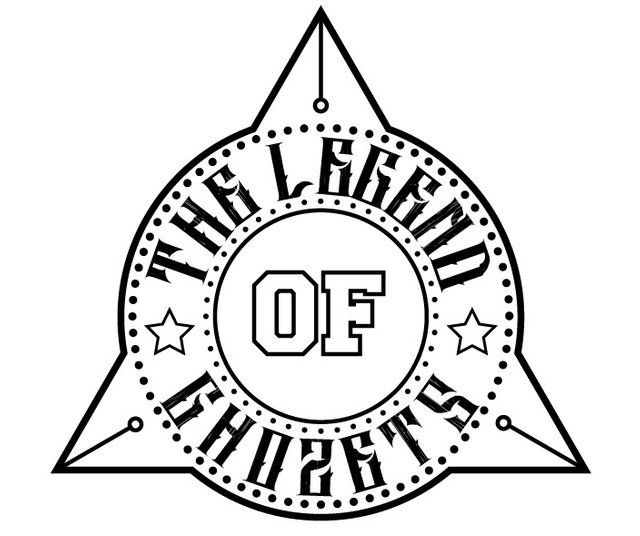
STEP 18
Next is to create a loop object back, or copy paste the existing circle object by means of Ctrl + C and Ctrl + F. And position as shown below.
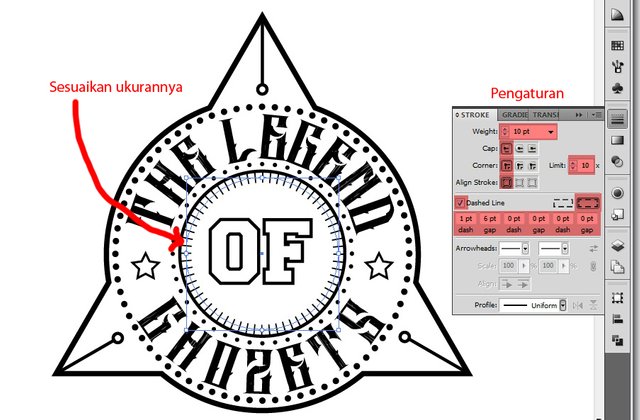
STEP 19
Arrange the border / strokenya on the stroke menu. See the picture below to clarify.
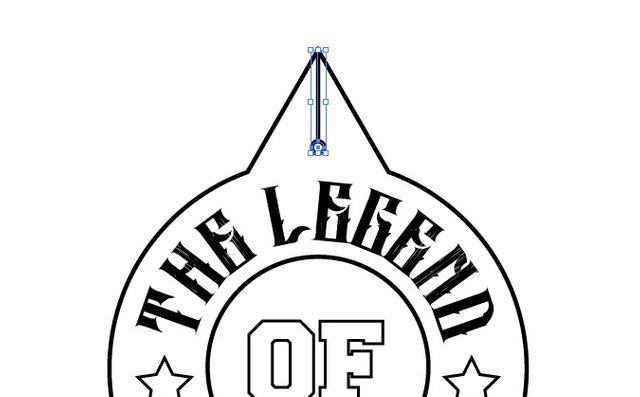
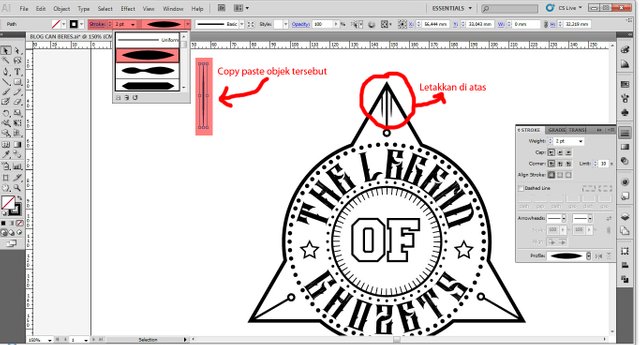
STEP 20
Create a line that rises upwards, and change the line arrangement to taper. Once finished make a point and then copy and paste the object and position the object as shown below.
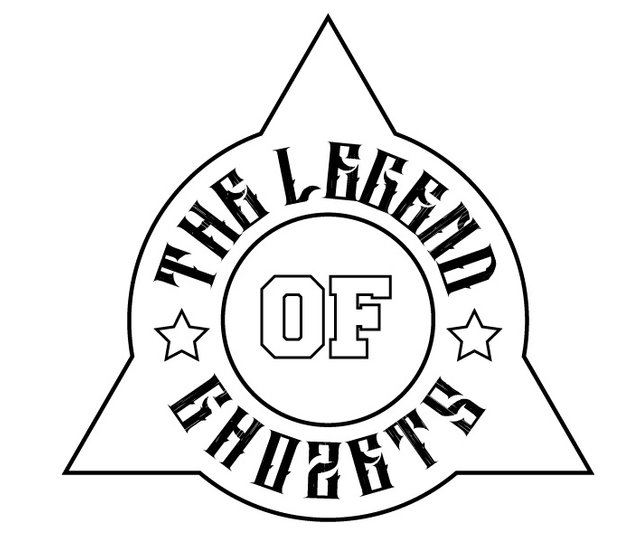
Done
![]()
may create logo color, stroke color, style font, and others. As follows.
![]()
Final Result
Hopefully the tutorial I created this time is very useful for you all, and can make an inspiration for you all. If any of my words are less pleasing to you, apologize profusely, I am just an ordinary human who did not escape the error.
Wow, I love your step-by-step teaching style. This is very inspirational for me, due to the fact that I was desperately looking for ideas to create a logo! You were right on time.
Yeah often see and vote my blog yes
Nice 👍
👍