Weekend Project – Building a Sensory Zone for Kids with Special Needs
I have a beautiful fiancé with a tremendous heart. She is an occupational therapist (OT) and works for the school district, providing OT services to children. Many of the kids are autistic or intellectually challenged with special needs. They benefit from help in mastering educational-setting tasks. She assesses them, designs custom learning plans, holds classes, and provides therapy services to assist kids achieve their very best. Goals can be as simple as holding a pencil properly, writing their name, or learning to sit in a chair for the duration of a class period. It may seem easy to us, but for these kids it can be a monumental challenge. Every exercise, tool, and guided activity can make a difference.
Over the weekend she had another one of her creative ideas in finding ways to help her kids. She wanted to build a sensory zone. Overstimulation is a major problem for children with autism and being in a noisy and chaotic classroom with other kids can undermine their focus. A sensory zone is a safe place where kids can go, block out distractions, and calm down. This helps them regain their attention and is a happy place for them to escape for a few minutes before rejoining the class.
I was immediately recruited for the project. I helped with obtaining the right materials, but she did most of the work. Cutting, assembling, making the walls out of soft fabric, and furnishing the space with therapeutic equipment.
The design
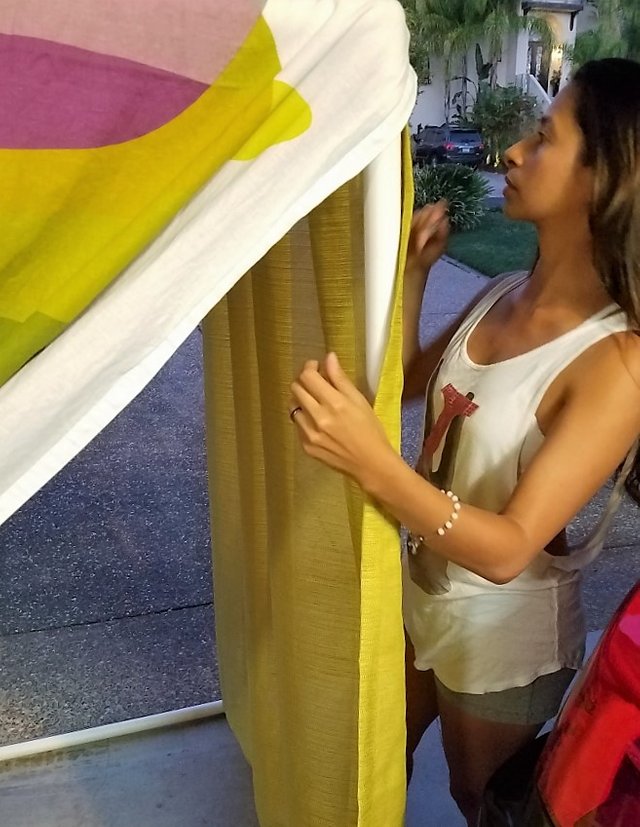
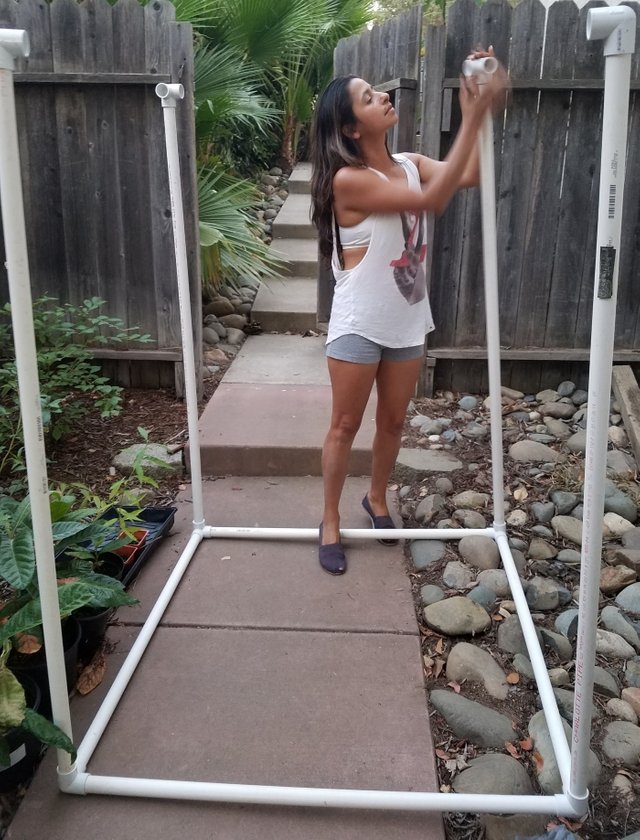
She wanted a space that the kids could step into and not feel too enclosed or claustrophobic. She settled for dimensions of about 5 feet by 3½ feet and 5 feet tall. It had to be lightweight, mobile, and easily assembled. We choose to go with PVC pipe for the supports, soft fabric for walls, and an open floor. She modeled the design from a picture she saw on Pinterest. Simple but effective.
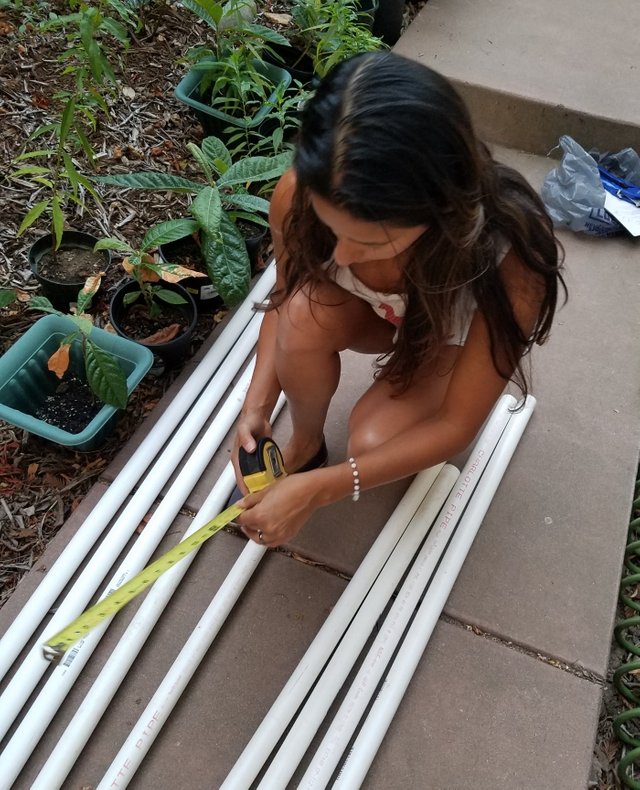
Step 1: Measuring the pipes for cutting
All the PVC pipes needed to be cut to size. She measured all 12, necessary to create the frame and marked them for cutting.
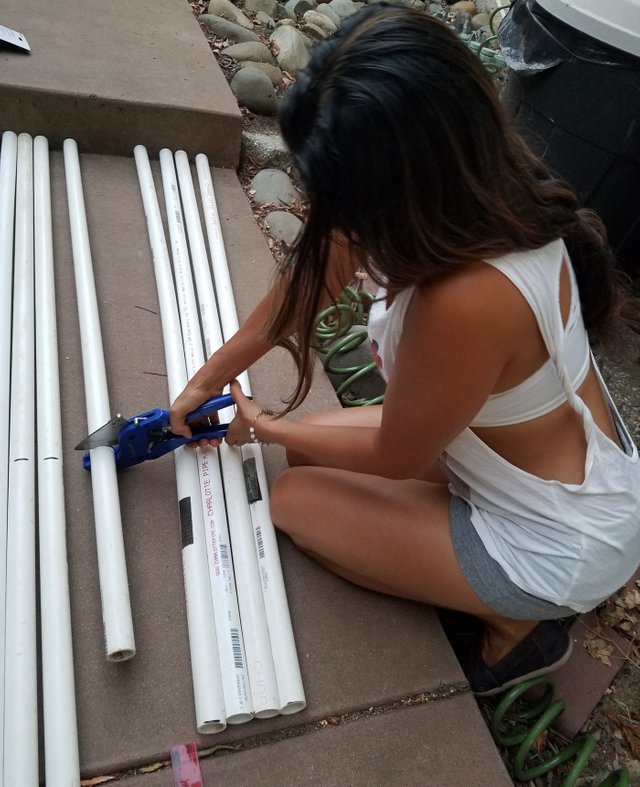
Step 2: Cutting to size
We used a pipe cutter which worked out better than a hand saw. It takes a bit of muscle, but the cuts were clean and straight.
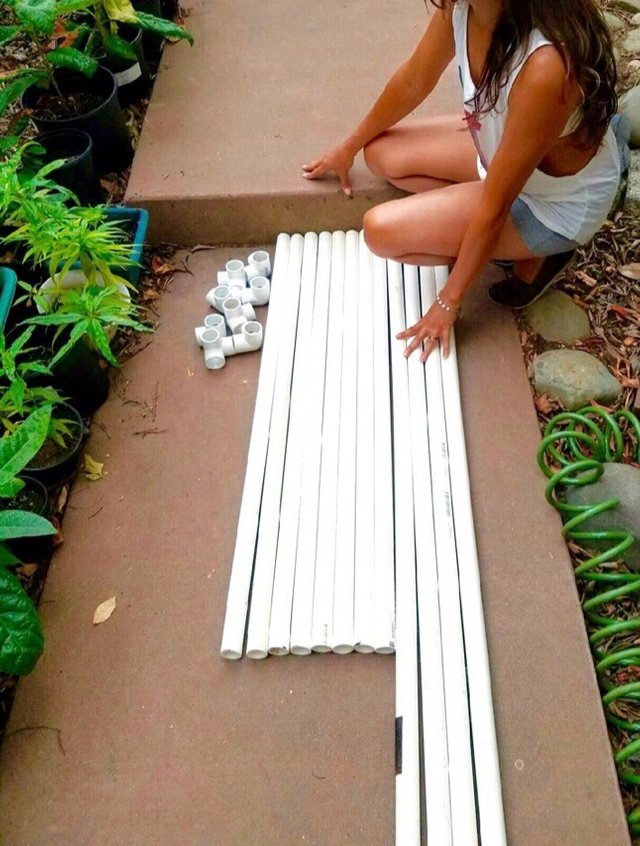
Step 3: Assembly The frame was assembled first. The pipe fittings slide together with a bit of force and hold well but can be twisted for easily disassembly when needed.
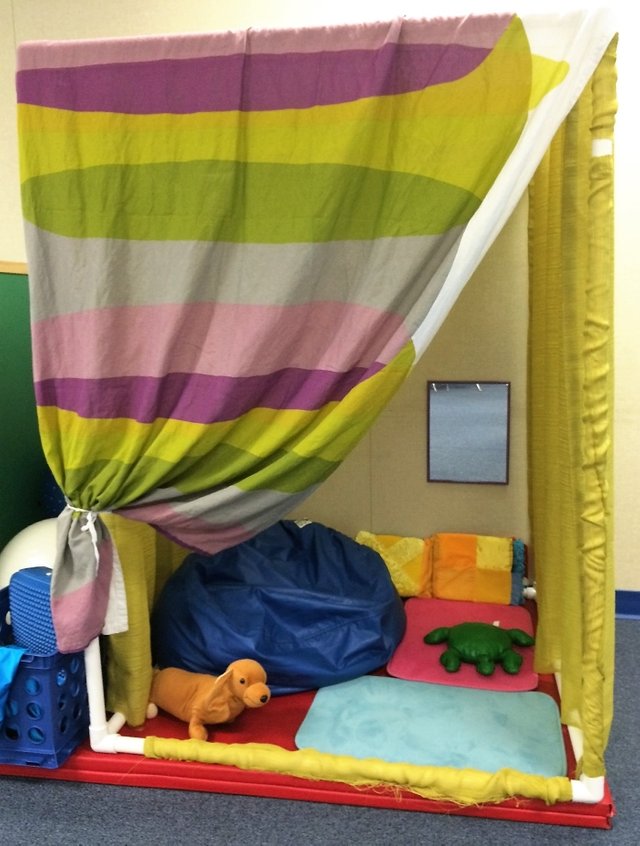
She sewed the walls from soft semi-translucent fabric and covered the pipes.

When everything was just right, we disassembled the whole thing and she took it to work. She reassembled it in her classroom and put specialized adaptive equipment, which look like toys, in the zone for the kids to hold and interact with. A mirror was added for them to see themselves and a beanbag to relax on.
The end result has been a great success. Kids ask to go in the zone to relax and it is used as a reward for some. Apparently some of the staff will even use it to take a few minutes for themselves after classes are over.

@mrosenquist
Being a pro child myself, I approve this creative initiative
First Upvote because I like kids and provide what they meant to have and have fun with that. You are doing a very good work. Complete support from my site. Keep sharing and keep spreading happiness @mrosenquist. You are Beautiful :)
Thanks @funnyman! She spreads a lot of happiness.
This is cool for the people who need it.
+1 Very nice thing she is doing for the children !!
She is always thinking of new ways to help them. She is amazing.
Indeed !
What an awesome project! Very cool indeed!
Very creative and simple idea. Thanks)
wow amazing ur work @mrosenquist
You have an amazing wife! As someone with a special needs child I can honestly say people like her are truly the best people in the world.
My boy would love that