Installing Vinyl Graphics At Armstrong State College !! ( How To)
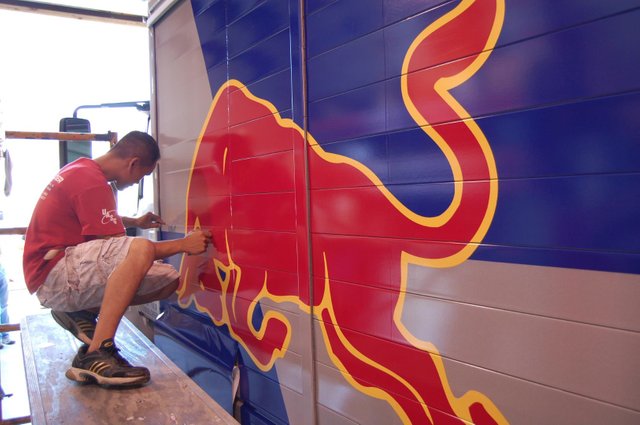

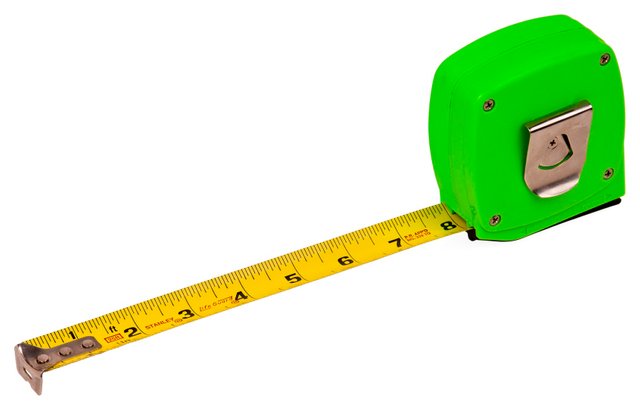
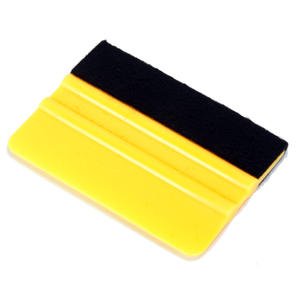
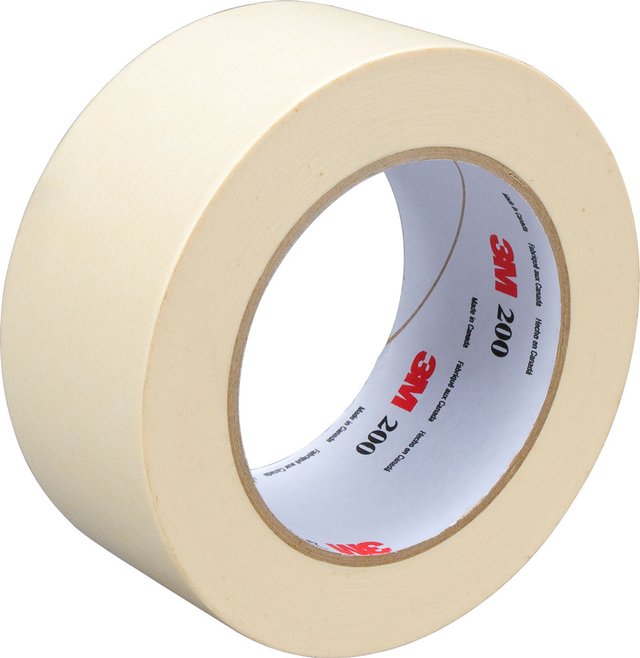
Today My dad @pipertomcat and I installed some graphics at Armstrong State College. I designed them and then we drove over and installed them on a marble wall. Once the graphic was created on print cut vinyl, the installation process is pretty simple. All you need to install a graphic is:
A Tape Measurer
A Squeegee
Masking Tape
The steps to installing the graphic are:
- Using small pieces of masking tape, tape the graphic to the intended surface . This is to hold it on the wall while you measure out exactly where you want it. Use the tape measurer to center your graphic on the surface it is going on.
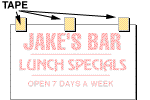
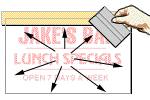
- Apply a strip of masking tape all the way across the top of the graphic. The strip of should be split between the graphic and the intended surface with 1" on each side (as shown). This strip will be used as a hinge that will insure the graphic does not move during the application process.
- Hold the bottom edge of the hinged graphic away from the intended surface and remove the liner to reveal the sticky backing of the vinyl.
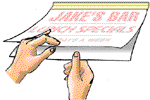
CAUTION - Do not let the exposed graphic touch the intended surface. The back of the graphic is very tacky and will tightly adhere to the surface. If the placement is not correct, removing the graphic for re-placement will be very difficult or impossible without causing damage to the vinyl.
- While still holding the hinged graphic away from the intended surface. Use the squeegee and starting from the top, begin to slowly rub the graphic to the intended surface.
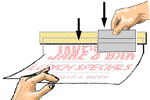
Notes - Work from top to bottom. Do not let the entire graphic fall onto the intended surface. If lines or creases develop, lift and re-place the graphic.
- Once the graphic is in proper position and lying perfectly flat on the intended surface, you can now use the squeegee to rub it on the surface firmly. Starting from the center working outward, use firm strokes with the squeegee to force any air or bubbles out of the graphic.
- After all of the graphic has been squeegeed, it is now time to remove the pre-mask from the graphic and reveal the final product. Be careful not to pull the graphic up with the pre-mask paper. Start at a corner and slowly work your way across.

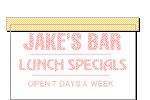
Now you have an awesome design on your wall! Here is a time lapse of us installing a huge graphic today! Thanks for viewing and don't forget to follow us! @jpiper20 @pipertomcat
It's a hard work. I wrap cars with 3M .....soo, respect .
We use 3M as well.
Best material on market . I used to work for them as a Technical trainer in Automotive Aftermarket Division Europe . But i newer done interiors . I have seen it do , and how it's applied . Keep up good work .
cool! its great, that you such a good friends with your father!
Thanks for sharing this material. I like what you posted. Thank you so much
Sure thing!
nice bull. keep up the good work
Thanks!