DIY Kitchen Floor Renovation || Repurposed Slate Tiling
Surprising Reason To Remodel:
My brother @spaceiscool called me at work to say that he had a truck load of slate that was going to be thrown away. He works as a high-end craftsman roofer, and half of the slate was salvaged from an old church while the other half was extra that was not used for that job.
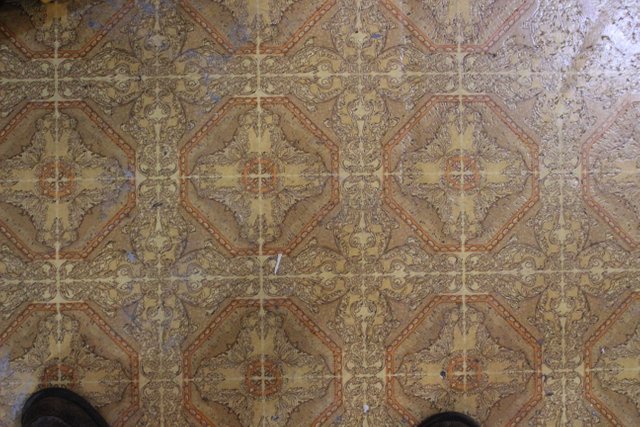
At my house we have all stated our disdain for the linoleum flooring we had in our kitchen as it was white, very old, and hard to clean. So, I told him.....'It's not everyday that you have a truck load full of slate, we should utilize this'. That night he brought the slate home and we began to rip up the old hated flooring and to our surprise there was another linoleum floor pattern underneath (the original flooring when the house was built in 1957). I'm led to write to you that I actually loved this coloration and pattern, but we had already committed to our DIY slate reclamation project.
The Progress:
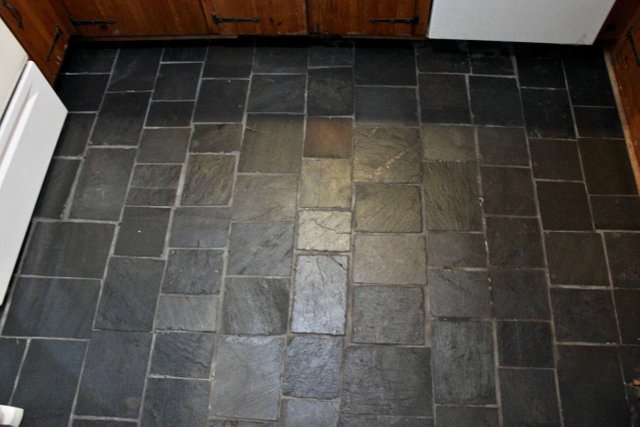
Spacing the slate tiles after adding the floor tile adhesive was the most tedious part of my remodeling journey. Thankfully, I had help from my brother and roommate @jonfies.
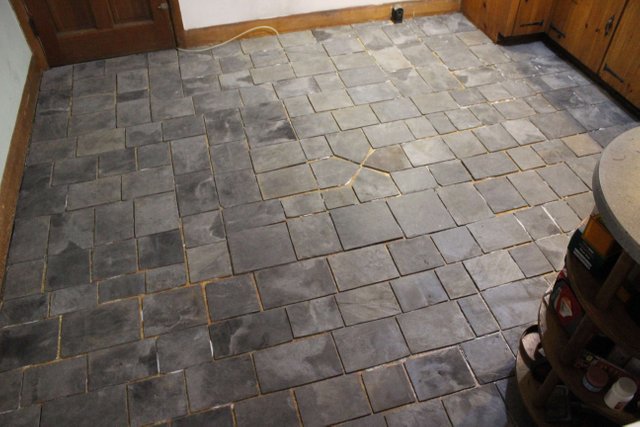
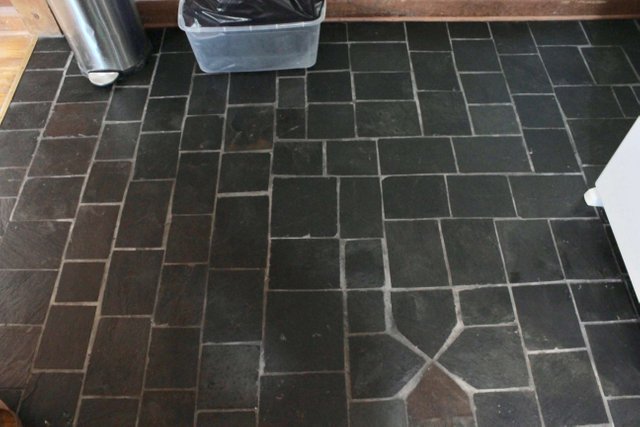
After this painstaking process we let the tiles dry for 24 hours and then moved forward and added a charcoal color sanded grout and sponged the excess grout away.
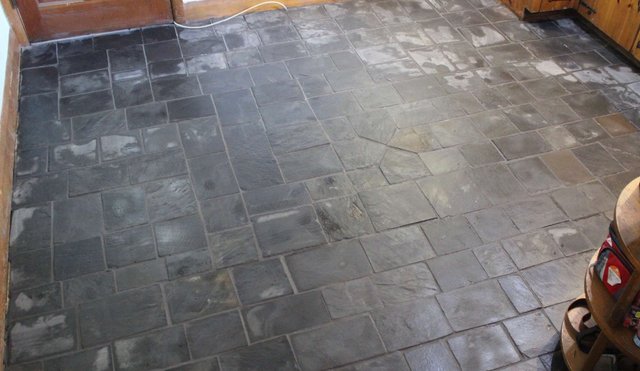
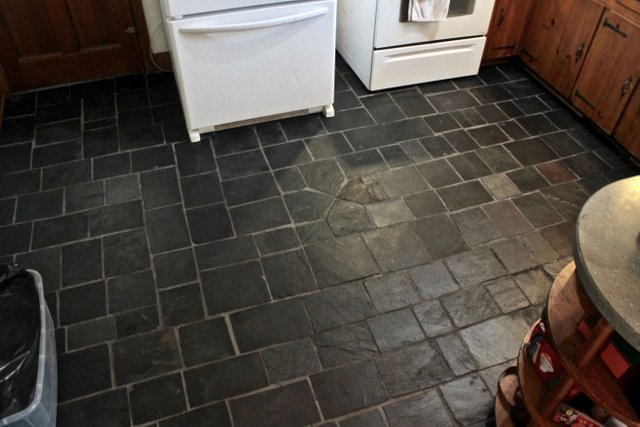
We wiped away the film layer of grout that formed when drying and let the grout dry for 24 hours before moving on to the slate sealer. And finally after 2 coats of the sealer we had our final floor...which I'm very pleased with. We started with slate taken from an old church and then repurposed it into a functional floor. I feel especially proud that it was all accomplished by our own hands.