Life hacking: How to create a fake mountain/rock/stone
Hello friends!
Today I will share with you a fairly simple and budgetary option, how to create a mountain! As a big lover of nature, in my photo studio (which I will talk about later) I just could not do without this element. But I did not find on the Internet any way to do it and I had to invent it myself. My rock was very big and was part of two photo zones. The construction was strong, but a big plus was that it could be dismantled and disposed by himself.
.jpg)
Thus, using my method, everyone will be able to do this for home decor, for landscape design or business, or as part of a place for photo shoots.
And so, you will need:
- Metalic profile
- Construction plaster
- Screws
- Washers
- Fine mesh (footage)
- Fabric (as for sheets)
- Primer for gypsum
- Paints
Instruments:
- Screwdriver
- Drill
- Scissors for metal
- Pliers
- Brushes
First of all, you need to decide on the location and scale of the rock. If desired, it can even be made mobile if you initially prepare a platform of dense material on powerful castors.
When we have decided on this, and also have drawn up an approximate plan, a drawing or a mental representation of forms, bends and the like, then we can begin to make a basis:
Immediately apologize for the quality of the images and drawings in the text. Creating it, I was absorbed by the process and did not think that one day I would want to share my experience, and therefore didn't do good pictures.
1. Basis
We will make the frame of the metal profile, which in principle is a sturdy material. The easiest thing to do is to mount in a corner or near a wall, to which basic structures can be attached. If this is not the case, then you need to create a large triangle or something like that from which different transverse lines will already go.
To fix the frame to the wall or to each other, you need to cut the ends with special scissors and bend them down depending on the desired angle, as shown in my picture:
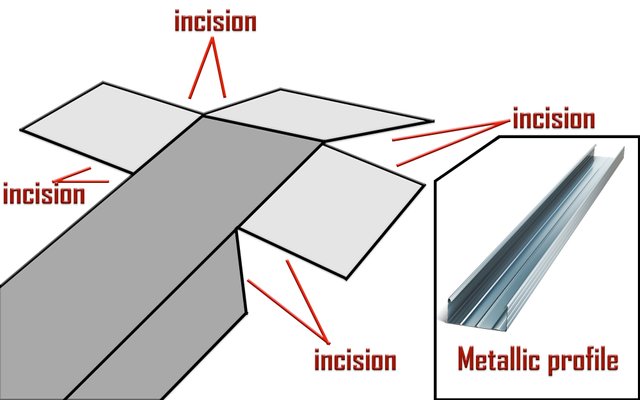
After that, we will fasten these segments with other segments on the adjacent profiles, with a solid profile, or with a wall / floor, by drilling a hole, and further, by connecting with screws.
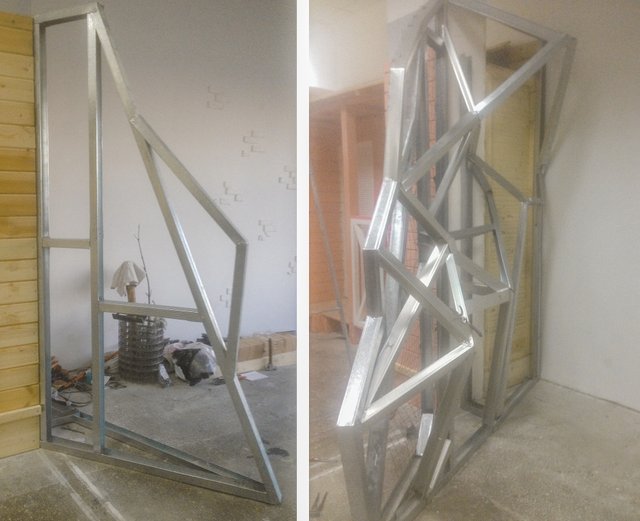
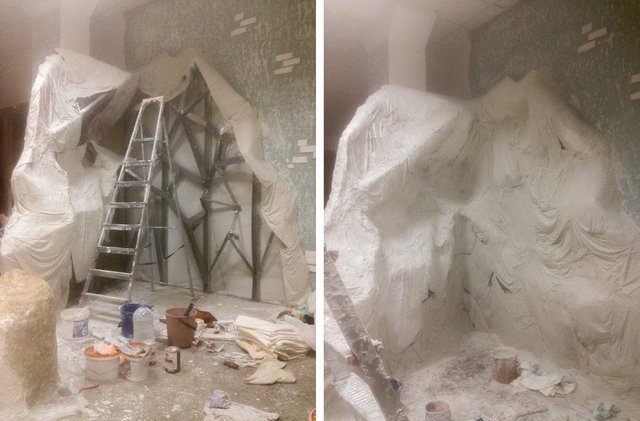
In the photo on the left we see a clean frame of one of the sides of the mountain. The lower profiles are drilled to the floor, extreme with the walls and between themselves, thus a durable construction is obtained. In the photo on the right, we already see decorative lines, which will be responsible further for the cambers and cavities that imitate natural rocky bends.
Thus, our frame turned out the following form. The total length was about 6 meters, 3 meters high. By the way, at the bottom of the photo you can see the stone that we did first to test our method in action before doing something more ambitious.
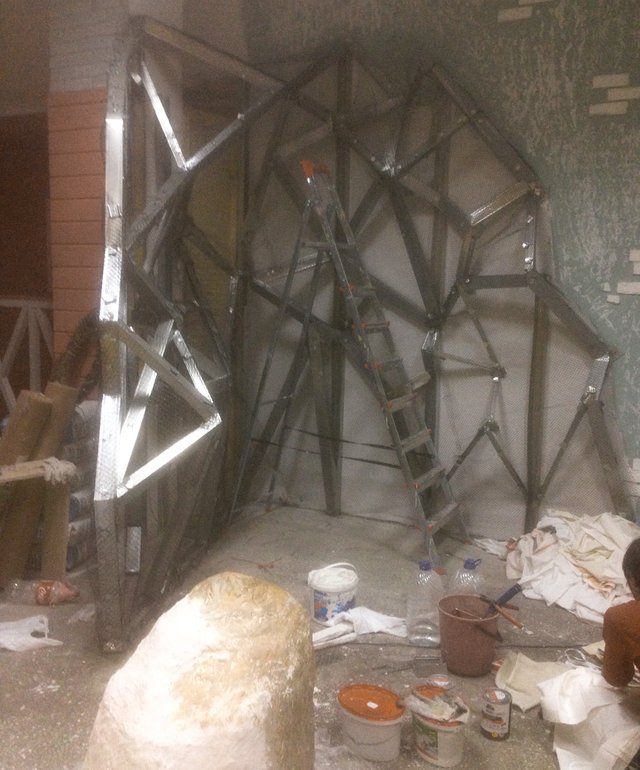
2. Primary plating
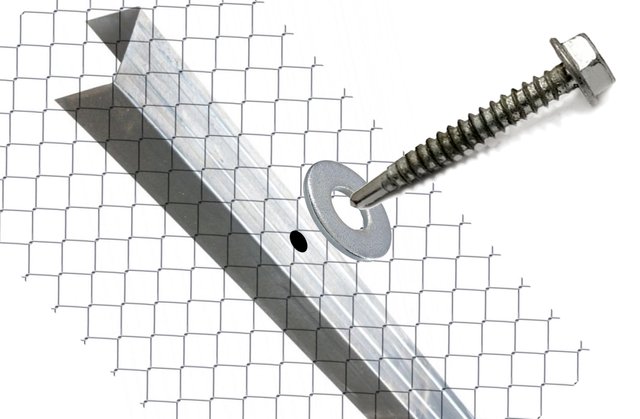
When the frame is ready, we need to sheathe it with a fine metal mesh. This is necessary in order to soften the shape of the structure for the further imposition of facing materials.
The important point here is the use of metal washers. Since the net is basically wider than the screw head, a washer is indispensable. It should also be noted that the hole of the washer should be smaller than the head, so that it does not fall down, and presses the grid.
It is necessary to drill a hole for the screw, when the grid will lie on top of the profile and be sure to stretch it. You need to drill at the edge of the grid square in order to maximally stretch it and fix. Next, you need to put the washer, insert the screw and fasten it.
3. Secondary plating
When the entire grid is fixed, we can proceed to the most difficult stage - covering the fabric. The most difficult thing here is to fasten the material on outboard parts, because in the wetted state the fabric becomes heavy and does not want to adhere to the net. To do this, we used homemade hooks, but they did not fully help. In order to get it all you need to adjust to the process by myself.
And so, proceed to the process of preparing materials. We take building plaster, a small bucket and dilute it in the correct proportions. At first, it should turn out to be liquid, but it is important to remember that the mass hardens rather quickly, therefore, we must act quickly.
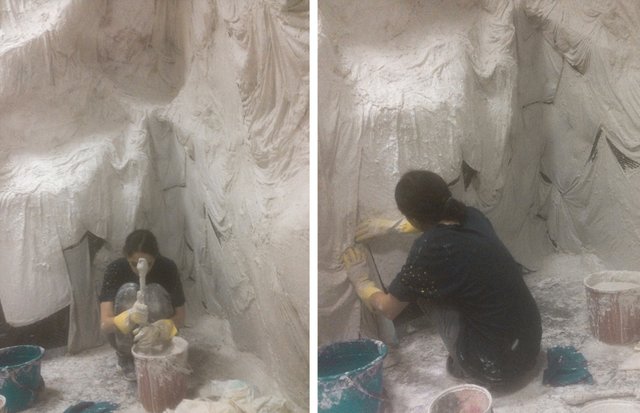
While the mass is liquid, we wet it in pre-cooked small pieces of cloth. Approximately 20-30cm wide and 50cm long. Lightly squeeze and immediately put them on all areas from top to bottom. When the mass begins to thicken, we cover it with fabric on the structure for durability. We do this until everything is covered by them. Next, repeat the process for at least three layers.
When all the layers are applied and dried, we dilute the gypsum, but in the wrong proportion, adding more gypsum than water. Mass should immediately get thick and be stronger in the end. We pass it throughout the structure, laying in a layer of about 5 cm. thick Thus, this layer will be the strongest and will protect the structure from impacts and other damage.
I note that if the mountain is created indoors, it must be well ventilated, otherwise the gypsum will dry for a very long time. For accelerated drying, you can use any thermal devices. It is also important to note that after drying, cracks may occur, they need to be putty and dried. At the final stage, it is necessary to probe the structure by hand, looking for places where there may be dips or places with a weak layer, they will need to be reinforced with another thick layer of gypsum.
4. Preparing for dyeing and painting.
Now we need to take a special primer to strengthen the plaster materials and cover by this all. This is very important to do so that in the future nothing crumbles and it is easier to apply paint.
When the surface is prepared, we start the most creative and interesting process. Paint should be matte to look more realistic. I used two main shades of one - darker and lighter. At first applied a dark completely on the entire surface.
Next, I painted light diluted paint on convex areas for visual underlining of the texture. But it seemed to me to be insufficient, and I added other shades, such as white, orange and blue. This helped create a more interesting color and improved texture. After painting, the mountain can be covered with matte varnish for better preservation.
.jpg)
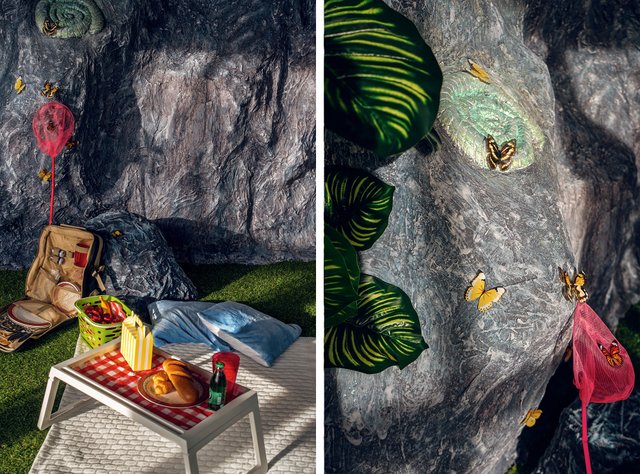
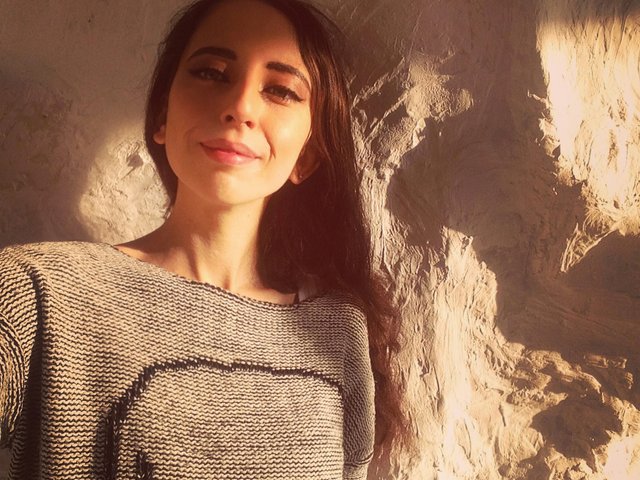
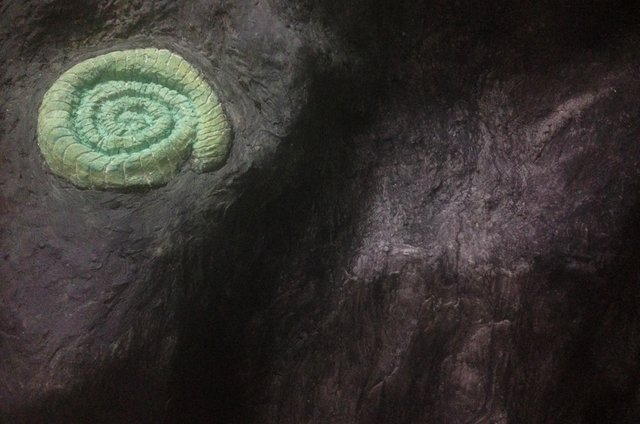
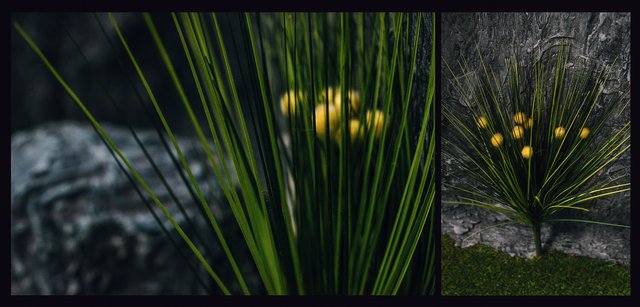
That's it, the mountain is ready! Then you can decorate it with various decorative elements, for example, lianas, exotic leaves, flowers and the like. We laid artificial turf on the floor to make it more like nature, and decorated it with ornamental shrubs.
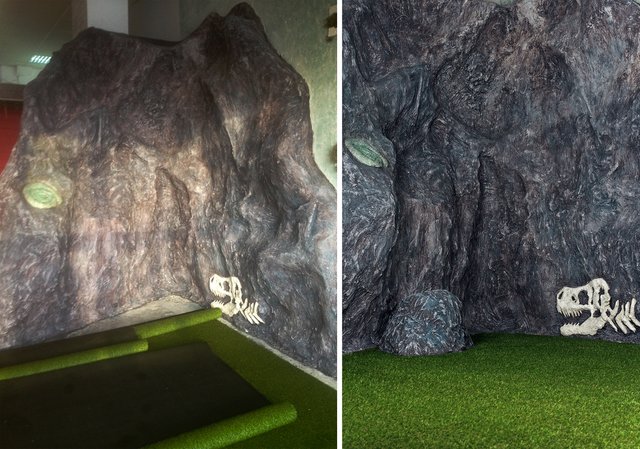
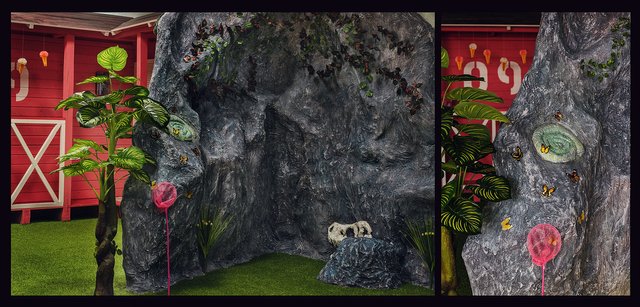
And here is the result of our labors. We decorated the mountain gradually so you can see how it looks in different trim levels. I really liked this design.

Thank you for attention!

Congratulations @ianboil! You have completed the following achievement on the Steem blockchain and have been rewarded with new badge(s) :
You can view your badges on your Steem Board and compare to others on the Steem Ranking
If you no longer want to receive notifications, reply to this comment with the word
STOPVote for @Steemitboard as a witness to get one more award and increased upvotes!